7 proven recipes that remove yellowing permanently

7 proven recipes that remove yellowing permanently

Teeth whitening: 7 proven recipes that remove yellowing permanently

One thing that many people look forward to is having their teeth whitened. obtaining a grin. The greatest, albeit most difficult, natural teeth-whitening method is to always wash your teeth with toothpaste after eating or drinking. However, since this issue calls for a great deal of persistence, it is advised to abstain from smoking, consume small amounts of coffee or soft drinks, and generally practice better dental hygiene. and consume a balanced diet. This may lessen the yellowing of teeth.

However, visiting a dentist every three months to get your teeth cleaned might be the best course of action if you smoke or consume coffee excessively. To whiten your teeth in a safe and natural manner, you can also try some of the natural remedies that are mentioned in this article.

What causes teeth to go yellow?
There are two main causes of yellowing teeth, and both tend to worsen with age:
1. Thinned enamel:

The nearly white enamel that covers the teeth’s surface shields the dentin beneath. Dentin is the layer of tissue that lies behind the enamel. It has a brown and yellow hue, and the teeth turn yellow when the enamel layer erodes or thins. Gum disease, ageing, and excessive consumption of acidic foods can all lead to tooth enamel thinning.

as a result of smoking, drinking too much tea and coffee, and soft beverages.
Teeth whitening recipes that are sure to work:

1.One method of tooth whitening is hydrogen peroxide:

Due to its antibacterial properties, hydrogen peroxide is an excellent mouth and gum cleaner that also aids in the removal of microorganisms. Because it functions as a natural antibacterial agent, it helps keeps breath fresh by getting rid of harmful microorganisms. It can offer natural defence against gum illnesses like gingivitis in addition to safely and naturally whiten teeth.

The first approach involves mixing equal parts water and hydrogen peroxide to make an excellent mouthwash. Rinse your mouth multiple times, then thoroughly rinse with water.
The second technique involves combining a little quantity of baking soda with a small amount of hydrogen peroxide to create a cohesive paste that aids in removing more plaque from the teeth. Next, apply this mixture to your teeth using an old toothbrush, rub it in for 30 seconds, and then give them a thorough water rinse.

2.Coconut oil for teeth whitening:

Teeth whitening with coconut oil is a natural remedy. Some claim that using coconut oil to their teeth makes them whiter and generally healthier.

How to apply: Take a teaspoon of coconut oil and place it between your teeth for five to twenty minutes. Alternatively, put a few drops on your toothbrush and thoroughly clean your teeth for a few minutes. Another alternative for dental hygiene is using coconut oil. I Regular use of this mixture not only protects and cleans the gums but also safely and naturally whitens teeth thanks to the antibacterial qualities of coconut oil.

3.Teeth whitening with apple cider vinegar :

Apple cider vinegar (ACV) is a natural antibacterial and teeth and gum cleaner that is very effective. Because it includes chemicals, it is very effective at eliminating stains from coffee and nicotine (smoking). include probiotics, enzymes, potassium, magnesium, acetic acid, and other substances that kill germs and harmful “bad” bacteria while encouraging the growth of helpful “good” bacteria. It aids in the breakdown of plaque and other debris adhered to the teeth since it is naturally acidic. In addition to removing stains from teeth, apple cider vinegar’s pH promotes safe and natural teeth whitening.

Use this method: Wet your toothbrush in a cup of apple cider vinegar, brush your teeth thoroughly for a minute, and then use a fresh brush and regular toothpaste on a different brush. It is best if it is a paste without fluoride. After that, thoroughly rinse your mouth with water or a solution containing hydrogen peroxide. It is advised to apply this recipe daily for a month in order to get the best benefits.

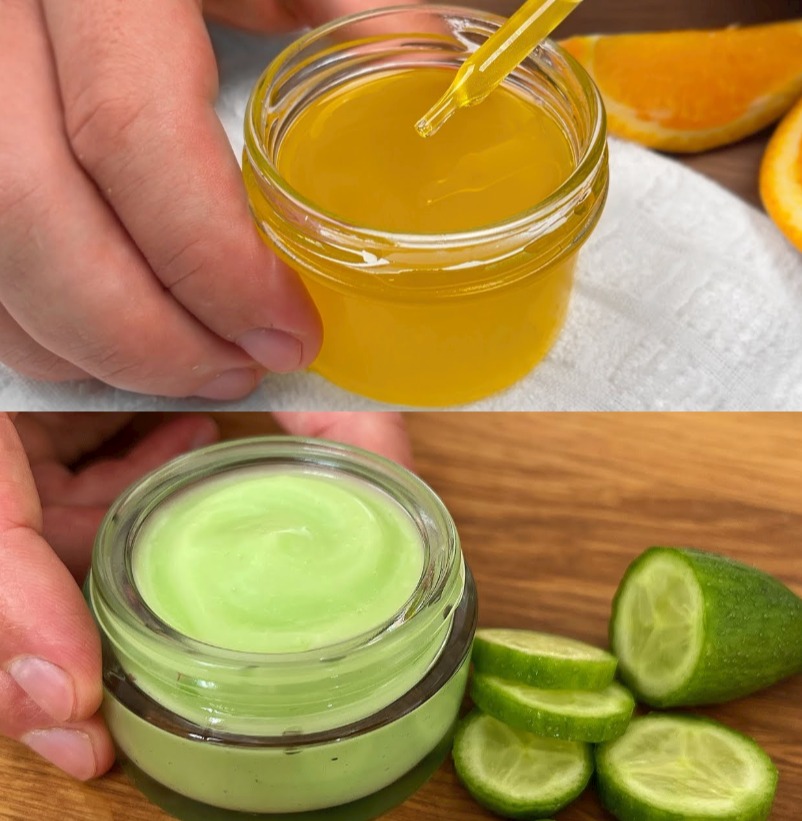
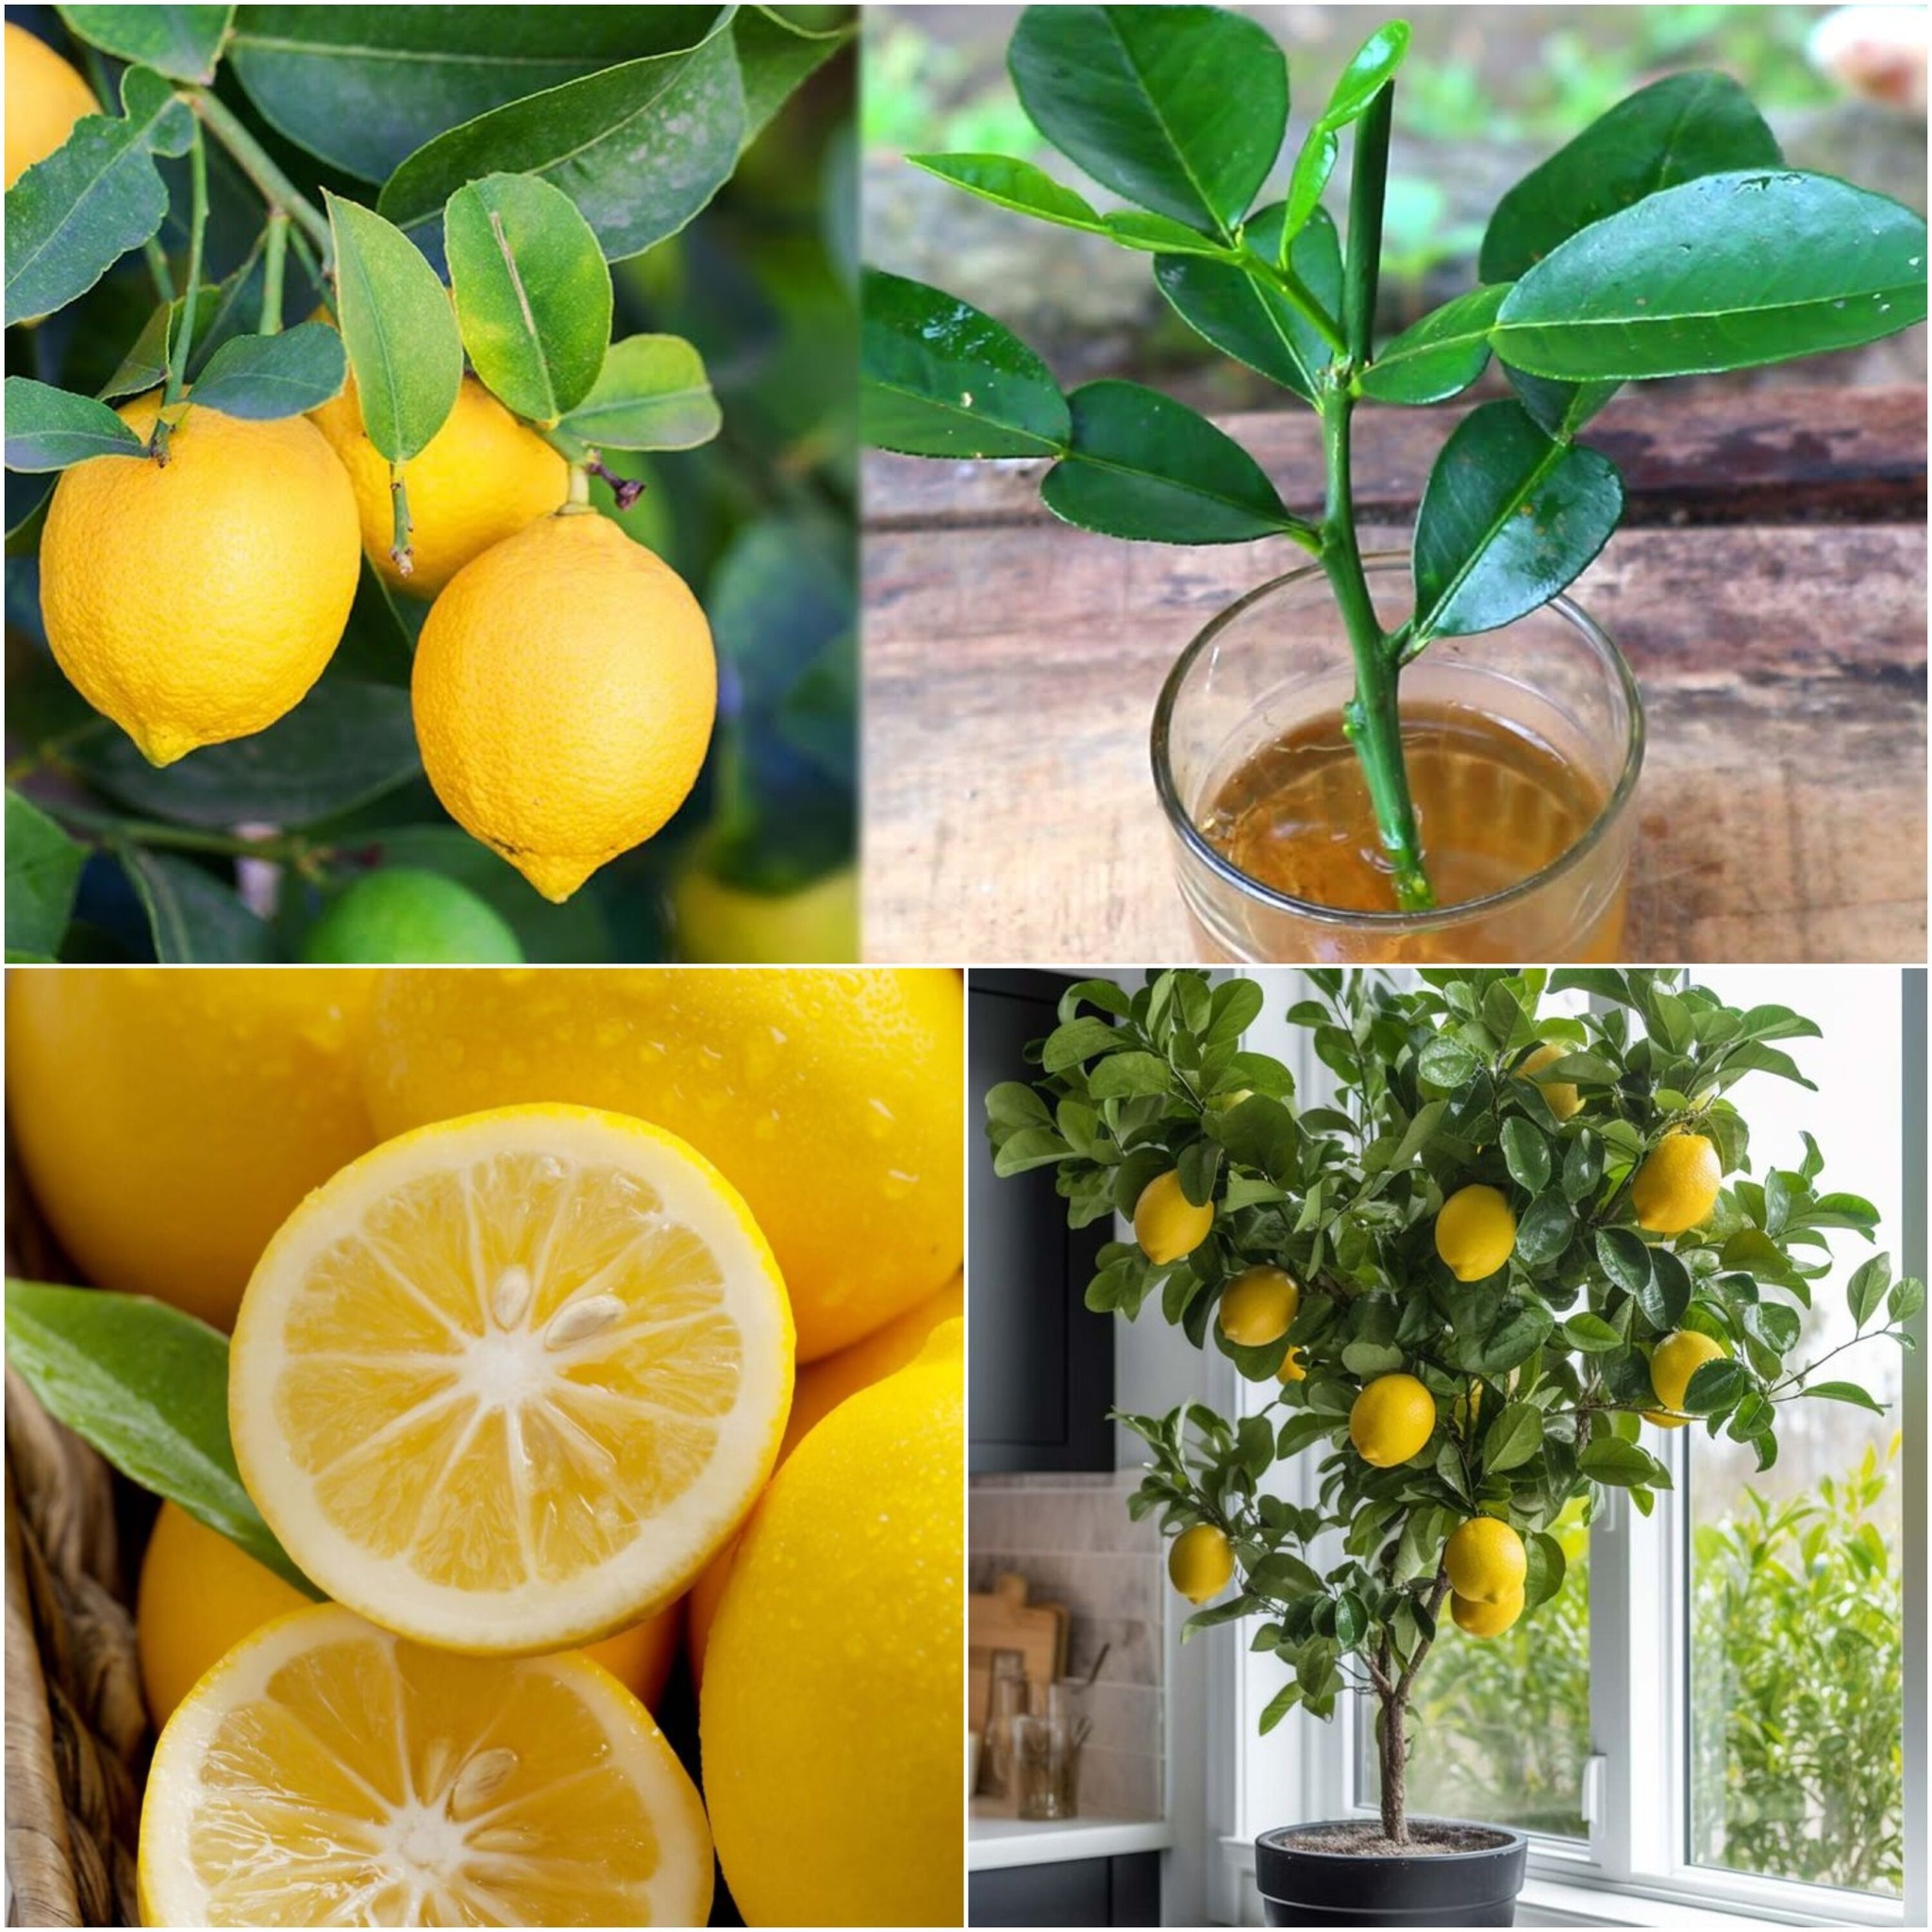
4. Lemon or orange peel to whiten teeth:

Orange or lemon peels are used to whiten teeth and get rid of yellow stains left behind by smoking or drinking too much coffee and tea. It’s a safe and efficient procedure.
How to apply: After thoroughly cleaning your teeth for a minute with lemon or orange peels, thoroughly rinse your mouth with water or hydrogen peroxide. It is advised to use this recipe three times a week for optimal effects.

5.Strawberries for teeth whitening:

One of strawberries’ best qualities is how quickly they may whiten teeth. When applied frequently, they also give them a glossy appearance and hasten the healing of gum injuries.
How to apply: Five fresh strawberries should be mashed into a uniform paste. After a minute of applying this mixture to your teeth, thoroughly rinse with water. To achieve the desired effects, you can make this meal every day.

6.Teeth whitening with activated charcoal:

An absorbent substance called activated charcoal is utilised to trap pollutants in the body. By absorbing the plaque that has discoloured your teeth, it might help make them appear whiter.
How to apply: Wet your toothbrush and dunk it in powdered activated charcoal to naturally whiten your teeth. After brushing your teeth as usual, thoroughly rinse your mouth and repeat the process with water. Use activated charcoal to wash your teeth two or three times a week for optimal effects.

7. Papaya fruit to whiten teeth:

An enzyme found in papaya fruits may aid with teeth whitening. Enzymes called papain and bromelain, which are present in papaya and pineapple, respectively, aid in teeth whitening.
How to apply: Using a fork, mash a fresh papaya slice until a uniform paste is achieved. After a minute of applying this mixture to your teeth, thoroughly rinse with water. To achieve the desired effects, you can make this meal every day.
If you wish to have stain- and yellowing-free, bright white teeth. You could try these natural recipes that work well.

Recipe for Natural Anti-Aging Cream and Tonic Tea

Recipe for Natural Anti-Aging Cream and Tonic Tea

Recipe for Natural Anti-Aging Cream and Tonic Tea

Are creases and other ageing indicators getting to you? For you, we have a simple and practical solution today! We’re going to be making a fantastic tonic tea and a natural anti-aging face cream that will help fight the signs of ageing and leave you feeling refreshed.

Recipe for Anti-Aging Face Cream
First, let’s discuss the anti-aging face cream. What you’ll need is as follows:

  1. One big orange
  2. one medium-sized carrot
  3. Six bay leaves
  4. One tablespoon of coconut oil
  5. Four tsp olive oil

Here’s how to make the cream now:

  1. Rinse the orange well with baking soda and warm water.
  2. Grate the orange peel finely and save.
  3. The medium carrot should be grated.
  4. Make sure the water in the saucepan doesn’t get inside the cream while it’s cooking by placing a towel at the bottom and adding water.
  5. To the pot, add the olive oil, coconut oil, chopped carrot, bay leaves, and grated orange peel.
  6. Boil the water and cook over medium heat for forty minutes.
  7. Pour the mixture via a strainer.
  8. Place the cream in the refrigerator to chill.
  9. After use, place the cream in the refrigerator.

This orange cream works wonders for wrinkle reduction and anti-aging. The orange’s essential oils enhance cellular regeneration by penetrating the skin deeply and stimulating metabolic processes. Its first application will make your skin noticeably softer. But be sure to try it on a small portion of your skin first before putting it all over your face.

Tonic Tea Recipe

Let’s go on to the tonic tea now. The ingredients are as follows:

  1. One lemon’s juice
  2. lemon slices that have been squeezed
  3. An item of ginger
  4. 700 millilitres of water
  5. One cinnamon stick
  6. One tsp of paprika

To make the tea, just follow these easy steps:

  1. Place the water, ginger, cinnamon stick, and lemon slices in a pot and bring to a boil.
  2. After letting it simmer for a bit, let it to cool.
  3. To the cooled tea, add a teaspoon of paprika and little lemon juice.
  4. Savour the revitalising and refreshing tonic tea!
    Not only is this tea wonderful, but it also boosts immunity, tones the body, and quickens metabolism. Particularly ginger tea offers incredible health advantages, including antimicrobial and relaxing properties.

Try these simple DIY tonic tea and natural anti-aging lotion recipes. They are beneficial for your skin and general health in addition to being effective. Watch this space for more delicious recipes. To ensure that you don’t miss any new videos, remember to subscribe and turn on notifications. Let’s toast to a young, energetic you!


making blueberry water

making blueberry water

Hey there! Want to try something really easy and super refreshing? How about making blueberry water? It’s not just delicious, but it’s also full of good stuff for your body, like antioxidants.

Benefits:

Hydration:Drinking enough water is important for good health, and adding blueberries to your water can make it taste better and encourage you to drink more throughout the day.
Antioxidants: Anthocyanins, which are abundant in blueberries, have been connected to a number of health advantages, including the reduction of oxidative stress and inflammation in the body.

Minerals and vitamins: Blueberries are rich in manganese, vitamins C and K, and other nutrients that can support general health and wellbeing.
Weight control: By encouraging feelings of fullness and lowering the consumption of sugary beverages, drinking water, particularly when flavoured with natural components like blueberries, can help with weight management.
Better Skin Health: Antioxidants in blueberries may help prevent free radical damage, which may improve the appearance and health of the skin. Hydration is crucial for good skin.

Ingredients for Blueberry Lemon Thyme Water
1/2 cup fresh or frozen blueberries
2 lemon slices
1 sprig of thyme
4 cups of water
Ice (optional)
Simple Instructions for a Refreshing Drink
Take a pitcher or mason jar and add blueberries, lemon slices, and a sprig of thyme.
Use a wooden spoon to gently muddle the ingredients, releasing their flavors.
Add water and ice (if desired), and refrigerate for at least an hour. For a more intense flavor, let it infuse overnight.
Keep the blueberry water in the fridge and enjoy it within 24 hours for best taste and freshness.
Serving Suggestion:
Pour this blueberry lemon thyme water over ice for a rejuvenating drink, perfect for sipping on a hot day or after a workout.
A pitcher or glass of water should be filled with a handful of fresh or frozen blueberries. Then, the water should be refrigerated for several hours or overnight to allow the blueberries to infuse. For more flavour, you can also add other ingredients like cucumber, lemon, or mint. Savour your revitalising and maybe health-promoting blueberry water!

Rediscovering the Potential of Parsley for Improving Eye Health

Rediscovering the Potential of Parsley for Improving Eye Health

Keeping up ideal eyesight becomes more crucial as we age in this screen-dominated modern environment where eye strain is common. But despite this worry, there is a straightforward but effective remedy that not only promotes eye health but also promises to bring back the sharpness of one’s vision: parsley. Let’s investigate how a tasty parsley elixir could become a mainstay of your quest for improved vision if you incorporate it into your everyday routine.

The Nutrient-Rich Powerhouse

Parsley is sometimes disregarded as a simple garnish, but when it comes to eye health, it’s a nutritious powerhouse. Rich in minerals that improve eyesight, such as lutein, vitamin C, and A, this humble herb is essential for preserving good eye health. Vitamin C offers defence against conditions related to the eyes, while vitamin A is essential for maintaining night vision and general eye health. In the meantime, lutein serves as a barrier to prevent damaging light exposure to your eyes. When combined, these elements make parsley a true superfood for maintaining eye health.
  1. With our newfound knowledge of the many health advantages of parsley, let’s make a parsley potion that can help restore and revitalise vision. What you’ll need is as follows:

Components:

  1. A couple of handfuls of fresh parsley
  2. One lemon
  3. one cup of water
  4. Taste-testing honey is optional.

Directions:

  1. To prepare the parsley, start by giving the fresh leaves a good wash to get rid of any contaminants or pesticides. Chop them finely to release their precious nutrients.
  2. Blend the Ingredients: Put one lemon’s juice, one cup of water, and some chopped parsley in a blender. Blend until a creamy, smooth consistency is reached.
  3. Embracing a Holistic Approach to Eye Health

Unlock the Magic of Growing Lemon Tree Cuttings with This Simple Water Soaking Method

Unlock the Magic of Growing Lemon Tree Cuttings with This Simple Water Soaking Method

Unlock the Magic of Growing Lemon Tree Cuttings with This Simple Water Soaking Method

Have you ever wanted to cultivate your own lemon tree with ease? It could be simpler than you imagine! You can easily propagate lemon tree cuttings and watch them grow into gorgeous, fruit-bearing trees in your own garden with an easy, natural procedure that involves water. Let’s explore this fun gardening tip that will make any green thumb happy and satisfied.

Why Are Cuttings From Lemon Trees Used? It’s very easy to produce new plants that are genetically similar to the parent tree by growing lemon trees from cuttings. By using this strategy, you can start enjoying homegrown lemons sooner rather than later by avoiding the laborious process of developing trees from seeds.

How Does It Operate? Growing lemon tree cuttings in water is a surprisingly simple technique. By submerging the cuttings in water, you generate an environment that encourages rapid root development, which will allow the plants to quickly become self-sufficient.

Step-by-Step Guide:

  1. Pick Out Your Slices: Select young, robust stems from a well-established lemon tree. Cuttings from branches that aren’t flowering should be taken; they should be between 4 and 6 inches long.
  2. Prepare the Cuttings: Use clean, sharp scissors to trim the cuttings just below a node, which is where the leaves originate. To keep the leaves from rotting in the water, remove any that are on the lowest part of the cutting.
  3. Soak in Water: Put the chopped materials into a glass vase or jar and cover the top with fresh, room-temperature water. Ensure that the nodes in which you cut are completely submerged in water.
  4. Change the Water: To keep the water fresh and avoid stagnation, change the jar’s contents every few days.
  5. Track Growth: During the following few weeks, keep an eye out for any indications of root growth on the cuttings. In a few weeks, white roots should begin to show through the nodes.
  6. Planting: Your cuttings are ready to be put in soil when the roots are about 1 to 2 inches long. Move the rooted cuttings with caution into a potting mix that drains well.

Tips for Success:

  • To promote healthy growth, place your cuttings in a sunny position.
  • To ensure that the soil remains clean for the growth of roots, change the water frequently and with patience.
  • After transplanting, take care not to overwater or let the cuttings lie in soggy soil.
  • This easy water soaking procedure makes it very easy to grow lemon tree cuttings with a little perseverance and attention. You’ll be practically enjoying the results of your labour before you realise it!


Discover the Delight of Homemade Ketchup

Discover the Delight of Homemade Ketchup

Discover the Delight of Homemade Ketchup: A Chemical-Free Recipe for Flavorful Condiment Perfection

Are you sick of ketchup from the store that has so many unknown additives and preservatives in it? Adieu to the artificially flavoured varieties and hello to the vibrant, fresh flavours of homemade ketchup! Not only is homemade ketchup satisfying and enjoyable, but it’s also shockingly easy to make. Now let’s get started with this simple recipe that will make the greatest ketchup you’ve ever tasted without any unnecessary chemicals.

Why Make Your Own Ketchup? Making your own ketchup gives you complete control over the ingredients, so you can be sure that it’s devoid of artificial flavours, colours, and preservatives. Additionally, you can modify the recipe to your own taste preferences, perfecting the balance of tanginess and sweetness.

The Best Homemade Ketchup Recipe:

  1. 1 can (6 oz) of tomato paste
  2. ½ cup apple cider vinegar
  3. ¼ cup honey or maple syrup (for sweetness)
  4. 1 teaspoon onion powder
  5. 1 teaspoon garlic powder
  6. ½ teaspoon ground mustard
  7. ½ teaspoon salt
  8. ¼ teaspoon allspice
  9. ¼ teaspoon cinnamon
  10. Pinch of cloves

Directions:

  1. Mixing the Ingredients: Using a medium saucepan, thoroughly whisk together the tomato paste, apple cider vinegar, honey (or maple syrup), and all of the spices.
  2. Simmer: Set the saucepan on medium heat and slowly simmer the contents. Turn down the heat to low and cook, covered, stirring now and again, for 20 to 25 minutes, or until the ketchup thickens to the consistency you like.
  3. Chill and Store: Take the saucepan from the burner and allow the ketchup to cool fully. When you’re ready to use it, move it to a sanitised, sealed container and keep it chilled.

Savour Your Chemical-Free Condiment: Use this wonderful homemade ketchup as a dipping sauce for your preferred appetisers or spread it over hot dogs, fries, and hamburgers. Its silky texture and rich, acidic flavour will make any dish better and leave you wanting more.

Tips for Success:

  • Add more or less vinegar or honey to taste and adjust the sweetness and tanginess.
  • Process the completed ketchup in a food processor or immersion blender for a smoother texture before putting it in the jar.

You may enjoy the traditional condiment you adore without any harmful chemicals or additions with this easy homemade ketchup recipe. It serves as evidence that occasionally, what’s in your kitchen is indeed the best!

Transform Your Garden with Banana Peel Coffee Fertilizer

Transform Your Garden with Banana Peel Coffee Fertilizer

Transform Your Garden with Banana Peel Coffee Fertilizer

Are you trying to find an easy and affordable approach to feed your garden without going over budget? You only need to look in your kitchen! Banana peels and coffee grinds together provide a nutrient-rich fertiliser that will support the growth of your plants. Let’s examine the benefits of this DIY fertiliser and demonstrate how simple it is to prepare at home.

Coffee grounds and banana peels: the gardeners’ secret
Peels from bananas: Save those banana peels from going to waste! Beneath their peels, bananas are a great source of potassium, phosphorus, and other critical elements for your plants. They also include advantageous substances that support plant growth and soil health.

Coffee Grounds: Retain the coffee grounds from your morning brew! Nitrogen is abundant in coffee grounds and is necessary for the healthy growth of plants. Additionally, they draw beneficial microorganisms and earthworms and aid in the improvement of soil structure.

The Economical Viability of the Handmade Fertiliser Solution: Banana peels and coffee grounds can be used to make an inexpensive and efficient homemade fertiliser. A less expensive method of fertilising your garden can be found by saying goodbye to pricey store-bought fertilisers.

Nutrient Boost: Coffee grounds add nitrogen and organic matter, while banana peels offer potassium, phosphate, and calcium. When combined, they produce a well-balanced fertiliser that encourages robust, healthy plants and eye-catching blooms.

Soil Enrichment: Banana peel coffee fertiliser not only replenishes depleted nutrients but also enhances soil fertility and structure. It promotes healthy plant growth and higher harvests by enhancing the beneficial microbial activity in the soil.

How to Make Your Own Banana Peel Coffee Fertilizer

  1. Gather Your Ingredients: Hold onto your coffee grinds and banana peels until you have enough to create your fertiliser.
  2. Blending: Finely chop the banana peels and add them, along with the coffee grounds, to a blender. To aid in the blending process, add a small amount of water and blend until smooth.
  3. Application: Either mix the blended mixture into the soil or distribute it evenly around the base of your plants. Watch your garden thrive after giving it plenty of water to activate the nutrients!

Embrace a Greener, Healthier Garden

This easy-to-make but highly efficient mixture of coffee grinds and banana peels will organically and reasonably nourish your plants. Savour the satisfaction that comes from knowing that you’re giving your plants the nutrition they require to flourish in addition to lowering waste. Accept the enchantment of creating your own fertiliser and see your garden flourish with life and beauty!


Unlocking the Power of Watermelon Rind and Garlic

Unlocking the Power of Watermelon Rind and Garlic

Unlocking the Power of Watermelon Rind and Garlic: A Homemade Pantry Staple

Are you sick of repurchasing market essentials for your kitchen on a regular basis? What if I told you that your own kitchen contains a straightforward fix? You may make a tasty and adaptable ingredient that will improve your cuisine without making frequent excursions to the market by combining watermelon rind and garlic. Let’s examine the benefits of this homemade mixture and demonstrate how simple it is to prepare at home.

The Dynamic Duo: Watermelon Rind and Garlic

Watermelon Rind: Although watermelon rind is frequently thrown away as waste, it has an abundance of flavour and nutrients. Watermelon rind, high in fibre, vitamins, and minerals, gives food a light sweetness and crisp texture.

Garlic: Packed with health benefits and a strong taste, garlic is a culinary powerhouse. It is highly valued for its immune-stimulating qualities and lends depth and complexity to a variety of cuisines.

The Homemade Kitchen Solution

Cost-Effectiveness: You may make a tasty and inexpensive DIY ingredient by combining watermelon rind with garlic. Bid farewell to frequent market excursions and welcome to a less expensive method of improving your cuisine.

Enhancement of Flavour: The flavour profile created by the combination of watermelon rind and garlic is savoury and refreshing. This handcrafted blend will give your meals more depth and complexity when used as a foundation for sauces, marinades, stews, and soups.

adaptability: This homemade mixture’s adaptability is what makes it so beautiful. Spread it on sandwiches, swirl it into pasta meals, marinate meats and veggies, or just eat it as a tasty garnish for grilled seafood and meats.

How to Prepare Your Own Garlic and Watermelon Rind Blend

  1. Step one in the preparation process is to give the watermelon rind a good wash and peel. Cut the rind’s white interior section into tiny pieces.
  2. Blending: Fill a blender or food processor with the diced watermelon rind pieces and peeled garlic cloves. To aid in the blending process, add a dash of water and blend until smooth.
  3. Storage: Spoon the combined mixture into a jar or airtight container and place in the fridge.

Embrace Homemade Flavor in Your Kitchen

Without having to make regular excursions to the market, you can take your cuisine to new heights with this easy-to-make but delicious mixture of watermelon rind and garlic. Savour the satisfaction that comes from knowing that you’re utilising every part of the watermelon and preparing delectable handmade components. Accept the flavour of homemade food and see your inventiveness in the kitchen blossom!

Keep Flies and Mosquitoes at Bay with Cloves

Keep Flies and Mosquitoes at Bay with Cloves

Keep Flies and Mosquitoes at Bay with Cloves: A Natural Household Solution

When you attempt to unwind at home, are you sick of having to swatte away flies and mosquitoes? What if I told you that there is a straightforward, all-natural way to help ward off these bothersome pests? You may construct an effective barrier that keeps flies and mosquitoes away from your home so you can enjoy your area in peace by planting cloves strategically throughout it. Let’s examine the benefits of cloves and how they can turn your house into a haven free of pests.

The Potent Power of Cloves

Natural Repellent: Cloves work well as a natural insect repellent, keeping flies and mosquitoes away thanks to components in them that repel insects. Cloves help deter pests by creating an environment that they prefer to avoid by releasing their pungent oils into the atmosphere.

Safe and Non-Toxic: Cloves don’t hurt people, animals, or the environment like chemical pesticides do. They offer a secure and environmentally responsible substitute for pest treatment, enabling you to safeguard your house without coming into contact with dangerous substances.

Long-Lasting: The potent, lingering scent of cloves keeps flies and mosquitoes away for a considerable amount of time. You can establish a continuous barrier that keeps pests out of your house by putting cloves strategically in crucial spots.

How to Use Cloves for Pest Control

  1. Assemble Your Materials: A couple of whole cloves will do.
  2. Placement: Plant cloves near windows, doorways, and outdoor seating places in your home where flies and mosquitoes are a major nuisance. Cloves can also be arranged in little bowls or sachets to better distribute their scent.
  3. Replace as Necessary: Cloves lose some of their scent with time. To keep old cloves effective at keeping pests away, just replace them with new ones.

Embrace a Pest-Free Home Naturally

You may wave goodbye to flies and mosquitoes with this easy-to-use yet effective clove approach without using dangerous chemicals. Savour the tranquilly that accompanies a pest-free residence and the delightful scent of cloves permeating the atmosphere. Create a peaceful, comfortable retreat in your home by embracing the power of nature.

Say farewell to cockroaches in the kitchen

Say farewell to cockroaches in the kitchen

Say farewell to cockroaches in the kitchen: a foolproof method that stops them in their tracks

With this all-natural remedy, you may bid cockroaches in your home permanent farewell by preventing their entry and eliminating them completely. Cockroach infestations have the potential to quickly escalate into serious issues. But there is simple and effective way to get rid of these annoying bugs from your house so you can finally unwind in peace and quiet.

Cockroaches are incredibly adaptable and can enter homes through a number of different openings, the most popular of which being drains. They enter our houses through pipes and ducts and find a place to call home.

They are not just disgusting, but once inside they pose serious health and hygiene risks. But how can we best prevent them?

An all-natural cockroach repellent—peppermint essential oil—enters the picture. These bugs aggressively avoid peppermint because they hate its smell. Therefore, this fragrant oil may be used to create a barrier surrounding drainages, which can be quite successful in repelling them. In this way:

Create your mist:

  • One cup of water
  • about ten drops of peppermint essential oil

should be combined in a spray bottle. Shake the bottle well to ensure that everything is well blended. To prevent roaches from entering your home, use this solution daily to spray around the drains on your washbasin, shower and toilet. Being consistent will maintain the barrier’s effectiveness as you repeat this process every day. Eventually, cockroaches will stay away from sewers because they smell strongly like peppermint, which is repulsive.

The following actions can be performed to prevent cockroach infestations even further:

It’s critical to maintain a clean home to reduce the amount of food that cockroaches can find to eat, as they are drawn to leftover food and other garbage. Food preservation: Store your food in an airtight container to keep pests out. Since cockroaches may squeeze into even the smallest openings, make sure to seal off any holes near windows, doors, and drains.

You can get rid of cockroaches and restore safety to your home if you’re committed and apply the right technique. Peppermint essential oil has shown to be a potent ally in this battle, offering a fragrant and natural solution for this pervasive problem.