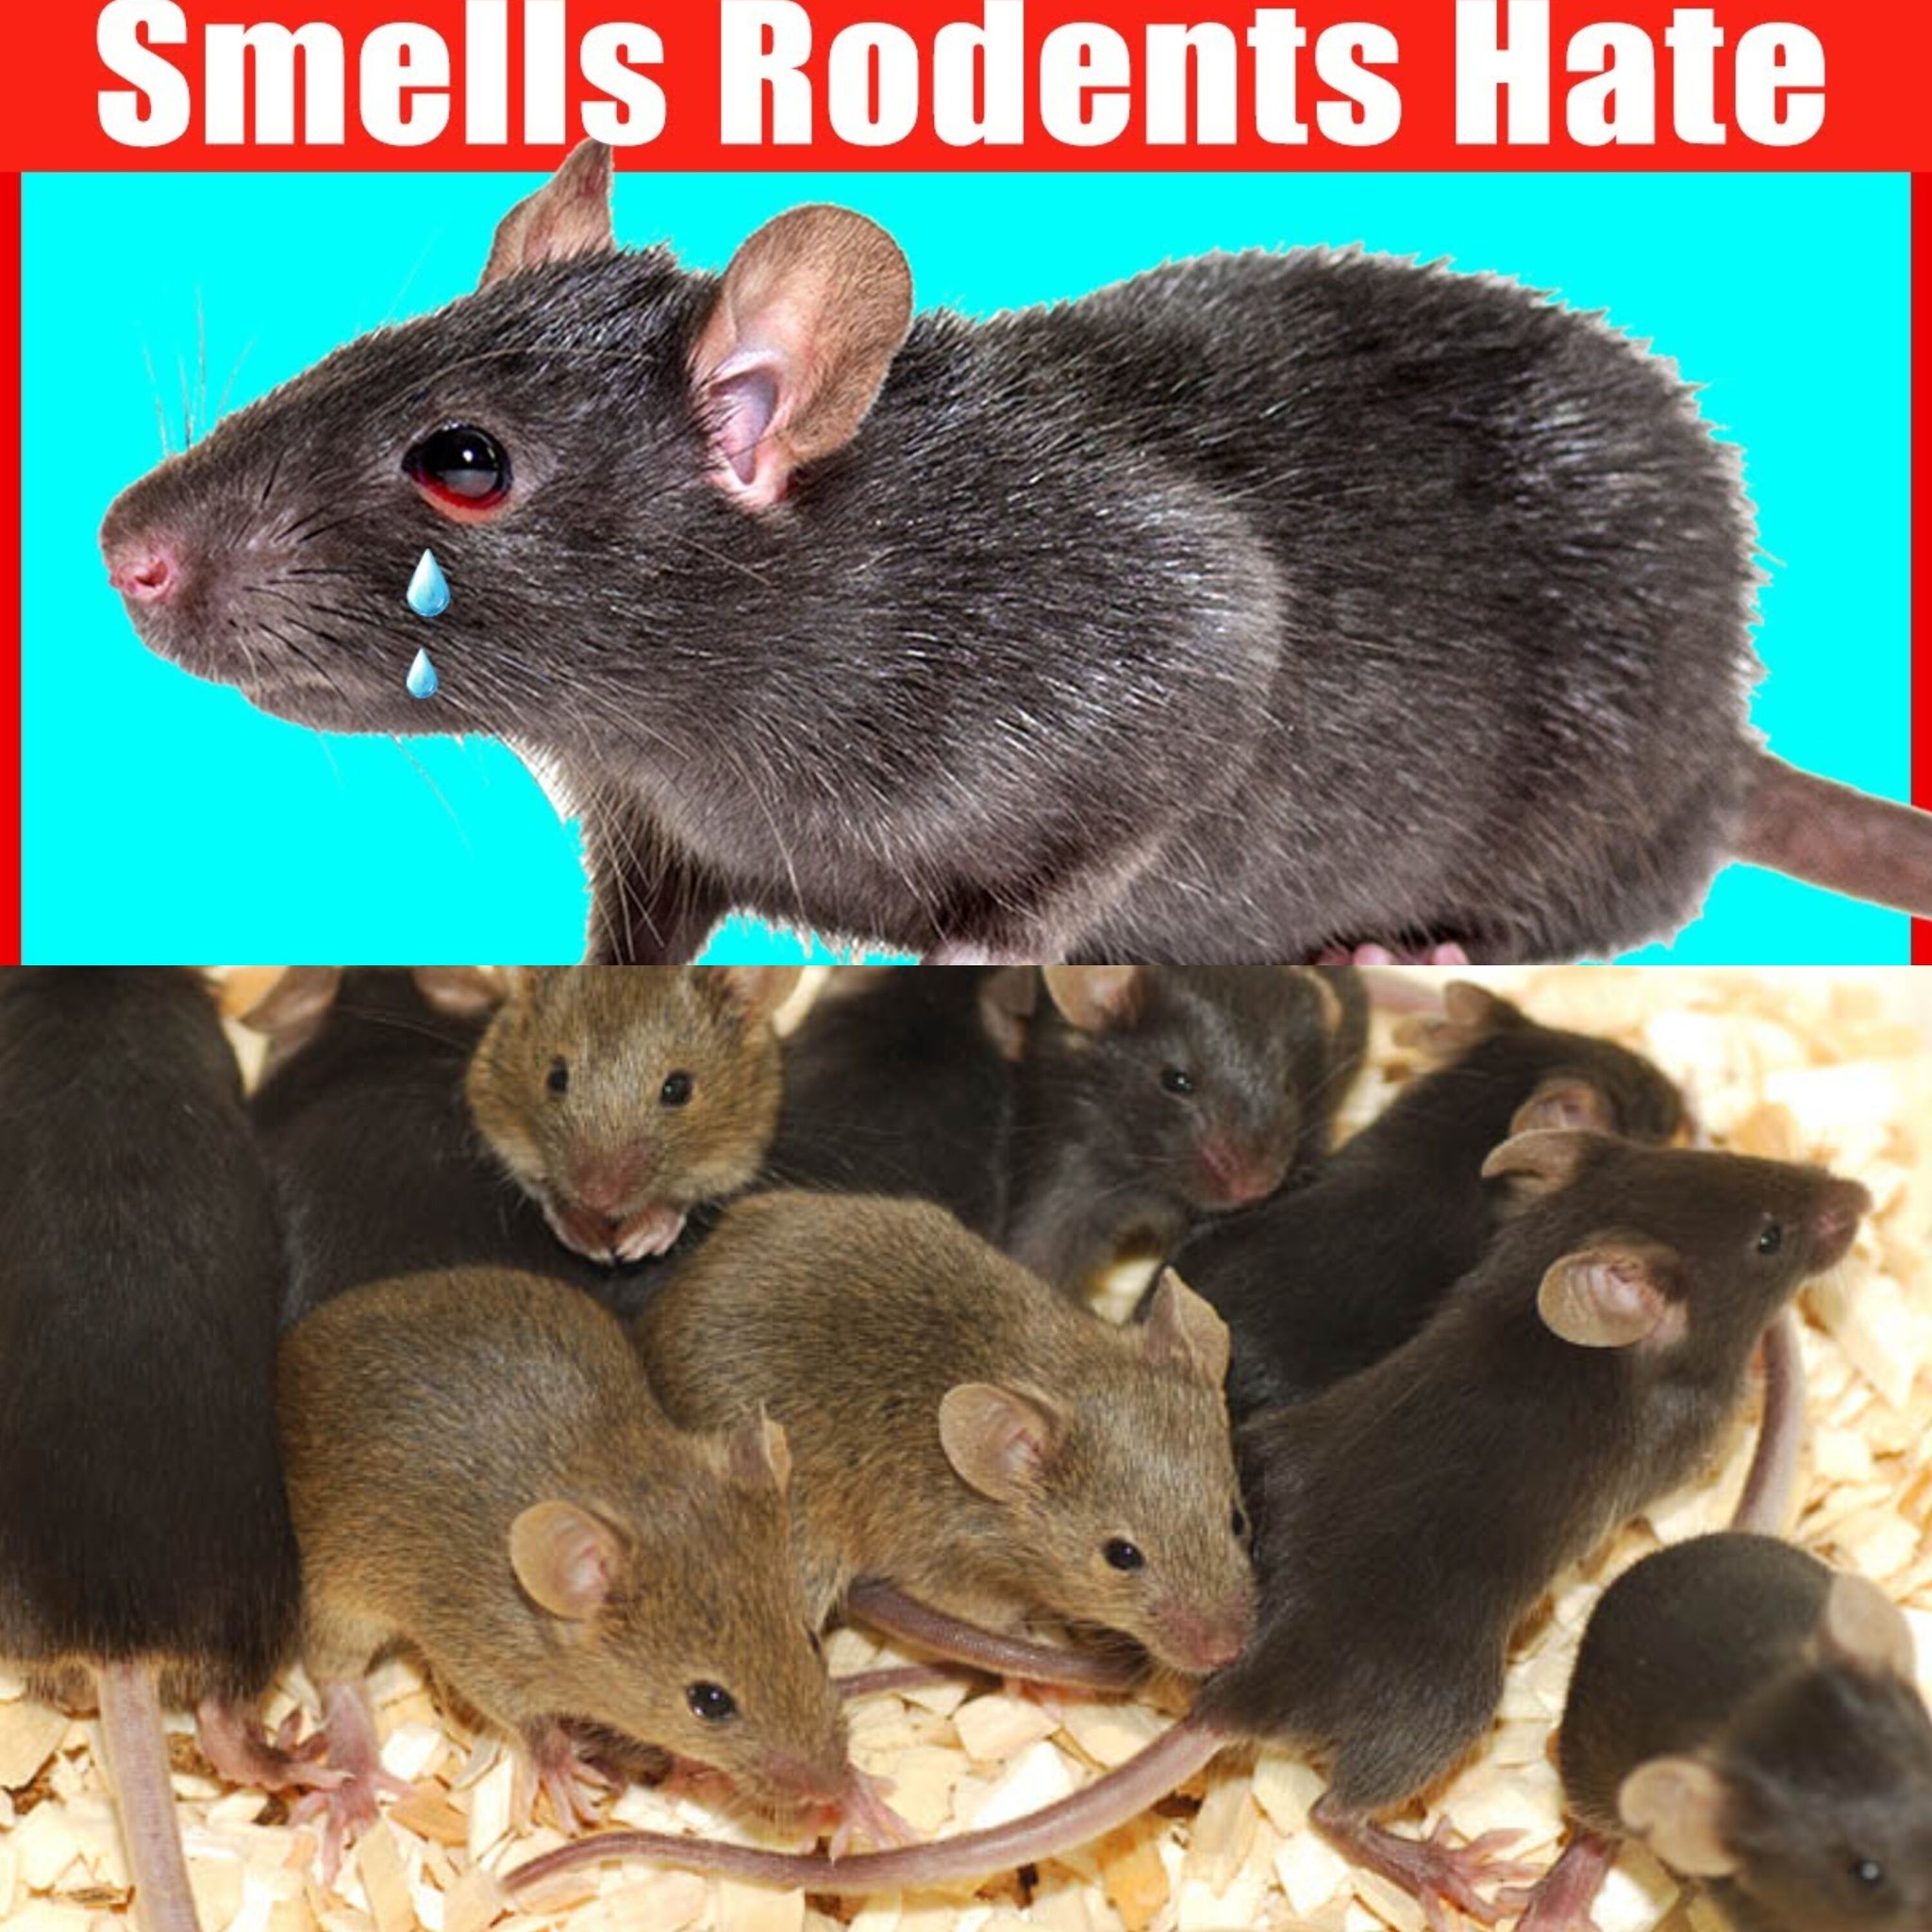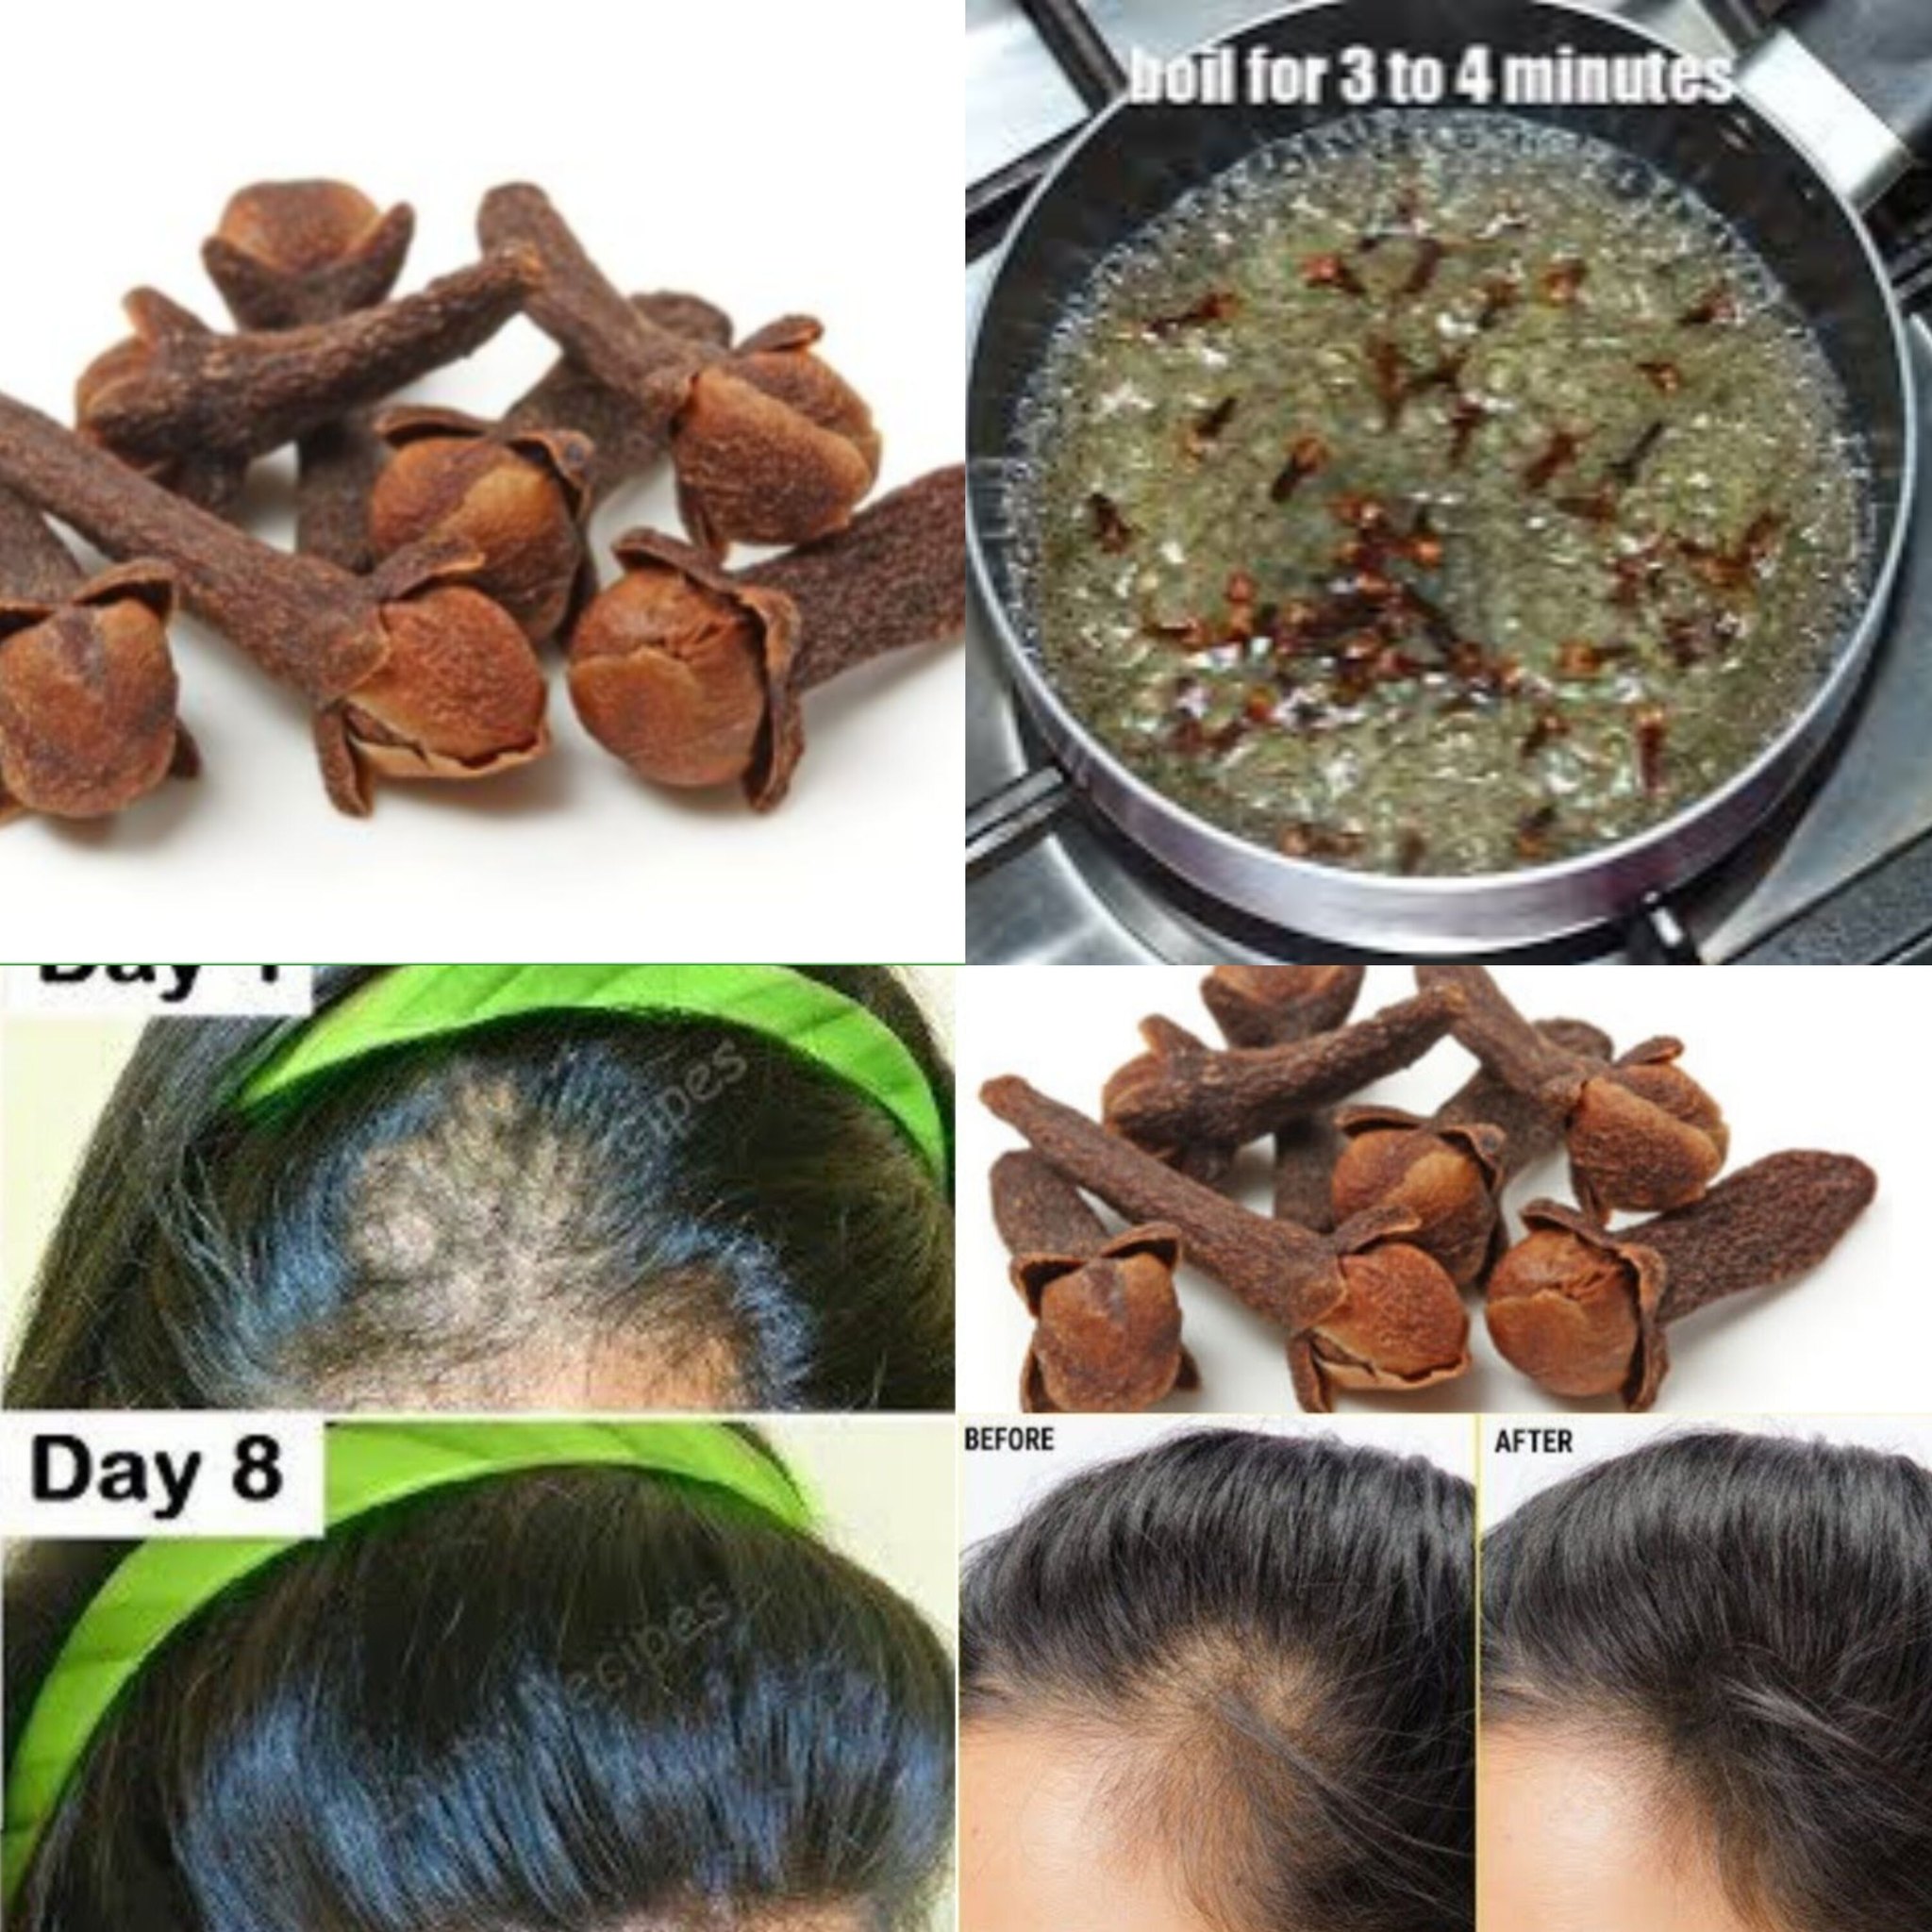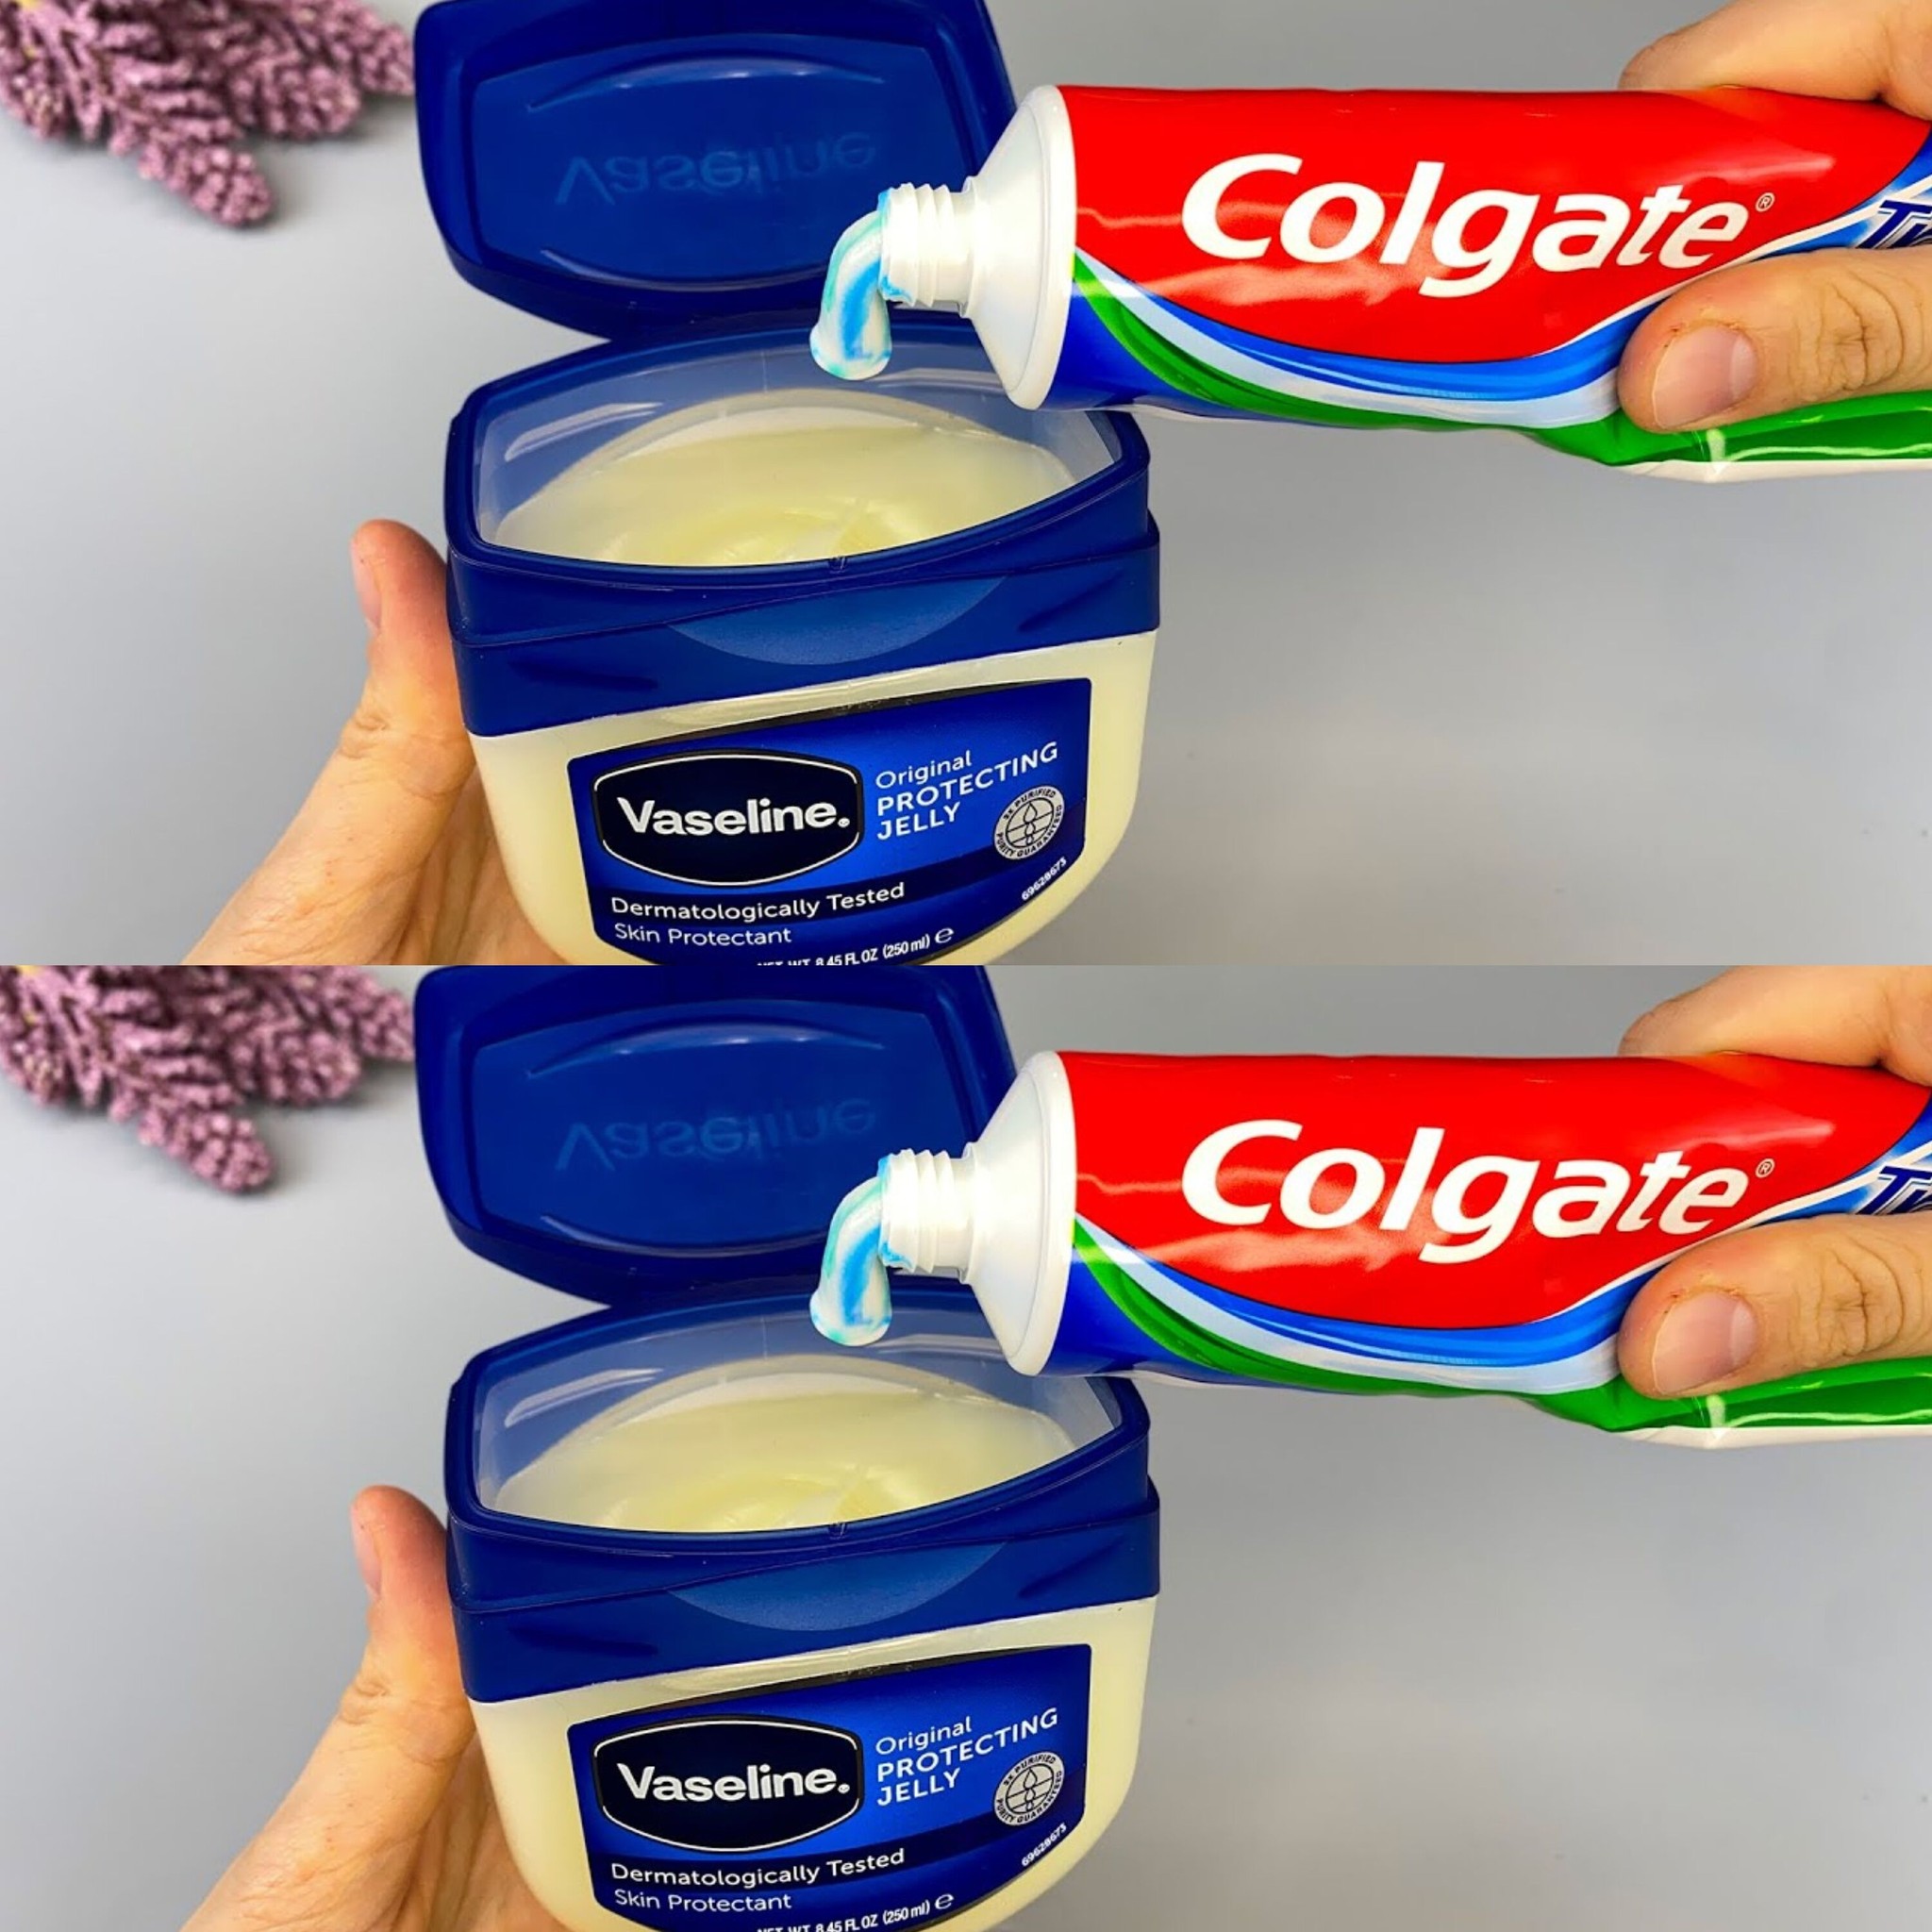
Just Mix Toothpaste with Vaseline and Discover Surprising Uses
It may seem strange to combine commonplace materials like toothpaste and Vaseline, but this pair may produce a combination that is surprisingly adaptable for a variety of uses. Here are several unexpected benefits of combining toothpaste with Vaseline, ranging from improving your cosmetic regimen to fixing common issues.
Advantages of Vaseline and Toothpaste Combination:
Enhanced Moisturising Lip Scrub: Toothpaste often has moderate abrasives that make it an ideal exfoliator for lips that are dry. It helps keep your lips moistened and remove dead skin gently when combined with Vaseline’s moisturising qualities.
Homemade Hand Cleaner: After gardening or other mechanical tasks, the lubricating properties of Vaseline mixed with the abrasive properties of toothpaste will effectively remove tough dirt and grime from hands.
Minor Scratch and Scuff Remover: Glass and shoes are only two surfaces that might benefit from this mixture’s use to smooth out little scuffs and scratches. The toothpaste’s mild abrasive helps to smooth out the flaw, while Vaseline adds gloss and sheen.
Fog-Free Mirror Solution: To keep a bathroom mirror from fogging up during hot showers, lightly coat it with a thin coating of toothpaste and Vaseline. Moisture is repelled by the barrier that the combination forms.
How to Prepare and Utilise the Blend:
Components:
- one toothpaste component
- One component Vaseline
Procedure: Fill a small basin with equal parts Vaseline and toothpaste, and stir until a smooth consistency is reached.
Use:
Apply a little quantity of lip scrub on your lips and massage it in gentle circular movements before washing it off.
After massaging the mixture into your hands, wash them with warm water.
Apply a tiny quantity on a soft cloth, massage the area gently in circular movements to remove scratches, and then wipe clean.
Apply a little coating to the mirror and rub it until it becomes clear to ensure it is free of fog.
Take precautions:
Skin Sensitivity: Conduct a patch test to make sure there is no irritation before using the combination extensively, particularly on the skin.
Picking the Right Toothpaste: Avoid using gels or toothpastes with whitening qualities since they may include substances that cause skin irritation or surface damage. Instead, use a plain white toothpaste.
Even if this combination provides a number of helpful answers, it’s a good idea to apply it carefully and take the particular requirements of the work at hand into account. This easy mixture can prove to be a handy and affordable addition to your daily routine.