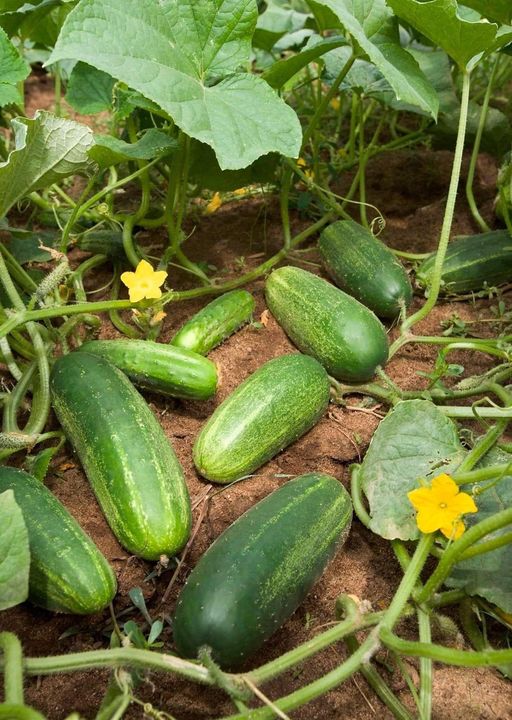
FACTS ABOUT CUCUMBERS
1.Vitamin B1, Vitamin B2, Vitamin B3, Vitamin B5, Vitamin B6, Folic Acid, Vitamin C, Calcium, Iron, Magnesium, Phosphorus, Potassium, and Zinc are all found in a single cucumber. Cucumbers provide the majority of the vitamins that you need on a daily basis.
2. If you are experiencing feelings of fatigue in the afternoon, instead of drinking a caffeinated cola, consume a cucumber. It is possible to get a rapid pick-me-up from cucumbers since they are a strong source of B vitamins and carbohydrates, both of which may endure for many hours.
After taking a shower, are you sick of the mirror in your bathroom becoming foggy? Experiment with rubbing a piece of cucumber down the mirror; this will remove the fog and produce a smell that is calming and reminiscent of a spa.
4. Are your planting beds affected by pests such as slugs and grubs? After placing a few slices in a tiny pie pan, you will be able to keep pests out of your garden during the whole season. Because of the reaction between the chemicals in the cucumber and the aluminium, the cucumber emits a perfume that is unnoticeable to humans, but it drives garden pests crazy and causes them to abandon the area.
5. Before you go out or to the pool, are you looking for a method that is both quick and simple to get rid of cellulite? The phytochemicals in cucumbers stimulate the collagen in your skin to tighten, which in turn firms up the outer layer and reduces the visibility of cellulite. If you try rubbing a slice or two of cucumbers along your problem region for a few minutes, you may find that this helps. Plus, it works well on wrinkles!!!
6. Are you looking to prevent having a bad headache or a hangover? If you have a few slices of cucumber before retiring to bed, you will awaken feeling revitalised and free of headaches. Because cucumbers contain sufficient amounts of sugar, B vitamins, and electrolytes, they are able to restore the important nutrients that the body has lost. This helps to maintain homeostasis, which in turn helps to prevent both a hangover and a headache!
7. Do you want to stop yourself from overindulging in snacks in the afternoon or evening? Cucumbers have been used for generations, and European trappers, merchants, and explorers often utilised them as a means of preventing famine by consuming them as fast meals.
8. You are about to attend a crucial meeting or conduct an interview for a job, and you suddenly realise that you do not have sufficient time to shine your shoes. A rapid and long-lasting shine that not only looks wonderful but also repels water may be achieved by rubbing a freshly sliced cucumber over the shoe. The chemicals in the cucumber will create this shine.
Is your hinge making a squeaky sound and you have no WD-40 on hand? In order to eliminate the squeak, just take a slice of cucumber and massage it along the hinge that is giving you trouble.
10. Are you feeling stressed out and don’t have the time to splurge on a facial, massage, or trip to the spa? By chopping up an entire cucumber and placing it in a pot of boiling water, the chemicals and nutrients contained within the cucumber will react with the boiling water and be released in the steam. This will result in the creation of a calming and relaxing aroma that has been shown to reduce stress in new mothers and college students during final exams.
11. Have you just finished a business lunch and realised that you do not have any gum or mints with you? Take a slice of cucumber and press it to the roof of your mouth with your tongue for 30 seconds to eliminate bad breath, the phytochemicals will kill the bacteria in your mouth responsible for causing bad breath.
12. Are you looking for a method that is’green’ to clean your stainless steel, sinks, or taps? Take a slice of cucumber and rub it on the surface you want to clean, not only will it remove years of tarnish and bring back the
shine, but is won’t leave streaks and won’t harm you fingers or fingernails while you clean.
13. Using a pen and made a mistake? Take the outside of the cucumber and slowly use it to erase the pen writing, also works great on crayons and markers that the kids have used to decorate the walls!!