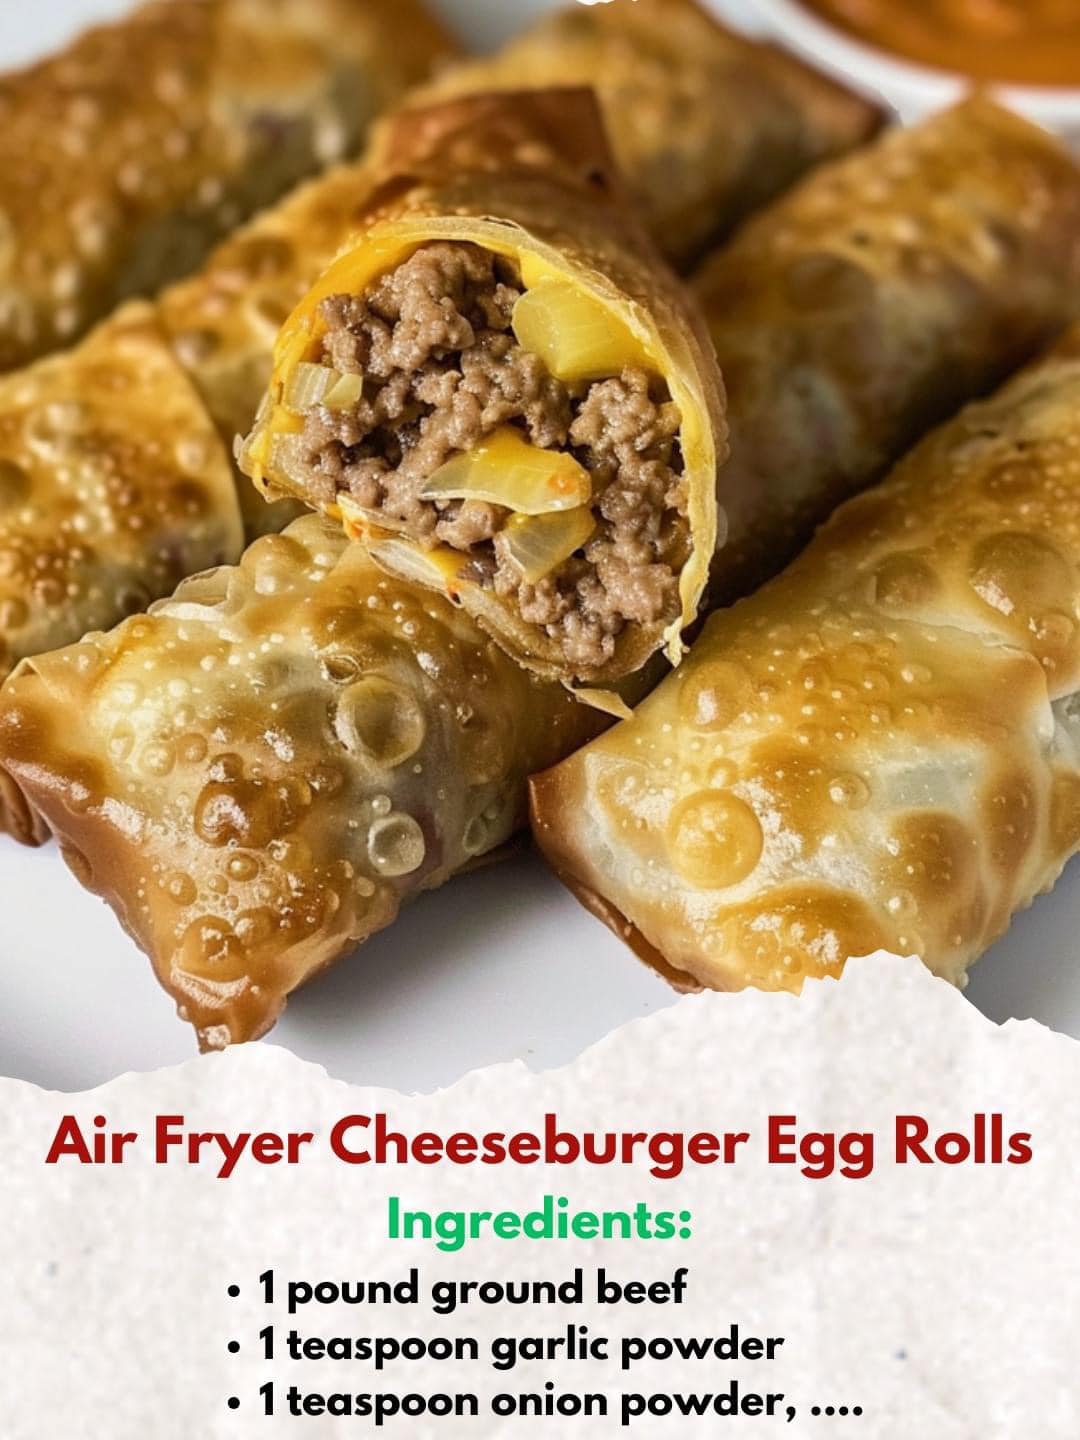
Air Fryer Cheeseburger Egg Rolls
The crispy, crunchy texture of an egg roll combined with the juicy, savoury flavours of a cheeseburger creates these delicious Air Fryer Cheeseburger Egg Rolls. These mouthwatering appetisers make a fun and interesting supper choice or are ideal for parties and game days. After being air-fried to perfection and loaded with melted cheese, seasoned ground beef, and traditional burger toppings, they are a healthier alternative to deep-fried snacks. Let’s dive into the detailed steps to create these mouth-watering egg rolls.
For the Filling:
- 1 lb ground beef
- 1 small onion, finely chopped
- 1 clove garlic, minced
- 1 tablespoon Worcestershire sauce
- 1 teaspoon salt
- 1/2 teaspoon black pepper
- 1/2 cup shredded cheddar cheese
- 1/2 cup shredded mozzarella cheese
- 1/4 cup dill pickles, finely chopped
- 1/4 cup ketchup
- 1 tablespoon yellow mustard
For the Egg Rolls:
- 10-12 egg roll wrappers
- Water, for sealing wrappers
Instructions:
- Cook the Beef: Combine the ground beef and chopped onion in a large pan over medium-high heat.
Simmer for 5 to 7 minutes, breaking up the meat with a spoon, or until the beef is browned and the onion is tender. - Add the Worcestershire sauce, salt, black pepper, and chopped garlic. Simmer for two more minutes.
Take off the heat and pour off any extra fat. - Get the Filling Ready:
The cooked beef mixture, diced dill pickles, shredded mozzarella and cheddar cheese, ketchup, and yellow mustard should all be combined in a large mixing basin. - Mix well until fully incorporated. Allow the mixture to cool a little.
- Assemble Your Desk:
- The egg roll wrappers should be laid out on a dry, clean surface.
- Keep a little dish of water close by so you can seal the wrapper edges.
- To fill the egg roll wrappers, place approximately two teaspoons of the cheeseburger filling in the middle of each one.
- The wrapper should be folded with the bottom corner over the filling, the sides folded in, and the roll firmly.
- To seal the egg roll, wet the upper corner of the wrapper with water.
- Continue with the remaining filling and wrappers.
- Preheat the Air Fryer: Give your air fryer a five-minute warmup period at 400°F (200°C).
Prepare the egg rolls: - Olive oil spray should be used sparingly on the air fryer basket.
- Make sure the egg rolls are not touching when you place them in the air fryer basket in a single layer. Depending on how big your air fryer is, you might have to cook in batches.
- Apply a little layer of olive oil spray to the egg roll tops.
Egg rolls should be air-fried for 8 to 10 minutes at 400°F (200°C), turning halfway through, or until crispy and golden brown. - To serve, take the fried egg rolls and place them on a dish.
- Serve right away with your preferred dipping sauces, including ranch dressing, ketchup, mustard, or special sauce.
- Garnish: You may add a dash of sesame seeds or some finely chopped fresh parsley for an added touch.
- Success Strategies Even for Cooking: Make sure the air fryer basket is not overfilled to guarantee even frying. Cook, if needed, in batches.
- Sealing the Wrappers: Make sure the egg roll wrappers are sealed tightly to prevent the filling from leaking out during cooking.
- Crispiness: For extra crispy egg rolls, give them a light spray of olive oil before air frying. This helps to achieve a golden, crunchy exterior.
Conclusion:
The greatest parts of a cheeseburger are combined in a crispy wrapper to create this tasty and entertaining take on classic egg rolls: air fryer cheeseburger egg rolls. These egg rolls are great as a unique and delicious snack or for entertaining. They are a healthy alternative since you can create a precisely crispy texture with an air fryer instead of deep frying. Enjoy the delicious flavours of cheeseburger and egg rolls mixed when you make this dish for your next get-together or as a special treat for your family. Have fun in the kitchen!
