Easy Recipes with Rice and Canned Tuna

Quick and Tasty: Easy Recipes with Rice and Canned Tuna

You’re going to love this if your cupboard contains both rice and tuna in cans! These two components can be used to make tasty, simple, and fast dinners. Now let’s explore two delicious meals that are sure to satisfy your palate.

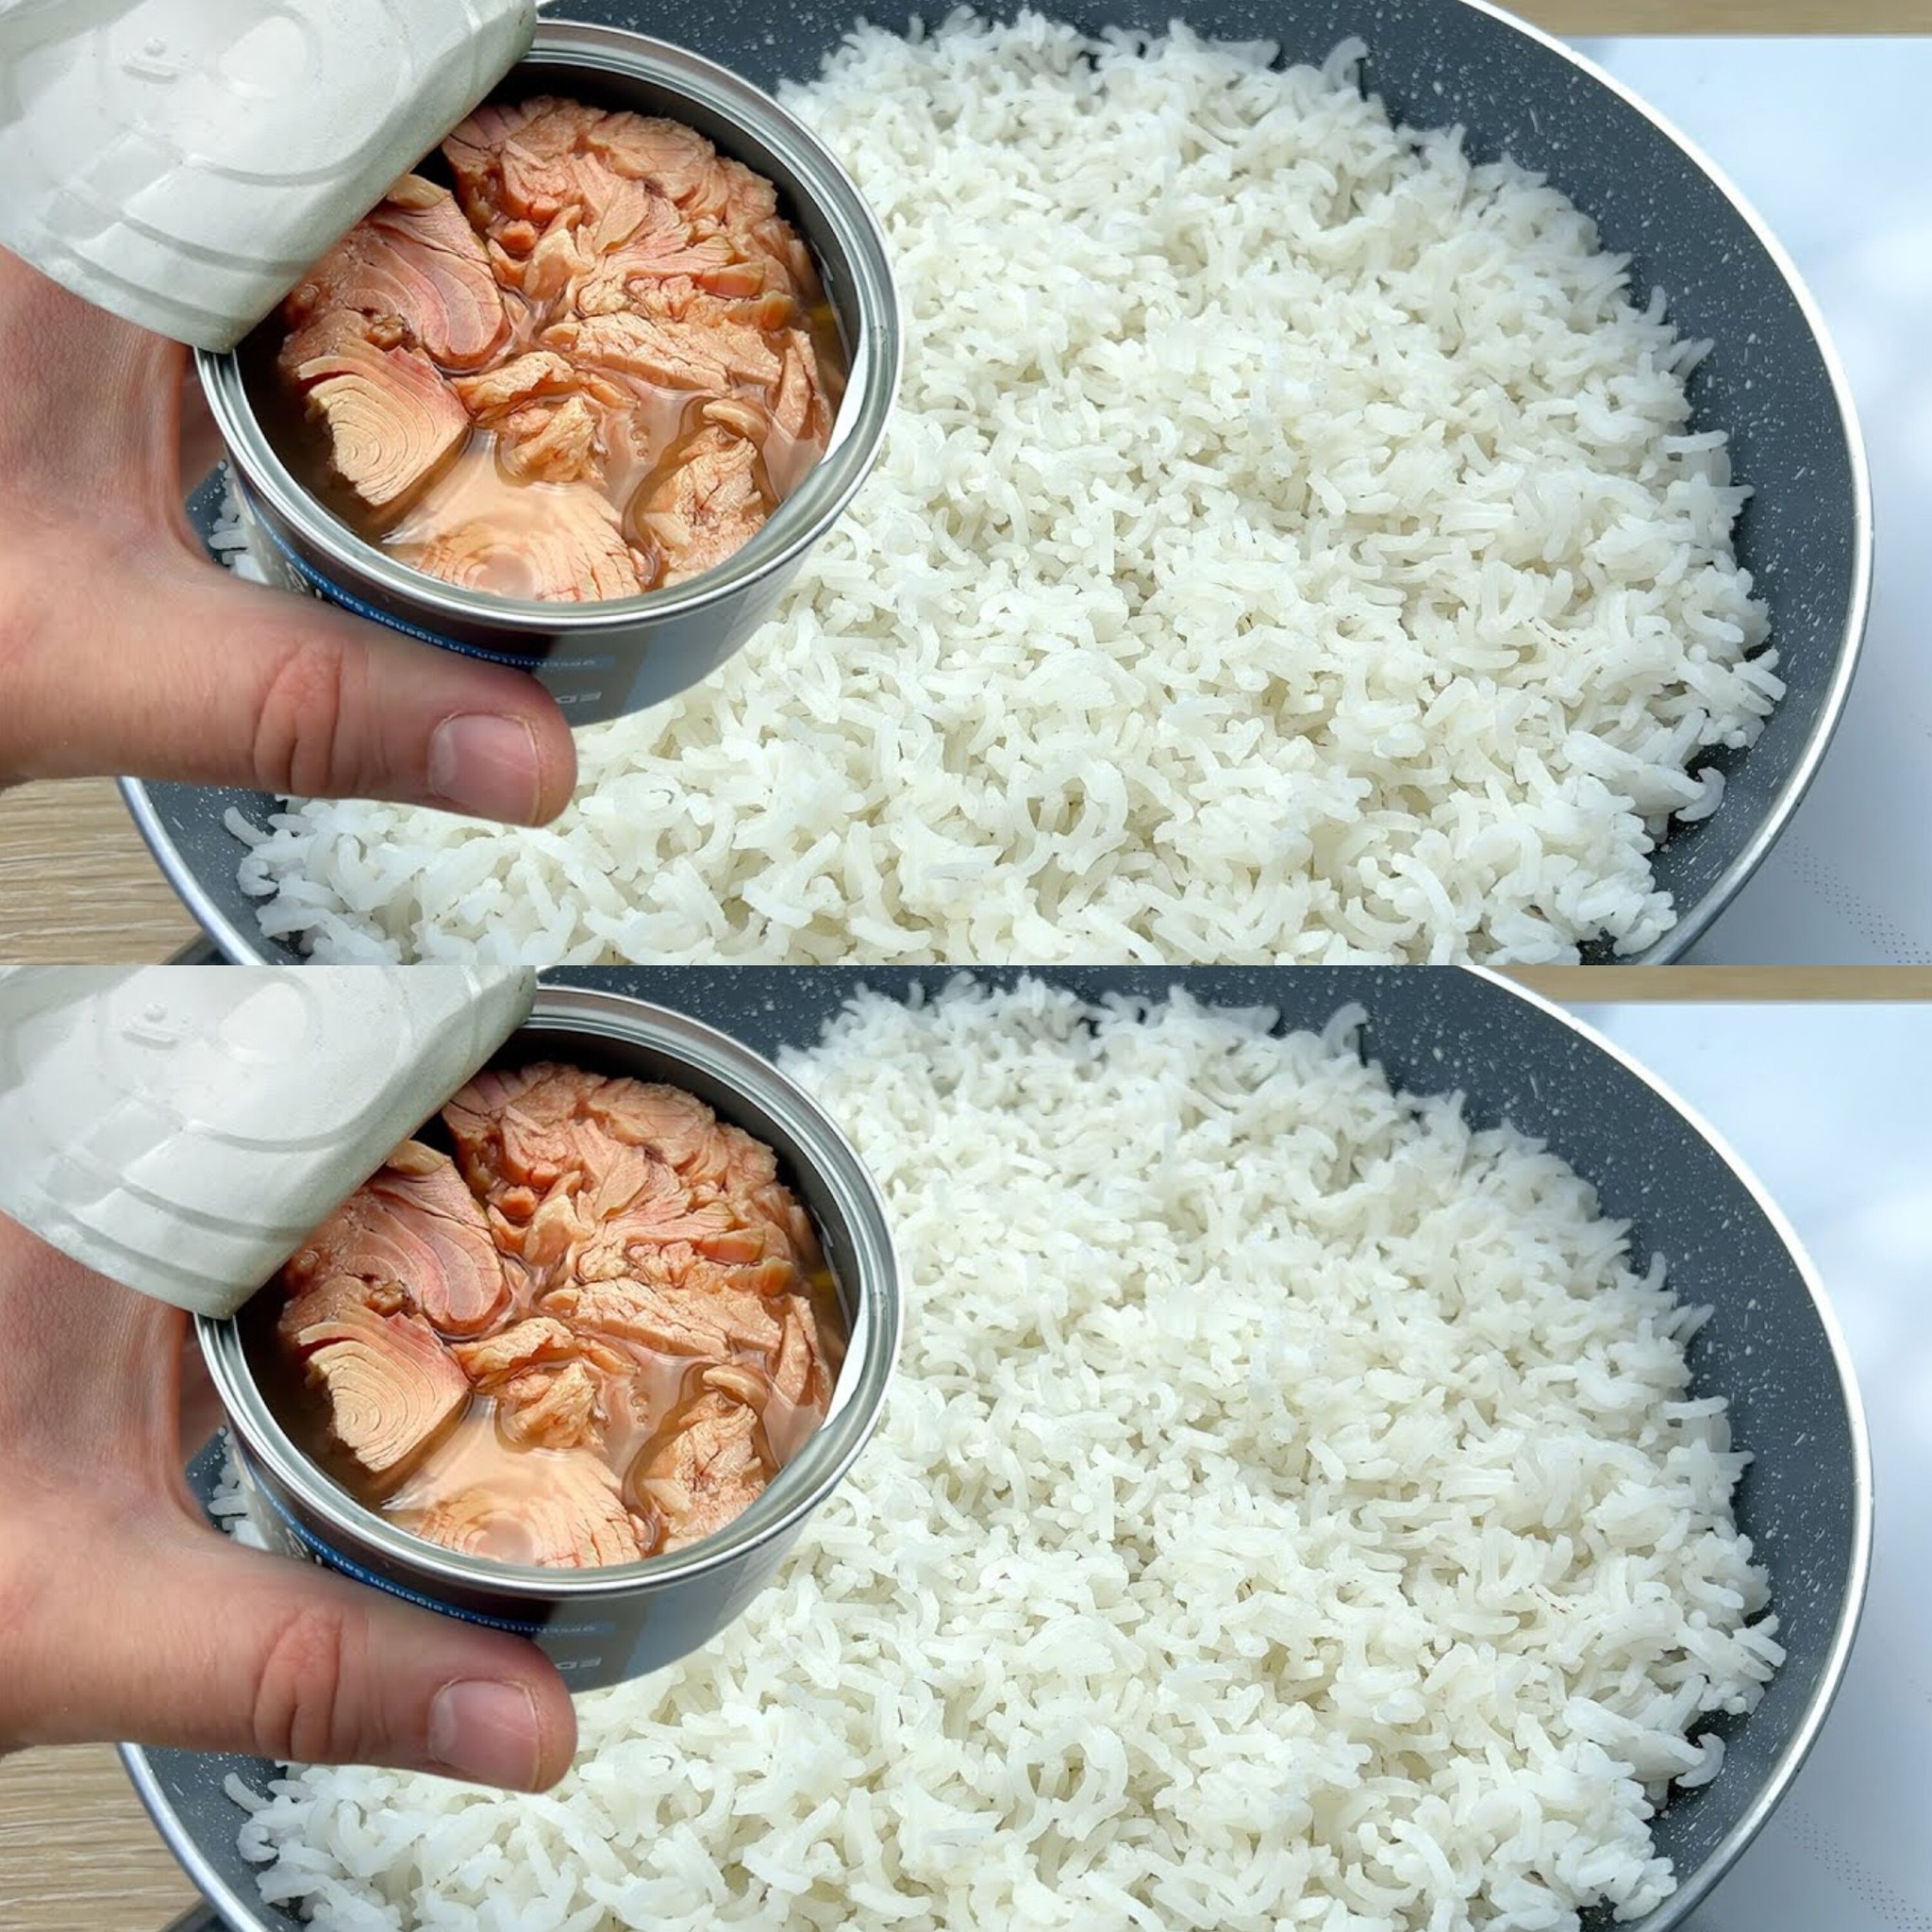
First recipe: Rice with tuna.

Components:

  1. one cup of rice, cooked
  2. One drained tuna can
  3. One little onion, diced finely
  4. one chopped carrot
  5. One chopped bell pepper
  6. two minced garlic cloves
  7. Two tsp soy sauce
  8. One tablespoon of olive oil
  9. One egg, if desired
  10. To taste, add salt and pepper.
  11. Garnish with green onions (optional).

Guidelines:

  • Get the ingredients ready: Chop the bell pepper, carrot, and onion first. After draining, place the tuna can aside.
  • Cook the Vegetables: In a big pan or wok, heat the olive oil over medium heat. Add the bell pepper, carrot, and onion. Until the veggies are soft, sauté them.
  • Add the Garlic: Cook for an additional minute or until fragrant after stirring in the minced garlic.
  • Add the Rice and Tuna: Fill the pan with the cooked rice and the drained tuna. Make sure to mix everything thoroughly, breaking up any rice clumps.
  • Spice and Prepare: Stir thoroughly after adding the soy sauce to the mixture. Before combining everything, you can, if you’d like, push the rice to one side of the pan and scramble one egg on the other. To taste, add salt and pepper for seasoning.
  • Serve: Top with finely chopped green onions and plate immediately. Savor the delectable tuna fried rice!

Second recipe: rice salad with tuna

Components:

  1. One cup of cooled cooked rice
  2. One drained tuna can
  3. one chopped cucumber
  4. One chopped tomato
  5. Half a red onion, cut finely
  6. 1/4 cup sliced olives (not required)
  7. Two tsp olive oil
  8. One tablespoon of lemon juice
  9. To taste, add salt and pepper.
  10. For garnish, use fresh parsley (optional).

Guidelines:

  • Get the ingredients ready: Chop the tomato, red onion, and cucumber first. After draining, place the tuna can aside.
  • Toss the salad: Put the cooked rice, tuna, cucumber, tomato, red onion, and olives in a big bowl.
  • To dress the salad, drizzle it with a mixture of lemon juice and olive oil. Mix everything until thoroughly incorporated.
  • Add salt and pepper to taste, then season and serve. If desired, garnish with fresh parsley. Serve right away or refrigerate for a cool, revitalizing salad.

in summary

These meals are not only flavorful and nutritious, but they are also quick and simple. Rice and canned tuna go well together with any meal, whether it’s a light and refreshing salad or a warm and savory one. Savor these easy yet delectable recipes and continue to have a lively and healthy life!

The Wonders of Laurel Leaf: A Natural Remedy for Cough, Joints, Weight Loss

The Wonders of Laurel Leaf: A Natural Remedy for Cough, Joints, Weight Loss, and Hair Care

Bay leaves, often called laurel leaves, have been utilised in traditional medicine and cookery for ages. These fragrant leaves provide several health advantages in addition to enhancing the flavour of your food. Let’s examine the potential benefits of using laurel leaves as a home cure for weight reduction, joint pain, coughs, and hair care.

1. Cough Relief

  • Calming Effects: Laurel leaves are well-known for their calming effects. They can aid in the relief of respiratory problems and coughing. To ease your throat, just bring a few leaves to a boil, drain, and drink the warm infusion.
  • Efforts to Clear Mucus and Reduce Congestion: The essential oils in Laurel leaves have expectorant properties. This lessens the discomfort of a chronic cough and facilitates breathing.

2. Pain Relief for Joints

  • Benefits Against Inflammation: Compounds in laurel leaves have the ability to reduce inflammation. These are a natural treatment for arthritis and other joint-related conditions since they can lessen joint discomfort and inflammation.
  • Topical Use: Dried leaves can be steeped in olive oil for several weeks to make Laurel Leaf Oil. Use this oil on aching joints to reduce discomfort and increase range of motion.

3. Assistance with Losing Weight

  • Increases Metabolism: Laurel leaves have the ability to increase metabolism, which can help you lose weight. Regularly consuming laurel leaf tea can help you lose weight by increasing your body’s capacity to burn fat.
  • Digestive Aid: Laurel leaves’ digestive advantages help in weight management. They enhance nutrient absorption, decrease bloating, and promote digestion.

4. Advantages of Hair Care

  • Encourages Healthy Hair Growth: Laurel leaves contain nutrients that can fortify hair follicles and encourage the growth of healthy hair. Using laurel leaf water as a hair rinse can help strengthen and lessen hair loss.
  • Fights Dandruff: The antifungal qualities of laurel leaves can aid in the fight against dandruff. Boiling Laurel leaves and using a simple rinse will help to calm the scalp and lessen flakiness.

In summary,

embrace the advantages of laurel leaves Including laurel leaves in your regular diet has a lot of health advantages. Laurel leaves can be used as a natural cure for a variety of conditions, including cough, joint pain, weight reduction, and hair health. Continue living a bright and healthy life while taking advantage of these amazing leaves’ aromatic and therapeutic qualities!

Dessert in Minutes: No Cream Cheese, No Oven, No Condensed Milk, No Flour

Dessert in Minutes No Cream Cheese, No Oven, No Condensed Milk, No Flour

Who said desserts had to be difficult to make? For everyone who enjoys dessert, this dish will transform your life. You can make a delicious dessert that will wow everyone at your table with just a few simple ingredients and easy methods. Prepare to indulge your sweet tooth to the fullest extent possible!

Components

Collect these basic ingredients:

  1. 198 grams/7 ounces of chocolate waffles
  2. Five big egg whites
  3. One pound and fifty-seven grams of powdered sugar
  4. 2.8 ounces (82 milliliters) or fluid ounces of water
  5. nine grams (0.3 ounces) of agar-agar or gelatin
  6. 19 grams (0.7 oz.) of cocoa powder
  7. 99 grams or 3.5 ounces of chocolate
  8. 79 grams, or 2.8 oz., of butter

Guidelines

Let’s begin with the simple steps:

  • Crushing the Chocolate Waffles: Pulse the chocolate waffles with a mixer until they become fine crumbs.
  • Making the Crust: To make the crust, press the crushed waffles into the bottom of a mold.
  • Whipping the Whites: Take the egg whites and separate them from the yolks. As you gradually add powdered sugar to the egg whites, beat them until stiff peaks form.
  • Mixing Sugar and Gelatin: Let the gelatin dissolve in a little water. When it’s fully blended, add it to the whipped egg whites and whip again.
  • Pour half of the mixture into the mold’s crust before layering and chilling. Pour remaining mixture over top, stirring in chocolate powder. Refrigerate for half an hour.
  • Melting Butter and Chocolate: Gently melt the butter and chocolate together. Cover the edges and top of the cold dessert with the mixture. Give it another half hour to chill.

Crushing the Waffles with Chocolate
First, use a mixer to finely crumble the chocolate waffles into crumbs. By following this step, you can be sure that your crust will have the ideal texture and that it will contrast delightfully with the creamy layers above.

Getting the Crust Ready
Firmly press the broken chocolate waffles into the mold’s bottom. Consider it as setting the groundwork for your magnificent dessert creation. Crunch and flavour are packed into every bite thanks to a well-pressed crust.

Using a whisk to whip the egg whites
A key to giving your dessert a light and airy feel is separating the egg whites from the yolks. Beat the egg whites until stiff peaks form, then gradually whisk in the powdered sugar. It’s similar to making fluffy clouds that will push the boundaries of pleasure for your dessert.

Including Sugar and Gelatin
Mix the powdered sugar and gelatin that has been dissolved in water into the whipped egg whites. This incantation provides sweetness and stability to your dessert, making sure that every layer adheres flawlessly to the next.

Stacking and Freezing
Spoon half of the whipped cream mixture onto the crust to form a rich, creamy layer. Next, incorporate cocoa powder into the leftover mixture to enhance its rich, chocolatey taste. After layering, place the dessert in the refrigerator to firm for half an hour. It’s similar to giving your creation a much-needed slumber to help it firm up and become even more alluring.

Melting Butter with Chocolate
Melt the butter and chocolate together to make a rich dessert topping. This stage ensures that every bite is rich, creamy, and completely fulfilling by adding a last layer of indulgence. To add the final touch, pour the melted chocolate over your chilled dessert, covering it completely, and put it back in the refrigerator.

Last Words
Once it has chilled for a further half hour, your dessert is prepared for consumption! Admire the layers of flavour and texture you’ve achieved in a matter of short steps as you cut into it. This dessert is likely to be a hit, whether you’re serving it to guests or indulging yourself.

In summary
Who knew it could be so quick and simple to make such a delicious dessert? With this recipe, you may quickly sate your sweet tooth without having to deal with difficult ingredients or baking. You deserve to treat yourself, so go ahead and indulge in this delicious delicacy!

Lizzy cake Put the biscuit in the tray evenly

Lizzy cake Put the biscuit in the tray evenly

INGREDIENTS

  1. Contains two packets of gentlemen cookies as an ingredient.
  2. Vanilla extract, one tablespoon
  3. There are two cups of unprocessed cocoa.
  4. One gallon of milk
  5. 1 volume of white sugar that is soft.
  6. 2 tablespoons of butter.

Getting Ready

  • Please ensure that the biscuits are distributed evenly on the tray.
  • After bringing the raw cocoa, placing it in a pot, adding vanilla, mixing the ingredients together, adding milk, and turning the components over until they are completely harmonious, the process is complete.
  • Following the addition of the quantity of sugar, which is then combined with the other components, the quantity of butter is added, taking into consideration that it has been melted in order to facilitate its incorporation with the components that came before it.
  • After bringing in the cake tray, butter paper is placed at the bottom, cookies are added, and then the cookies are separated. After that, solid chocolate sauce is added and molded into a roller shape, and it is topped thoroughly until it is uniform and completely uniform.
  • After being placed in the refrigerator for roughly two to three hours, the ingredients are removed from the refrigerator, cut into pieces or slices according to the preferences of the individual, and served immediately cool.

Mixing Apples and Nuts: A Delectable Apple Pie Recipe

Mixing Apples and Nuts: A Delectable Apple Pie Recipe

Imagine that you have a sweet tooth for a decadent, yet comfortable dessert. You don’t need to search any farther since we have the ideal remedy: a delicious apple pie loaded with wholesome nuts. We’ll walk you through every step of making this delicious dessert in this article. So let’s begin baking and put on your apron!

Components

assemble these basic yet necessary items to get your baking journey started:

  1. 260g of all-purpose flour, or, for a unique twist, oat flour
  2. One hundred grams of raisins
  3. 120 milliliters of oil
  4. 120 milliliters of water
  5. 50g of finely chopped walnuts
  6. 180g regular sugar or 90g stevia sweetener
  7. 12 grams of baking powder
  8. Four apples
  9. three eggs
  10. One lemon’s juice
  11. One tsp vanilla sugar
  12. One tsp vanilla extract
  13. A small amount of salt
  14. A small amount of butter to grease
  15. crushed cinnamon
  16. Dusting sugar for icing

Getting the Apples Ready

Let’s start by perfectly preparing those apples:

Clean and Cube: Peel and cut the apples into small cubes without peeling them after washing them and removing the cores. To keep them from browning, put them in a bowl and drizzle with lemon juice.
Spice and sweeten: To the apples, add water, vanilla sugar, and stevia sweetener (or sugar). To uniformly coat them, thoroughly mix. Add the chopped walnuts, raisins, cinnamon, and a hefty amount of salt after that. Give the flavors ten minutes or so to meld.

Blending the Cake

Let’s now prepare the batter that will encase our delicious combination of fruit and nuts:

  • Mix the Wet Ingredients: In a another dish, whisk together the eggs, oil, and vanilla extract. Mix it well until it’s smooth.
    Add the dry ingredients and stir. Add the baking powder and flour to the wet mixture gradually. Once everything is thoroughly mixed and the batter is smooth, stir gently.
  • Blend the Flavors: Gently fold the apple combination into the batter, making sure that the apples and nuts are distributed evenly.

Putting Butter on the Mold

Let’s get the mold ready so our pie doesn’t stick and bakes to perfection:

  • Put some grease on it: Grease a rectangle glass mould liberally with butter. This will help to keep the pie from crusting over the edges.
  • Share the Happiness: Using a spoon to level the top and distribute the batter evenly, pour the batter into the greased mold.

Baking to a Perfect Finish

Now is the time to let the oven do its thing:

  • Pre-heat the oven to 180°C before baking. When the oven is hot, place the mold inside and bake for 40 to 45 minutes, or until the pie is golden brown and a toothpick inserted in the center comes out clean.
  • Dust and Delight: After baking, take the pie out of the oven and let it to cool down a little. Add icing sugar to the top for an added sweet touch and eye-catching appearance.

Providing and Gratifying

  • The best part is about to happen: enjoying what you’ve made.
  • Cut the pie into large slices, and then serve it warm. For a decadent treat, serve it with a dollop of vanilla ice cream.
    Savor the moment: Take a nibble and allow your taste to be delighted by the flavors. This apple pie is sure to please everyone, whether it’s being served at a gathering with loved ones or on a chilly night at home.

Why Nuts and Apples?

One may question why apples and nuts are together. Now, allow us to educate you:

  • Dynamic Duo: Nuts give the pie a delicious crunch and nuttiness, while apples naturally sweeten and moisturise it.
    Nutrient Powerhouse: This dessert is not only tasty but also nutrient-dense because apples and almonds are both rich sources of fiber, vitamins, and minerals.

Success Advice

Here are some helpful hints to make sure your apple pie always comes out perfectly:

  • Selecting the Correct Apples: For the best flavour and texture, choose for firm, somewhat tart apples like Granny Smith or Honeycrisp.
  • Don’t Overmix: To avoid a tough crust, combine the batter gently and don’t overmix.
  • Check to See If It’s Done: To test for doneness, stick a toothpick into the center of the pie. Either a few damp crumbs or a clean result should be obtained.

Delicious Apricot and Cream Puff Pastry Cake

Delicious Apricot and Cream Puff Pastry Cake

The rich, buttery flavour of puff pastry is combined with a sweet and tart apricot filling and a layer of cream cheese that is creamy and delectable in this delightful cake. The flavour and presentation of this cake are sure to leave a lasting impression, making it an excellent choice for any event.

Included in the Pastry Ingredients are:

  • Each of the two rolls of puff pastry weighs 275 grams (9.7 ounces).

For the filling made of fruit:

  • 500 grams. (1.1 pounds) apricots (fruit)
  • Half a cup, or sixty milliliters (water)
  • 100 grams, about half a cup 25 grams of sugar, or one-
  • fourth of a cup starch derived from maize
  • Twenty-four tablespoons, or fifty milliliters (water)

Regarding the Cream:

  • 4 ounces (or 400 grams) 16 grams of pastry cream
  • comprised of one tablespoon and one teaspoon sugar with vanilla
  • Half a cup, or fifty grams 300 grams of sugar,
  • or 10.5 ounces The cheese cheese

Information Regarding Nutrition

  • Serves twelve slices each
  • Each slice contains 350 calories.

A Time for Preparation

  • Duration of preparation: thirty minutes
  • Timing for cooking: thirty minutes
  • Time to chill: two to three hours
  • Total time: three hours and thirty minutes

Details to follow

Putting together the pastry

To Roll Out and Thaw Dough: Allow the puff pastry to thaw if you are using it frozen. Extend the dough in a gentle manner. Using the form that you will be baking in, cut a circle shape. Using a fork, pierce the remaining dough into strips and then cut them into strips. Apply a light coating of water and then place in a baking dish.
Bake the base of the pastry: Set the oven temperature to 200 degrees Celsius (390 degrees Fahrenheit). After 15 minutes in the oven, the base of the crust should be golden brown.

Getting Ready to Make the Fruit Filling

  • Get the apricots ready: Please remove the pits from the apricots, wash them, and then cut them into cubes. Put into a cooking saucepan together with sixty milliliters (one-fourth of a cup) of water and one half cup (one-half cup) of sugar. Cook the fruit over a heat setting of medium until it is tender.
  • Tighten up Putting in: Corn starch, 25 grams (1/4 cup), should be dissolved in 50 milliliters (3.4 tablespoons) of water before to use. Continue stirring the mixture while pouring it over the apricots until it becomes thick. Take the pan off the heat and set it aside.
  • Cream is being prepared by mixing cream. Parts and pieces: The pastry cream should be whipped in a bowl with 50 grams (1/4 cup) of sugar, 16 grams (1 tablespoon + 1 teaspoon) of vanilla sugar, and 300 grams (10.5 oz) of cream cheese. The total weight of the mixture should be 400 grams (14 ounces). The mixture should be smooth and creamy.

Putting Together the Cake

  • In order to stack the cake, spread a layer of the cream mixture at the bottom of a serving dish. First, place some of the puff pastry pieces that have been baked on top, then add another layer of cream, and last, add a layer of apricot filling underneath that. Continue layering until you reach the top, where you will place the apricot filling.
  • The top pastry should be baked by first cutting a circle from the second puff pastry roll that is the same diameter as the cake. Divide this circle into twelve triangles of equal size. Bake these triangles for fifteen minutes at a temperature of 200 degrees Celsius (390 degrees Fahrenheit) until they are golden brown. Get out of the oven and let it to cool down.
  • The Cherry on Top: After the apricot filling layer has been filled, arrange the triangles of baked pastry on top of it. As a decorative touch, you may want to put a dollop of jam in the middle of the cake.

Concluding Remarks

  • In order to allow the cake to set, place it in the refrigerator for two to three hours after it has been assembled.
    The leftover pieces of puff pastry should be crumbled together and used to garnish the sides of the cake once the cake has reached the desired level of firmness.
  • To serve and enjoy the cake, slice it and then serve it immediately. Appreciate the delicious blend of puff pastry that is crunchy, filling that is creamy, and apricot sweetness that is sweet.

in summary
A wonderful dessert that is guaranteed to become a favorite, this apricot and cream puff pastry cake is a simple yet delectable dessert that is sure to have you hooked. Take pleasure in the fusion of flavors and textures that each bite brings!

Easy and Fast Parmesan Chicken Fillet with Potato Sticks Recipe

Easy and Fast Parmesan Chicken Fillet with Potato Sticks Recipe

Searching for a supper that is not only quick but also delicious and that your family will enjoy? Make sure you give this recipe for chicken fillet with Parmesan cheese and crispy potato sticks a try! To make it, you can do the following:

A list of ingredients for chicken fillets:

  1. To make this dish, you will need two chicken fillets, salt,
  2. black pepper,
  3. paprika,
  4. one tablespoon of soy sauce,
  5. one tablespoon of olive oil,
  6. 120 grams of Parmesan cheese,
  7. two tablespoons of breadcrumbs,
  8. half a teaspoon of paprika,
  9. and two eggs.

To prepare potato sticks,

  • 500 milliliters of vegetable oil,
  • five potatoes,
  • and one tablespoon of corn flour

Details to follow:

  • 1. Preheat the oven to 180 degrees Celsius (356 degrees Fahrenheit).
  • 2. Add paprika, black pepper, and salt to the chicken fillets until they are evenly coated. In order to ensure that the fillets are adequately coated, add the soy sauce and olive oil.
  • 3. In a separate bowl, combine the paprika, breadcrumbs, and Parmesan cheese.
  • 4. Coat each chicken fillet with the Parmesan mixture after first dipping it in beaten eggs from the previous step.
  • 5. Place the fillets that have been coated on a baking sheet and bake them in an oven that has been warmed for 12 to 15 minutes, or until they are golden brown and cooked all the way through.
  • In order to make the potato sticks, first cut the potatoes into sticks, then soak them in cold water for half an hour, and last, make sure they are completely dry.
  • 7. To achieve a crispier texture, toss the potato sticks with corn flour and proceed to step 7.
  • To cook the potato sticks, heat the vegetable oil in a skillet and fry them for four to six minutes, or until they are golden brown and crispy.
  • In addition to the crispy potato sticks, serve the chicken fillets topped with Parmesan cheese.

Take pleasure in this delicious and speedy lunch with your loved ones.

Discover the Refreshing Way to Support Your Kidneys with Moringa Tea

Discover the Refreshing Way to Support Your Kidneys with Moringa Tea

A daily cup of moringa tea could be the ideal addition to your routine if you’re searching for a natural way to maintain the health of your kidneys. For generations, moringa has been utilized in traditional medicine due to its potent nutritional properties and vivid green leaves. Let’s investigate the potential benefits of this herbal tea for renal healing and lowering creatinine levels.

  • Known as the “miracle tree,” moringa is a plant with numerous health benefits. Because of its abundance in vitamins, minerals, and antioxidants, it’s a great option for people who are concerned about the health of their kidneys. Because they aid in the fight against oxidative stress, which is a frequent problem that can impair kidney function, antioxidants are essential.
  • The ability of moringa tea to reduce creatinine levels is one of its main advantages. Your kidneys normally remove waste products like creatinine from your body. Elevated levels may indicate that your kidneys are not functioning optimally. Including moringa tea in your diet may be a calming, organic approach to assist your body’s capacity to control these levels.
  • Making moringa tea is an easy and calming habit that you can incorporate into your daily routine. Begin with either dried or fresh moringa leaves. Steep a teaspoon of
  • moringa leaves in five to ten minutes in hot water to make a single cup. This makes a light, pleasant tea by allowing all the goodness of the leaves to permeate into the water. It’s perfect for any time of day, whether you choose to drink it warm or chilled with a few ice cubes.
  • Moringa tea is well-known for its advantages for renal and creatinine health, as well as for promoting energy levels without the use of caffeine, immune system support, and anti-inflammatory properties. A teaspoon of honey or a squeeze of lemon will provide a hint of sweetness to its mild, earthy flavour.

in summary

Recall that although adding moringa tea to your diet can be advantageous, it’s still crucial to eat a balanced diet and see a doctor, particularly if you already have health issues. Drinking this herbal tea could be a delightful and natural first step towards maintaining the health of your kidneys!

Unlock Rapid Hair Growth with an Egg and Avocado Hair Mask

Unlock Rapid Hair Growth with an Egg and Avocado Hair Mask

Are you looking for a natural way to get thick, luxurious hair? You only need to look in your kitchen! Your go-to tool for deep conditioning and accelerating hair development may be an egg and avocado hair mask. Nutrient-rich and easy to use, this treatment is a great way to support healthy hair.

Why Avocado with Egg?

  • The two superfoods of nature for hair care are eggs and avocados. Since protein makes up the majority of hair, eggs are a great source of this essential nutrient for hair growth. They also include additional B vitamins and biotin, which improve the strength and texture of hair. On the other hand, avocados are a great source of vitamins, antioxidants, and omega-3 fatty acids that deeply moisturize your hair, making it seem smooth and lustrous and improving the condition of your scalp.

How to Apply the Hair Mask

This hair mask is very simple to make. What you’ll need is

  1. One mature avocado
  2. One egg
  3. One tablespoon of olive oil (optional; add more for added smoothness and sheen)
  4. Here’s how to prepare this enchanted concoction:
  5. Cut the avocado in half, take out the pit, and scrape the pulp into a basin to prepare it.
  6. Add the Egg: Crack an egg and add it to the avocado-filled bowl.
  7. Add a tablespoon of olive oil to the mixture to give it an additional sheen and wetness.
  8. Blend It Up: Combine all the ingredients in a blender or with a fork to create a smooth, creamy consistency.

instructions

Putting on the Mask

  • Apply to Dry Hair: Let your hair air dry before applying the mask. Section your hair and apply the mixture from the roots to the tips for an even distribution.
  • Cover Up: After applying the mask, place a shower cap over your hair and wait 20 to 30 minutes for it to sit. This facilitates the deep penetration of nutrients.
  • Rinse well: Use your usual shampoo to wash your hair and see the difference. If your hair is sufficiently silky, you can forgo the conditioner.

Savor the Advantages

  • Hair development can be accelerated and hair texture greatly improved with regular application of this mask. The mask’s natural ingredients strengthen hair strands from the roots while nourishing the scalp and perhaps minimizing problems like dryness and flakiness.
  • Why not give this amazing hair treatment a try that is natural? It’s a soothing method you can do in the comfort of your own home to take care of yourself and improve the health and beauty of your hair.

Unlock the Morning Magic of Olive Oil and Lemon

Unlock the Morning Magic of Olive Oil and Lemon

Although it may appear modest, starting your day with a straightforward blend of olive oil and lemon juice has several health benefits that many people are unaware of. This delicious concoction can greatly improve your health in addition to stimulating your taste buds. Here’s why adding this combo to your morning routine could have a revolutionary effect on your general health.

Lemon with Olive Oil:

  • The Power Couple Extra virgin olive oil in particular is highly recognized for its heart-healthy lipids and antioxidants such as oleocanthal, which has anti-inflammatory qualities. Vitamin C, a potent antioxidant that helps shield cells from harm, is added by lemon. Lemons are also rich in substances that support healthy liver function and digestion.

Why Mix Lemon Juice with Olive Oil in the Morning?

  • 1. Promotes Digestive Health: The digestive tract is stimulated by the combination of lemon and olive oil, which facilitates the breakdown of food and the absorption of nutrients. Lemon helps to alkalize and purify the body, while olive oil lubricates the digestive tract and helps ward off constipation.
  • 2. Promotes Heart Health: Monounsaturated fats, which are abundant in olive oil, are known to lower bad cholesterol and raise good cholesterol. By lowering oxidative stress, adding lemon, with its high vitamin C concentration, can help strengthen the cardiovascular system.
  • 3. Promotes Natural Detoxification: The citric acid in lemons stimulates the liver and promotes better enzyme action, which helps with detoxification. This is enhanced by olive oil’s anti-inflammatory qualities, which aid the liver’s processing abilities.
  • 4. Encourages Healthy Skin: Collagen production is aided by the vitamin C in lemons, and youthful, smooth skin is a result. Antioxidants included in olive oil help to repair damaged skin and delay the signs of premature ageing.

How to Make It Part of Your Daily Schedule

  • Just combine the juice of half a lemon with a tablespoon of olive oil and drink it first thing in the morning, on an empty stomach, to create this nutritious morning beverage. This routine gives you a nutrient-rich start to the day in addition to hydrating you.

In summary

Olive oil and lemon consumption in the morning is not only a fad; it is a beneficial and wholesome habit. This easy concoction might be the solution for you whether you want to improve your skin, strengthen your heart, improve your digestive system, or start your day with a detox.