Homemade Beef Lo Mein

Homemade Beef Lo Mein

A traditional Chinese takeaway meal called beef lo mein combines soft meat, veggies, and noodles with a flavorful sauce. This homemade version is quite tasty, fast, and simple. Now let’s get into the specifics of making this delicious meal!

Ingredients

For the Marinade:

  • Beef flank steak or sirloin: 1 pound (450g), thinly sliced against the grain
  • Soy sauce: 2 tablespoons
  • Shaoxing wine or dry sherry: 1 tablespoon
  • Cornstarch: 1 tablespoon

For the Sauce:

  • Soy sauce: 1/4 cup (60ml)
  • Oyster sauce: 2 tablespoons
  • Hoisin sauce: 1 tablespoon
  • Sesame oil: 1 teaspoon
  • Sugar: 1 teaspoon
  • Cornstarch: 1 teaspoon
  • Water or beef broth: 1/4 cup (60ml)

For the Lo Mein:

  • Lo mein noodles or spaghetti: 8 ounces (225g)
  • Vegetable oil: 2 tablespoons
  • Garlic: 3 cloves, minced
  • Ginger: 1 teaspoon, grated
  • Red bell pepper: 1, thinly sliced
  • Carrots: 2, julienned
  • Snow peas: 1 cup, trimmed
  • Green onions: 3, cut into 2-inch pieces
  • Bean sprouts: 1 cup (optional)
  • Sesame seeds: 1 tablespoon, toasted (optional, for garnish)

Method:

Step 1: Let the beef marinate
Get the marinade ready: Mix the cornstarch, Shaoxing wine (or dry sherry), and soy sauce in a mixing dish.
Let the meat marinate: Make sure the steak is well covered by adding the thinly sliced beef to the marinade. Give it a minimum of 15 to 20 minutes to marinate.

Step 2: Get the Sauce Ready
To make the sauce, combine the soy sauce, oyster sauce, hoisin sauce, sesame oil, sugar, cornstarch, and water or beef broth in a small bowl and whisk until well combined. Put aside.
Cook the noodles in Step 3
Boil the noodles: Follow the directions on the box to prepare the spaghetti or lo mein noodles. After draining, put away.
Step Four: Mix Sauté the veggies and the beef.
Heat the pan: Heat one tablespoon of vegetable oil in a big skillet or wok over high heat until it is hot.
Cook the meat: Place the marinated beef in a single layer on the pan. Cook the meat for two to three minutes, stirring now and again, or until it is well cooked and browned. After taking the steak out of the griddle, put it aside.
To cook the veggies, add the remaining 1 tablespoon of vegetable oil to the same skillet. Stir-fry the grated ginger and minced garlic for approximately 30 seconds, or until fragrant. Add the green onions, snow peas, julienned carrots, and sliced red bell pepper. Stir-fry the veggies for 3–4 minutes, or until they are crisp-tender.
Step 5: Mix and Present
Include the noodles and beef: Add the cooked meat and veggies back to the skillet. Stir in the prepared sauce and the cooked noodles.
Toss and heat through: Toss everything together for two to three minutes, or until the noodles, meat, and veggies are well cooked and covered in sauce.
Add bean sprouts, if using, and scatter toasted sesame seeds over top as a garnish.
Step Six: Present
Serve hot: If preferred, top the homemade beef lo mein with more sesame seeds or green onions.
Advice for the Ideal Beef Lo Mein
Thinly slice the beef: The meat will cook more quickly and stay tender if it is thinly sliced against the grain.
High heat: To create a good sear on the steak and maintain the crispness of the veggies, use high heat while stir-frying.
Prepare the ingredients ahead of time: Stir-frying cooks rapidly, so have all your ingredients prepared and ready to go before you begin.
Tailor the vegetables: You are welcome to add more veggies to the stir-fry, such as mushrooms, bok choy, or broccoli.
In summary
A tasty and simple recipe that works well for every dinner is homemade beef lo mein. This dish guarantees delicious veggies, tender steak, and mouthwatering noodles that will please everyone. Enjoy preparing and eating this traditional Chinese meal with your loved ones!

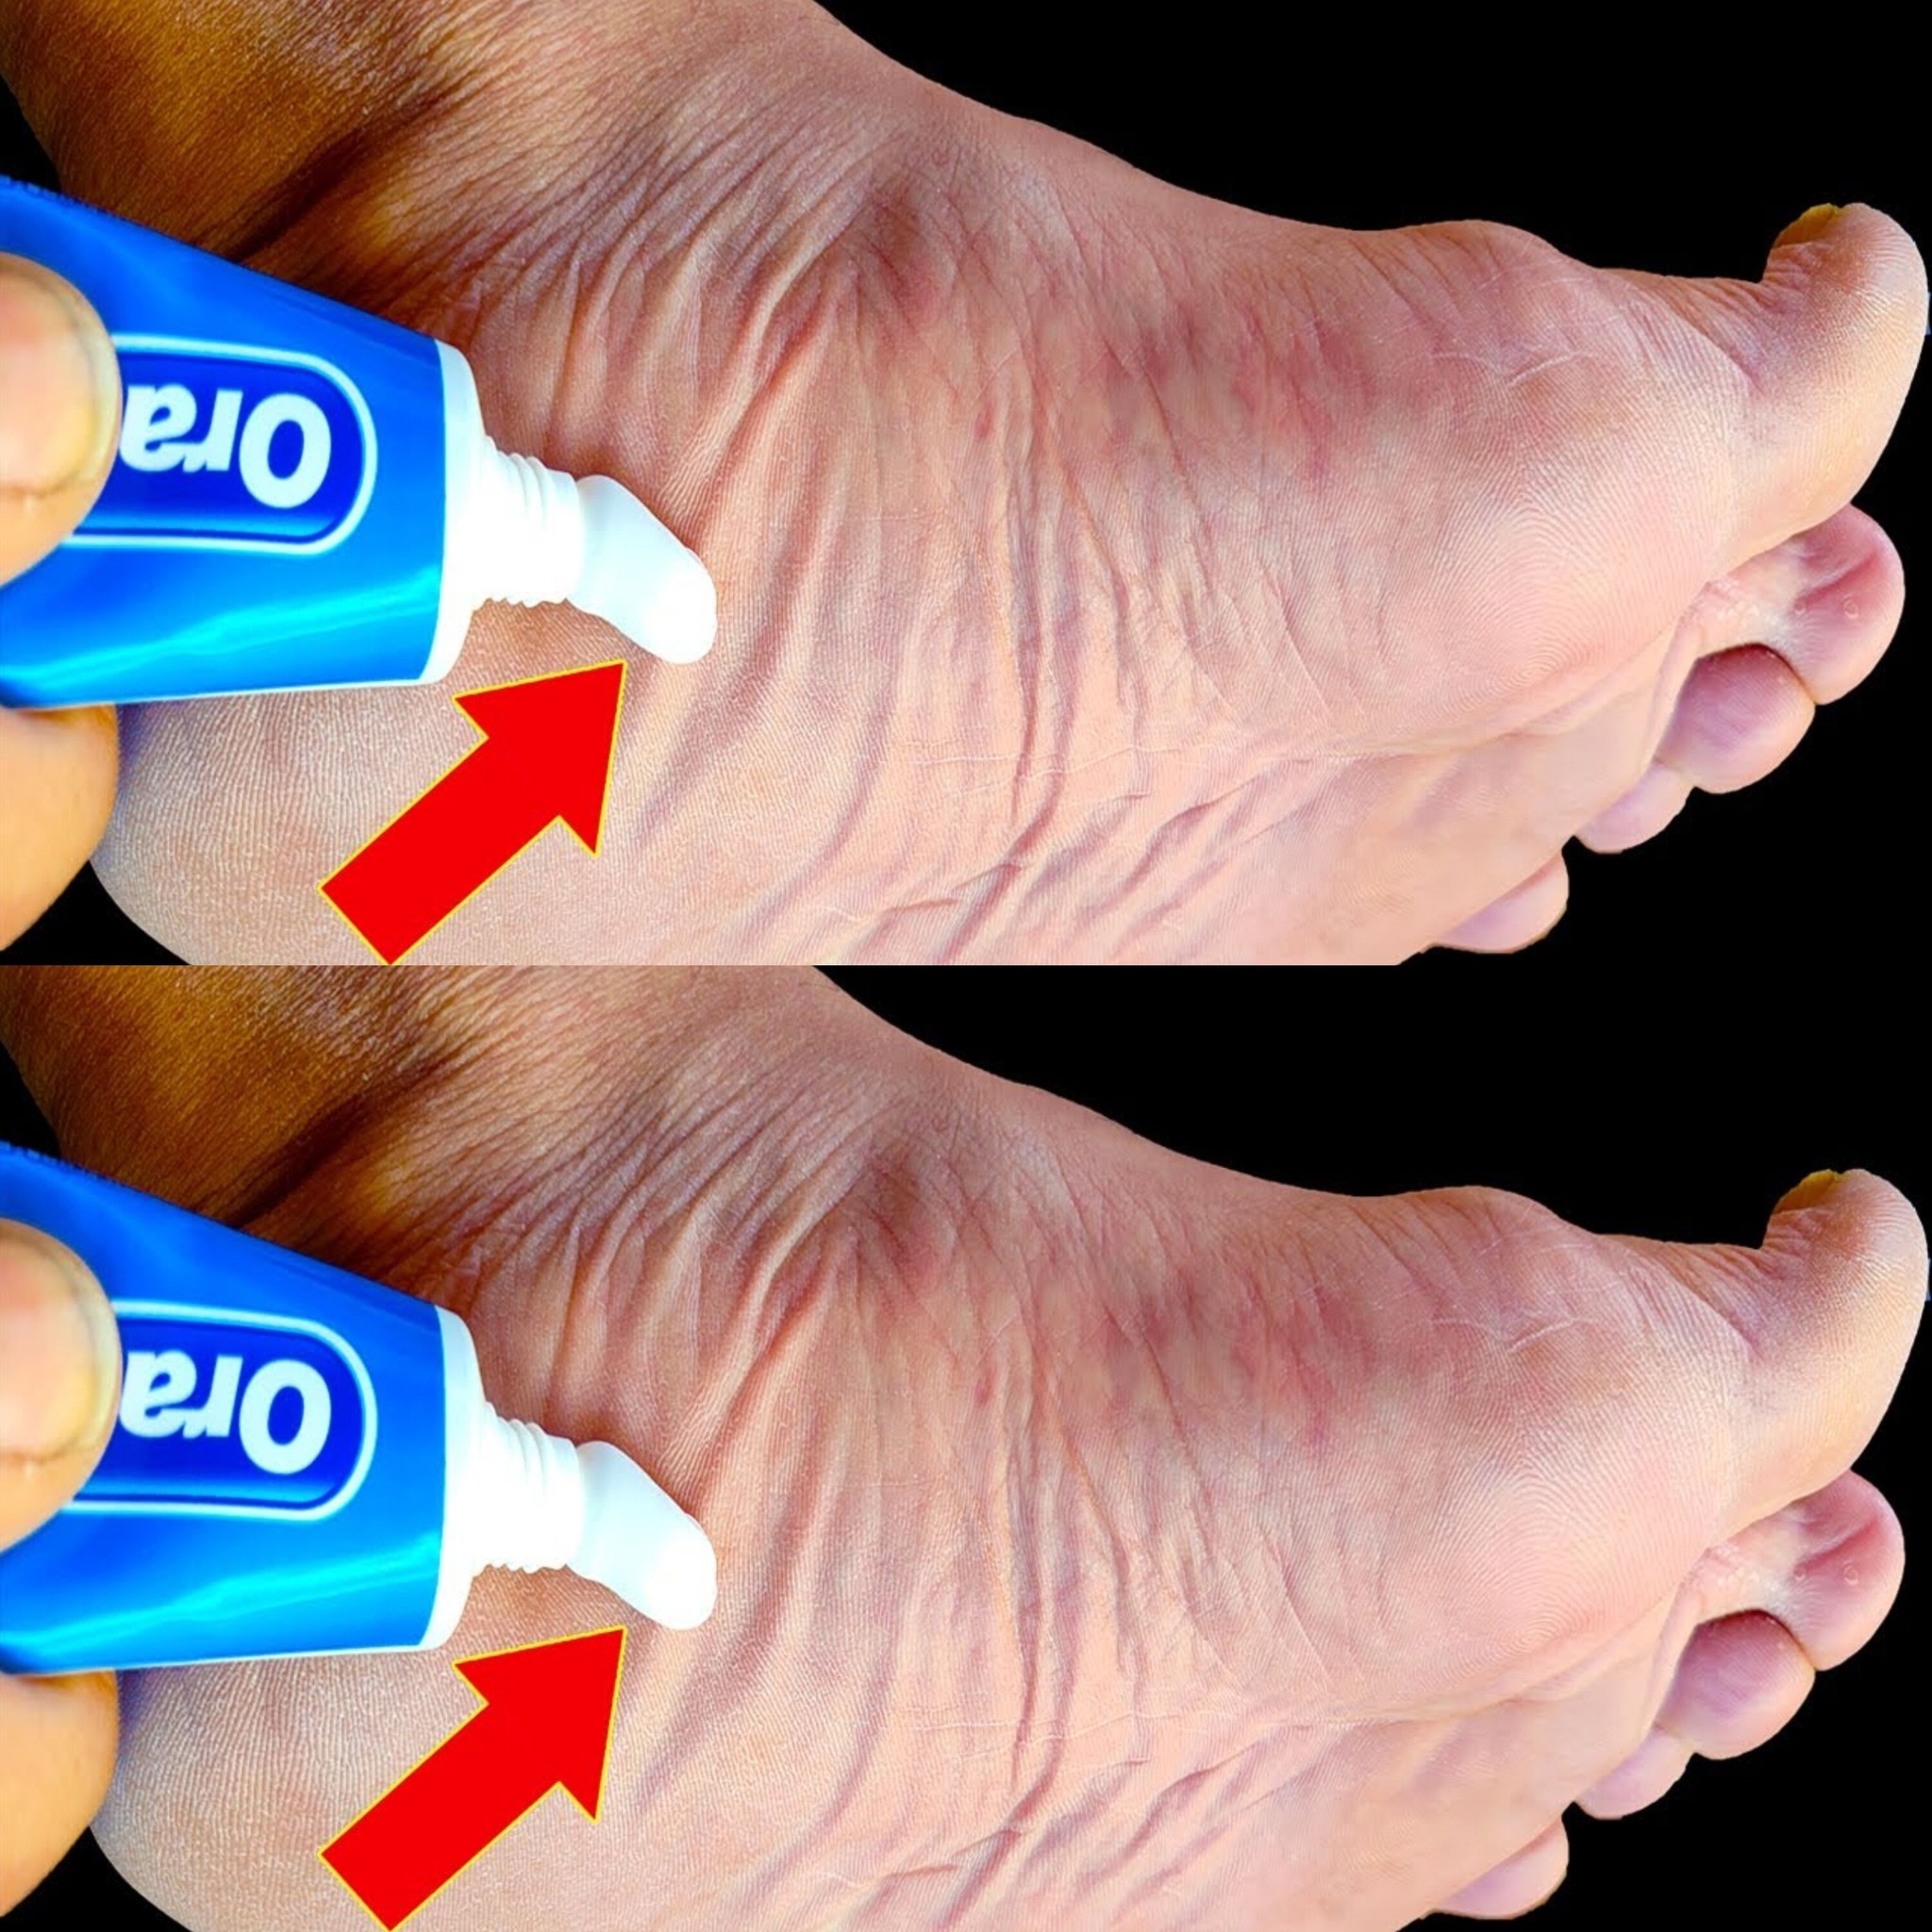
Put Toothpaste on Your Feet

Stop Spending Money at the Pharmacy! Put Toothpaste on Your Feet (Did You Know That?)

Toothpaste isn’t just for cleaning teeth; it also has amazing effects on your feet! Toothpaste contains chemicals like menthol, hydrogen peroxide, and baking soda that have unexpected advantages for foot care. Let’s look at some simple ways that toothpaste may be used to treat common foot problems.
1. Repair Split Heels
Toothpaste’s moisturizing and exfoliating qualities help to soften and mend damaged heels. All you have to do is cover your cracked heels with a thick coating of toothpaste, rub it in, and then wear socks overnight. In the morning, rinse off to reveal smoother skin. Repetitively doing this may aid in the healing of resistant fractures.
2. Get Rid of Footodor
Toothpaste leaves your feet feeling minty fresh while fighting germs that cause stink. Your soles should be lightly coated with toothpaste, left on for fifteen to twenty minutes, and then washed with cold water. To maintain a wonderful scent on your feet, use this tip a few times a week.

3. Treat Fungal Foot
Triclosan is one of the antifungal chemicals in toothpaste that helps cure foot fungus. After immediately applying it to the afflicted regions, rinsing after 15 minutes. This may aid in the relief of various fungal infections and the symptoms of athlete’s foot. Cut Down on Calluses

Calluses may be softer because to toothpaste’s modest abrasiveness. After applying it to the callused region, gently scrub with a pumice stone and then rinse. Your feet will stay smoother if you do this once a week.

5. Ease Inflammation and Itching
Toothpaste containing menthol helps relieve and calm irritated or itching feet. Use it to soothe bites, rashes, or irritation for ten to fifteen minutes, and then rinse with lukewarm water.

Conclusion: Toothpaste is an easy, reasonably priced fix for a number of common foot problems. Toothpaste is a simple, at-home solution that you can add into your regimen for everything from treating cracked heels to getting rid of foot odor. Give it a try and see the astonishing outcomes for yourself!

The Most Effective Way to Clear Your Lungs

The Most Effective Way to Clear Your Lungs: Cough and Mucus Gone in 3 Days! 🍋 Lemon Peel Tea

If you are experiencing mucous buildup or a persistent cough, try making lemon peel tea as a natural cure! Rich in essential oils, vitamin C, and antioxidants, lemon peels help relieve coughs, cleanse the airways, and reduce mucus. In only a few days, consuming lemon peel tea will help cleanse your respiratory system and ease your breathing. This is how it works!
Lemon Peel Tea’s Lung Health Benefits:
Eliminates Mucus: Lemon peel’s natural oils and chemicals facilitate the breakdown and removal of mucus from the lungs, so opening up your airways and relieving congestion.

Soothes Cough: Lemon peel’s antioxidants and vitamin C strengthen the immune system and reduce inflammation, which helps ease chronic coughs.

Lung Detoxification: The components in lemon peel, such as limonene, help to clear the respiratory system and lessen lung inflammation.

Ingredients for Making Lemon Peel Tea:

  • Peel of 1-2 organic lemons (preferably fresh and thoroughly washed)
  • 2 cups of water
  • Honey (optional, for sweetness)
  • Fresh ginger (optional, for added benefits)

Instructions:

Get the lemon peels ready:

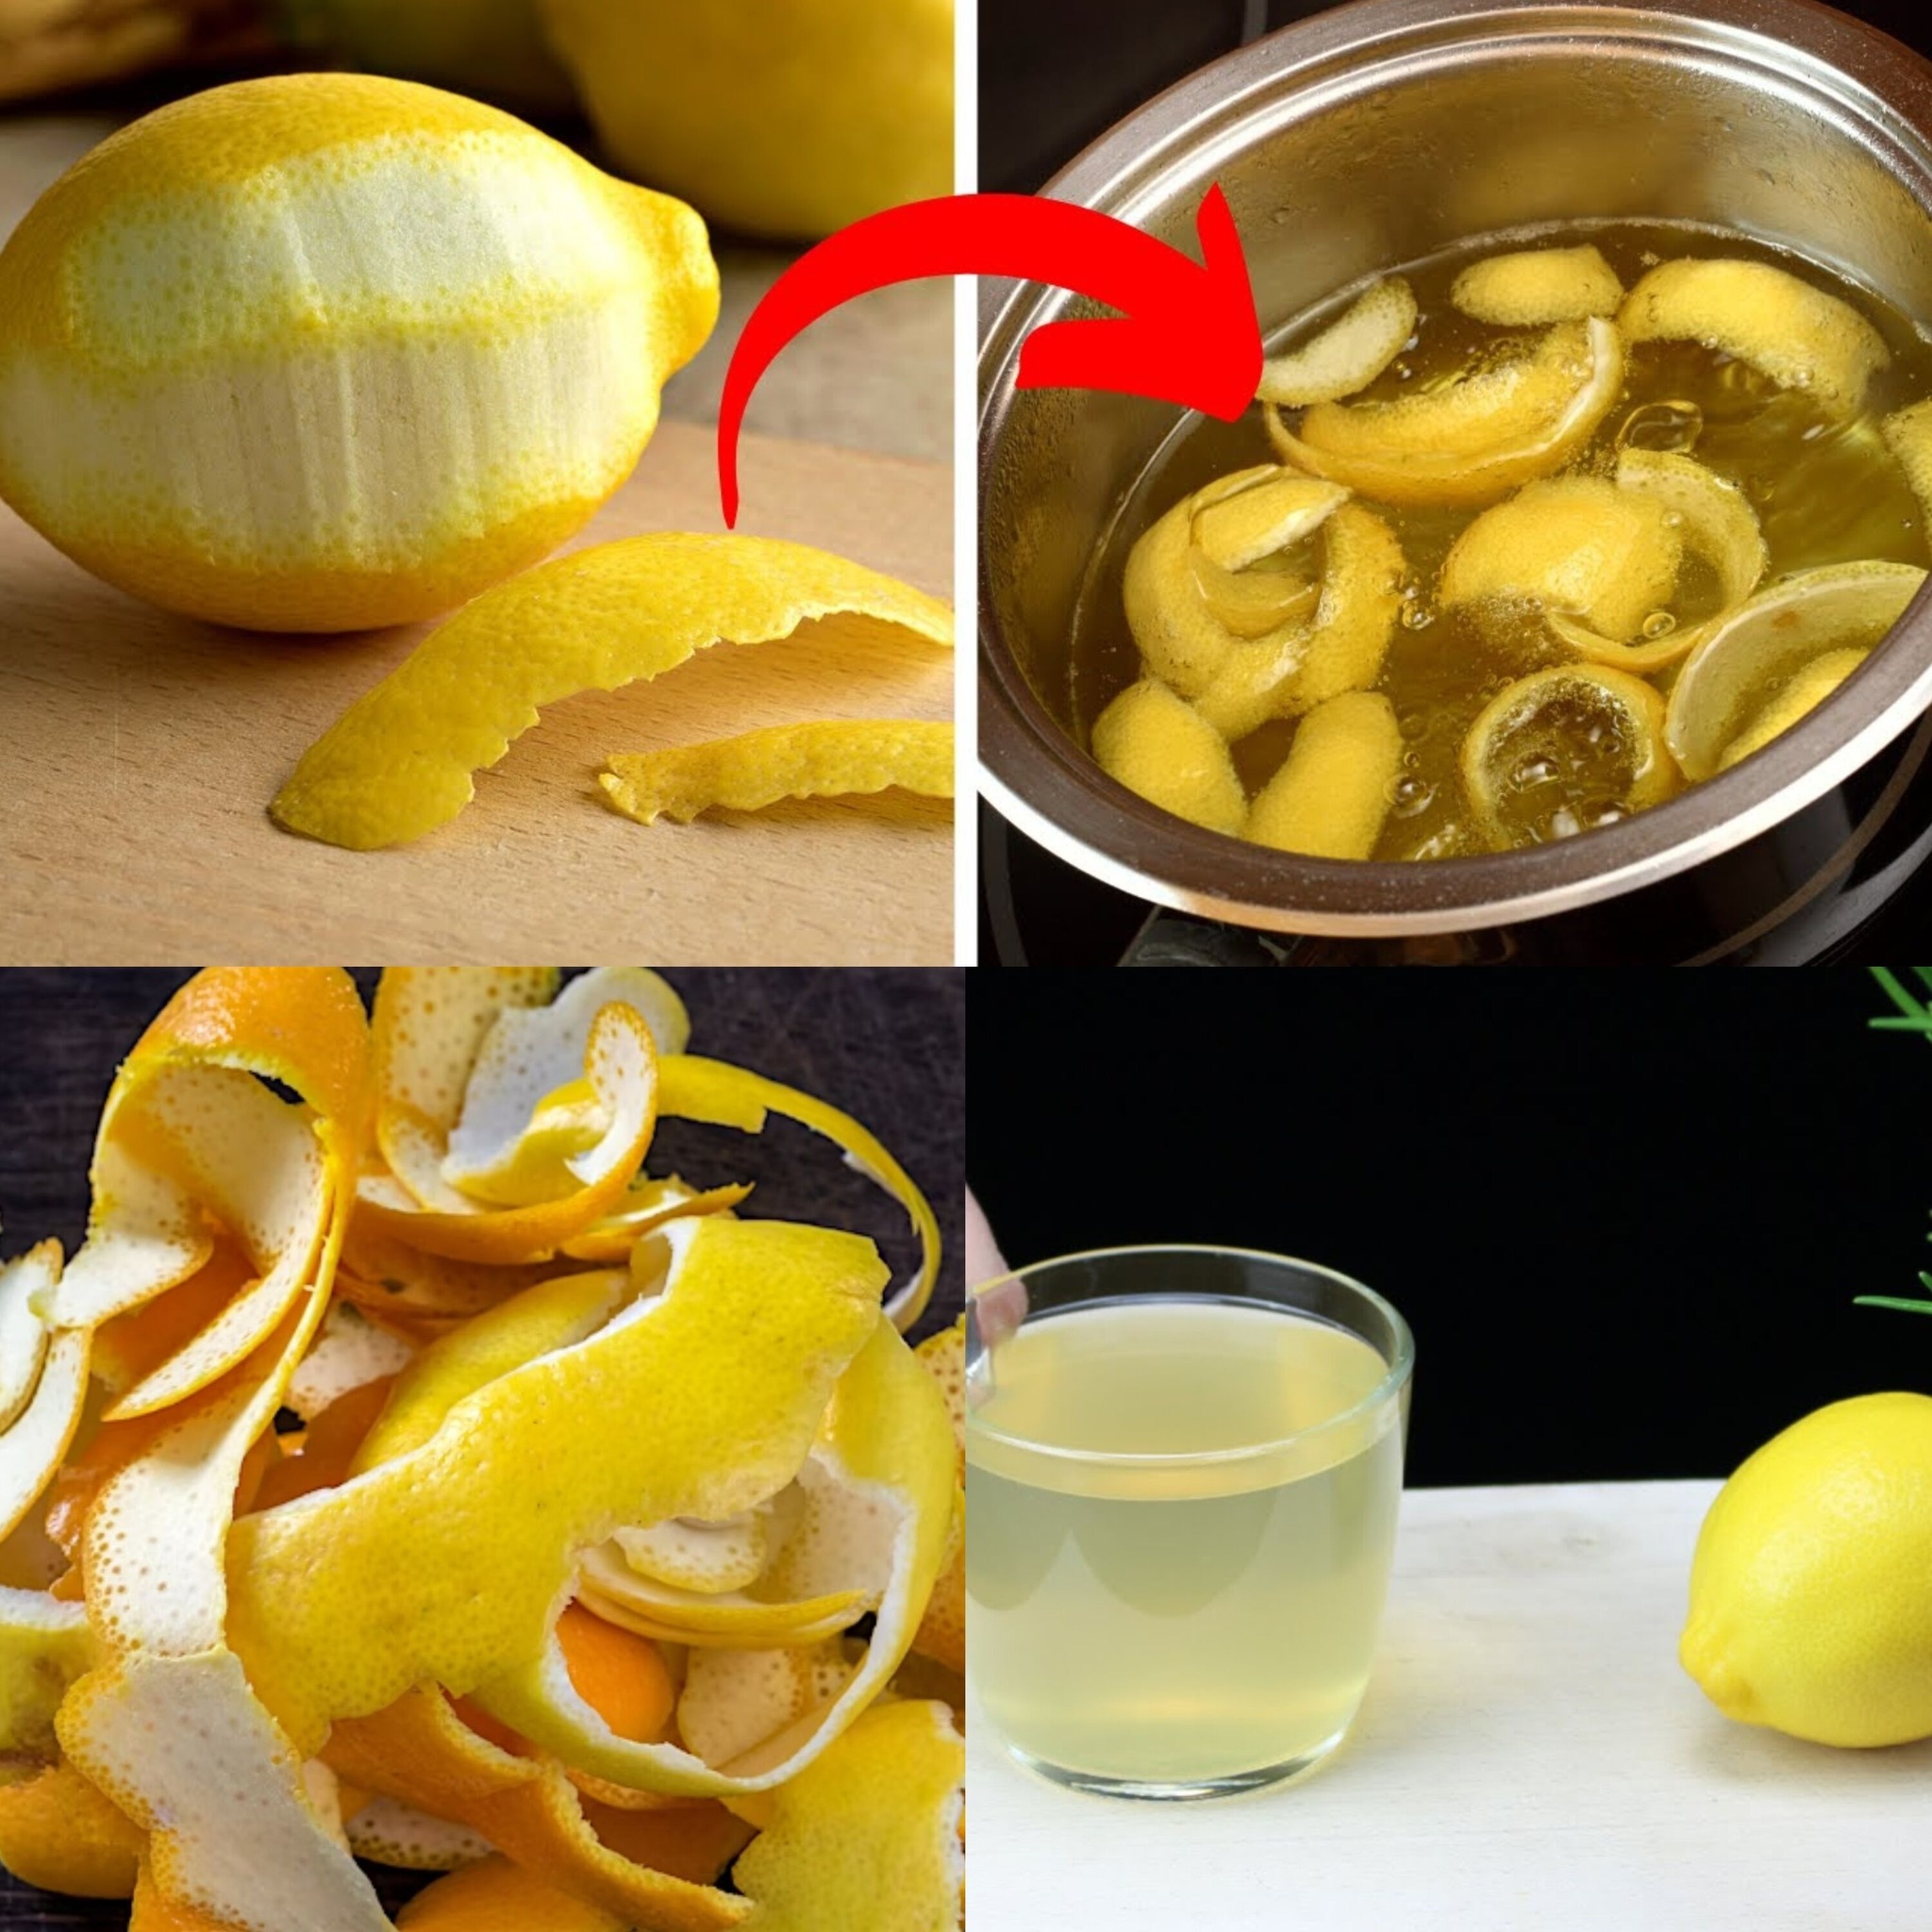
Peel the lemons, taking care to remove as much of the harsh white pith as possible without removing too much of the golden zest.

Bring the Water to a Boil:

In a saucepan, bring two cups of water to a boil.

Incorporate the Lemon Peels:

Add the lemon peels and lower the heat once the water reaches a boiling point. Simmer for around ten minutes to extract the oils and nutrients from the peels.

Optional Extras:

For even more anti-inflammatory effects, you may add raw ginger to the tea, or honey for a calming sweetness.

After straining, serve.

Enjoy the tea warm after straining it into a cup. For optimal effects, drink this tea two to three times a day.

The Reason It Works
Vitamin C Boost: Packed with nutrients, vitamin C helps your body fight off infections that may lead to coughing and mucus buildup. It is especially abundant in lemon peels.

AntiInflammatory: Lemon peels’ natural oils and antioxidants soothe your lungs and lessen coughing by lowering inflammation in the airways.

Detoxification: Drinking lemon peel tea may help remove toxins from your lungs, which can facilitate better breathing and hasten the healing of respiratory conditions.

Concluding Remarks: Having a cup of lemon peel tea is an effective, all-natural method of clearing your airways, lowering mucus, and relieving a cough. You’ll see a noticeable improvement in your breathing and general respiratory health in only three days. For a rapid and efficient lung detox, try this cure! 🍋

Revitalize Your Prostate in 14 Days

Revitalize Your Prostate in 14 Days: Just One Teaspoon a Day!

This effective and straightforward treatment may be the solution you’ve been searching for if you want to promote prostate health naturally. In only 14 days, this concoction of walnuts, rosemary leaves, and honey—rich in minerals and antioxidants—can help rejuvenate your prostate. You can support prostate health, lower inflammation, and enhance general wellbeing with only one teaspoon each day.

Ingredients:

  • 100 grams of walnuts: Rich in omega-3 fatty acids, walnuts help reduce inflammation, support heart health, and may have protective effects on prostate health.
  • 10 grams of rosemary leaves: Known for its anti-inflammatory and antioxidant properties, rosemary helps combat oxidative stress, which can be beneficial for prostate function.
  • 100 grams of honey: A natural sweetener with antibacterial properties, honey boosts immunity and provides additional antioxidants.

Method for Preparing the Blend:
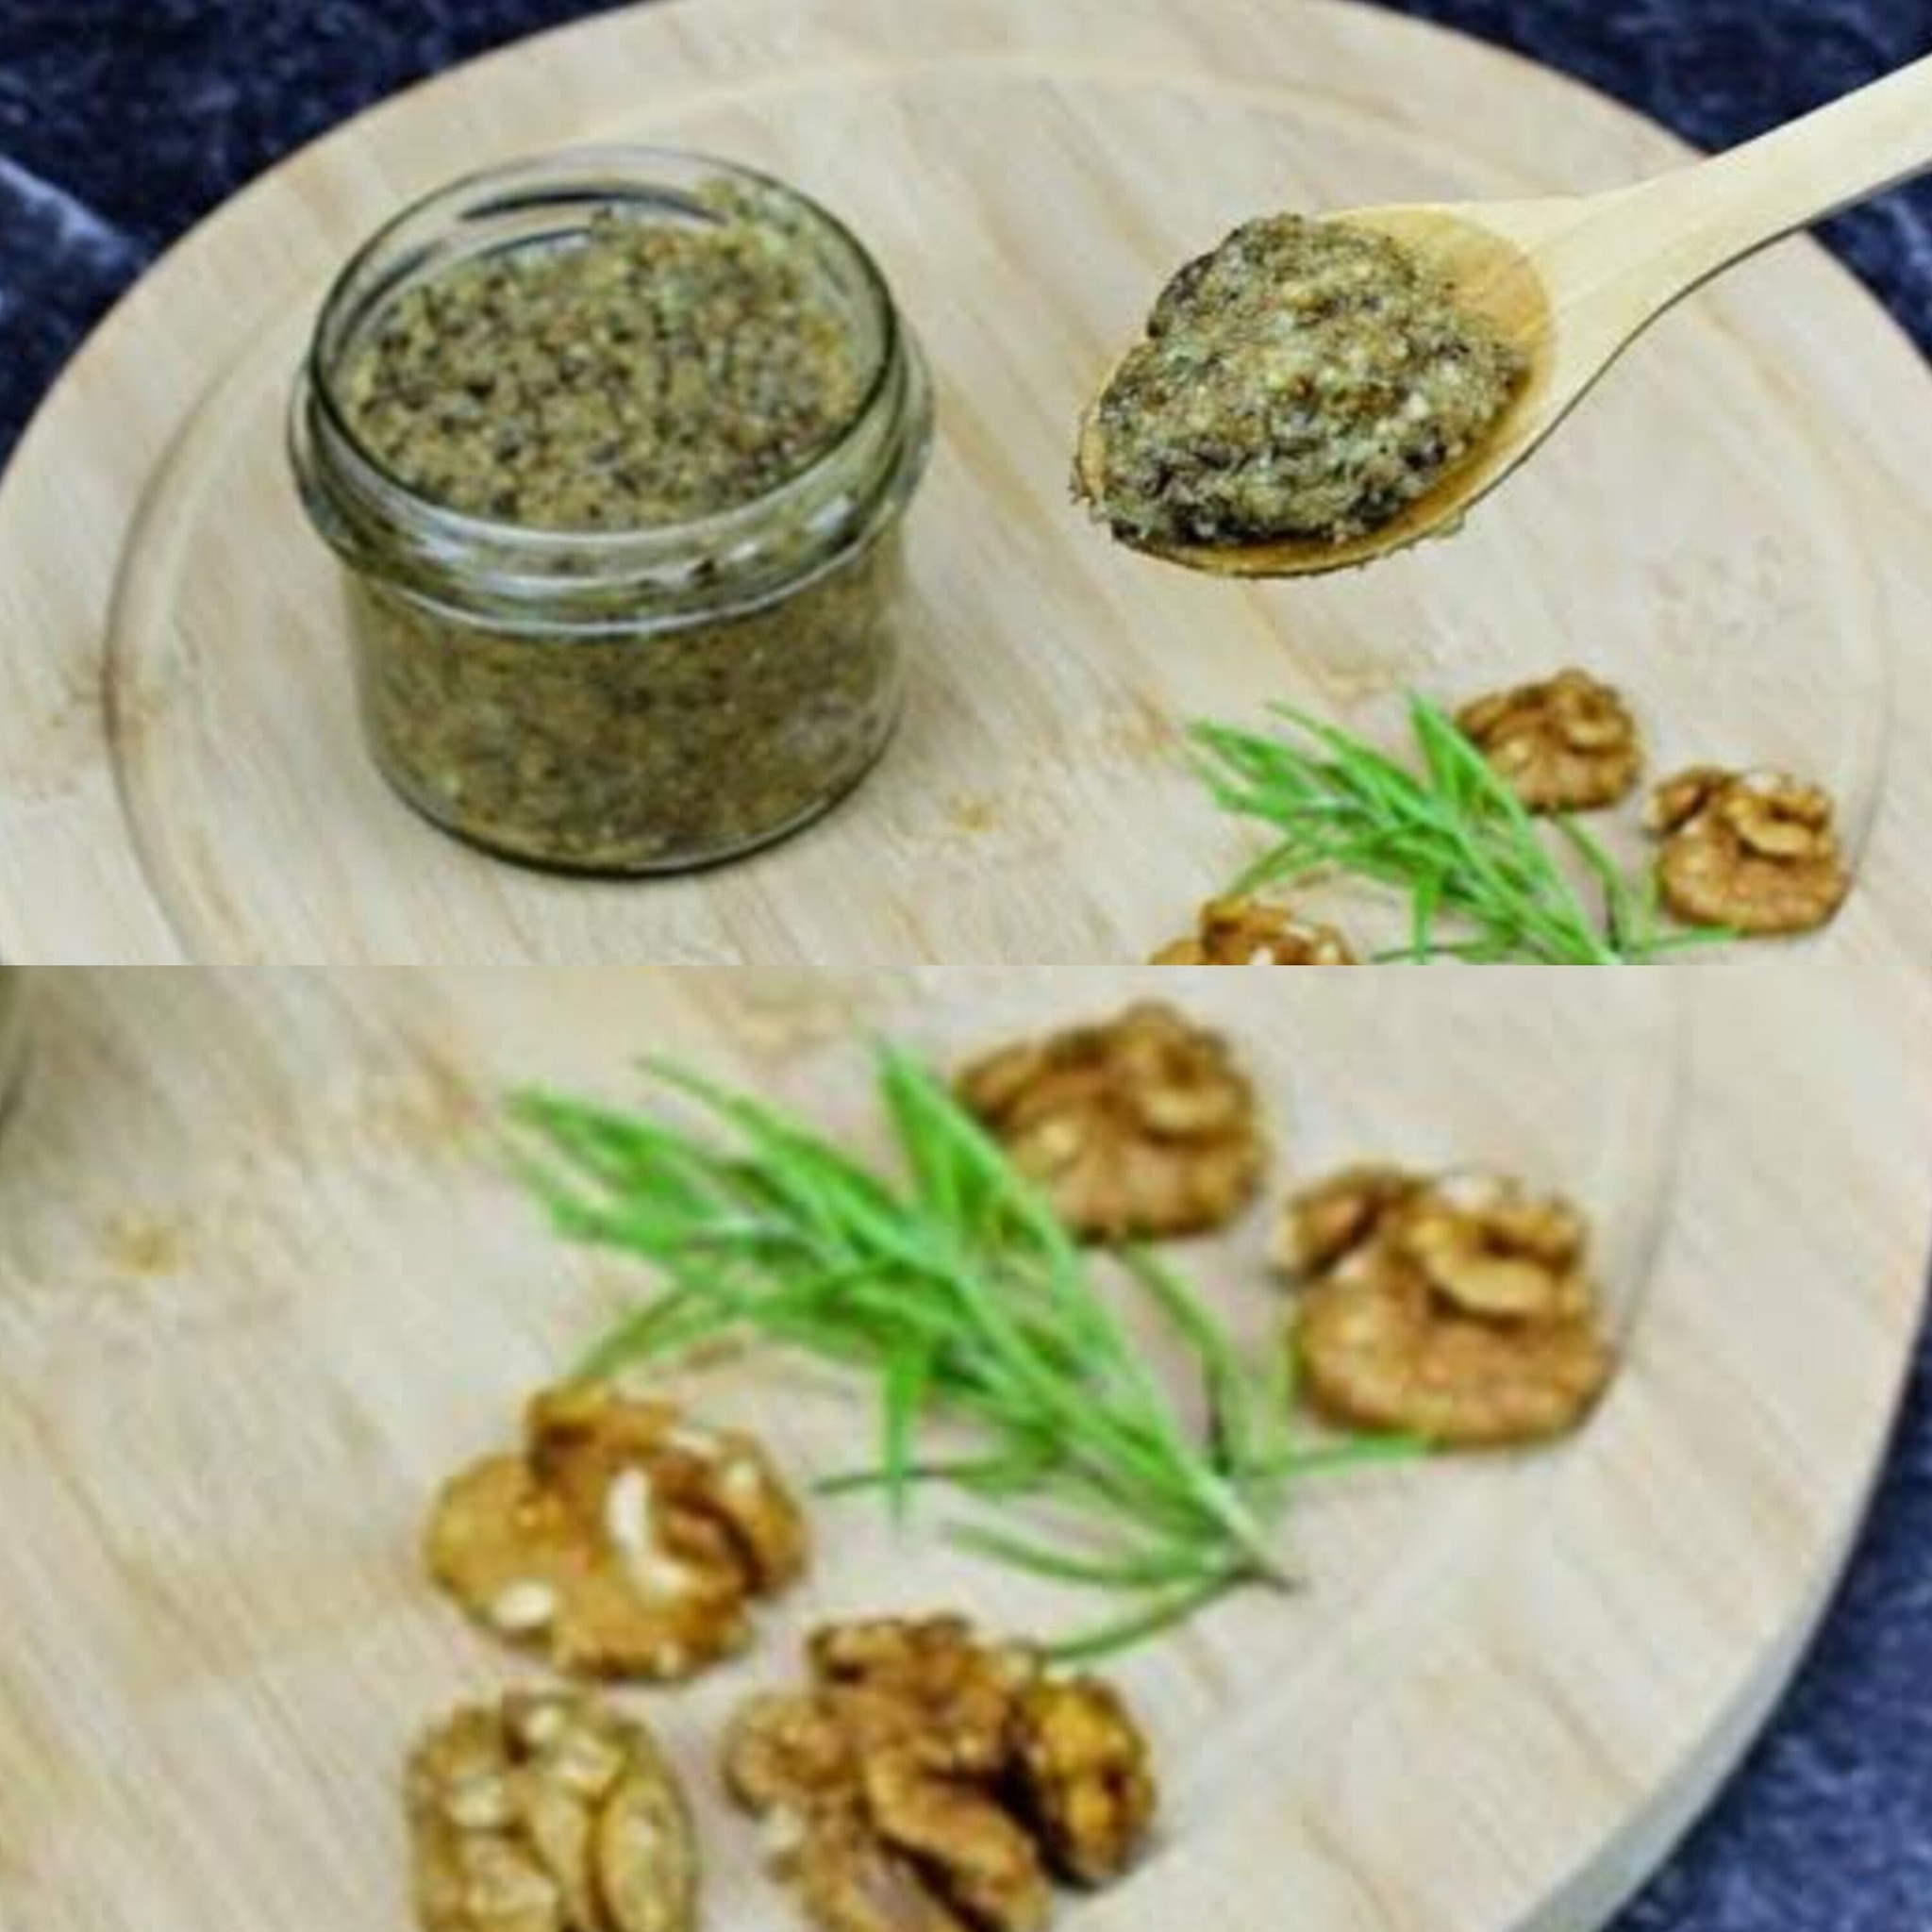
Process the Walnuts: For simpler mixing, crush or ground the 100 grams of walnuts into tiny bits or a fine powder.

Crush the Rosemary Leaves: In order to release the essential oils and active ingredients, gently crush the ten grams of rosemary leaves.

Mix the Ingredients: In a dish, thoroughly mix the 100 grams of honey, the crushed walnuts, and the rosemary leaves.

Keep in a Jar: Pour the mixture into a tight-fitting jar and keep it somewhere dry and cold.

Use one teaspoon of this combination daily, ideally first thing in the morning. It may be consumed on its own or mixed with yogurt, tea, or warm water to give it an extra kick.

Why This Works: Studies have shown that the healthy components found in walnuts, such as omega-3s and phytosterols, may lower inflammation and improve prostate function in general.

Antioxidants found in rosemary help shield prostate cells from oxidative stress, which is connected to prostate issues.

Honey’s antioxidants strengthen your immune system and provide it natural sweetness and antibacterial qualities.

Benefits: Reduces Inflammation: Walnuts and rosemary have anti-inflammatory qualities that may help lessen pain and swelling in the prostate.

Boosts Antioxidant Levels: Antioxidants from honey and rosemary help to maintain general health by shielding prostate cells from harm.

Encourages Healthy Digestion: Walnuts and honey work together to enhance prostate health and ease the body’s digestive process.

Concluding Remarks: In only 14 days, this honey, walnut, and rosemary cure may help maintain prostate health in a natural and easy method. You may revive your prostate and improve general well-being by taking only one teaspoon daily, thanks to its potent anti-inflammatory and antioxidant qualities. Try it out and see the effects for yourself!

Just Add Olive Oil to 1 Liter of Milk

Just Add Olive Oil to 1 Liter of Milk Only a Few People Know This Secret Recipe

The simplest elements can sometimes yield the most astounding discoveries. This formula is a trade secret that only a select few are aware of, so if you’ve ever wondered how to create your own delectable, creamy dairy product at home, look no further. One liter of milk may be made into something really exceptional by adding a small amount of olive oil. The result is rich, creamy, and ideal for a range of recipes. Let’s get started with this simple yet delicious dish!

1. Why Milk and Olive Oil?

  • While the idea of combining olive oil and milk may seem strange at first, the end result is a remarkably rich and creamy base that has many applications. Olive oil is a rich source of antioxidants and healthy fats that improve the taste and nutritional value of milk. These two ingredients combine to make a smooth and velvety texture that is ideal for making yogurt, handmade cream, or even a creative take on butter when blended together.

2. The Easy Recipe

  • Here’s how to prepare this unique dairy dessert at home:

Components:

  1. One liter of fresh milk (for a creamier texture, whole milk is preferable)
  2. Four tsp extra virgin olive oil.

Guidelines:

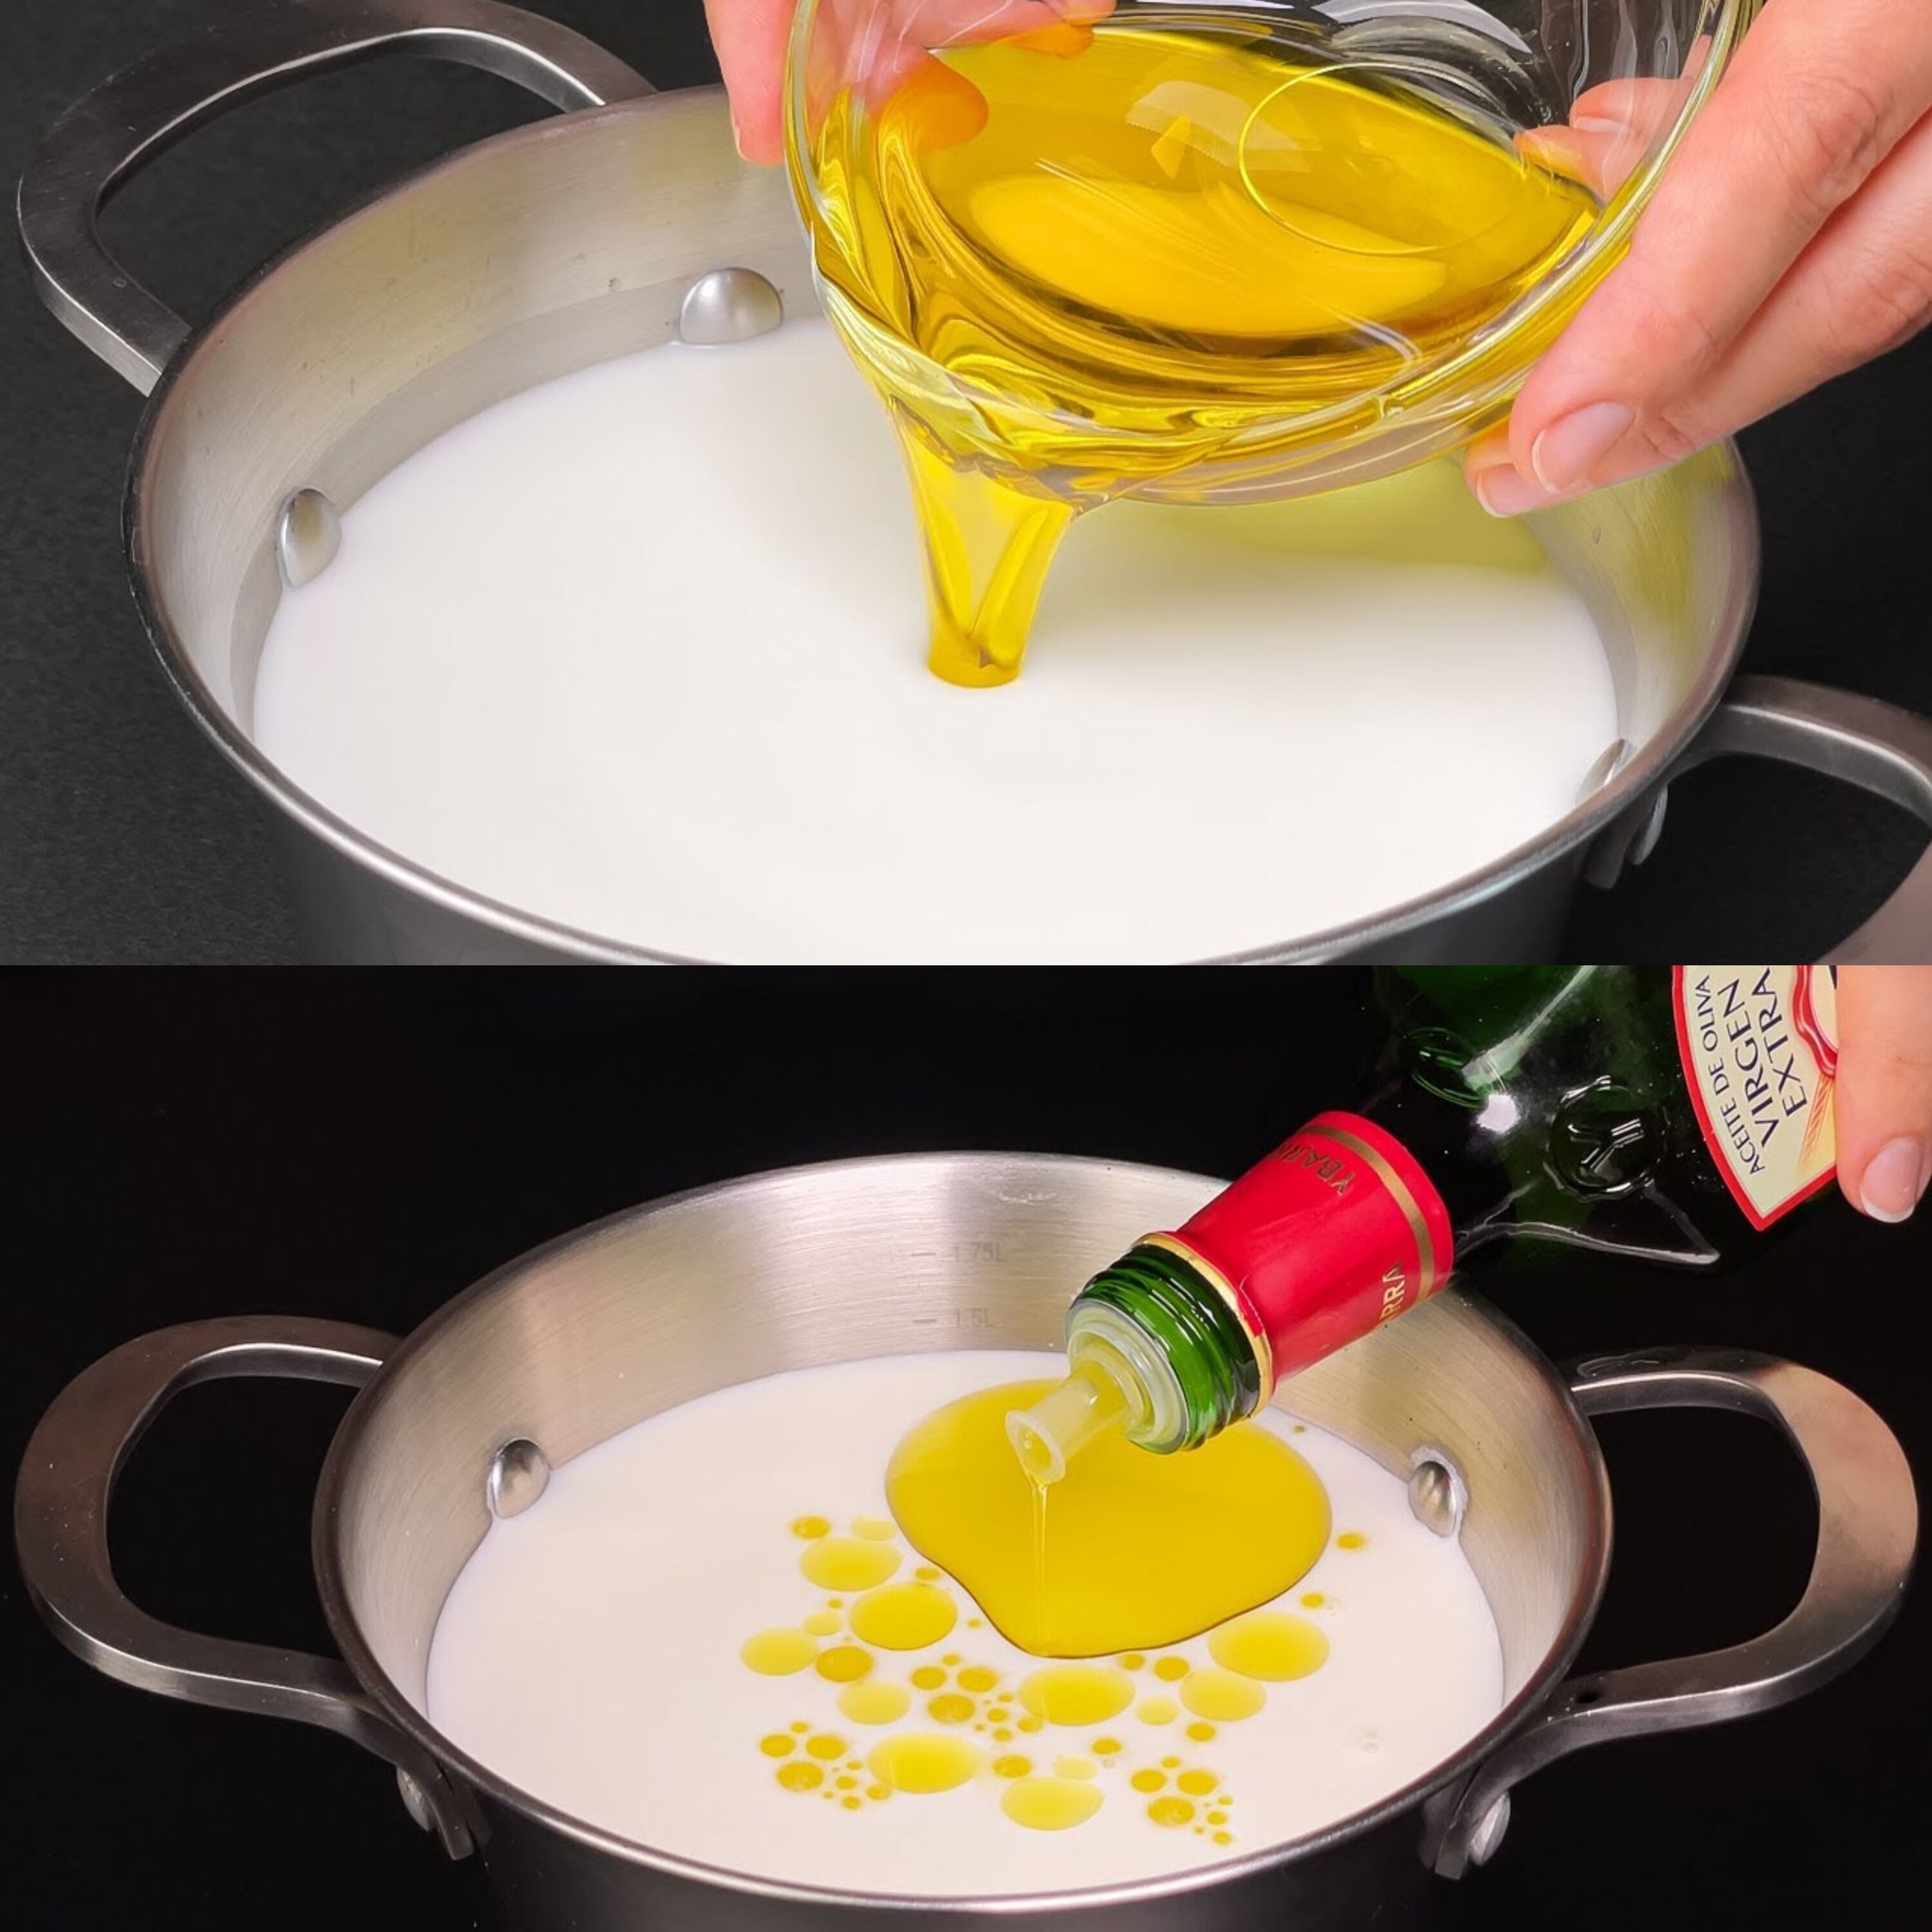
  • Warm the Milk: To begin, place the milk in a pot and slowly heat it over low heat. Just warm it up to aid in the more seamless blending of the olive oil—you don’t want it to boil.
  • Add the Olive Oil: Stir constantly while gradually adding the 4 tablespoons of olive oil to the heated milk. Ensure that the oil has been thoroughly mixed with the milk.
  • Blend Until Smooth: You can use a hand blender or give the concoction a vigorous whisk until it’s smooth and well-mixed for an even creamier texture.
  • Chill and Store: Allow the blend to reach room temperature. Once chilled, transfer it to a sanitized container and store it in the fridge. As it cools, it will become slightly thicker and have a rich, creamy consistency.

3. How to Utilize This Luxurious Cream

  • There are various applications for this blend of milk and olive oil:
  • As a Cream Substitute: Use it in coffee, soups, and sauces as a healthier substitute for heavy cream.
  • Homemade Yogurt: To achieve a thick, creamy texture with a hint of olive oil, add a starting culture to the heated mixture and let it sit.
  • Creamy Butter: Allow the blend to cool down until it becomes even more dense, and then beat it into a smooth, spreadable cream.

4. A Shareworthy Secret

  • For everyone who appreciates homemade meals, this easy dish will alter their life. You not only save money, but you also get the delight of making something scrumptious and healthful yourself. Milk and olive oil combine to create a creamy, flavorful product that you may customize to your cooking preferences.

Try this hidden recipe the next time you have some fresh milk and an olive oil bottle on hand. It’s ideal for bringing a bit of handmade flavor to your meals, so you might find yourself using it frequently in your kitchen.

Boil Guava Leaves for These Incredible Health Benefits

Boil Guava Leaves for These Incredible Health Benefits

Guava leaves provide a wealth of minerals and antioxidants that have several positive effects on health. One of the greatest methods to discover the therapeutic benefits of guava leaves is to boil them to make an infusion or tea. For generations, traditional medicine has utilized this straightforward cure to address a range of medical ailments, including skin and digestive disorders.

Here are just a few amazing health advantages of boiling guava leaves.

1. Treats diarrhea and aids in digestion

  • Guava leaf tea is a very powerful digestive system relaxant:
  • Relieves Diarrhea: By slowing down digestive action, guava leaf constituents including tannins help lessen the severity of diarrhea.
  • Reduces Stomach Problems: By promoting better digestion and relaxing the muscles of the digestive system, guava leaf tea helps reduce indigestion, gas, and bloating.

How to Apply:

  • Boil 10-12 fresh or dried guava leaves in 2 cups of water for 10 minutes. To help with digestion or to treat diarrhea, strain and drink twice a day.

2. Lowers Blood Sugar Levels

  • Guava leaves are advantageous for diabetics and can help control blood sugar levels:
  • Lowers Glucose Absorption: Research has indicated that guava leaf tea lowers blood sugar levels after meals by delaying the absorption of glucose in the intestines.
  • Controls Insulin Production: Regular consumption of guava leaf tea can help reduce blood sugar rises and enhance insulin sensitivity.

How to Apply:

  • Simmer ten to fifteen guava leaves in three cups of water. To help control blood sugar, strain the tea and consume it once a day, especially after meals.

3. Encourages Loss of Weight

  • Guava leaf tea is a fantastic supplement for any weight-loss regimen:
  • Prevents Carbohydrate Absorption: Guava leaves block the absorption of complex carbs, preventing them from converting into sugars and fats, so helping to reduce body fat.
  • Boosts Metabolism: Drinking guava leaf tea on a regular basis may help you reach your weight loss objectives by boosting metabolism and promoting fat burning.

How to Apply:

  • After eating, sip guava leaf tea to help stop the body from absorbing too many carbohydrates.

4. Promotes Healthy Skin

  • Guava leaves are a great way to cure a variety of skin issues because of their antibacterial and anti-inflammatory qualities.
  • Treats Acne: Guava leaves help combat bacteria that cause acne and reduce inflammation, leading to cleaner skin.
  • Prevents Premature Aging: Guava leaves’ antioxidants work to counteract free radicals, which helps minimize the appearance of wrinkles and fine lines and keep your skin looking young and radiant.

How to Apply:

  • For ten to fifteen minutes, boil a handful of guava leaves in water. To lessen acne and enhance the health of your skin, let the water cool and use it as a facial rinse or dab the tea onto your skin using a cotton ball.

5. Enhances Heart Function

  • There are various ways that guava leaf tea has been shown to enhance heart health:
  • Lowers Cholesterol: Drinking guava leaf tea on a regular basis helps lower LDL (bad) cholesterol levels, which helps ward off heart disease.
  • Blood Pressure Control: Guava leaves’ potassium and antioxidants assist in controlling blood pressure and lowering the risk of hypertension.

How to Apply:

  • Drink guava leaf tea once or twice daily to help regulate cholesterol levels and enhance cardiovascular health.

6. Addresses Respiratory Problems

  • Guava leaf tea can help relieve coughs, colds, and bronchitis symptoms:
  • Reduces Inflammation: Breathing becomes easier when the respiratory system is less irritated due to the anti-inflammatory qualities of guava leaves.
  • Cough Suppressant: Drinking guava leaf tea might help ease coughing and relieve sore throats.

How to Apply:

  • Brew a warm tea by boiling a few guava leaves in water. Inhale the steam to assist relieve congestion for additional relief.

7. Strengthens Immunity

  • Antioxidants and vitamin C, which are abundant in guava leaves, boost immunity:
  • Prevents Infections: The rich vitamin C content of guava leaves fortifies your body’s resistance to disease.
  • Fights Inflammation: The body is better protected against chronic diseases brought on by inflammation because to the anti-inflammatory qualities.

How to Apply:

  • To naturally strengthen your immune system, regularly sip guava leaf tea.

How to Make Tea with Guava Leaf:

Components:

  1. 10–15 guava leaves, either fresh or dried
  2. 2-3 cups water
  3. Lemon or honey, to taste, are optional.

Guidelines:

  • Rinse the guava leaves carefully to remove any dirt.
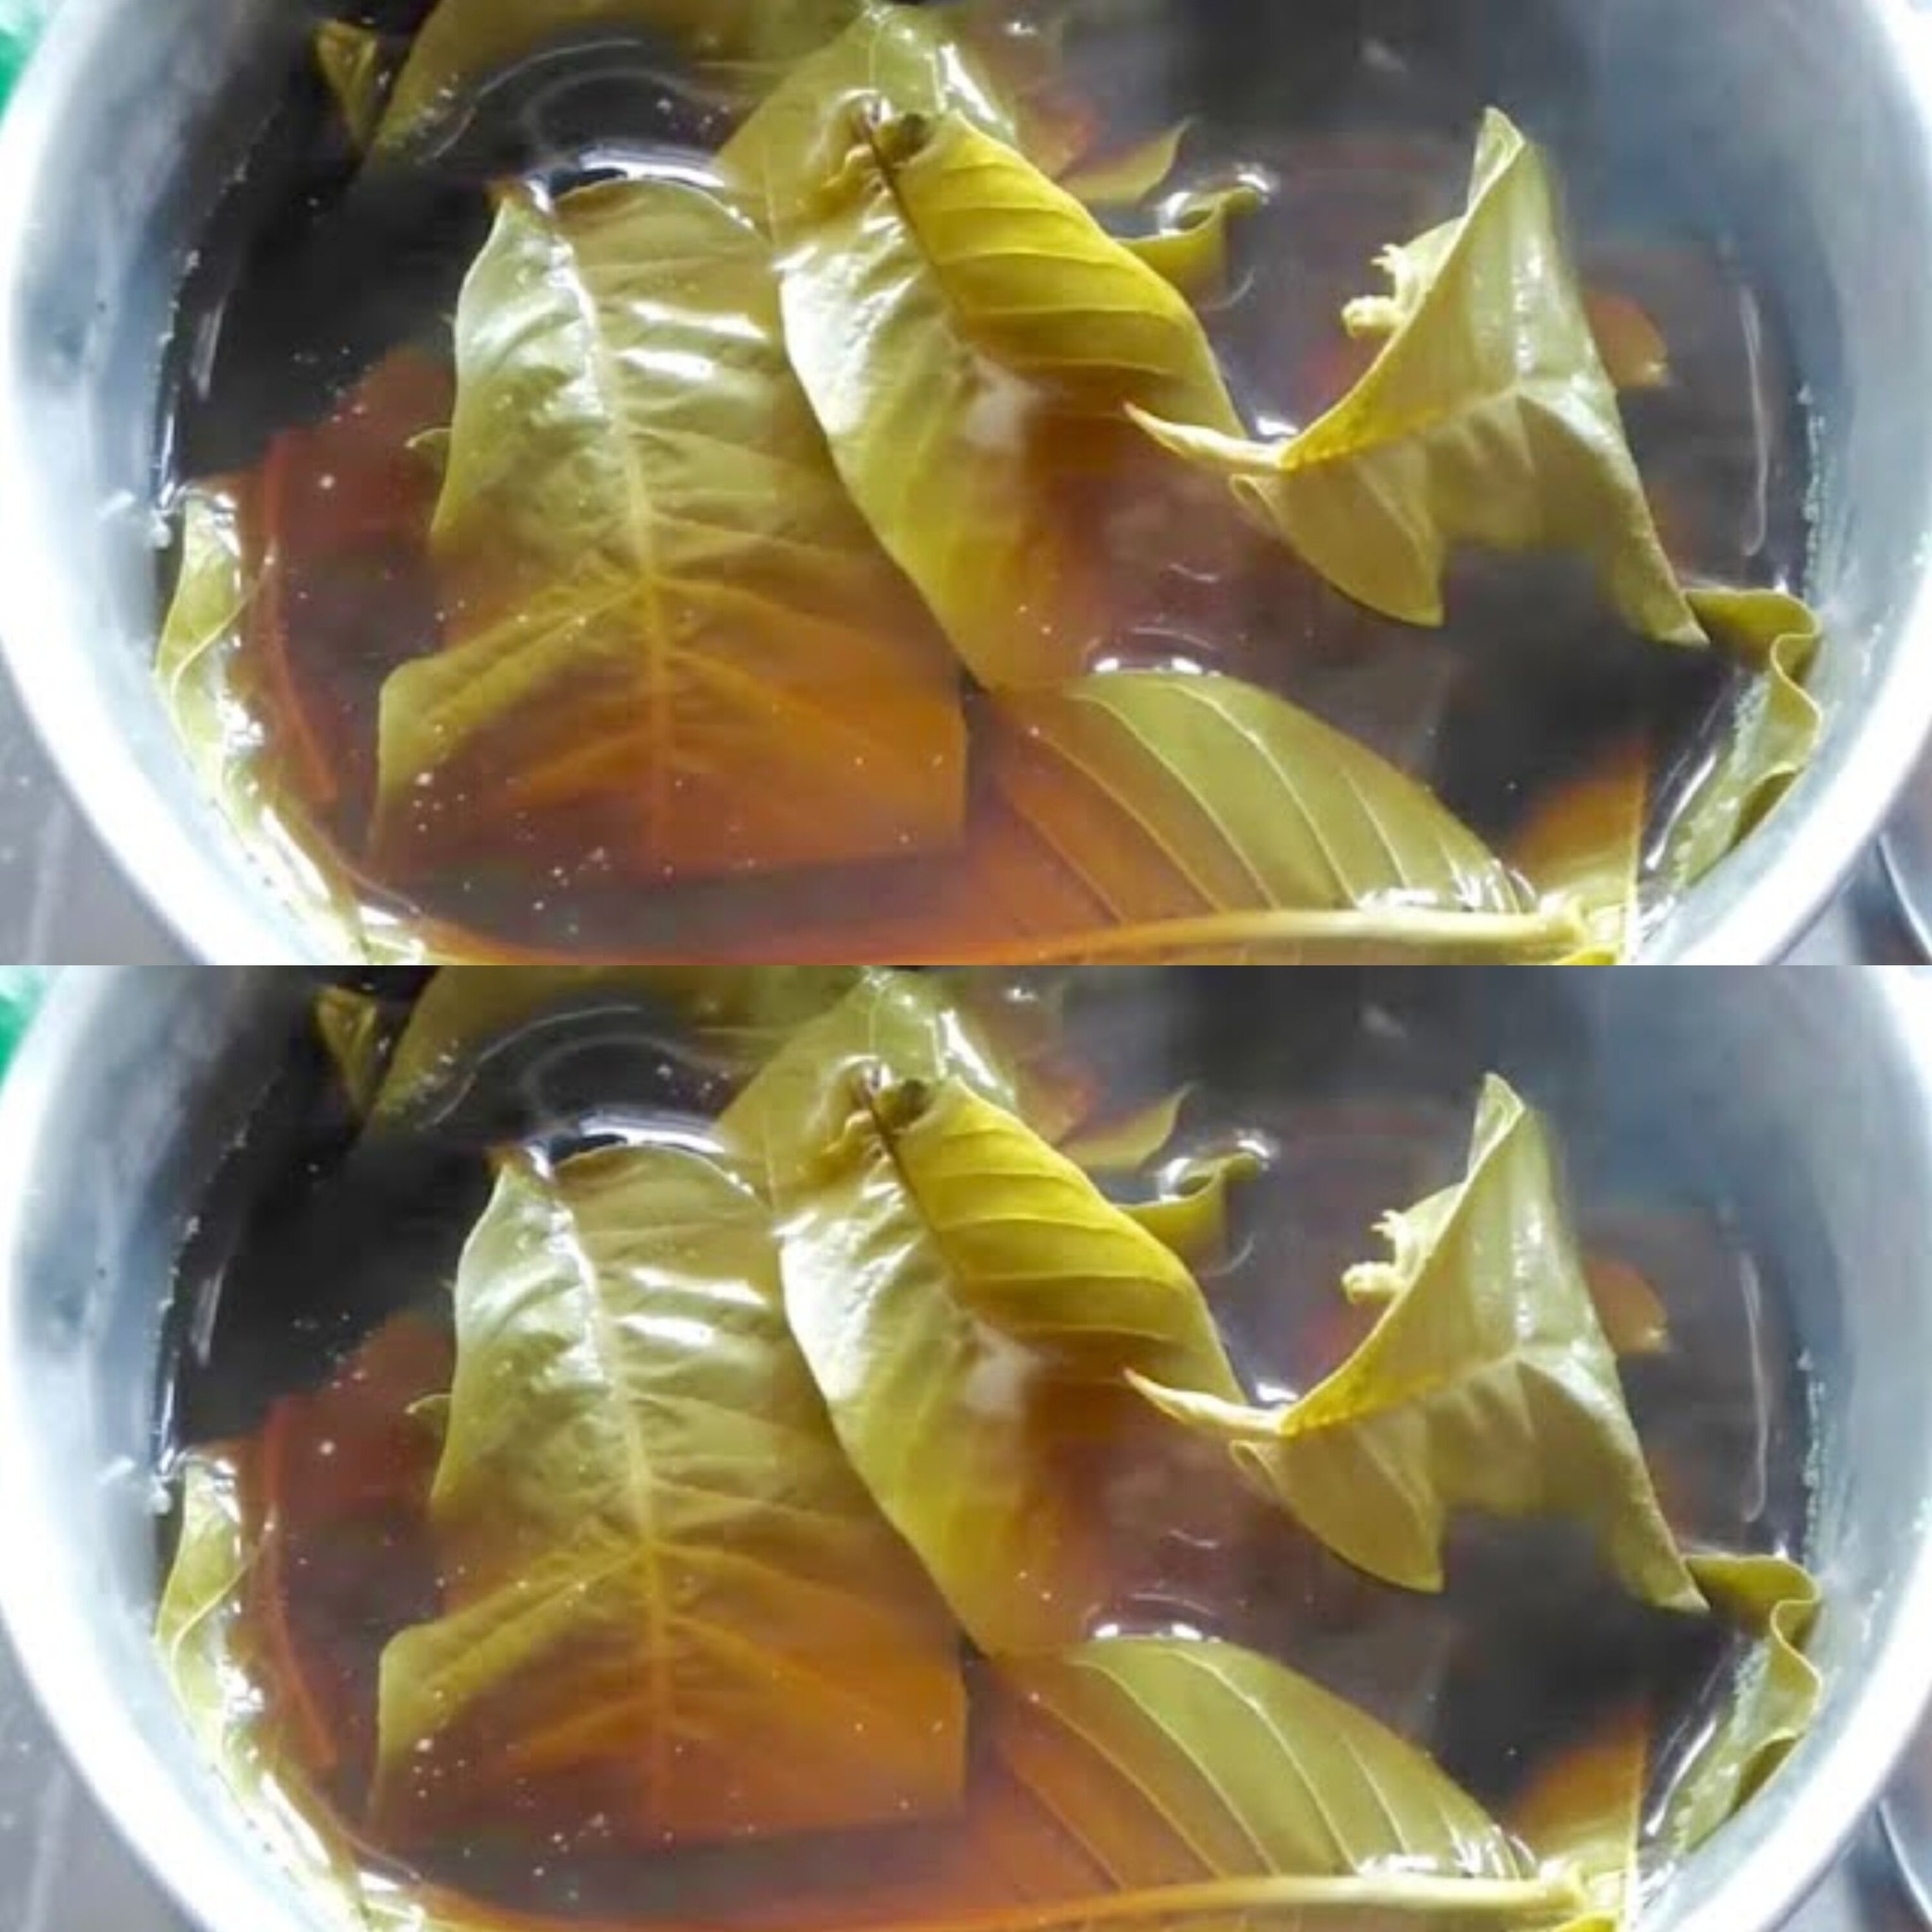
  • In a pot, bring two to three cups of water to a boil.
  • Once the water is boiling, add the guava leaves and lower the heat to a simmer.
  • To extract the nutrients, boil the leaves for ten to fifteen minutes.
  • After straining, pour in some honey or lemon, if preferred.
  • Savor the health advantages of a warm beverage.

Last Words:

  • One effective method to take use of guava leaves’ amazing health advantages is to boil them to make an infusion or tea. From improving digestion and heart health to boosting immunity and treating skin conditions, guava leaf tea is a simple and natural remedy for many ailments. Include guava leaf tea in your regular routine to reap the health advantages of this adaptable and restorative beverage!

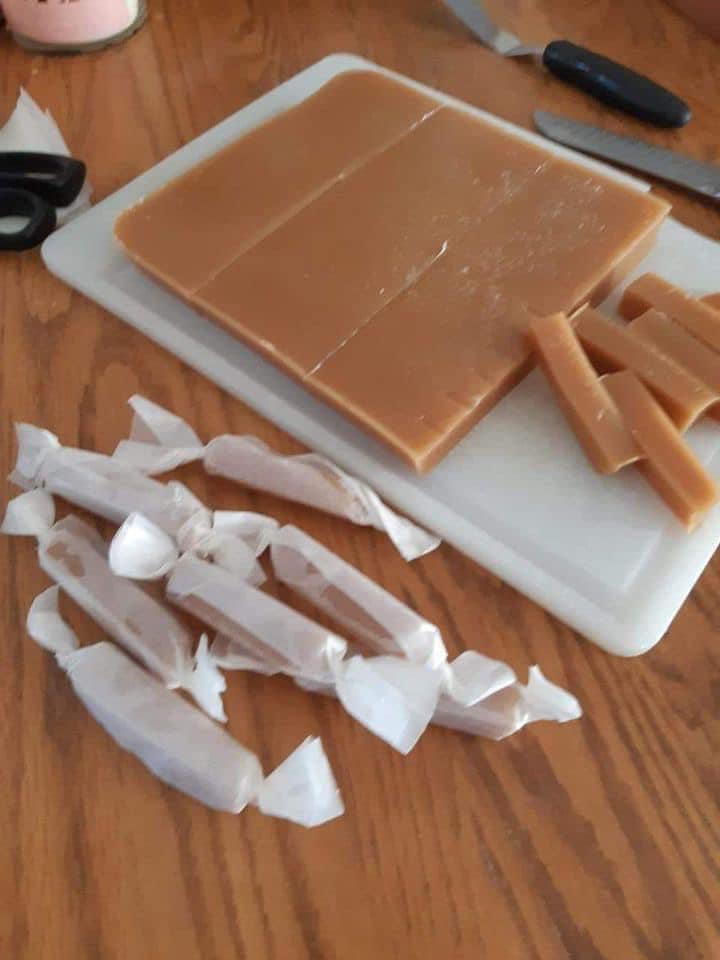
Minute Caramel

Minute Caramel

Components:

  1. 4 tbsp butter and 1 cup packed brown sugar
  2. one-fourth cup heavy cream
  3. One teaspoon vanilla extract
  4. A pinch of salt, if desired

Guidelines:

1. Mix the ingredients together:

  • Combine the butter, heavy cream, and brown sugar in a small saucepan.

2. Stir and heat:

  • Stirring continually, cook over medium heat until the butter melts and the sugar entirely dissolves. This ought to take two to three minutes.

3. Simmer:

  • After everything is well mixed, slowly bring the mixture to a boil. Allow it to boil for one minute while stirring constantly.

4. Include the salt and vanilla:

  • Take the pot off of the burner. For added flavor, stir in the vanilla extract and a small amount of salt, if using.

5. Chill and Present:

  • Before using, allow the caramel to cool for a few minutes. As it cools, it will get slightly thicker.

Advice:

  • Storage: You can keep leftover caramel in the fridge for up to a week by putting it in an airtight jar. If it gets too thick, reheat it in the microwave or on the stovetop.
  • Consistency: You can thin out the caramel if you’d like by adding a tablespoon or so extra cream at a time until you have the right consistency.

When you need a sugar fix quickly, our Minute Caramel is the ideal solution—it’s quick and simple!

Made Orange Cake

Made Orange Cake

Ingredients:

With regard to the Cake:

  1. 1 and a half cups flour (all purpose)
  2. a one cup of sugar powder
  3. Baking powder, 1 1/2 teaspoons
  4. Half a teaspoon of baking soda
  5. one-fourth teaspoon salt
  6. One-half cup softened unsalted butter
  7. two huge eggs
  8. Juice from one or two fresh oranges, around 1/2 cup
  9. 1 orange’s zest
  10. one-half cup milk
  11. One teaspoon of vanilla extract

About the Optional Glaze:

  • half a cup of sugar, powdered
  • two to three tablespoons of fresh orange juice
  • Peel and discard the half an orange.

you also may like this

Old Fashioned Pancakes

https://technicalaia.com/old-fashioned-pancakes/

guidelines

Set the oven to preheat:

  • Dust a 9-inch round cake pan (or loaf pan) with cooking spray and preheat the oven to 350°F (175°C). Additionally, for simpler removal, you can line the bottom with parchment paper.

2. Combine the granular ingredients.

  • Whisk together the flour, baking soda, baking powder, and salt in a large bowl.

3. Whip the sugar and butter together.

  • In a another bowl, beat the sugar and softened butter together for two to three minutes, or until the mixture becomes light and fluffy. Making the cake lighter and more airy is aided by this step.

4. Incorporate the moist components.

  • Stir thoroughly after each addition of eggs, one at a time. After that, stir in the milk, vanilla extract, orange zest, and juice. Blend until well blended.

5. Mix the liquid and dry ingredients together:

  • Mix everything just till it’s fully blended after gradually adding the dry components to the wet ones. Don’t overmix, please.

6. Make the cake:

  • Smooth the top of the batter after pouring it into the prepared cake pan. When a toothpick is placed into the center, the baked food should come out clean after 30 to 35 minutes. Golden brown is how the top should look.

7. Let the Cake Cool:

  • When the cake is almost cool, take it out of the pan and place it on a wire rack to finish cooling.

8. Apply the optional glaze:

  • Puree the orange juice and powdered sugar until smooth if you prefer a straightforward glaze. For added taste, add orange zest. Over the cooled cake, drizzle the glaze.

In serving mode:

  • Garnish the cake with powdered sugar or serve it just as is. With a cup of tea or coffee, it is the perfect match!

A word of advice:

  • You can use a combination of orange and lemon zest or even add more orange zest for an added citrus flavor.
  • Incorporate chopped nuts or dried cranberries for an unexpected touch to add additional texture.
  • Remaining cake can be refrigerated for up to a week or kept at room temperature for up to three days in an airtight container.

Take pleasure in each bite’s revitalizing citrus kick!

Tiramisu

Tiramisu

Components:

Regarding the Coffee Blend:

  • One cup of strongly brewed, chilled coffee
  • 2 tablespoons of coffee liqueur (extra)

Regarding the Cream Layer:

  • Three sizable eggs, divided
  • 1/2 cup of sugar, granulated
  • Room temperature mascarpone cheese, 8 ounces
  • One cup of heavy cream

To Assemble:

  • 24–30 ladyfinger biscuits, or savoiardi
  • powdered cocoa without sugar (for dusting)
  • Shavings of dark chocolate (optional; garnish)

Guidelines:

Get the coffee mixture ready.

  • Pour the chilled coffee and coffee liqueur (if using) into a shallow dish. Put aside.

Create the Layer of Cream:

  • Beat the egg yolks and sugar in a mixing dish until the mixture is light and creamy.
  • To the egg mixture, add the mascarpone cheese and stir until completely blended and smooth.
  • Beat the heavy cream in a separate bowl until soft peaks form.
  • To properly incorporate the whipped cream into the mascarpone mixture, fold it in gently.

Put the Tiramisu together:

  • Make sure the ladyfingers are moistened but not soggy by quickly dipping them into the coffee mixture.
  • Spoon half of the soaked ladyfingers onto an 8×8-inch (or comparable) dish, arranging them in a single layer at the bottom.
  • Over the ladyfingers, spread half of the mascarpone mixture.
  • Using the remaining ladyfingers and mascarpone mixture, repeat the layering process.

Relax:

  • To enable the flavors to mingle, cover the dish with plastic wrap and refrigerate for at least 4 hours, or better yet, overnight.

Serve:

  • Dust the top with cocoa powder and, if like, add chocolate shavings as a garnish before serving.

Savor the Tiramisu you created at home! It’s a rich, creamy dessert that never fails to please guests.

Ooey Gooey Bars

Ooey Gooey Bars

Components:

Regarding the Base:

  1. 1 box (15.25 oz) of yellow cake mix
  2. Half a cup of melted unsalted butter
  3. One big egg
  4. Half a cup of chocolate chips, if desired

Regarding the Filling:

  • One box (8 oz) of softened cream cheese
  • Two big eggs
  • Two cups of sugar powder
  • One teaspoon vanilla extract

Guidelines:

Warm up the oven:

  • Set the oven temperature to 350°F (175°C). For easy removal, grease or line a 9 x 13-inch baking pan with parchment paper.

Create the Foundation:

  • Melted butter, egg, and yellow cake mix should all be combined in a big bowl. Blend until thoroughly blended.
  • At this point, fold in the chocolate chips if using them.
  • Evenly press the mixture into the bottom of the baking pan that has been prepared.

Get the Filling Ready:

  • Cream cheese that has softened should be smoothed out in a different bowl.
  • Whisk in the eggs, vanilla essence, and powdered sugar. Blend until smooth and fully combined.

Put Together:

  • Over the cake mix base in the baking pan, pour the cream cheese filling. Use a spatula to properly spread it.

Cook:

  • A toothpick put into the center should come out clean or with a few moist crumbs (but not wet batter) after baking for 30 to 35 minutes in a preheated oven.

Chill and Present:

  • Before slicing the bars into squares, let them cool in the pan. They can be served room temperature or heated.

Savor the delicious Ooey Gooey Bars! These are great for a delicious treat at home or at potlucks and events.