Mix Cloves With Ginger, Lemon & Cinnamon to Lose Belly Fat

Mix Cloves With Ginger, Lemon & Cinnamon to Lose Belly Fat | Clove Tea | Clove Detox Water

A strong tea with fat-burning properties can be made by mixing cloves, ginger, lemon, and cinnamon if you’re searching for a natural beverage that can help you shed belly fat and detoxify your body. Each of these components improves digestion and metabolism and lowers inflammation and cravings, among other things. Let’s look at how to prepare this clove detox tea and why it works so well for reducing visceral fat and enhancing general health.

Reasons This Combination Helps Reduce Belly Fat:

Cloves:

  • Antioxidants and anti-inflammatory substances found in cloves aid in digestion and metabolism enhancement, which lowers bloating and fat storage.

Ginger:

  • Ginger stimulates thermogenesis, which is the body’s process of producing heat, which enhances fat burning, decreases inflammation, and improves digestion. It also aids in appetite suppression, which lowers caloric consumption.

Lemon:

  • Lemons are rich in antioxidants and vitamin C, which aid in detoxification and the removal of pollutants. It also improves fat metabolism and helps with digestion.

Cinnamon:

  • In particular, cinnamon helps control blood sugar levels and avoids insulin surges, which cause fat to be stored, particularly around the abdomen. Moreover, it increases metabolism and aids with desire control.
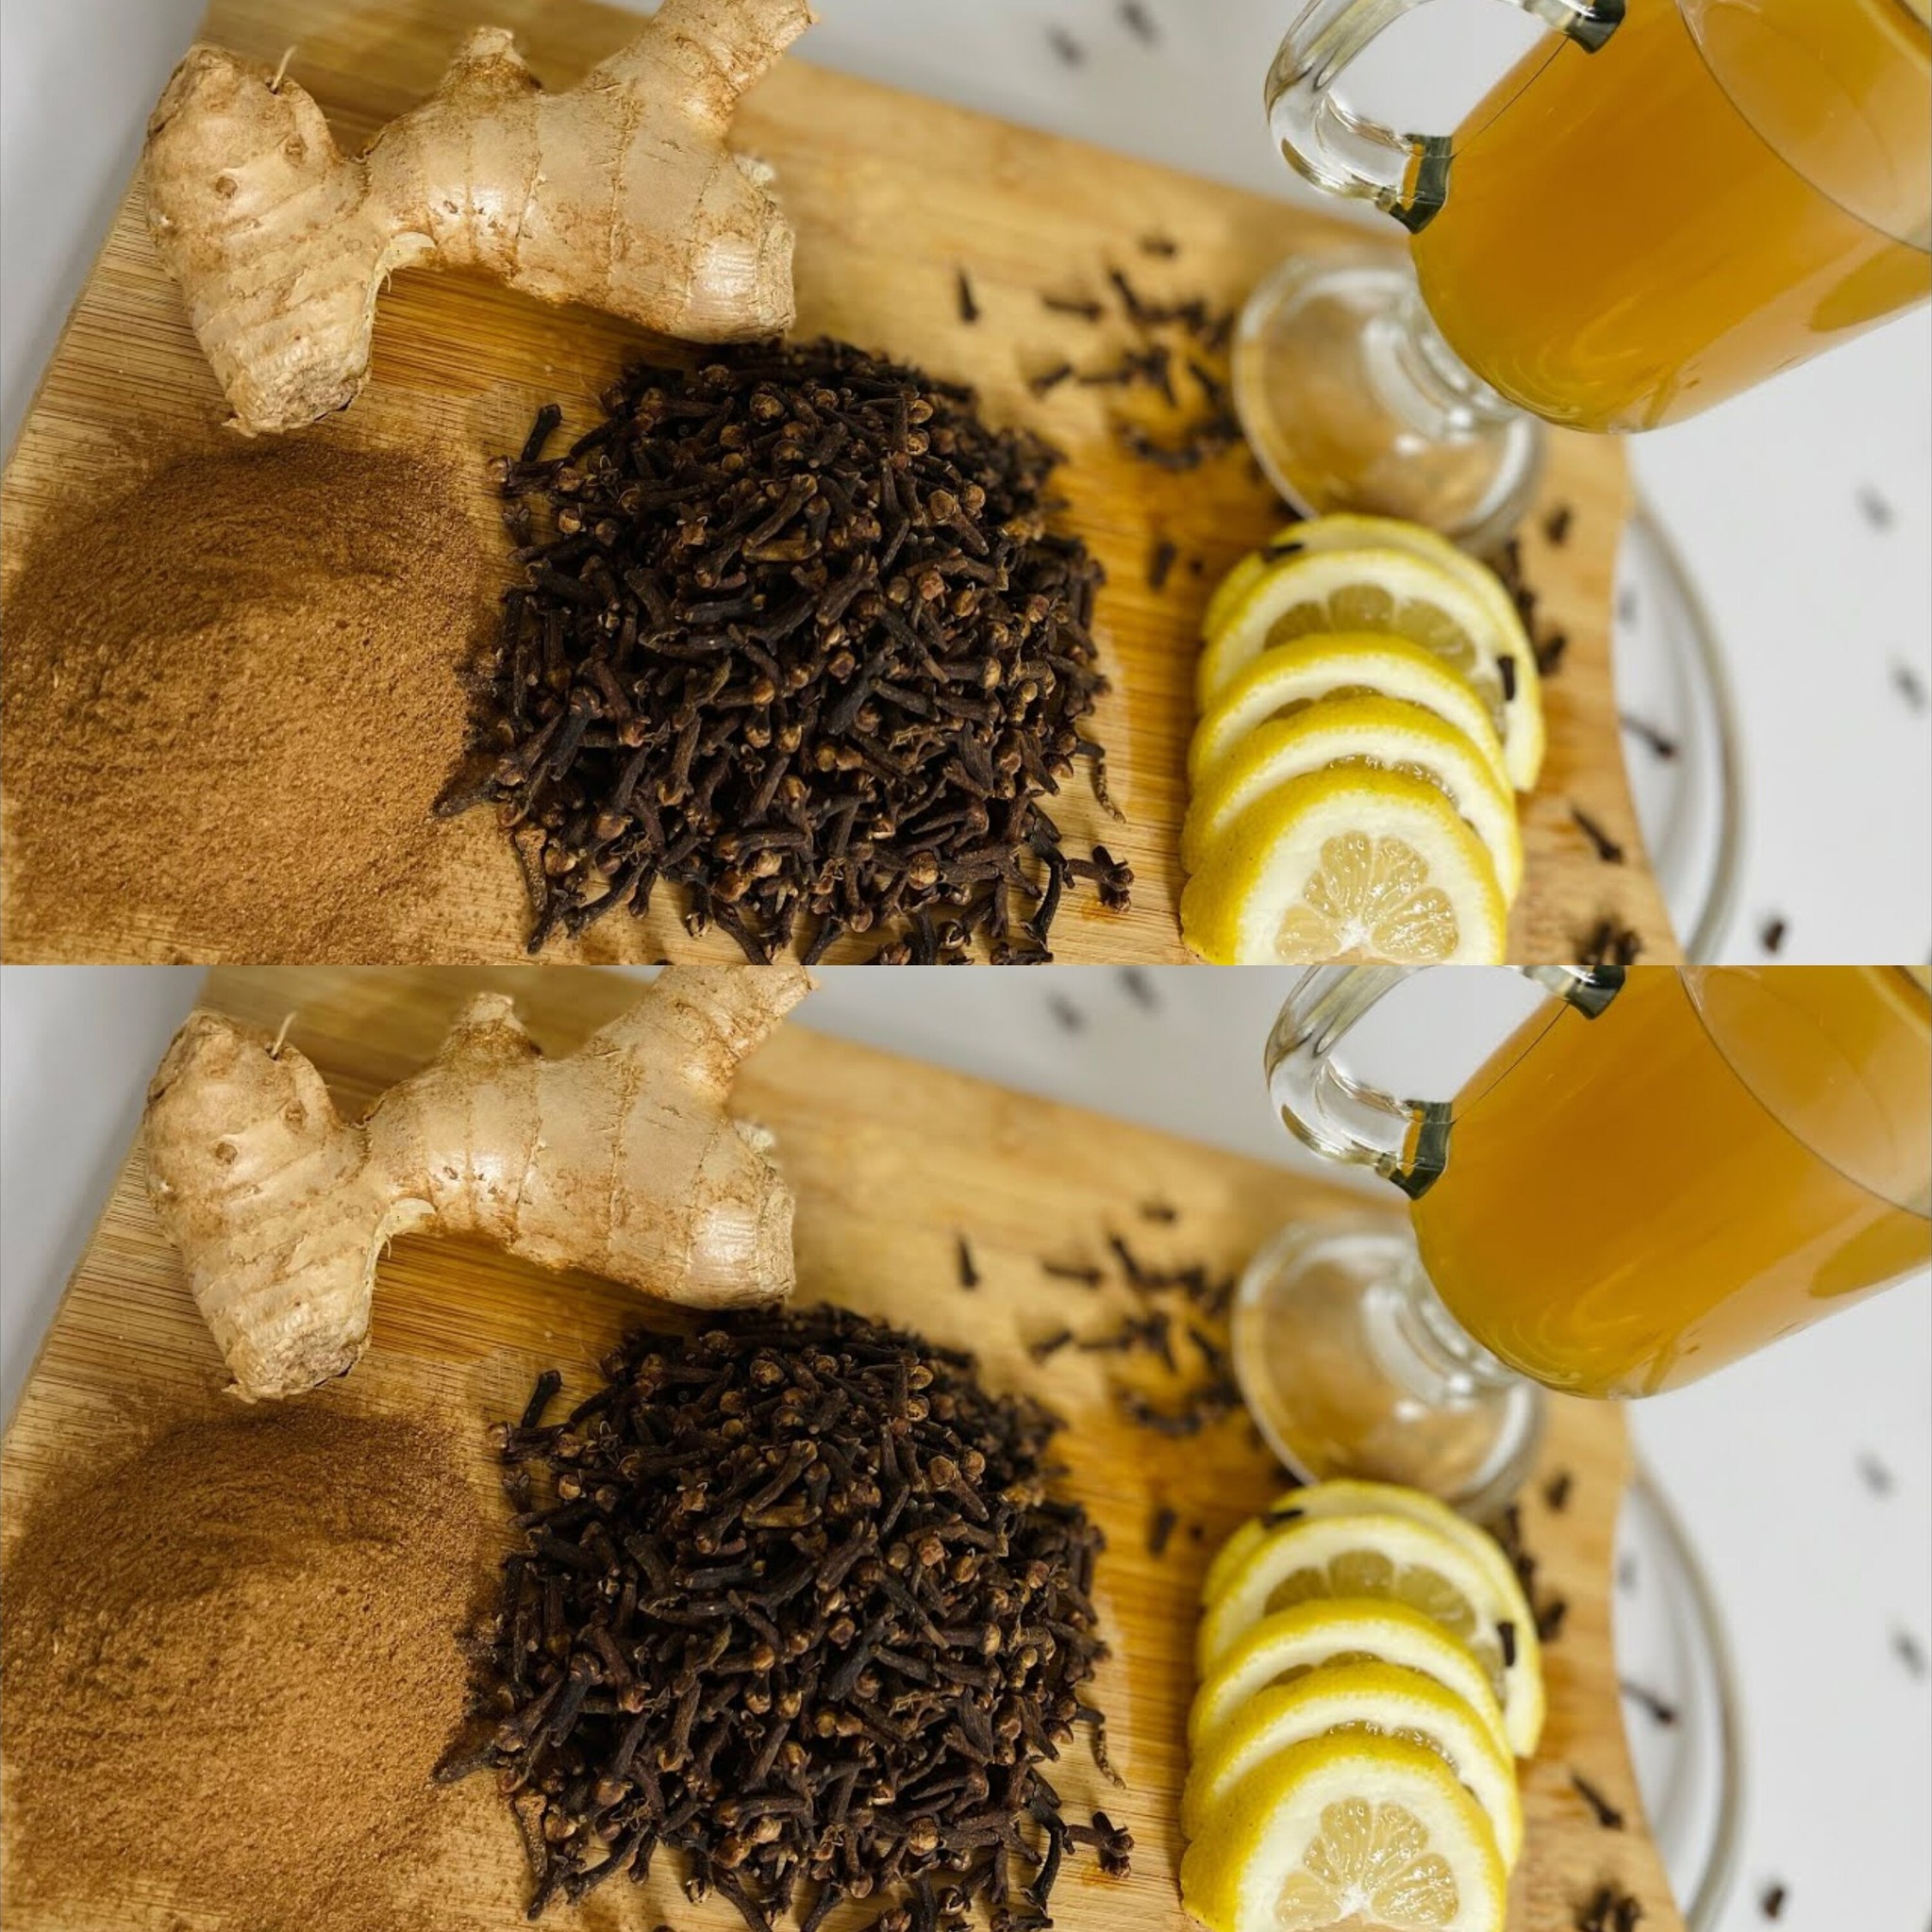
Components:

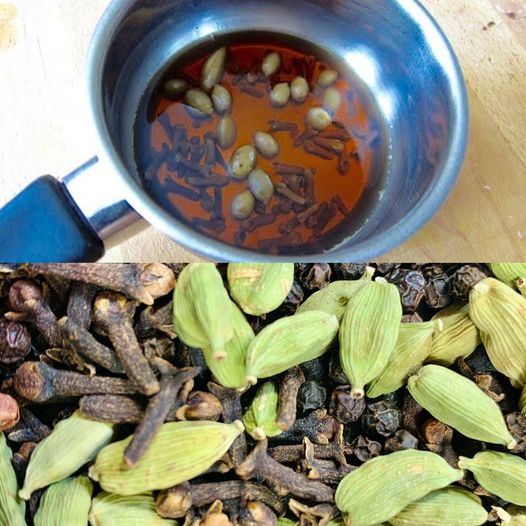
  1. One teaspoon of whole cloves
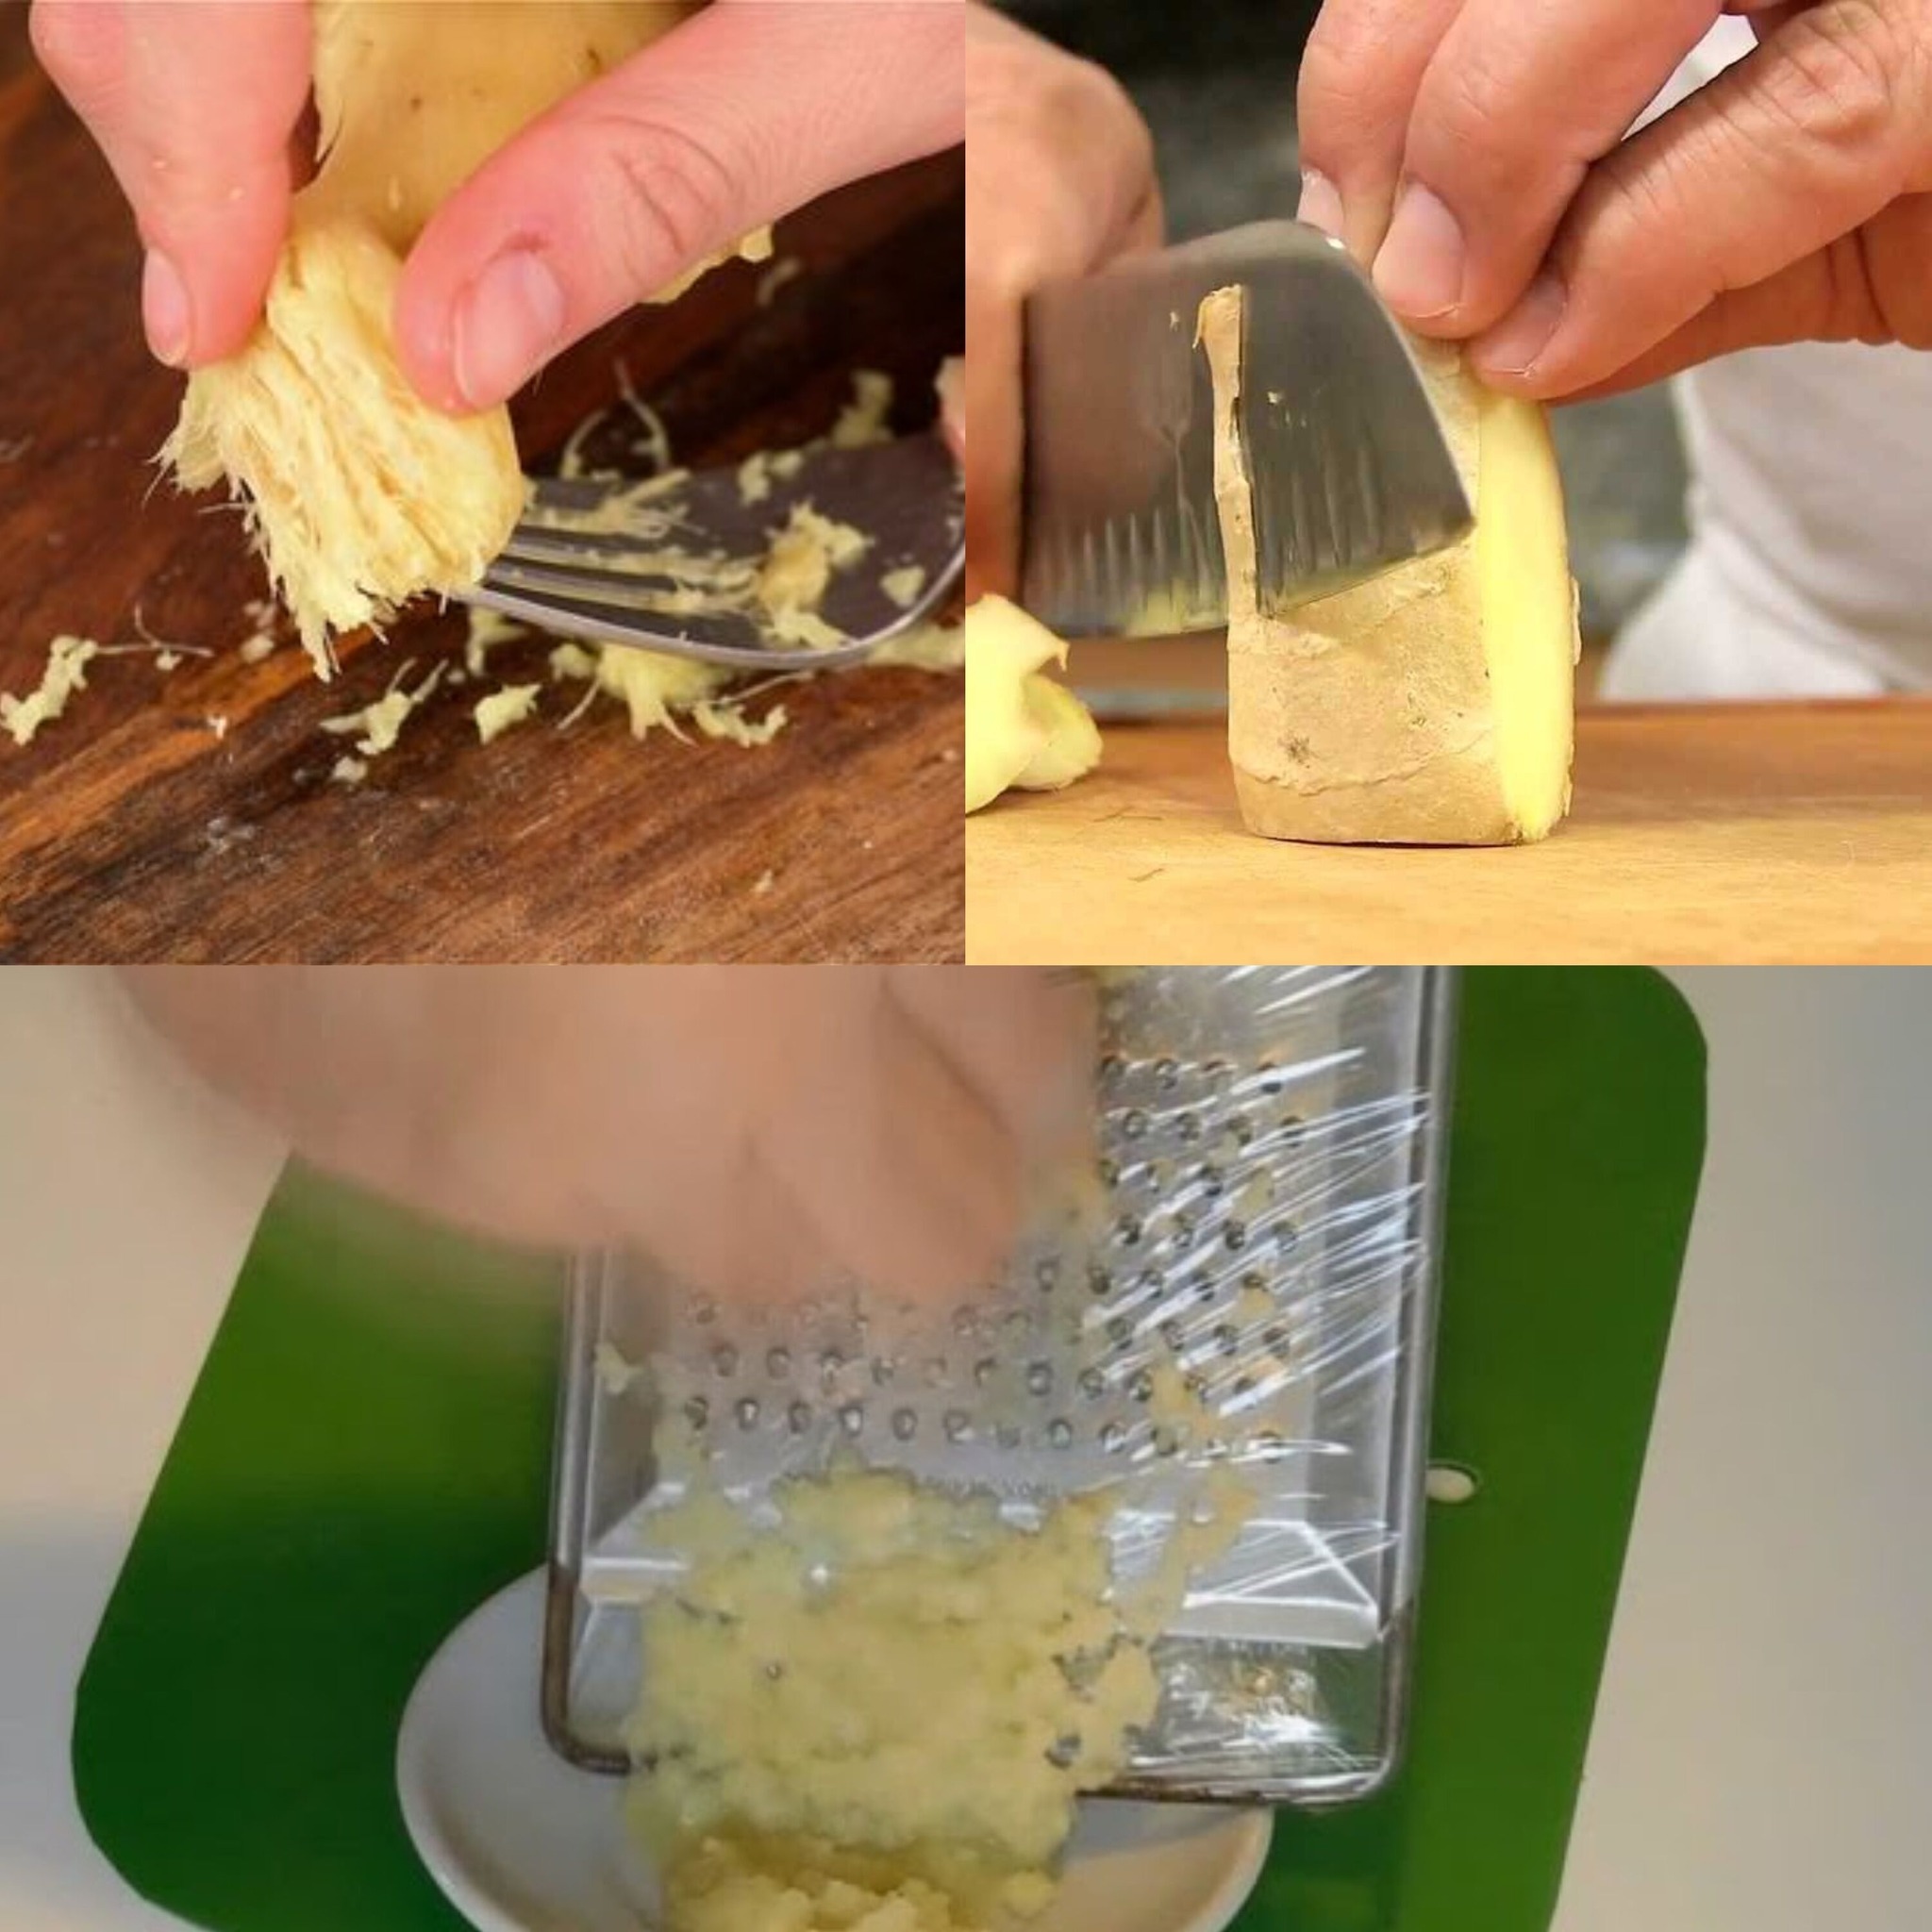
  2. One inch of freshly grated or sliced ginger root
  3. One teaspoon of ground cinnamon or one cinnamon stick
  4. One lemon’s juice
  5. Four cups of water
  6. One tsp honey (to taste, optional)

Guidelines:

Step 1: Bring Water to a Boil

  • Boil Water: Place 4 cups of water in a small pot and bring it to a boil.

Step 2: Include the cinnamon, ginger, and cloves.

  • Add the Ingredients: Add 1 teaspoon of whole cloves, 1 cinnamon stick (or ground cinnamon), and 1 slice or grated ginger while the water is boiling.
  • Simmer: To enable the ingredients to properly infuse, reduce the heat and simmer the mixture for ten to fifteen minutes.

Step 3: Pour Lemon Juice and Strain

  • After the tea has simmered, drain it to get rid of the chunks of cinnamon, ginger, and cloves.
  • Add Lemon Juice: Thoroughly mix the tea after adding the juice of one lemon.

Step 4: Optionally Add Honey

  • Optional Sweetener: You can increase the tea’s sweetness by adding one teaspoon of honey. Stir until the substance is dissolved.

Step 5: Consume Water Every Day

  • Drink the Tea: Drink this clove detox tea one or two times a day, ideally first thing in the morning, before meals, on an empty stomach.

Extra Advice for Losing the Most Belly Fat:

  • Keep Yourself Hydrated: To promote the detoxification process and facilitate digestion, sip lots of water throughout the day.
  • Eat a Balanced Diet: Combine this detox tea with a nutritious diet rich in fruits, vegetables, lean proteins, and whole foods. Steer clear of processed foods and sweeteners as these might increase abdominal fat.
  • Exercise Frequently: To hasten fat reduction, particularly around the abdomen, use strength and cardio activities.
  • Get Enough Sleep: Sleep deprivation has been linked to weight growth. For optimal fat reduction, try to get 7–8 hours of good sleep per night.

Anticipated outcomes:

  • Day 1-3: Your abdomen will feel flatter as a result of better digestion and possibly less bloating.
  • Day 4-5: You might experience a decrease in cravings, an increase in energy, and observable changes in your visceral fat.
  • Day 6-7: By the conclusion of the week, you should be able to see a reduction in belly fat, a smaller waist, and better digestion.

Advantages of Clove Detox Tea for Health:

  • Boosts Metabolism: Cloves, ginger, and cinnamon work together to raise your body’s metabolic rate, which accelerates the burning of fat and calories.
  • Enhances Digestion: Lemon and ginger promote better digestion, lessen bloating, and increase the body’s ability to expel waste.
  • Controls Blood Sugar: By lowering insulin surges that cause the storage of fat in the abdomen, cinnamon helps regulate blood sugar levels.
  • Detoxifies the Body: By encouraging liver health and enhancing your body’s detoxification processes, the lemon and ginger assist remove toxins from your system.
  • Anti-Inflammatory Properties: The anti-inflammatory qualities of cloves, ginger, and cinnamon help lessen inflammation, which is a factor in weight gain.

In summary:

  • With cloves, ginger, lemon, and cinnamon, you can naturally and effectively target abdominal fat, increase metabolism, and detoxify your body with this clove detox tea. In just one week, if you drink this tea regularly and lead a healthy lifestyle, you’ll start to see incredible effects. You’ll be astounded by how effective this combination may be for your weight reduction efforts after you give it a try!

Light and Fluffy Japanese Cheesecake

Light and Fluffy Japanese Cheesecake

Components:

Regarding the Cheesecake:

  1. 8 ounces (225 grams) softened cream cheese
  2. 60ml, or 1/4 cup, whole milk
  3. 50g or 1/4 cup of granulated sugar
  4. Three sizable eggs, divided
  5. One tablespoon of lemon juice
  6. One tsp vanilla essence
  7. 65g or 1/2 cup cake flour
  8. 1/4 tsp salt
  9. 1/4 teaspoon (optional) cream of tartar

Guidelines:

1. Get the oven ready:

  • Set oven temperature to 320°F, or 160°C. To stop water from leaking in, line the bottom of an 8-inch (20 cm) round cake pan with parchment paper and cover the exterior with aluminum foil.

2. Get the batter ready:

  • Melt Cream Cheese: Heat the cream cheese and milk together in a microwave or double boiler until they are smooth. Let it cool down a little.
  • Mix Yolks: Using a bowl, thoroughly whisk the egg yolks, sugar, vanilla extract, and lemon juice. Smoothly stir in the melted cream cheese mixture.
  • Sift in Flour: Sift in the salt and cake flour, then gently fold to mix.

3. Beat the Egg Whites:

  • Beat the egg whites until foamy in a separate dish. Add the cream of tartar, if using, and beat until soft peaks form. Add the two tablespoons of sugar gradually while beating until stiff peaks form.

4. Mixing Consolidations:

  • For the cream cheese mixture, gently fold in one-third of the whipped egg whites to lighten it. Next, gently fold in the remaining egg whites until no streaks of white are visible. To keep the batter airy, proceed gently.

5. Cook:

  • Transfer the mixture into the ready-made cake pan. To make a water bath, place the pan in a larger baking dish and fill it halfway up the sides of the cake pan with hot water.
  • Bake for fifty to sixty minutes, or until a toothpick inserted in the center comes out clean and the top is lightly brown. The cheesecake shouldn’t be moist; it should wobble just a little.

6. Cool

  • After turning off the oven and opening the door, let the cheesecake cool gradually for about half an hour. Once at room temperature, take it out of the oven and place it in the refrigerator to chill for at least four hours or overnight.

7. Present:

  • The cheesecake should be carefully taken out of the pan, sliced, and served either plain or with fresh fruit or powdered sugar on top.

Savor this soft, airy Japanese cheesecake! It’s the ideal dessert for any situation.

LENTIL SOUP

LENTIL SOUP

Components

  1. One tablespoon of olive oil
  2. one sliced onion
  3. two chopped carrots
  4. two chopped celery stalks
  5. two minced cloves of garlic
  6. One teaspoon of cumin powder
  7. One tsp finely ground coriander
  8. Half a teaspoon of optional smoked paprika
  9. 1 cup washed lentils, either brown or green
  10. One 14-oz can of chopped tomatoes with juice
  11. Six cups of chicken or veggie broth
  12. Two cups optionally of kale or spinach
  13. To taste, add salt and pepper.
  14. Juice from fresh lemons (for serving)
  15. Chopped fresh parsley (for garnish)

Guidelines

  • Sauté Vegetables: Place a large saucepan over medium heat with the olive oil. Stir in the celery, carrots, and onion. Vegetables should be sautéed for five to seven minutes to soften them.
  • Add the spices and garlic: Stir in the smoked paprika, cumin, coriander, and minced garlic. Cook until aromatic, about 1 more minute.
  • Add Lentils and Tomatoes: Fill the saucepan with the chopped tomatoes and washed lentils. Mix everything together.
  • Add Broth: Add the chicken or vegetarian broth. After bringing the mixture to a boil, lower the heat, and simmer it for 25 to 30 minutes, or until the lentils are soft.
  • Add Greens (if Using): Cook the spinach or kale for the final five minutes of cooking, stirring until it wilts.
  • Seasoning: Use salt and pepper to taste and adjust as necessary.
  • Pour the soup into dishes to serve. Add a squeeze of fresh lemon juice and sprinkle chopped parsley on top.

Have fun!

  • This lentil soup is a fantastic option for a comforting supper because it’s flavorful and filling. To further personalize it, feel free to add extra veggies or spices!

Creamy Garlic Butter Lobster Tails

Creamy Garlic Butter Lobster Tails

Components

  1. Four tablespoons unsalted butter and two lobster tails
  2. four minced garlic cloves
  3. Half a cup of heavy cream
  4. 1/4 cup of Parmesan cheese, grated
  5. One tablespoon of lemon juice
  6. One tsp of paprika
  7. To taste, add salt and pepper.
  8. Chopped fresh parsley (for garnish)
  9. slices of lemon (for serving)

Guidelines

  • Oven Prep: Set the oven’s temperature to 375°F, or 190°C.
  • To prepare the lobster tails, cut the top shell down the middle to reveal the meat with kitchen shears. Carefully extract the meat and place it atop the shell. The tails should be put in a baking dish.
  • To prepare the Garlic Butter Sauce, melt the butter in a skillet over a medium heat. When the garlic is aromatic, add the minced garlic and sauté it for one to two minutes.
  • Cream and Cheese Addition: Blend in the heavy cream, lemon juice, paprika, Parmesan cheese, salt, and pepper. Simmer for a further two to three minutes, or until the sauce is well cooked and beginning to thicken.
  • Mix and Bake: Coat the lobster tails thoroughly with the creamy garlic butter sauce by pouring it over them.
  • Bake: For 15 to 20 minutes, or until the lobster meat is opaque and well cooked, place the baking dish in the preheated oven.
  • Garnish and Serve: Take out of the oven, top with chopped parsley, and present alongside wedges of lemon.

Advice

  • Before baking, you can add extra flavour and texture by sprinkling some breadcrumbs on top.
  • For a full dinner, serve with garlic bread or a side of asparagus.

Savor your lobster tails with creamy garlic butter!

Sizzling Chinese Pepper Steak with Onions

Sizzling Chinese Pepper Steak with Onions

Components

  1. One-pound (450g) flank steak, cut thinly across the grain
    Two tsp soy sauce
  2. One tablespoon of corn flour
  3. Two tablespoons of split vegetable oil
  4. One large onion, cut into slices
  5. One sliced bell pepper, either red or green
  6. 2–3 minced garlic cloves
  7. one tsp finely chopped ginger
  8. One-fourth cup beef stock
  9. Oyster sauce, two tablespoons
  10. One tablespoon of sesame oil
  11. To taste, add salt and pepper.
  12. Prepared rice (to be served)

Guidelines

Let the steak marinate.

  • Place the flank steak slices, soy sauce, and cornflour in a bowl. Give it a good 15 to 30 minutes to marinate.

Prepare the Veggies:

  • Heat one tablespoon of vegetable oil in a big skillet or wok over medium-high heat. Add the bell pepper and onion slices. Stir-fry them for three to four minutes, or until they begin to soften. Cook the ginger and garlic together for a further minute. After taking them out of the pan, set the vegetables aside.

Prepare the steak:

  • Add the last tablespoon of vegetable oil to the same skillet. Put the marinated steak on top of the heat source in a single layer. Cook the steak for a further two to three minutes, or until it is browned and cooked through, after searing it for two to three minutes without stirring.

Mix Everything Together:

  • Place the meat back in the skillet along with the cooked vegetables. Stir in the oyster sauce, sesame oil, and beef broth. After giving everything a good stir, let it cook for a minute or so more. To taste, add salt and pepper for seasoning.

Serve:

  • Savor your hot pepper steak over cooked rice and savour the sizzling experience!

Advice

  • You can add sliced mushrooms or snow peas for more flavour.
  • Add some black pepper or crushed red pepper flakes to change the amount of spice.

Savor the flavorful Chinese pepper steak paired with onions!

Making Ginger Juice and Ginger Pulp

How to Grate Fresh Ginger Root: Making Ginger Juice and Ginger Pulp

Wonderful for flavour enhancement as well as many health advantages, ginger is an ingredient. Fresh ginger root can be difficult to grate, but with the correct tools and methods, it’s actually very easy. This is a step-by-step tutorial on grating ginger so you may prepare fresh ginger pulp and juice for use in recipes and medicinal purposes.

Items You’ll Require

  1. raw ginger root
  2. A microplate or grater
  3. A little bowl
  4. Cheesecloth or a strainer with fine mesh
  5. A sanitized storage container

Selecting and Getting Ready for Ginger

  • First things first: choose a fresh ginger root that is solid to the touch, devoid of soft areas and mould. The skin of fresh ginger will be taut and silky. Rinse the ginger root under cold water and scrape it clean to prepare it. The skin is very thin and contributes to the nutritional content of the ginger, so you can grate it without peeling it if you’d rather. Alternatively, you can use a vegetable peeler or the edge of a spoon to peel the ginger.

Gratifying the Ginger

  • Grate the ginger root into a bowl using a microplate or the tiniest holes on a regular grater. As you approach the ginger piece’s end, take extra care with your fingers. You’ll see that there is a lot of moist, pulpy material that gathers in the bowl.

Preparing Ginger Juice

  • Grated pulp should be pressed through cheesecloth or a fine mesh strainer placed over a basin or jug to remove the juice. Extract as much juice as you can. You may use this ginger juice right away for quick health shots in the morning or in drinks and sauces.

Making Use of Ginger Pulp

  • Never discard the remaining pulp! It can be used for baking or cooking and still retains flavour. For an added pop of flavour, use it to smoothies, stews, and soups. It works well for preparing marinades and spice pastes as well.

Keeping Pulp and Ginger Juice Stored

  • You can keep the pulp and ginger juice in the refrigerator. Use the juice within a week after storing it in a closed container. The pulp should keep in the refrigerator for a few days if kept in a small, airtight container. For easier use at a later time, you can also freeze the pulp in ice cube trays.

In summary

  • Although grating and pressing the juice from ginger may seem like little tasks, they are a terrific method to increase your nutrition and give your food a zesty, fresh flavour. Try it the next time you have fresh ginger on hand; your body and taste buds will appreciate it!

DELICIOUS AIR FRYER TILAPIA

DELICIOUS AIR FRYER TILAPIA This 15-minute Ninja Air Fryer Tilapia with Garlic Butter recipe will help you air fry tilapia fast and easily. It doesn’t need to be turned and simply requires a few seasonings. This seafood main dinner may be prepared in a normal air fryer and feeds two people wonderfully.

INGREDIENTS FOR  DELICIOUS AIR FRYER TILAPIA:

  • Fresh, thawed tilapia fillets (1 pound). If necessary, use smaller fillets so that two may fit in the basket; I used two 6-8 ounce fillets.
  • Two teaspoons of garlic butter.
  • Two teaspoons of olive oil.
  • One teaspoon Cajun spice) or lemon pepper spice (adjust to taste)
  • 2 tablespoons of freshly grated Parmesan cheese.

INSTRUCTIONS FOR  DELICIOUS AIR FRYER TILAPIA:

  • Tilapia fillets should be drizzled with olive oil.
    Sprinkle parmesan cheese and cajun spice on top, making sure the cheese is distributed evenly.
  • Optional: to help raise the fish. Line the air fryer basket with parchment paper liners.
  • Place the fish in the basket of the air fryer.
  • Turn on the air fryer to 400 degrees for 8-9 minutes. There’s no need to roll over.
  • Plate the fish and top with melted garlic butter.

FURTHER NOTES:

  • To help removing the fish easier, line your air fryer basket with an 8-inch circle of parchment paper or air fryer parchment paper liners. To prevent your fish from sticking, brush the bottom of the basket with cooking or olive oil.
  • Skin is not necessary. Your fish may come with skin on one side, depending on your vendor. Either way, they work wonderfully in this meal.
  • The time required to cook tilapia in an air fryer varies depending on the size of the fish, so adjust the timeframe appropriately. One of the benefits of using an air fryer is that you can always check on your meal. Fish should be cooked until it flakes easily with a fork and becomes opaque. Around a minute and a half in, you may start checking for doneness.
  • OPTIONAL: Before you eat, grab some lemon wedges and pour some fresh lemon juice over your delicate fish for an extra taste boost.


Delightful Air Fryer Hot Chicken and Cheese Wraps

Delightful Air Fryer Hot Chicken and Cheese Wraps; Air Fryer Hot Chicken and Cheese Wraps are a quick and easy supper with spicy chicken, melted cheese, and crispy wraps. These wraps have a pleasing blend of flavours and textures and are excellent for lunch, supper, or snacks.

Reasons to Love This Recipe

  • Simple: Ready in 20 minutes with little prep.
  • Crisp and Delicious: Gooey, melted cheese inside a crunchy exterior.
  • Customizable: Change spices and ingredients to your liking.
  • Ideal for meal prep: Make ahead and enjoy throughout the week.

Ingredients

What you need for Air Fryer Hot Chicken and Cheese Wraps:

For Chicken:

  1. 2 big cooked, shredded chicken breasts
  2. 1 Tbsp. olive oil
  3. 1 tablespoon spicy sauce (to taste)
  4. 1 tsp garlic powder
  5. 1 tsp paprika
  6. 1/2 tsp onion powder
  7. 1/2 tsp dried oregano
  8. Salt and black pepper to taste

For Wraps:

  • 4 large flour tortillas (or wraps)
  • 1 cup shredded mozzarella
  • 1/2 cup shredded cheddar
  • optional 1/2 cup cooked and shredded bacon
  • Optional 1/4 cup finely chopped green onions
  • Cooking spray

Optional serving:

  • Ranch/blue cheese dressing
  • Fresh carrots, celery sticks
  • Hot sauce extra

Instructions in detail

1. Chicken prep

  • heat and Shred Chicken: Salt and pepper chicken breasts and heat until done. Shred chicken with two forks or a hand blender.
  • Mix Recipe: Mix shredded chicken, olive oil, spicy sauce, garlic powder, paprika, onion powder, dried oregano, salt, and black pepper in a big bowl. Mix thoroughly to coat chicken.

2. Wraps Assembly

  • First, lay out the flour tortillas on a clean surface.
  • Fill tortillas: Spread spicy chicken mixture evenly. Add mozzarella and cheddar shredded cheese. Chopped green onions and crumbled bacon are optional.
  • Fold each tortilla’s sides over the filling and roll tightly from the bottom up to wrap. Make sure the filler is sealed.

3. Preheat Air Fryer

  • Start by preheating your air fryer for 5 minutes at 375°F (190°C).

4. Cook Wraps

  • Prepare Air Fryer Basket: Lightly coat the basket with cooking spray to prevent sticking.
  • Wraps: Lay wraps seam-side down in the air fryer basket. Batch cooking may be necessary depending on your air fryer size.
  • Air fry: Cook wraps till golden brown and crispy at 375°F (190°C) for 8-10 minutes. Flip halfway for even crispiness.

5. Serve.

  • After cooling for a minute, cut the wraps diagonally in half.
  • Add ranch or blue cheese dressing, fresh veggie sticks, and more hot sauce.

Tips for Success

  • Avoid Overcrowding: To cook wraps evenly and crispily, avoid overcrowding the air fryer basket.
  • If done, the wraps should be golden brown and crispy. Continue cooking for 1-2 minutes if needed.
  • Customize Filling: Add sautéed peppers, onions, or cheese to your wrappers.

Variations

Air Fryer Hot Chicken and Cheese Wraps can be customized:

  • Add a spicy twist by adding a hot sauce or chopped jalapeños to the chicken mixture for added spice.
  • Cheese Delight: Try pepper jack, gouda, or Swiss for diverse flavors.
  • For a vegetarian wrap, substitute sautéed mushrooms, peppers, and onions for chicken.

Conclusion

  • You made delicious, crispy Air Fryer Hot Chicken and Cheese Wraps for any meal or snack. The spicy chicken interior, melted cheese, and crunchy crust make these wraps popular.
  • Gather your ingredients, follow the instructions, and enjoy these wraps with your favorite sauces. Happy eating!

Delicious Air Fryer Chicken Cutlets Recipe

Delicious Air Fryer Chicken Cutlets Recipe: A tasty and healthier substitute for regular fried chicken are air-fried chicken cutlets. These air fryer-perfected crispy cutlets are quick and simple to make, with a flavourful breading coating them. These go very well with a variety of sides or in sandwiches, and this recipe is ideal for a weekday supper or meal prep.

Components

Regarding the Chicken Cutlets:

  1. Skinless, boneless chicken breasts weighing one pound (450g).
  2. Half a cup of all-purpose flour
  3. Two big eggs
  4. One cup of breadcrumbs (for added crunch, use Panko)
  5. one tsp powdered garlic
  6. One tsp powdered onion
  7. One tsp of paprika
  8. One-half tsp dried oregano
  9. To taste, add salt and black pepper.
  10. Olive oil or cooking spray

Guidelines

1. Get the chicken ready.

  • To flatten chicken breasts, sandwich them between two parchment paper or plastic wrap sheets. Gently pound them with a meat mallet or rolling pin until they are about 1/2 inch thick. This facilitates even cooking.
  • Season: Sprinkle salt, black pepper, paprika, onion powder, and garlic powder on both sides of the chicken cutlets.

2. Establish a Breading Station

Get the breading ready: Arrange your breading station in three shallow dishes:

  • Stir the all-purpose flour into the first dish.
  • Beat the eggs in the second dish until they are smooth.
  • Add the breadcrumbs, salt, pepper, and dried oregano to the third dish.

3. Make the chicken cutlets breaded.

  • Dredge the chicken: After dredging each cutlet in the flour, shake off any excess. Next, submerge it into the whisked eggs, letting any surplus run off. Lastly, use the breadcrumb mixture to coat the chicken, carefully pressing the breadcrumbs onto the chicken.

4. Heat the air fryer.

  • Preheat: Give your air fryer a five-minute warmup period at 400°F (200°C). This contributes to the crispy outside.

5. Prepare the cutlets of chicken.

  • To arrange the cutlets, lightly mist the cooking spray or olive oil spray into the air fryer basket. Make sure the breaded chicken cutlets are not packed too tightly in the basket and arrange them in a single layer. They might need to be cooked in batches.
  • Air fry: Preheat the oven to 400°F (200°C). Cook the chicken cutlets for 10 to 12 minutes, turning them halfway through. Their internal temperature should be 165°F (74°C), and they should be golden brown.
  • After cooking, take the cutlets out of the air fryer and let them a few minutes to rest.

6. Put in a shift

  • Have fun: Serve your marinara, ranch, or honey mustard dipping sauces alongside your crispy Air Fryer Chicken Cutlets. They can also be used as a filler for sandwiches or wraps, or they can be served with roasted veggies and a side salad.

Success Advice

  • Even Thickness: To assist the chicken cook through and maintain its juicy texture, make sure it is an even thickness.
  • Use Panko Breadcrumbs: Panko breadcrumbs can be used in place of ordinary breadcrumbs to give an extra crispy feel.
  • Check Doneness: Make sure the chicken cutlets are cooked through to an internal temperature of 165°F (74°C) by using a meat thermometer.

Changes

  • Flavour Variations: To add even more flavour to the breadcrumb mixture, add grated Parmesan cheese.
  • Option 2: For added spiciness, stir in a small amount of red pepper flakes or cayenne pepper to the breadcrumb mixture.

In summary

  • Air-fried chicken cutlets are an excellent, healthful substitute that maintains their flavour and crispness. These cutlets are guaranteed to be a success with everyone because of their juicy interior and crispy exterior. Use them to make great and quick sandwiches for lunch, or enjoy them as part of a full dinner. Prepare to wow your loved ones and acquaintances with this easy and delectable meal!


Drink Clove and Cardamom Tea

Drink Clove and Cardamom Tea Clove and cardamom are two strong spices having therapeutic effects. When mixed in tea, they provide a relaxing and effective cure that may improve your health in only 7 days. Drinking clove and cardamom tea may help improve digestion, increase immunity, and decrease inflammation. Here’s what to anticipate after 7 days of drinking this miraculous beverage.

To make clove and cardamom tea, use the following ingredients:

  1. 3–4 whole cloves
  2. 2–3 cardamom pods (or 1/2 teaspoon powdered cardamom)
  3. Two glasses of water.
  4. Honey or lemon (optional for flavour).

Instructions To make clove and cardamom tea:

  1. Boil 2 cups of water in a kettle.
  2. Add the cloves and cardamom to the boiling water.
  3. Allow it boil for around 10 minutes to release the flavours and nutrients from the spices.
  4. Strain the tea and add honey or lemon, if preferred.
  5. To have the greatest benefits, drink this tea 1-2 times each day.

Detailed Benefits of clove and cardamom tea:

  • Improves Digestion: Clove and cardamom are recognised for their digestive properties. Drinking this tea relieves bloating, gas and indigestion.
    Cloves include eugenol, which increases enzyme synthesis and improves digestion.
    Cardamom is a natural carminative, which means it helps to relieve gas and bloating, resulting in better digestion.
  • Enhances Immune System: Clove and cardamom are high in antioxidants and antimicrobials, which improve the immune system and defend against illnesses.
    Clove’s antibacterial, antifungal, and antiviral qualities help fight infections and lower sickness risk.
    Cardamom increases your body’s defences by delivering critical vitamins and antioxidants, therefore strengthening your immune system.
  • Reduces Inflammation: Clove and cardamom have significant anti-inflammatory characteristics that may help decrease inflammation in the body, particularly in illnesses like as arthritis and muscular discomfort.
    Clove includes chemicals such as eugenol, which assist to decrease inflammation and alleviate pain in the joints and muscles.
    Cardamom has anti-inflammatory chemicals that assist to reduce inflammation throughout the body, increasing mobility and relieving discomfort.
  • Promotes respiratory health: Clove and cardamom tea may be quite beneficial for respiratory conditions such as coughs, asthma, and bronchitis. The warm tea relaxes the airways and relieves congestion.
    Clove works as an expectorant, loosening mucus and clearing airways for better breathing.
    Cardamom has a cooling impact on the lungs, which reduces inflammation and helps to alleviate asthma and cough symptoms.
  • Controls blood sugar levels: Clove and cardamom tea may benefit persons with diabetes or who wish to keep their blood sugar constant.
    Clove has been demonstrated to boost insulin sensitivity, leading to lower blood sugar levels and fewer spikes.
    Cardamom lowers blood sugar levels and improves the body’s reaction to insulin, making it an excellent complement to any diabetic diet.
  • Improves metabolism and aids in weight loss: Drinking clove and cardamom tea may also help you lose weight by increasing fat burn and boosting digestion.
    Clove boosts metabolism, helping you to burn more calories throughout the day.
    Cardamom promotes digestion and reduces cravings, making it simpler to control weight and boost metabolic efficiency.
  • Improves oral health: Clove is well-known for its antibacterial and analgesic characteristics, making it an ideal cure for dental health. When coupled with cardamom, it helps to freshen breath and improve gum health.
    Clove may battle germs in the mouth, lowering the risk of gum disease, cavities, and foul breath.
    Cardamom freshens breath and has a cooling effect that may alleviate mouth and gum irritation.

After 7 days of consuming clove and cardamom tea, you may experience improved digestion, less inflammation, a stronger immune system, and better respiratory health. This potent blend of spices may bring incredible advantages to your health, making it an excellent natural cure to include into your daily routine. Begin introducing clove and cardamom tea into your life and experience the therapeutic benefits for yourself.