Natural Cream Against Wrinkles and Dark Spots on the Face

Natural Cream Against Wrinkles and Dark Spots on the Face – Better Than Botox!

Botox is not necessary if you’re seeking for a natural solution to maintain young, glowing skin. Instead, try this easy-to-make homemade cream that combines yoghurt, grains, and flaxseed. This potent mixture may give your skin a smooth, radiant look by fading dark spots and reducing wrinkles.
The Reason This Cream Is Effective
Omega-3 fatty acids, which are well-known for their ability to rejuvenate skin, are abundant in flaxseed. These fats contribute to the skin’s suppleness, nourishment, and reduction of fine wrinkles. Additionally rich in antioxidants, flaxseed combats free radicals, which cause skin ageing.
For millennia, rice has been considered a beauty secret in Asia. Its abundance of vitamins and minerals lightens dark spots on the skin. Rice’s inherent exfoliating qualities also aid in smoothing the texture of the skin, giving it a more youthful appearance.

Lactic acid, which naturally exfoliates skin and encourages cell turnover, may be found in yoghurt. This evens out skin tone and helps to erase dark spots in addition to reducing wrinkles. Yogurt’s probiotics also aid in calming the skin and lowering inflammation.

How to Make the Cream

Ingredients:

  1. 1 tablespoon of ground flaxseed
  2. 2 tablespoons of cooked rice
  3. 2 tablespoons of plain yogurt
  4. Instructions:

Instructions:

  1. Start by simmering a little portion of rice until it becomes tender. Before using, let it cool fully.
  2. Put the cooked rice and ground flaxseed in a bowl.
  3. Blend the ingredients well after adding the plain yoghurt until a smooth and creamy consistency is achieved.
  4. Apply the lotion to your face, paying particular attention to dark spots and wrinkles. Apply it on the skin with gentle circular strokes.
  5. Give the cream a good 15 to 20 minutes so the nutrients can seep into your skin.
  6. After using lukewarm water to rinse, gently dry your skin.
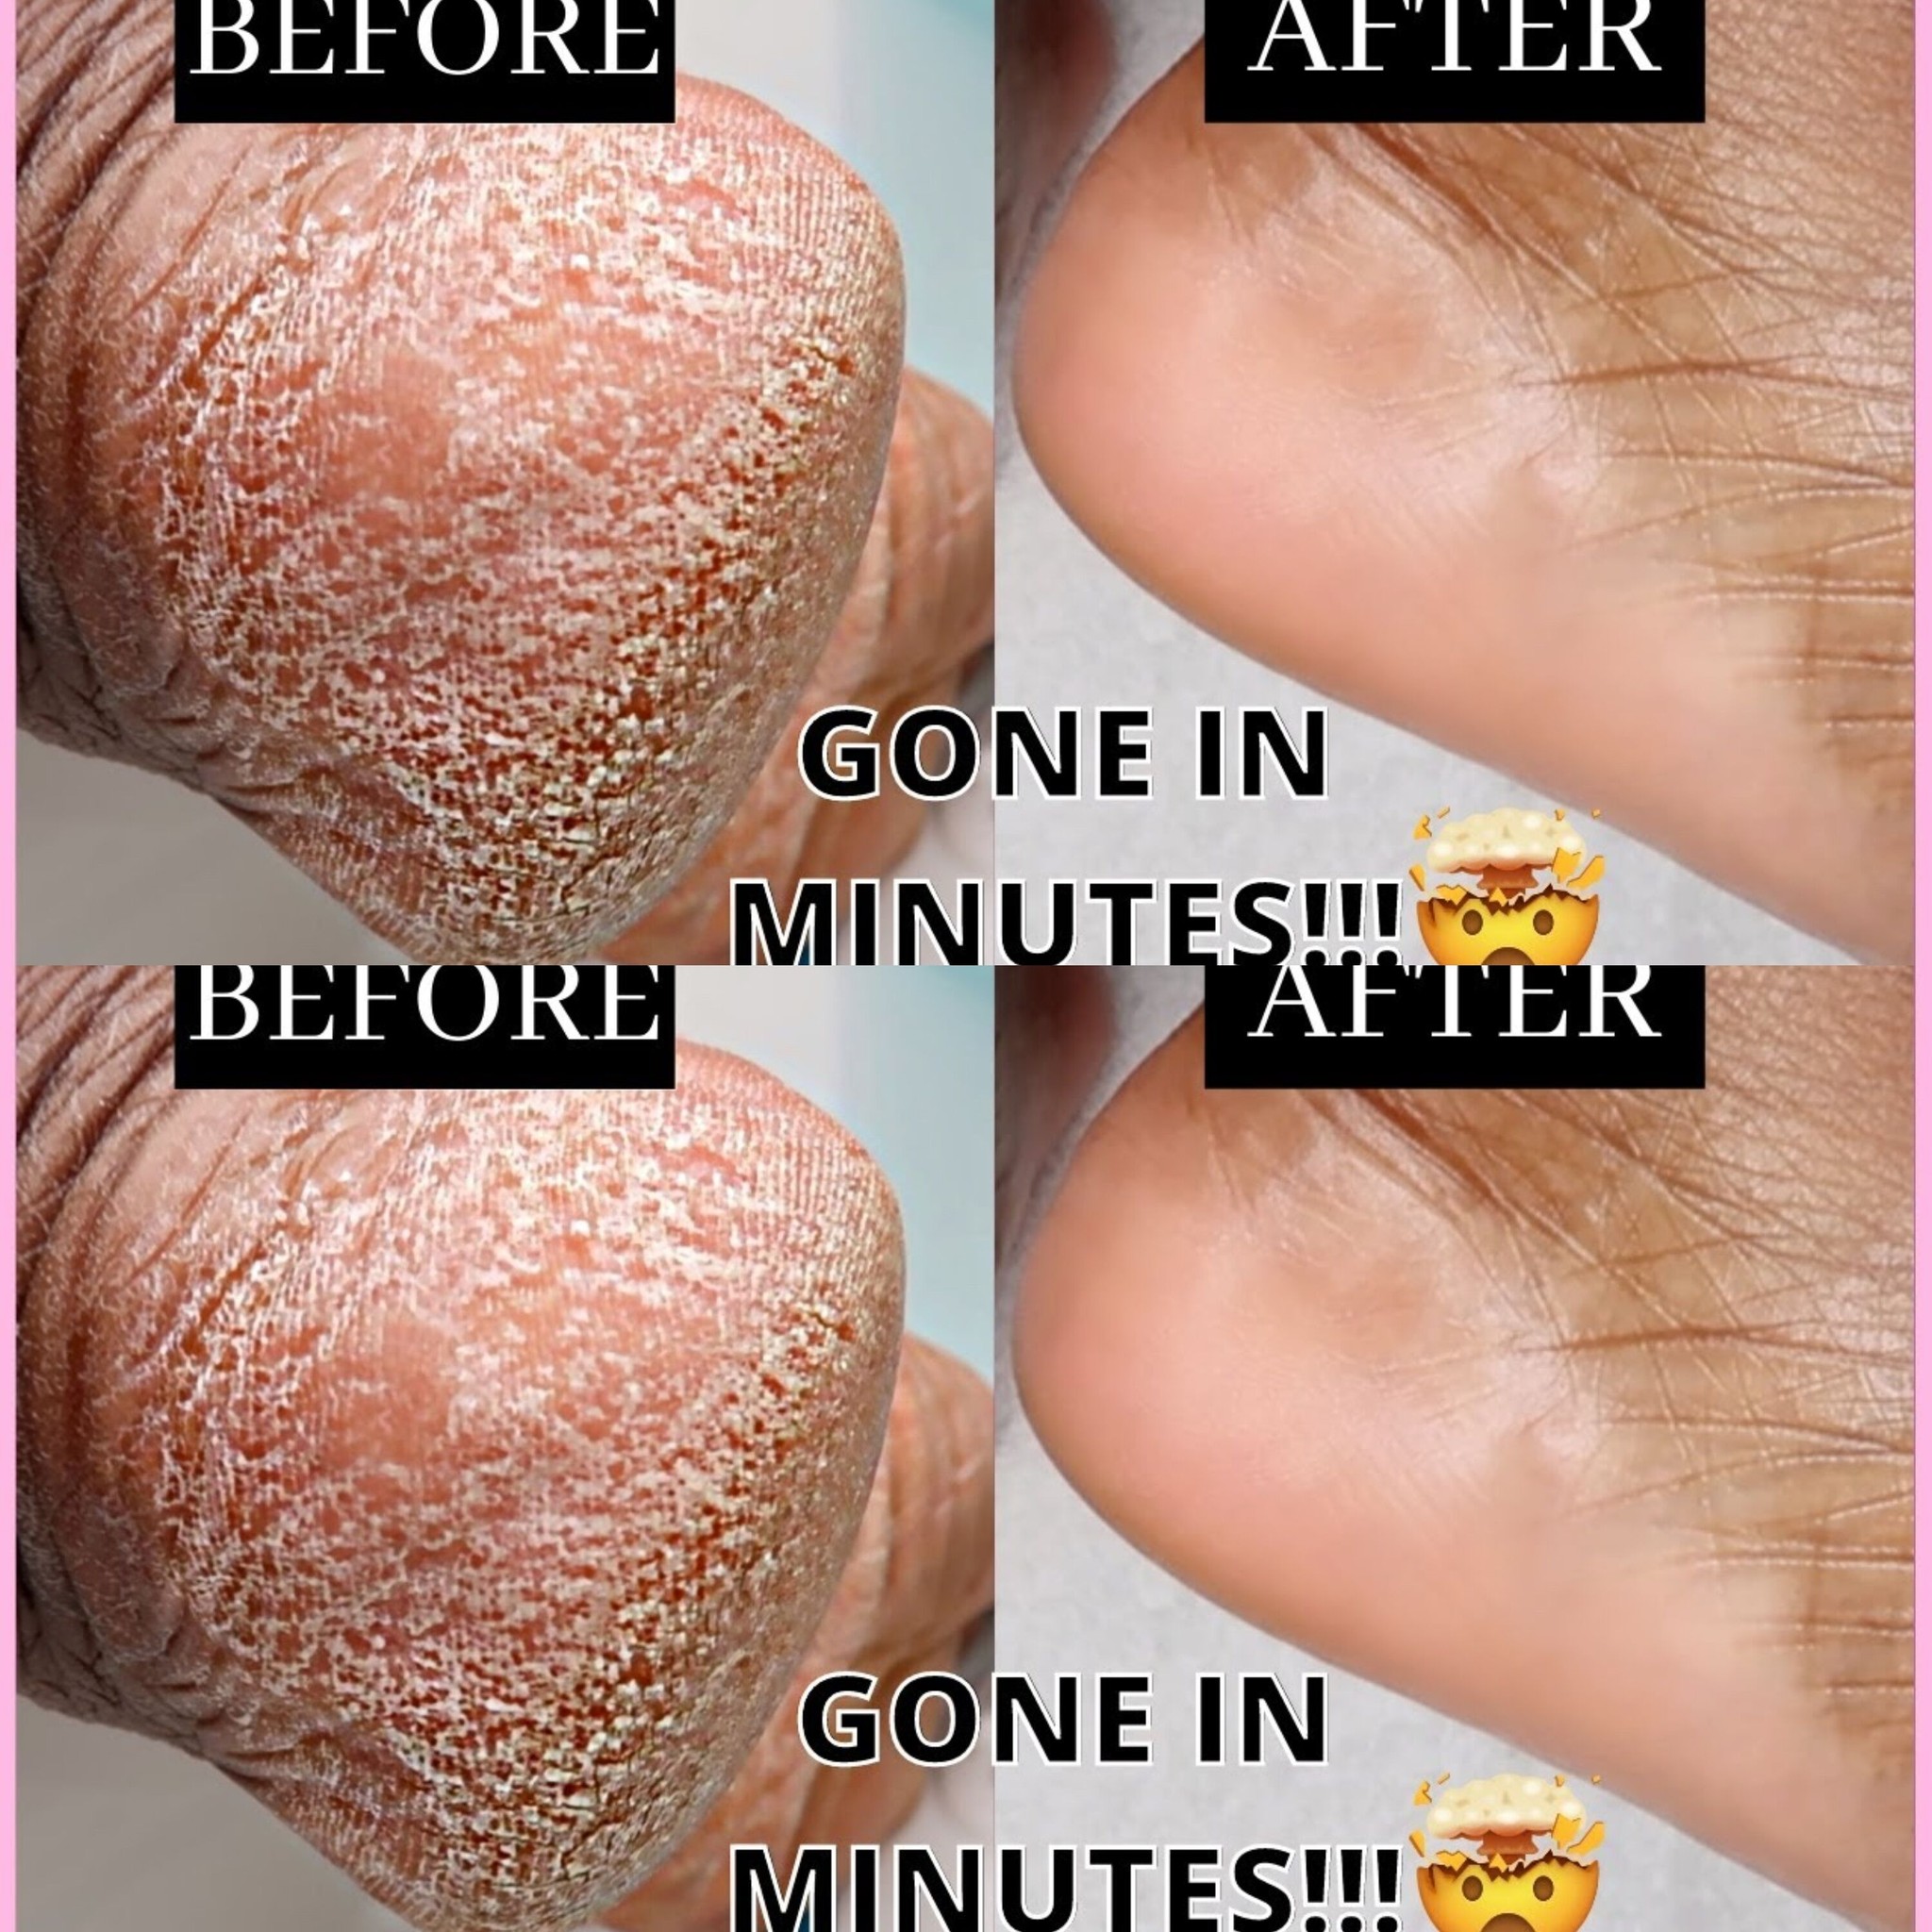
  7. Use this cream two to three times a week for optimal benefits. Your skin will become more even-toned and smoother, and the appearance of dark spots and fine wrinkles will start to diminish.

Not only is this natural cream healthier for your skin, but it also doesn’t include any harsh chemicals. It’s a mild but effective method to maintain the young, healthy appearance of your skin. Without the need for Botox, bid adieu to creases and dark circles and welcome to a more radiant, brighter you!

How to Remove Dead Skin Cells from Your Feet in Minutes

How to Remove Dead Skin Cells from Your Feet in Minutes | Self Care Routine

Quick and Easy Foot Care Routine

Taking good care of your feet is a crucial component of self-care, particularly in terms of eliminating the dead skin cells that accumulate over time. Your feet will look and feel smoother in minutes with this fast and simple treatment, whether they are feeling rough, dry, or simply in need of some TLC. Here’s how to properly take care of your feet and remove dead skin cells.
The Significance of Eliminating Dead Skin Cells
On the surface of your foot, dead skin cells may build up and cause calluses, rough spots, and even cracked heels. Your feet will look and feel better if these dead cells are routinely removed, revealing the delicate, healthy skin underlying. It may also help avoid foot issues and enhance your skin’s general health.

What You’ll Need:

  1. A basin of warm water
  2. 1/2 cup of Epsom salt or sea salt
  3. A pumice stone or foot file
  4. A foot scrub (optional, for extra exfoliation)
  5. A towel
  6. Moisturizing lotion or foot cream

Step 1: Soak Your Feet

Begin with a Warm Soak: Pour half a cup of sea salt or Epsom salt into a basin of warm water. While the salt helps to cleanse and exfoliate the skin, the warm water helps to soften it. Give your feet a 10- to 15-minute soak to enable the water to relax and dissolve dead skin cells.

Step 2: Use a pumice stone to exfoliate

Buff Off Dead Skin: After soaking, lightly massage your feet—the heels, balls of your feet, and sides of your toes—with a pumice stone or foot file to remove any dead skin that may have accumulated. To prevent causing irritation to the skin, move in a circular manner and use little pressure. This procedure will aid in removing dead skin cells and smoothing rough areas of the skin.

Step 3: Scrub Your Feet (Optional)

Extra Exfoliation: After using the pumice stone to exfoliate your feet, you may apply a foot scrub to give them an extra pampering. Your feet should have a little bit of scrub applied to them. Massage it in, paying special attention to any very hard spots. Use some warm water to rinse the scrape off.

Step 4: Apply Moisturise and Dry
Pat Dry: Use a towel to pat dry your feet after rinsing them with clean water after exfoliating them. To avoid moisture accumulation, make sure your feet are thoroughly dry, particularly between the toes.

Apply Moisturiser: Use a thick, hydrating lotion or foot cream to complete your foot care regimen. Apply the lotion on your feet, focussing especially on the areas where the dead skin was removed. This will maintain the moisture in your feet and keep them feeling smooth and silky.

Advice for Keeping Smooth Feet Through Consistent Care: Once or twice a week, include this foot care routine in your self-care routine to maintain smooth, dead skin-free feet.

Put on Comfy Shoes: Calluses and the accumulation of dead skin cells may both be minimised by putting on supportive, well-fitting shoes.

Remain Hydrated: Staying well-hydrated by frequent drinking of water will help minimise dryness and the development of dead skin on the skin.

You can quickly and simply remove dead skin cells from your feet with this easy self-care regimen, leaving them smooth, silky, and prepared for the day. Treat your feet to this simple but efficient practice on a daily basis—they deserve a little love!

Just Put Garlic Under the Bed

Just Put Garlic Under the Bed and You Will Be Shocked by the Results

Although garlic is well known for its strong flavour and many health advantages, you may be surprised at the consequences of putting some beneath your mattress. This age-old method has been used for its potent benefits in many cultures, and you may be surprised by its advantages. Let’s investigate the effects of placing garlic beneath your mattress and the reasons it may be worthwhile to attempt.
1. Keeps pests and insects at bay
Garlic may keep insects and vermin away, which is one of the most obvious and useful uses for it beneath your bed. Many pests, including spiders, mice, and mosquitoes, find the strong, pungent smell of garlic offensive. You may establish a natural barrier that keeps these intruders at bay and promotes a more tranquil sleeping environment by putting a few cloves beneath your bed.
How to Apply:

Tuck a small dish or piece of cloth with a few peeled or unpeeled garlic bulbs beneath your bed. For extra security, you may scatter the cloves around your room’s corners.

2. Encourages Better Sleep
Sulphur compounds and essential oils in garlic provide a soothing scent when put in close proximity. This may lower tension and anxiety levels, which can aid in the promotion of better sleep. Garlic’s mild aroma may have a calming effect that makes it easier for you to unwind and fall asleep. Some people even think that taking garlic supplements helps prevent nightmares and promote better sleep at night.
How to Apply:

Just tuck a clove of garlic beneath your bed or pillow. You may either leave the garlic in its peel or put it in a breathable bag if the fragrance is too strong for you.

3. Takes In Negative Charge
Garlic is said to absorb and fend off bad energy in many cultural traditions. It’s believed that putting garlic beneath your bed would protect you from evil energy and negative feelings as you sleep. Whether you’re experiencing worry, tension, or simply a general feeling of discomfort, this little habit might help make your bedroom feel happier.

How to Apply:

Garlic should be placed beneath the bed on the side you sleep on for optimal effects. To strengthen the impact, some individuals also prefer to add a tiny bit of salt, which is another ingredient with well-known defensive qualities.

4. Improves Health and Vitality
The immune-stimulating and antibacterial properties of garlic are well established. Although there won’t be a direct impact on your immune system by putting garlic beneath your bed, some people think it may have a subtle effect on general health and wellbeing. The concept is that the potent energy of garlic may aid in clearing the air and fostering a healthier atmosphere that is conducive to relaxation and recuperation.

How to Apply:

Try putting a fresh clove of garlic beneath your mattress every night to get the most health advantages. For further direct immunological support, you may also think about increasing the amount of garlic in your diet.

Garlic beneath the bed may sound strange, but there are a lot of possible advantages. This easy habit has been praised for ages for its ability to fend off bad energy, improve sleep, and repel bugs. Try it out, and you could be pleasantly surprised by the improvements it makes to your sleeping environment and general state of health.

How to Make Sugar Wax

How to Make Sugar Wax: Professional Sugaring at Home

Unwanted hair may be removed naturally, effectively, and sustainably using sugar waxing, commonly referred to as sugaring. As more individuals look for more delicate skin-friendly alternatives to standard waxing, this age-old method has gaining favour again. It’s really easy to make sugar wax at home with only a few common household items. This is a step-by-step tutorial on making your own sugar wax of professional quality.

Components:

  1. Two cups of granulated sugar: Sugar is the foundation of your wax and acts as a natural exfoliator and cohesive agent for the other components.
  2. 1/4 cup lemon juice: The natural acid in lemon juice serves as a preservative and aids in the breakdown of the sugar.
  3. 1/4 cup water: Aids in sugar dissolution and wax consistency adjustment.

Tools:

  1. For heating the sugar mixture, use a heavy pot.
  2. To stir the sugar mixture, use a wooden spoon.
  3. Candy thermometer: To ensure perfect uniformity in temperature, this is an optional but recommended tool.
  4. Jar or tight-fitting container: To keep the sugar wax stored.

Guidelines
1. Mix the ingredients together:

In a heavy saucepan, combine the water, lemon juice, and sugar. To thoroughly mix the components, stir the mixture.

2. Prepare the Blend:

  1. To keep the mixture from burning, cook it over medium heat while swirling often with a wooden spoon. The sugar must totally dissolve.
  2. Put an end to stirring after the sugar has dissolved and let the liquid boil. To avoid sticking, you may periodically stir the pan.
  3. If you’re using a candy thermometer, attach it to the saucepan’s side. As the hard ball stage in candy production, 250°F (120°C) is the ideal temperature for sugar wax.

3. Keep an eye on the colour:

The mixture will begin to take on a golden hue as it cooks. It may swiftly change from golden to dark brown, so keep an eye on it. You’ll have to restart if smoke appears, indicating that it is burning.

4. Examining Uniformity:

You may check the consistency without a thermometer by placing a little bit into a basin of icy water. It should come together into a ball that is just the right consistency—not crumbly or sticky.

5. Remain Calm:

Take the saucepan off of the heat as soon as the colour and consistency are correct. Once the sugar wax has cooled to room temperature, carefully transfer it to a jar or other heat-resistant container. When using the wax, make sure it is warm but not hot.

6. How to Use Your Sugar Wax

Apply the wax using a spatula or your fingers in the direction that the hair grows. Next, cover the wax with a cotton fabric strip, push down hard, and swiftly take the strip off in the opposite direction of the hair’s development.

Success Advice
It’s All About Consistency: You may reheat the wax and add a little more water if it’s too hard. It has to be cooked for a little while longer if it’s too soft.

Skin Preparation: Prior to using the wax, make sure your skin is clean, dry, and oil-free. If you want to be sure the area is totally dry, you may apply a little amount of powder—like baby powder.

Aftercare: To relax the skin and lessen redness after waxing, use a calming aloe vera gel or lotion.

In summary
In addition to being more affordable, making your own sugar wax at home is a healthier option than waxes that include a lot of chemicals. You can get salon-caliber results in the comfort of your own home with a little effort. Savour the smooth, hair-free skin you have!

Delightful Turkish-Style Cream Cheese

Delightful Turkish-Style Cream Cheese: A Simple 3-Ingredient Recipe

With this amazingly easy and delicious Turkish-style cream cheese recipe, you can bring the rich flavours of Turkey straight into your home. Made with only milk, lemon, and your preferred nuts and herbs, this adaptable spread is a delicious side dish for any occasion. This cream cheese will look great whether you spread it over toast, use it as a dip, or use it to compliment your favourite recipes.

Why This Cream Cheese?

With the extra advantage of being adaptable to your preferences, this recipe provides a creamy, tangy substitute for store-bought cream cheeses. Nuts provide a crunchy, nutty flavour that lifts the whole dish, and the lemon’s zesty, fresh flavour perfectly balances the milk’s creamy texture. Simple ingredients become a gourmet spread because to the invigorating and fragrant depth that herbs provide.

Components:

  1. 4 cups of whole milk (or a plant-based alternative for a vegan version)
  2. Juice of 1 lemon
  3. 1/2 cup of finely chopped nuts (like walnuts, almonds, or pistachios)
  4. A handful of fresh herbs (such as dill, parsley, or mint), finely chopped
  5. Salt to taste

Instructions:

  1. Heat the Milk: Transfer the milk into a pot with a heavy bottom and gradually heat it to a boil over medium heat. To keep it from sticking to the bottom, stir from time to time.
  2. Add Lemon Juice: Turn down the heat to low and stir in the lemon juice once the milk begins to boil. Till the milk starts to curdle, stir gently. This ought should take one or two minutes.
  3. Let It Curdle: To ensure that the curds completely develop, remove the pan from the heat and leave it undisturbed for ten minutes.
  4. To strain the curds, cover a dish with a colander that has been covered with many layers of cheesecloth. To separate the curds from the whey, pour the curdled milk into the colander. Give it an hour or so to drain.
  5. After transferring the curds to a mixing bowl, season and add extras. Stir in the herbs, chopped nuts, and salt to taste. To fully incorporate all of the ingredients, mix well.
  6. Refrigerate: To get a firmer texture, place the cream cheese mixture back into the cheesecloth, wrap it up into a bundle, and leave it over a bowl in the refrigerator for a few more hours or overnight.
  7. Serve: Your cream cheese in the Turkish manner is now ready to be savoured! It may be added to a variety of recipes, spread over crackers, or served as a dip with raw veggies.

Serving Ideas:

This cream cheese is delicious on bagels for breakfast, as a filling for pastries, or even just as a creamy garnish for sauces. It’s a great dish to have in your cookbook because of its adaptability; it works well for both regular dinners and exceptional occasions.

Mouth-Watering Fries

The Chef’s Trick for Incredibly Crispy, Mouth-Watering Fries

Achieving perfectly crispy and delectable fries often requires a blend of appropriate methods and meticulous attention to detail. This chef’s tip will enable you to make the ideal fry:

The Chef’s Secret to Crispy Fries:
**1.** Select the Correct Potato:

Go for potatoes with a lot of starch, such russets. They are perfect for crispy fries since they contain less water.
**2.** Allow to Soak:

Cut the potatoes into fries and then let them soak in cold water for at least half an hour or perhaps overnight. This contributes to the fries’ crispiness by removing extra starch and keeping them from clinging to one another.
**3.** The Double-Fry Technique:

To cook fries without making them crispy, fry them at a lower temperature (around 325°F or 163°C). This technique is known as par-cooking. Take them out and let them to cool.
Right before serving, raise the oil temperature to around 375°F (190°C) and continue frying the potatoes until they are a deep golden colour. A crispy outside and a fluffy inside are guaranteed with this double-fry technique.
**4.** Choose the Correct Oil to Use:

Pick an oil that has a high smoke point, such canola or peanut oil. This keeps the fries from going bad and contributes to a crispier texture.
**5.** Dry completely:

Make careful to use paper towels to pat the potatoes dry fully after soaking them and before frying. Too much water might cause splattering of the oil and impede the crisping process.
**6. ** Begin Right Away:

As soon as the fries are taken out of the frying, season them with salt and any other spices that you want. By doing this, the seasoning is guaranteed to adhere to the fries’ heated surface.
**7. ** Use potato or cornflour to elevate:

Before making the last fry, toss the par-cooked fries with a little bit of cornflour or potato starch. This produces a coating that is particularly crispy.
Keep an eye on the oil’s temperature.

Monitor the oil’s temperature the whole time you’re cooking. The ultimate texture of the fries may be impacted by fluctuations.

: **10.** Serve Right Away: Serve the fries right away after the last fry, while they’re still hot and crispy, for the greatest texture.

Try out these suggestions to discover the ideal ratio for your own tastes, then savour your wonderfully crispy, delicious fries!

Home remedy for cracks

Home remedy for cracks – Remove cracked heels and get beautiful feet forever

This homemade remedy for cracked heels, which may be both painful and unsightly, employs red onion, which works like magic to give you beautiful, smooth feet for all eternity. Red onions have antibacterial and anti-inflammatory properties that may help cure and soothe damaged heels. Here’s how to prepare and use this simple DIY remedy.

What Makes Red Onion? Red Onion: Sulfur compounds found in red onions have potent antifungal and antibacterial qualities. Additionally, they support skin renewal and aid in the reduction of inflammation. Onions’ natural acids can act as an exfoliant, exfoliating dead skin cells and smoothing the heels of the hands.

Red onion’s health benefits for cracked heels: Both antifungal and antibacterial: Red onions aid in the prevention of infections that exacerbate cracked heels. Anti-inflammatory: They lessen pain and discomfort by calming the skin and reducing inflammation.

Exfoliation: Onions’ natural acids aid in the removal of dead skin cells, giving the skin a softer, smoother texture. Moisturizing: By hydrating and moisturizing the skin, onion juice helps stop additional breaking.

How to Make and Use Red Onion Remedy for Cracked Heels: Ingredients:

  1. 1 large red onion
  2. 1 tablespoon of coconut oil (or olive oil)
  3. 1 tablespoon of honey (optional, for additional moisture).

Instructions: Prepare the Onion:

  1. Cut the red onion into small pieces after peeling it. In a food processor or blender, pulse the chopped onion until a smooth paste forms.
  2. Extract the Juice: Strain the onion paste and juice using a cheesecloth or fine mesh screen. Two to three teaspoons of onion juice should be obtained.
  3. Mix the Ingredients: Put the coconut oil and onion juice in a bowl. If you want even more moisturizing benefits, add the honey and stir until the mixture is smooth.How the Red Onion Remedy Should Be Used: Organize Your Footwear: Rinse your feet well with warm water and a small amount of soap. Dry them off using a fresh towel. Apply the Mixture: Generously apply the red onion mixture to your cracked heels using your fingertips or a cotton ball. Make sure you’ve coated the entire affected region.

    Massage: To increase absorption and circulation, gently massage the mixture into your skin for a few minutes. Leave On: Apply the mixture to your heels for at least 30 minutes for optimal effects. For deeper penetration, you can also put on socks and keep them on overnight. Rinse and Moisturize: Use warm water to rinse your feet, then pat them dry. To preserve the moisture in your heels, use a decent moisturizer.

Blood sugar drops immediately

Blood sugar drops immediately! This liver recipe is a real treasure!

This liver recipe is a real treasure! Blood sugar drops immediately!

Ingredients:

  1. 500g chicken liver
  2. 70ml milk
  3. 3 eggs
  4. 1 onion
  5. Vegetable oil
  6. 3 cloves of garlic
  7. 1 carrot
  8. Spring onions
  9. Parsley
  10. 6 tablespoons oatmeal
  11. Salt, black pepper, paprika
  12. 30g cheese
  13. 250g yogurt
  14. Dill
  15. 1/2 lemon

METHOD:

  1. After washing 500g of chicken liver, soak it for 20 minutes in 70ml of milk.
    Chop one carrot, one onion, and three garlic cloves.
  2. In a skillet with heated vegetable oil, sauté the chopped veggies until they are soft.
  3. After discarding the milk, add the soaked chicken liver and boil it through.
    To taste, add paprika, black pepper, and salt for seasoning.
  4. Stir in chopped parsley and spring onions.
  5. After a few minutes, stir in six tablespoons of muesli and continue cooking.
  6. Pour the beaten three eggs over the liver mixture.
  7. After adding some shredded cheese, place a lid over top.
  8. Cook until the eggs are set, about 20 minutes.
  9. Combine 250g of yoghurt, 1/2 lemon juice, and chopped dill in a small bowl.
  10. Serve the chicken liver with a side of yoghurt sauce.
  11. Savour your food!
  12. Please remember to like, comment, and share this recipe with your friends if you like it. Good appetite!

Put Silver Foil In Washing Machine

Put Silver Foil In Washing Machine And You’ll Be Amazed With What Happens Next

Most kitchens have aluminium foil on hand; it’s usually used for lining pans and wrapping leftovers. Its adaptability, nevertheless, extends well beyond these typical applications. We’ll look at eight creative uses for aluminium foil in this blog article that may help you save time, money, and perhaps make your life easier.

Unbelievably, aluminium foil can save the day. You may really increase the strength of your Wi-Fi signals by enclosing a cardboard frame with aluminium foil and placing it below the antenna of your router. This little hack might help you get better internet access by reflecting WiFi signals in the right direction.
Repair the connections on the batteries: Electronic gadgets’ battery-holding springs may become loose over time, leading to problems with connection. A simple fast remedy is to insert a tiny piece of aluminium foil, folded into a pad, between the battery and the spring. You may avoid the irritation of malfunctioning devices by using foil to ensure a full circuit and hold the battery firmly in place.

Sharpen Your Scissors: Although dull scissors might be a pain, you don’t have to spend a lot of money on sharpening supplies. Just fold the aluminium foil into many layers and use your scissors to cut through it cleanly. You may successfully sharpen the blades by making sure that every section of the blade makes contact with the foil with each cut. Until your scissors are sharp again, repeat the procedure.
Eliminate Static Electricity from clothing: Have you ever dried clothing only to have them stick together because of static electricity? Throw some aluminium foil balls in the washing with your clothes to help combat this irritation. By reducing static charge, the foil keeps your clothing from building up an electrical charge and drawing in dust and hair.
Without difficulty Move Heavy Furniture: It might be difficult to move heavy furniture across carpeted flooring. Nonetheless, a simple fix is to place aluminium foil under the furniture’s legs. By lowering friction, the foil helps the furniture move over the carpet more easily and spares your back from strain.
Prevent Food from Burning: When cooking without oil, food may sometimes adhere to the pan. Cover the bottom of the pan with aluminium foil before cooking to prevent this. In addition to acting as a barrier to keep food from sticking and burning, foil also provides a healthier cooking option.
Need to seal plastic bags but don’t have a specialised sealing tool? Once again, aluminium foil may save the day. All you have to do is fold a piece of foil over the bag’s opening so that the plastic is covered. After that, iron the foil with a hot iron for a minute or two to melt the plastic and seal it. After the bag cools down, take off the foil to reveal a tightly packed bag.
Using Irons More Effectively: It may take a while to iron clothing, particularly if you’re attempting to iron both sides. You may use aluminium foil’s heat conductivity to iron both sides of the clothing at once by putting it below the items before ironing. This little tip may help you save a lot of time and energy.
In conclusion, aluminium foil is a multipurpose tool with a wide range of useful uses. It’s not simply for wrapping leftovers. You may streamline chores, save costs, and improve your quality of life by implementing these eight inventive applications into your everyday routine. Thus, keep in mind its secret uses outside of the kitchen the next time you go for that roll of aluminium foil.

Homemade Coffee Scrub & Mask

Homemade Coffee Scrub & Mask | Removes Suntan, Dark Spots & Aging Signs | Get Fair & Glowing Skin

In addition to being a necessary morning beverage, coffee is a potent cosmetic that may improve the natural radiance of your skin. Coffee, which is high in antioxidants and caffeine, helps to tighten skin, lessen sunburn and dark spots, and lessen obvious ageing symptoms. This is how to create a DIY coffee scrub and mask that can revitalise your skin and make it seem more luminous and fairer.
Coffee’s advantages for exfoliating skin Coffee grinds work wonders for smoothing, exfoliating, and eliminating dead skin cells from the skin.

Enhanced Circulation: Coffee’s caffeine encourages blood flow, which helps nourish and revitalise the skin and enhance its look overall.

Coffee’s antioxidants have anti-aging properties that may help lessen wrinkles and other indications of ageing.

Reduces Inflammation: Coffee’s anti-inflammatory qualities help lessen puffiness and redness.

Ingredients;

  1. 1/4 cup ground coffee (fresh, for best results)
  2. 1/4 cup brown sugar
  3. 2 tbsp extra virgin coconut oil (or olive oil)
  4. 1 tsp ground cinnamon (optional, for extra anti-inflammatory properties)
  5. 1 tbsp honey (for its antibacterial properties and to bind the mixture)

Mix for a Coffee Scrub Recipe Ingredients: Put the brown sugar and ground coffee in a bowl. These arid components will function as exfoliants.

Add Oils and Honey: Incorporate the mixture with the coconut oil and honey. If you would want to add cinnamon, do so now. These components will act as a binding agent for the scrub and aid in moisturising the skin.

Mix Well: Blend all the components until a smooth, cohesive mixture is formed.

Application: Cleanse Your Skin: Use warm water to wash your face in order to dilate your pores before using the scrub.

Apply the Scrub: Concentrating on the parts of your skin with dark patches or suntan, gently massage the coffee scrub into your skin in circular movements. The skin around the eyes is quite fragile, so avoid it.

After cleaning, allow the mixture to remain on your skin for three to five minutes. This enables the skin to absorb the caffeine and be soothed by the honey.

Rinse Off: Use cold water to rinse the scrub off. This aids in pore closure. Dry your face with a fresh towel.

Apply a moisturiser thereafter to maintain the moisture content of your skin.

Coffee Face Mask for Ageing Signs and Dark Spots
Make a Paste That Is Thicker: To make a thicker paste, use the same ingredients but cut down the coconut oil to 1 tablespoon and add an additional tablespoon of honey.

Apply to skin: Evenly cover your cleansed skin with the mask.

Duration: Give the mask a good 15 to 20 minutes to wear.

Rinse Off: To tighten pores, wash off with lukewarm water and finish with a spray of cold water.

Recommendations: Apply the mask once a week and the coffee scrub 1-2 times a week. Excessive exfoliation might cause skin irritation.

Storage: To keep the scrub fresh, if you create a big amount, put it in the refrigerator in an airtight container.

With this DIY coffee scrub and mask, you can efficiently address problems like suntan, dark spots, and symptoms of ageing on your skin while also improving its look naturally.