For Strong Bones Take One Teaspoon of These Powerful Seeds a Day with Honey

For Strong Bones  Take One Teaspoon of These Powerful Seeds a Day with Honey

Nutrient-dense seeds can revolutionize your daily routine by supporting strong bones. Rich sources of calcium, magnesium, and other vital minerals that support bone health include sesame, chia, and flaxseeds. These seeds become a potent natural medicine for bolstering overall health and strengthening bones when mixed with honey, in addition to being a tasty treat.

Why Bone Health Benefits Much from These Seeds:

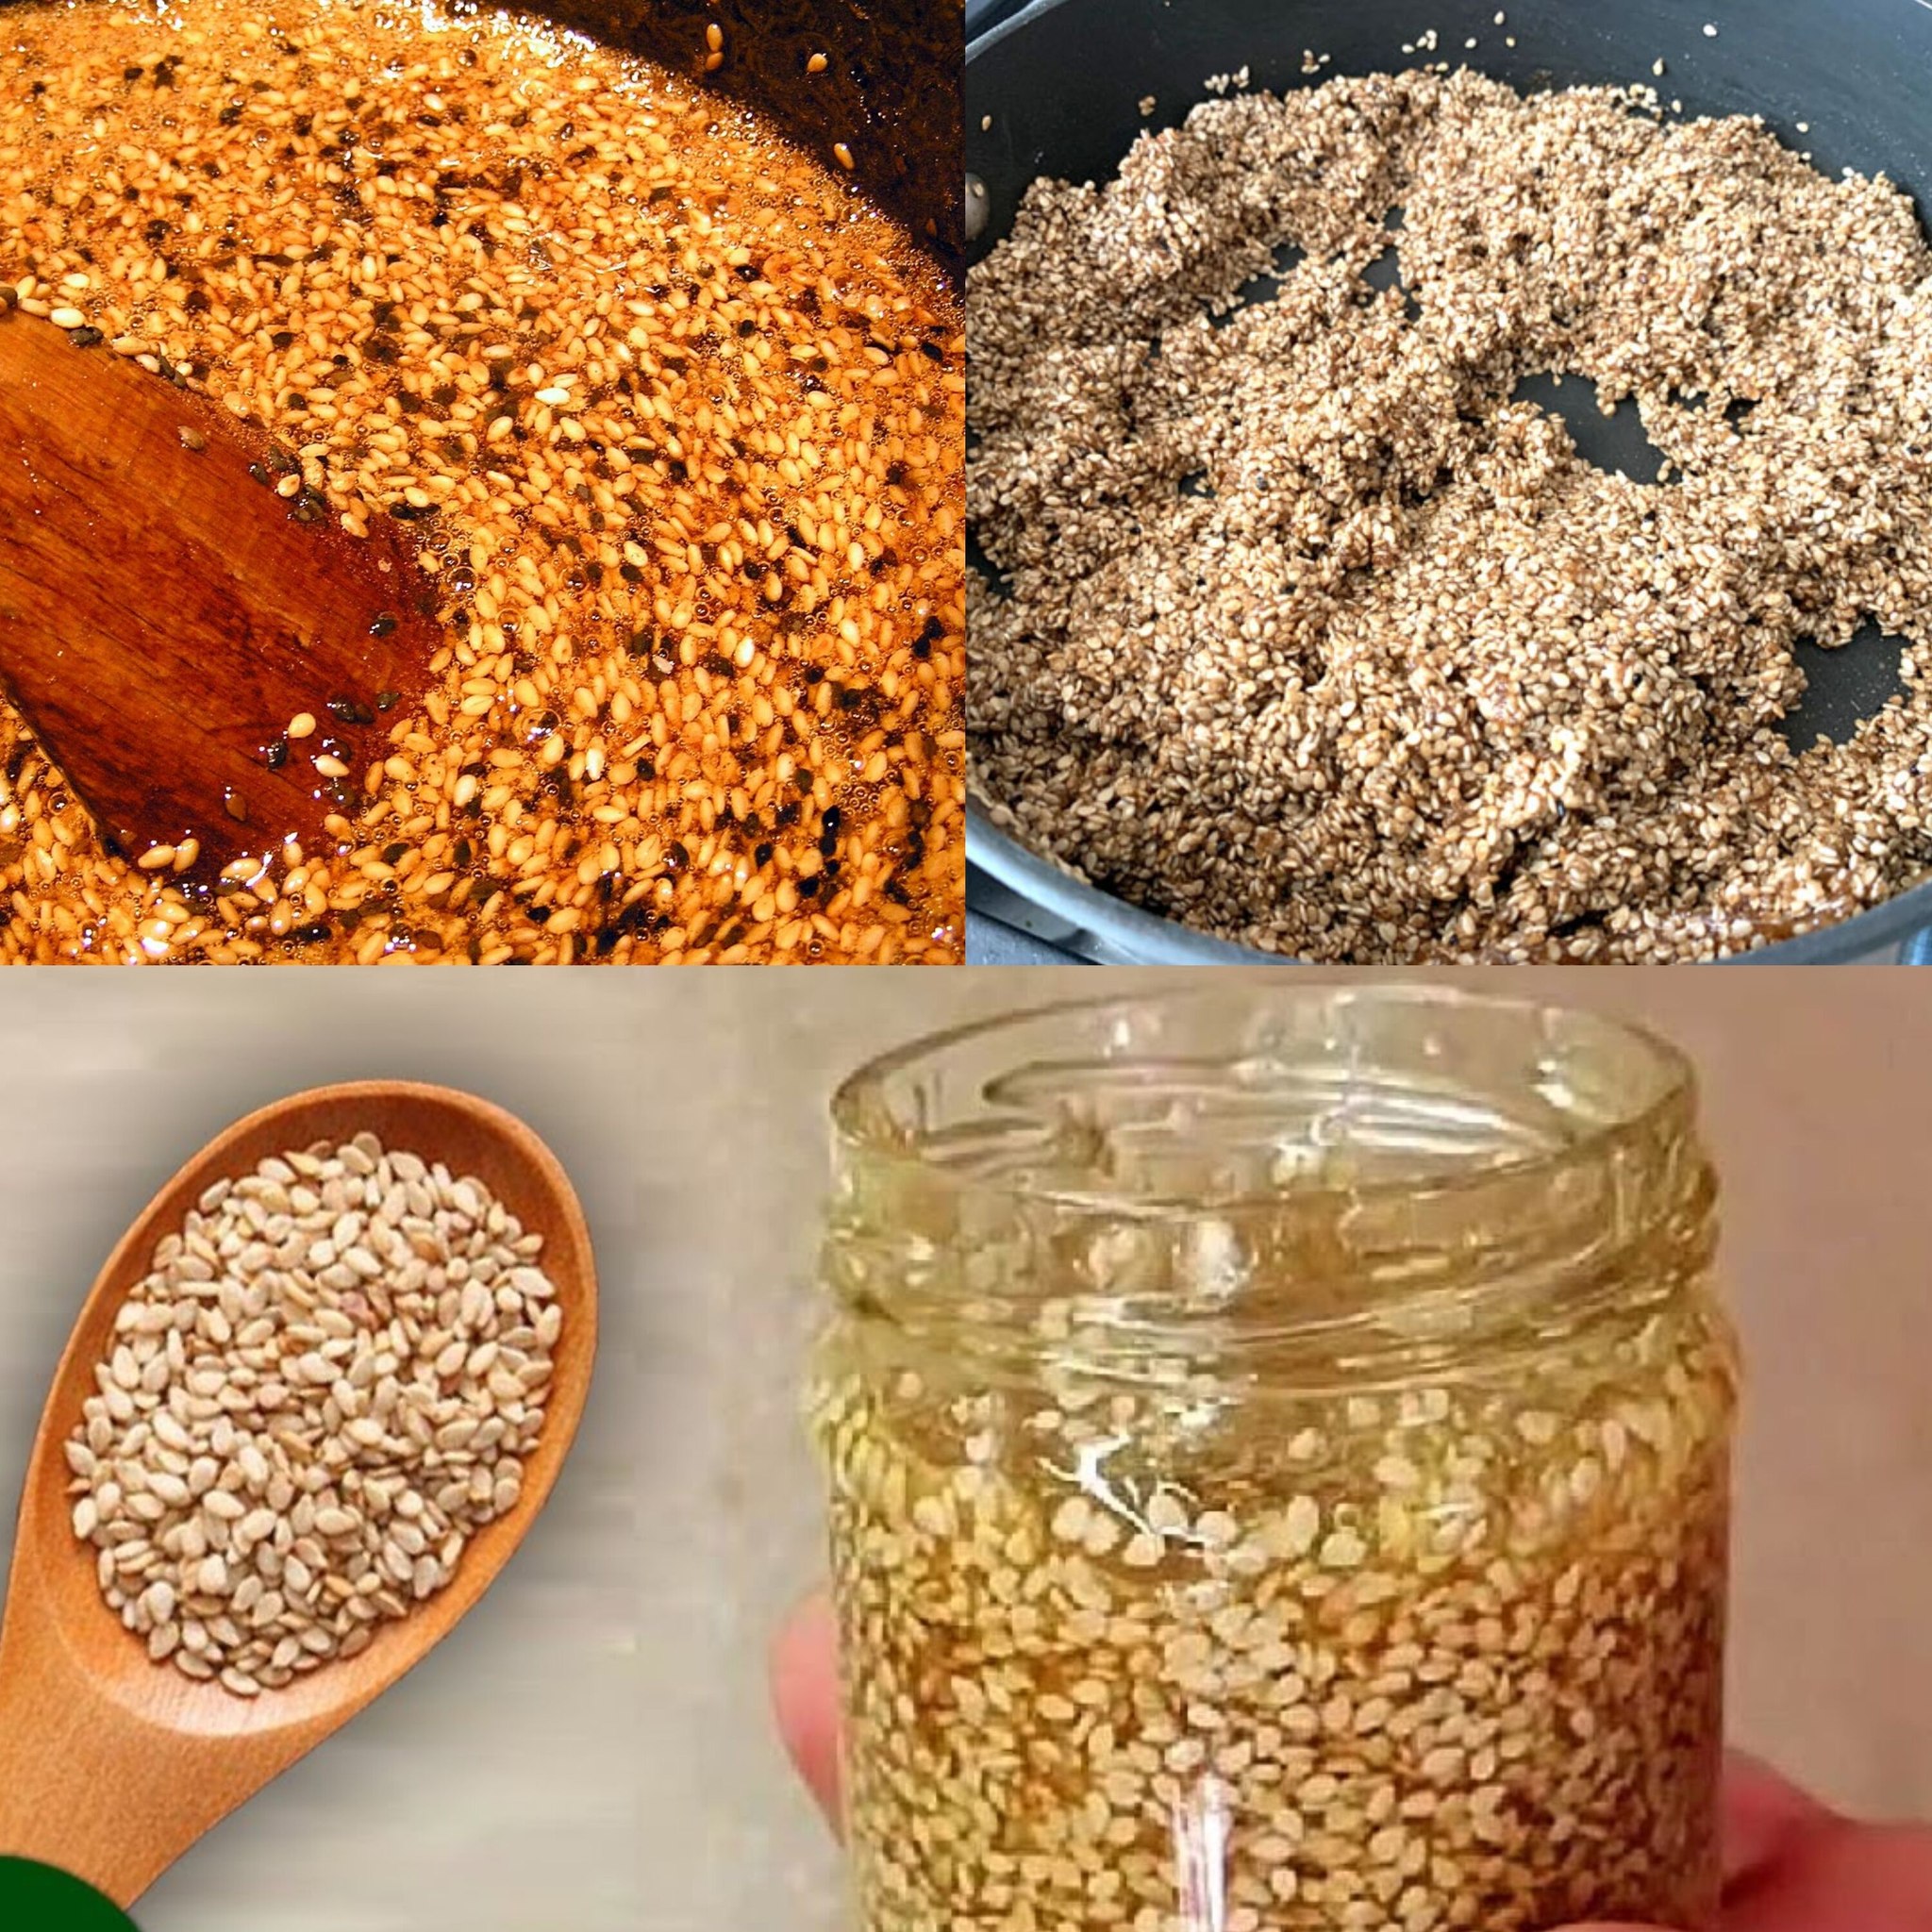
Seeds from sesame plants:

  • Rich in Calcium: One of the greatest plant-based sources of calcium, which is necessary to keep healthy bones and teeth, is sesame seeds.
  • Contains Zinc and Magnesium: These elements are important for maintaining bone density and preventing diseases like osteoporosis.

Chia Seeds:

  • Rich in Calcium: Chia seeds are a good source of calcium, as well as phosphorus and magnesium, all of which are necessary for strong bones.
  • Rich in Omega-3 Fatty Acids: Chia seeds’ omega-3 fatty acids promote bone and joint health by lowering inflammation.

Flaxseeds:

  • Packed with Omega-3s: Flaxseeds, like chia seeds, are a fantastic source of omega-3 fatty acids, which support healthy bones and help lower inflammation in the body.
  • Gives Magnesium: Flaxseeds are a good source of magnesium, which is necessary for strong and healthy bones.

The Advantages of Honey

  • Rich in Antioxidants: Antioxidants included in honey aid in the battle against oxidative stress and inflammation, two conditions that can harm bone health.
  • As a Natural Sweetener: Honey offers its own advantages, such as immune support and energy, while also adding a hint of sweetness to enhance the potent nutrients from these seeds.

How to Prepare a Seed and Honey Concoction for Daily Bone-Strengthening

Components

  1. One teaspoon of sesame seeds, or a combination of chia and flaxseeds
  2. One tsp honey, preferably organic or raw

Guidelines:

Blend the seeds with the honey.

  • Combine one teaspoon of the seeds and one teaspoon of honey in a small bowl. Give it a good stir to make sure the honey coats the seeds equally.

Savor Every Day:

  • Consume this blend once day, ideally first thing in the morning, to provide your body with a good supply of nutrients that strengthen bones.

Other Ways to Savor the Combination:

  • Toast: For a wholesome breakfast, spread the seed and honey mixture over whole-grain toast.
  • Smoothies: To add extra nutrients, blend the seed and honey mixture into your preferred smoothie.
  • In Yogurt: For a tasty and nutritious snack, stir the mixture into plain or Greek yogurt.
  • On Oatmeal: To add even more crunch and sweetness, mix in the seeds and honey.

Benefits of Honey and Seeds for Strong Bones:

  • Boosts Calcium Intake: Plant-based sources of calcium, which is essential for healthy bones and teeth, include sesame, chia, and flaxseeds.
  • Enhances Bone Density: These seeds’ magnesium and zinc content enhance bone density, lowering the risk of fractures and disorders associated to the bones, such as osteoporosis.
  • Reduces Inflammation: Chia and flaxseeds’ omega-3 fatty acids and honey’s antioxidants work together to reduce inflammation, which is important for maintaining the health of joints and bones.
  • Promotes General Health: Honey offers natural energy and immune-boosting qualities, while these seeds promote heart, digestive, and brain function in addition to bone health.

How Often Should I Take It?

  • Daily: Take one teaspoon of this seed-honey mixture daily for optimal benefits. To enjoy the long-term advantages for bone health and general wellbeing, consistency is essential.

Last Words:

  • Strongmen your bones naturally by combining a teaspoon of potent seeds, such as flaxseeds, chia, or sesame, with honey every day. This is a tasty and simple method. These seeds enhance overall health, lower inflammation, and encourage good bone density because to their high calcium, magnesium, and omega-3 content. Enjoy the benefits of stronger bones by using this natural medicine on a daily basis!

The Secret of Mixing Ginger with Clove

The Secret of Mixing Ginger with Clove  See What Happens to Your Body

Popular culinary mainstays like cloves and ginger are useful for more than just adding flavor to food. Together, they form a potent medicine that improves health and has several advantages for your body. This easy mixture can support immunity, inflammation, digestion, and many other conditions. Let’s examine the effects of combining cloves with ginger on the body.

The Advantages of Ginger

  • For millennia, ginger has been utilized for its therapeutic qualities. Gingerol, a bioactive substance found in it, has potent anti-inflammatory and antioxidant properties.
  • Boosts Digestion: Ginger is well known for its ability to relieve bloating, gas, and nausea. It facilitates food passing through the digestive system more easily.
  • Reduces Inflammation: Ginger is a wonderful arthritis treatment because of its anti-inflammatory qualities, which can help lessen joint pain and muscle soreness.
  • Boosts Immunity: Ginger helps the body fend off infections and improves general health by supporting the immune system.

The advantages of cloves

  • Eugenol, a substance with anti-inflammatory, antibacterial, and antioxidant qualities, is abundant in cloves.
  • Enhances Digestive Health: Cloves assist reduce bloating and indigestion by inducing the production of digestive enzymes.
  • Fights Infections: Cloves have potent antibacterial qualities that can aid the body in the fight against infections and enhance oral health by lowering oral bacteria.
  • Pain Relieved: Due to their inherent analgesic qualities, cloves can relieve joint pain, sore throats, and toothaches.

What Takes Place When Clove and Ginger Are Mixed?

  • 1. Enhances Digestion: Cloves and ginger are both very beneficial to digestive health. When combined, they form a home cure that promotes better digestion, lessens bloating, and calms the stomach. After routinely ingesting this combo, you’ll experience a reduction in digestive troubles including gas and indigestion.
  • 2. Reduces Pain and Inflammation: The anti-inflammatory qualities of these substances are well-known. By reducing inflammation in the body, a mixture of ginger and cloves helps ease joint pain, muscular aches, and arthritis discomfort. It’s possible that your discomfort and swelling will significantly lessen within a few days.
  • 3. Strengthens Immunity: The immune system is greatly enhanced by the combination of ginger and cloves. The antiviral, antibacterial, and antioxidant qualities of both substances aid in your body’s defense against infections, colds, and flu. By regularly consuming this blend, you can avoid disease and maintain your health.
  • 4. Soothes respiratory Issues: Cloves and ginger are well known for their soothing effects on the respiratory system. This combination can help clear the airways, reduce inflammation, and soothe discomfort, whether the condition is a cough, sore throat, or congestion. This mixture is perfect for treating cold symptoms because of the antibacterial qualities of cloves and the warming effect of ginger.

How to Make the Remedy with Ginger and Cloves:

Components:

  1. One little piece of fresh ginger, or one tsp powdered ginger
  2. Five to six whole cloves, or a ½ teaspoon of ground cloves
  3. two glasses of water
  4. Honey is optional.

Instructions:

  • Put the cloves and ginger into a pot of boiling water.
  • Simmer for around ten minutes to allow the health benefits to seep out.
  • After straining, consume the heated concoction. If you would like, you can taste and add honey.
  • Take one drink of this every day to reap the advantages.

Main Advantages Following Regular Use:

  • less bloating and better digestion
  • decreased pain and inflammation in the joints
  • improved immunity and increased resilience to illnesses
  • improved breathing and a reduction in colds and congestion

Last Words:

  • Cloves and ginger together provide a straightforward, all-natural treatment that has major health benefits. This concoction can help your body in many ways, whether you’re trying to fight off a cold, reduce inflammation, or improve digestion. See what it can do for you by trying to include it into your everyday routine!

Eat Yogurt Every Day for 7 Days

Eat Yogurt Every Day for 7 Days and This Happens to Your Body

Yogurt is a high-nutrient food that can significantly improve your health, particularly if you eat it on a regular basis. Yogurt, which is high in probiotics, calcium, protein, and vitamins, can improve a number of health issues. This is what happens when you consume yogurt every day for seven days.

1. Enhanced Digestive Wellbeing

  • Live probiotics, or beneficial bacteria, are found in yogurt and can help balance the gut flora and improve digestion. In a matter of days, you might experience less gas, bloating, and constipation. These advantageous microorganisms facilitate better food digestion and nutrient absorption.

2. Enhanced Immunity

  • Yogurt contains probiotics that improve immunological function in addition to supporting gut health. An immune system that is robust is associated with a healthy gut, which enhances the body’s ability to combat infections and viruses. Yogurt can strengthen your immunity, particularly during the cold and flu season, if you consume it every day for a week.

3. More robust bones

  • Calcium and vitamin D, which are vital for healthy bones, are abundant in yogurt. Daily consumption of yogurt strengthens your bones and lowers your chances of osteoporosis and fractures. You’re giving your body the nutrition it needs to sustain bone density after a week of regular ingestion.

4. Control of Weight

  • Protein-rich yogurt helps you feel full and content for extended periods of time, which may help you consume less calories overall. Yogurt can help with weight management when consumed as part of a balanced diet. A week later, you might experience a decrease in cravings, particularly for junk food, which will make it simpler to follow a balanced diet.

5. Improved Skin

  • Yogurt’s lactic acid and probiotics can enhance skin health from the inside out. Probiotics aid in reducing inflammation, whereas lactic acid encourages cell turnover. Some report improved skin clarity and hydration after seven days, along with a decrease in acne and other skin issues.

6. Reduced Heart Rate

  • Potassium, which is abundant in yogurt, balances the effects of sodium in the body and helps control blood pressure. Regular yogurt eating has been linked to moderate drops in blood pressure, which is good for the heart.

7. Enhanced Mood

  • There is a strong correlation between the gut and the brain, and mood can benefit from gut health. Yogurt’s probiotics, which improve gut health, can help reduce the symptoms of anxiety and sadness. You might feel more emotionally stable and mentally balanced after consuming yogurt for a week.

How to Include Yogurt in Your Meal Plan

  • Breakfast: For a well-balanced meal, top yogurt-topped smoothies with fresh fruit, almonds, and seeds.
  • Snack: A filling midday snack is yogurt on its own.
  • Cooking: Yogurt can be used in place of cream in dishes or as a base for salad dressings and dips.

Advice on Selecting the Correct Yogurt

  • To steer clear of extra sugars, choose plain, unsweetened yogurt.
  • If you need more protein, go for Greek yogurt; if you’re vegan or lactose intolerant, go for plant-based yogurt.
  • In order to optimize the probiotic effects, make sure it has live, active organisms.

Yogurt consumption on a regular basis can significantly boost your body’s immune system, digestion, and general health in as little as seven days. Long-lasting health advantages can be obtained from yogurt, which is a pleasant and simple addition to a healthy lifestyle!

Never Throw Away Lemon Peels Again

Never Throw Away Lemon Peels Again 12 Unusual Ways to Use Them

Although lemon peels are frequently thrown away without thinking twice, they have many applications and are full of healthy elements. Here are 12 creative uses for lemon peels that will make you reconsider throwing them away, from skincare to housekeeping!

1. Air freshener made naturally

  • You may use lemon peels as a natural air freshener to fill your house with a zesty, invigorating aroma. Just bring a pot of water to a simmer with a few lemon peels, and within an hour the steam will fill your room with a clean, fresh scent.

2. DIY Vinegar and Lemon Juice Cleaner

  • White vinegar and lemon peels make an all-natural cleaning solution. After putting the peels in a jar with vinegar, cover it and leave it for a fortnight. For a strong, environmentally friendly cleaner that works on countertops, floors, and bathroom surfaces, strain the liquid and pour it into a spray bottle.

3. Keep Away Insects

  • Lemon peels have inherent insect-repelling properties. Put dried lemon peels near windowsills or doorways—places where ants, flies, and mosquitoes are frequently found. Without using any pesticides, the potent citrus aroma deters insects.

4. Replace the cutting boards.

  • To get rid of bacteria, odors, and stains from your cutting boards, rub lemon peels directly on them. Lemon’s natural oils maintain the wood while its acidity helps clean the surface.

5. Homemade Lemon Skin Scrub

  • Lemon peels are excellent for exfoliating and lightening the skin since they are high in citric acid and vitamin C. Grate some lemon zest finely and combine it with sugar and coconut oil to make a natural scrub that leaves your skin smooth and bright.

6. Prepare Lemon Zest

  • Zest lemon peels for use in your favorite recipes before throwing them away. Zest gives salads, sauces, desserts, and marinades a zesty flavor boost. The zest can also be dried and saved for further use.

7. Olive Oil Flavor

  1. Add lemon peels to a bottle of olive oil to make a gourmet version of lemon-infused olive oil. After letting the combination steep for around a week, you will have a flavorful oil that is ideal for spreading over fish, veggies, and salads.

8. All-natural Garbage Can Deodorizer

  • To neutralize smells, put lemon peels at the bottom of your compost or garbage can. They create a clean citrus scent as they break down, which blocks out unwanted odors.

9. Naturally Whiten Teeth

  • D-limonene, a substance found in lemon peels, can aid in removing surface stains from teeth. After a minute of gentle tooth brushing, rinse your teeth with the white portion of a lemon peel. usage caution, though, as excessive usage of lemon’s acidity might erode enamel.

10. Luminous Chrome Taps

  • To get rid of water stains and bring back the luster of chrome fixtures like showerheads and faucets, rub lemon peels over them. Peel’s citric acid aids in removing mineral deposits, leaving your fixtures shining.

11. Treat Sore Tongue

  • Because of its antimicrobial qualities, lemon peels can help relieve sore throats. After ten minutes of boiling lemon peels in water, drain the liquid and enjoy it with a little honey. It’s a safe, all-natural treatment for sore throats and colds.

12. Clean Out Your Refrigerator

  • To absorb bad smells, put lemon peels in a bowl and store it in your refrigerator. If you want the peels to look even fresher, you can intensify the effect by dusting them with baking soda.

Bonus Advice: Powdered lemon peel

  • Lemon peels should be dried and then ground into a fine powder. Powdered lemon peel can be added to facial masks, baked goods, drinks, and cleaning supplies. It’s a concentrated method of maximizing their fragrance and nutrients.

Last Words

  • Because lemon peels are so useful and have so many health benefits, consider using them in your skincare products, cleaning products, and even your home! You can make the most of lemon peels and cut waste with these 12 unconventional ideas.

10 Health Benefits and Uses of Soursop Leaf & Fruit

10 Health Benefits and Uses of Soursop Leaf & Fruit

Ravioli, or soursop, is a fruit that has strong therapeutic qualities in addition to being delicious. For millennia, soursop leaves and berries have been utilized in traditional medicine. Ten health advantages and applications for soursop fruit and leaf are listed below.

1. Packed with Antioxidants

  • Antioxidants found in soursop assist your body combat free radicals. These antioxidants may be able to lower the chance of developing certain illnesses.

2. Potential Anti-Cancer Effects

  • According to research, soursop fruit and leaves can efficiently target and eliminate cancerous cells in 12 different cancer types, including pancreatic, lung, breast, colon, and prostate cancer.

3. Strengthens Immune Response

  • Consuming soursop on a regular basis helps boost immunity. Because of its high vitamin C content, the body produces more white blood cells, which protect the body from infections.

4. Enhances Eye Wellbeing

  • Antioxidants included in soursop, such as zinc, beta-carotene, and vitamins C and E, have been associated with a lower incidence of eye illness.

5. Aids in Inflammation Reduction

  • Because soursop contains anti-inflammatory qualities, it can help reduce pain and inflammation associated with illnesses like arthritis.

6. May Assist in Controlling Blood Sugar Levels

  • According to certain research, soursop can help control blood sugar levels, which is advantageous for diabetics.

7. Reduces Blood Pressure

  • Potassium, which is abundant in soursop, eases blood vessel stress and improves cardiovascular function, both of which reduce blood pressure.

8. Assists in Anxiety and Sleep

  • Because of its relaxing properties, soursop tea brewed from the plant’s leaves is frequently used in traditional medicine to aid in sleep and lessen anxiety.

9. Enhances Digestive Wellbeing

  • Soursop fruit’s high fiber content aids in gastrointestinal tract maintenance, constipation prevention, and digestive health promotion.

10. Advantages of Skin Care

  • Soursop contains antioxidants, vitamin C and E, and other nutrients that support healthy skin, encourage the formation of collagen, and lessen oxidative damage—all of which help prevent the appearance of aging on the skin.

How to Utilize Soursop

  • As a Fruit: Soursop fruit can be eaten raw or used to fruit salads, smoothies, and desserts.
  • To prepare Soursop Tea, bring the leaves to a boil. This is especially well-liked because of its medicinal properties.
  • Juice: The fruit is suitable for drinking after being juiced.
  • Topical Application: Soursop leaf extract has anti-inflammatory properties that can be administered topically to the skin.

Advice for Ingestion

  • Verify Ripeness: Before eating, make sure the fruit is ripe since unripe soursop can taste quite tart.
  • Moderation is key when it comes to soursop consumption, despite its health benefits. According to some research, soursop’s high annonacin content may cause neurological consequences akin to Parkinson’s disease when consumed in excess.

Because of its high nutrient content, soursop has an amazing array of health benefits. Soursop is a great addition to a healthy lifestyle, whether you use the leaves for topical applications, make a cup of leaf tea, or just enjoy the fruit.

How to Preserve Cilantro So It Won’t Go Bad for Months

How to Preserve Cilantro So It Won’t Go Bad for Months

A aromatic herb used in many recipes, cilantro spoils easily if improperly stored. To guarantee you always have this herb on hand when you need it, there are a few easy techniques to preserve cilantro and keep it fresh for months. This is how you do it:

Method 1: Put the cilantro in ice cube trays and freeze.

  • One of the finest ways to keep cilantro’s flavor for a long time is to freeze it. You may easily use portioned amounts for cooking by freezing it in ice cube trays.

What You’ll require:

  1. fresh cilantro
  2. Ice cube tray
  3. Water or olive oil
  4. Safe-for-freezer bag or container

Guidelines:

  • Wash and Chop the Cilantro: To get rid of any dirt or debris, give the cilantro a quick rinse under cool water. Using paper towels or a fresh towel, pat it dry. Finely chop the cilantro.
  • Fill the Ice Cube Tray: Fill each part of the ice cube tray approximately halfway with chopped cilantro.
  • Add Olive Oil or Water: Drizzle the tray of cilantro with either olive oil or water, being sure to cover the entire amount of the herb. The oil or water keeps the cilantro from freezing burnt while preserving its freshness.
  • Freeze: Put the tray in the freezer and leave it there until it is totally frozen, usually a few hours.
  • To store the cilantro cubes, remove them from the freezer and place them in a freezer-safe bag or container. Put the date on the bag’s label and keep it in the freezer. In the freezer, the cilantro cubes will keep for three to four months.
  • Use As Needed: To add cilantro to a recipe, just add a cube while it’s cooking. If you use oil, it will also enhance the taste and texture of your food.

Method 2: Let the cilantro dry

  • Another approach to keep cilantro fresh for months is to dry it out. Its bright flavor may be slightly diminished by drying, but it’s still a good way to preserve food for a long time.

What You’ll require:

  1. fresh cilantro
  2. Towels or a rack for drying
  3. airtight canister or jar

Guidelines:

  • Wash and Dry: Give the cilantro a good rinse in cold water, then use paper towels to pat dry.
  • Air Dry: Place the cilantro bunches upside down in a well-ventilated place or tie them in little bunches and hang them on a drying rack. Depending on the humidity level, let them air dry for one to two weeks, or until the leaves are completely dry and crumbly.
  • Crumble the cilantro leaves and place them in an airtight jar or container after they have completely dried. Store dried cilantro in a cool, dark area to keep it fresh for up to six months.

Method 3: Freezing and Blanching

  • Blanching cilantro prior to freezing aids in maintaining its vibrant green hue and freshness.

What You’ll require:

  1. fresh cilantro
  2. Water that is boiling
  3. Cold water
  4. freezer-safe bag

Guidelines:

  • Boil a kettle of water to blanch the cilantro. Let the cilantro steep in the hot water for ten to fifteen seconds.
  • Chill in Ice Water: To halt the cooking process, quickly place the blanched cilantro in a bowl of ice water. Give it a half-minute or so in the icy water.
  • Pat the cilantro dry with a towel before freezing it. Take the cilantro, squeeze out as much air as you can, and seal the bag that is safe to store in the freezer. For up to 4-6 months, keep it frozen.

Method 4: Pasted cilantro

  • The flavor of cilantro may be retained and it becomes easier to employ in recipes by processing it into a paste.

What You’ll require:

  1. fresh cilantro
  2. Olive oil
  3. food processor or blender
  4. airtight bag or freezer-safe container

Guidelines:

  • Blend the Cilantro: Put the cilantro in a food processor or blender and cover with a little olive oil. Process till smooth.
  • Keep in a Container: Spoon the paste made from the cilantro into a freezer-safe bag or an airtight container. Seal it tightly, force out the air, and freeze.
  • Use in Cooking: You may use the paste straight out of the freezer for stir-fries, soups, and sauces. Cilantro can be preserved this way for up to six months.

In summary:

  • These techniques allow you to store cilantro for months without having to worry about it going bad. Whether you like to freeze, dry, or make a paste, these methods will enable you to use cilantro that tastes fresh in your cooking anytime you need it!

I Have Never Eaten Such Delicious Fish

I Have Never Eaten Such Delicious Fish A Delicacy That Melts in Your Mouth: Salmon Recipe

When prepared correctly, salmon is not only one of the healthiest seafood you can eat but also a great delicacy. Seafood enthusiasts enjoy it for its delicate flavor and rich, buttery texture. With this easy-to-follow recipe, you can have restaurant-quality salmon at home that will melt in your tongue. Here’s how to prepare the most succulent, flawless salmon that will wow everyone.

Components:

  1. Two brand-new, about 6-ounce salmon fillets
  2. Two teaspoons of melted butter or olive oil
  3. two minced cloves of garlic
  4. One lemon’s juice
  5. One spoonful of maple syrup or honey
  6. One tsp Dijon mustard
  7. Use fresh herbs as garnish, such as parsley, dill, or thyme.
  8. To taste, add salt and pepper.
  9. Slices of lemon (as a garnish)

Guidelines:

Warm up the oven:

  • Set oven temperature to 400°F, or 200°C. The salmon cooks fast at this temperature while maintaining its moisture and tenderness.

Get the marinade ready:

  • Combine the olive oil (or melted butter), lemon juice, honey, Dijon mustard, and minced garlic in a small bowl. The salmon gains the ideal amount of acidity, sweetness, and richness from this marinade.

Toss the salmon with seasoning.

  • Sprinkle salt and pepper on both sides of the salmon fillets. To make cleanup easier, place the fillets skin-side down on a baking sheet covered with aluminum foil or parchment paper.

Include the marinade:

  • After the marinade is ready, pour it over the salmon fillets, making careful to coat them completely. Spread it over the surface using a spoon or brush.

Cook the Salmon:

  • Salmon should be baked for 12 to 15 minutes, depending on how thick the fillets are. The salmon should be opaque, flake easily with a fork, and have some moisture in the middle. Watch the fish carefully since overcooking might cause it to dry out.

Simmer for a Brilliant End:

  • For the final two to three minutes of cooking, turn the oven to broil for an additional hint of caramelization. This will maintain the salmon’s soft interior while giving the top a crispy, golden-brown texture.

Serve and garnish:

  • After taking the salmon out of the oven, let it a few minutes to rest. For a blast of citrus flavor, garnish with fresh herbs such as thyme, dill, or parsley and serve with lemon slices on the side.

Have fun!

  • Serve the salmon with your preferred side dishes, like a crisp salad, mashed potatoes, or roasted veggies.

Advice for the Ideal Salmon:

  • Utilize Fresh Salmon: A premium, fresh salmon is essential. Seek for solid, vibrant flesh that doesn’t smell fishy.
  • Don’t Overcook: Make sure the salmon doesn’t become too dry or crumbly by keeping a watch on it. When cooked through, the internal temperature should be about 145°F (63°C).
  • Increase taste: You can increase the taste of the marinade by adding paprika, pepper flakes, or lemon zest.

The Reason This Recipe Is Effective:

  • The ideal balance of flavors is achieved by combining the flavors of garlic, lemon, honey, and Dijon mustard to make a glaze that is sweet, acidic, and slightly savory, which accentuates the flavor of the salmon.
  • Moist and supple: Broiling the salmon at the very end gives it a wonderful golden finish, but cooking it at 400°F guarantees that it stays supple and melts in your tongue.
  • Quick and Easy: You can have a tasty dinner on the table in less than 30 minutes with just a few basic ingredients and little preparation.

In summary:

  • The ultimate delicacy that melts in your tongue is this recipe for salmon. It is ideal for a special event or a weeknight supper because to its simple preparation and rich flavor. Serve it with your preferred sides and savor a tasty, healthful dinner that will quickly become a family favorite!

Secret Military Drink for Losing 20 Kg in a Month

Secret Military Drink for Losing 20 Kg in a Month: Lemon and Coriander Seeds 

Are you looking for a quick and efficient method to burn that stubborn abdominal fat and lose extra weight? Lemon and coriander seed concoctions have been promoted as a “secret military drink” that aids in rapid weight loss. Although a healthy diet and regular exercise are necessary for weight loss, this drink can speed up the burning of fat and increase metabolism to help you reach your objectives more quickly. This is why it works and how to make it.

Why Coriander and Lemon Seeds Are Effective in Losing Weight

Lemon:

  • Increases Metabolism: Packed with vitamin C, lemons help your body burn calories more efficiently by accelerating the breakdown of fat.
  • Cleanses the Body: Lemon juice is a natural detoxifier that aids in the removal of waste products and extra water from the body, which helps with weight loss.
  • Appetite Control: Pepsin, a fiber found in lemons, helps suppress appetite and reduce overall calorie intake by keeping you fuller for longer.

Seeds of coriander:

  • Enhances Digestion: The release of digestive enzymes, which guarantees that nutrients are absorbed effectively and prevents fat formation, is one way that coriander seeds enhance digestion.
  • Natural Diuretic: The diuretic qualities of coriander seeds aid in the body’s removal of extra water, which lessens bloating and water retention.
  • Increases Metabolism: Compounds in coriander seeds aid in increasing metabolism, which encourages fat burning and expedited weight loss.

Components:

  1. One tablespoon of seeds coriander
  2. One juiced lemon
  3. one cup of water
  4. Honey (to taste, optional)

Guidelines:

Let the coriander seeds soak.

  • Soak one tablespoon of coriander seeds in one cup of water for the entire night. This will enable the seeds to release their health-promoting substances.

Bring the Water to a Boil:

  • Heat the water in which the coriander seeds have been soaked in the morning. Simmer for five to ten minutes.

Pour through a strainer and squeeze in the lemon:

  • After discarding the seeds, strain the coriander seed water into a glass. Add one fresh lemon’s juice to the coriander water and thoroughly stir.

Add-on Optional:

  • You can add a spoonful of honey for a hint of sweetness if the flavor is too intense or bitter.

Consume It on a Full Stomach:

  • For optimal effects, consume this combo first thing in the morning on an empty stomach. To observe noticeable improvements in your weight and body fat, consume this every day for a month.

How Operates:

  • Boosts Metabolism: The coriander and lemon seeds work together to quicken metabolism, which makes it possible for your body to burn calories more effectively. This may help reduce body fat, especially in the vicinity of the stomach.
  • Reduces Bloating: The inherent diuretic qualities of coriander seeds aid in the reduction of bloating and water retention, which helps you feel lighter and less puffy throughout your body.
  • Cleanses and Detoxifies: Lemon juice is a natural detoxifier that aids in the removal of waste and toxins from your body that may impede weight reduction. Additionally, this beverage promotes liver health, which is essential for the metabolism of fat.
  • Controls Appetite: By keeping you fuller for longer and lowering desires throughout the day, lemon helps control appetite and stop overeating.

Advice for Optimal Outcomes:

  • Combine with a Healthy Diet: Consume a balanced diet high in whole grains, lean proteins, and veggies to reap the greatest health advantages. Steer clear of processed foods and sweet snacks.
  • Remain Active: Include regular physical activities in your regimen, such as walking, strength training, or cardio exercises. Exercise promotes fat loss by raising calorie expenditure.
  • Stay Hydrated: To aid in metabolism and digestion, sip lots of water throughout the day.

Take precautions:

  • Coriander Allergy: If you feel any pain or allergic reactions, stop drinking the beverage and find a doctor. Some people may be allergic to coriander seeds.
  • See a Doctor: See a healthcare provider before beginning any intense weight loss program, particularly if you are taking medication or have any pre-existing medical concerns.

In summary:

  • This drink made with lemon and coriander seeds is an effective, all-natural way to accelerate weight loss and burn tummy fat. Even while it can hasten your weight loss process, maintaining a balanced diet, frequent exercise, and persistent effort are necessary to lose significant weight—such as 20 kg in a month. If you pair this beverage with a healthy lifestyle, you should have no trouble reaching your weight loss objectives!

Clean Your Bowel with Dried Prunes

Clean Your Bowel with Dried Prunes A Simple Way to Boost Your Health

The proverb “death begins in the gut” emphasizes how vital digestive health is to our general health. Nutrient absorption, waste elimination, and immune system maintenance all depend on a healthy gut. Adding dried prunes to your diet is a simple, natural method to help your digestive system and clear up your bowels. Let’s examine the health benefits and intestine cleaning properties of dried prunes.

Why Were Prunes Dried?

  • Dried plums, or prunes, are well known for their beneficial effects on the digestive system. They include high levels of dietary fiber, sorbitol, and organic substances that have mild laxative properties. Together, these ingredients help to clear the colon, soften feces, and encourage regular bowel motions.

Dried Prunes’ Beneficial Effects on Bowel Health

  • 1. High in Fiber: Dietary fiber, which gives stool volume and eases passage through the digestive system, is abundant in prunes. This encourages regularity and helps stave off constipation.
  • 2. Natural Laxative: Sorbitol, a sugar alcohol found in prunes, has a naturally laxative action. By drawing water into the intestines, sorbitol helps to soften and facilitate the passage of stool.
  • 3. High in Antioxidants: Rich in antioxidants, prunes promote general digestive health and protect the gut lining. Additionally, they lessen inflammation, which is advantageous for gut health.
  • 4. Promotes Gut Bacteria: Prunes’ fiber serves as a prebiotic, feeding the good bacteria in the stomach. Enough gut microbiota to support healthy digestion and general well-being is necessary.

How to Clean Your Bowels Using Dried Prunes

Components:

  1. ten to fifteen dried prunes
  2. Water

Guidelines:

1. Allow the prunes to soak:

  • Overnight, let the dried prunes soak in water. They become rehydrated as a result, which facilitates digestion.

2. Consume the prunes:

  • Eat the soaking prunes empty-handed first thing in the morning. For additional advantages, you can also consume the soaking water.

3. Maintain Hydration:

  • To ensure that the fiber in the prunes functions properly and to keep your digestive tract hydrated, sip on lots of water throughout the day.

4.Repeat Frequently:

  • Prunes are best consumed when added to a regular diet. Constipation can be avoided and intestinal health can be preserved by eating them frequently.

Extra Advice

  • Start Slowly: To prevent stomach pain, start with a smaller amount of prunes if you’re not used to eating high-fiber foods. Gradually increase your consumption.
  • Combine with Other High-Fiber meals: You can increase the health advantages of your diet by combining whole grains, fruits, and vegetables with other high-fiber meals.
  • Remain Active: Frequent exercise promotes intestinal health and aids in stimulating digestion.

In summary

  • One easy and all-natural method to help your digestive system and clear your intestines is to include dried prunes in your diet. Prunes have a high fiber content and inherent laxative qualities that can support gut health and help you maintain regularity. Try this simple cure and reap the rewards of a healthier, cleaner digestive system.

Vaseline plus White Vinegar

Vaseline plus White Vinegar = Magic! Amazing Hacks You Never Knew

Common household products like white vinegar and vaseline may be mixed to make a potent solution that can be used for many purposes you may not have known about. The moisturizing and protecting qualities of Vaseline combined with the strong cleaning paower of white vinegar might provide unexpected advantages in day-to-day living. These amazing tricks are available for you to attempt at home.

Repair Shoes and Leather
Vaseline and white vinegar may revive leather furniture, purses, shoes, and other accessories that have lost their luster.
How to Apply:

  • Combine equal amounts of white vinegar and Vaseline.
  • Using a delicate cloth, apply the mixture on leather goods.
  • To get rid of grime, scuff marks, and restore luster, gently massage in circular strokes.
  • Using a dry, clean towel, remove any leftovers.
  • The Reason It Works White vinegar helps clean and disinfect leather objects, leaving them appearing polished and clean. Vaseline softens and moisturizes the leather.

2. Eliminate Intransigent Labels and Stickers
Are you having trouble removing obstinate labels or stickers? It’s simple to remove them without leaving any trace when you combine white vinegar and Vaseline.

How to Apply:

  • on loosen the glue, apply Vaseline on the sticker and let it rest for a few minutes.
  • Next, use white vinegar to liquefy any leftover adhesive.
  • Using a plastic scraper or your fingernail, remove the sticker, and then use a cloth to remove any leftover adhesive.

Why It Works: The glue is softer and easier to remove thanks to the actions of vinegar and Vaseline.

3. Polish and Glaze Chrome
It is quite easy for your chrome fixtures, appliances, and faucets to get dull or to develop water stains on them. They may seem brand new with this easy hack.
How to Apply:

  • Combine a little bit of white vinegar and Vaseline.
  • Wipe the mixture with a microfiber cloth over chrome surfaces.
  • After polishing the chrome to a high sheen, use a fresh cloth to remove any leftover residue.

Why It Works: White vinegar breaks through mineral deposits and filth, while Vaseline works as a barrier to stop more water spots from developing.

4. Rough Skin Softening and Smoothing
This combination may help soften and hydrate rough or dry skin spots on your hands, elbows, or feet.

How to Apply:

  • Mix a little bit of white vinegar with Vaseline.
  • After applying the mixture to the afflicted regions, let it on for ten to fifteen minutes and then rinse it off.

Why It Works: The combination of vinegar and vaseline leaves skin soft and smooth after a little exfoliation, locking in moisture.

5. Remove Sticky Grease
Moreover, stubborn grease stains on surfaces like stovetops and counters may be removed using white vinegar and vaseline.

How to Apply:

  • To remove the grease, apply Vaseline to the oily area.
  • Utilizing a paper towel, remove it.
  • To clean and eliminate any remaining residue, apply white vinegar to the affected area.

Why It Works: White vinegar cuts through any leftover oils and dissolves grease, leaving the surface clean.

6. Avoid Noisy Hinges
While white vinegar and Vaseline may help keep door hinges quiet and smooth, they can still be annoying when they squeak.
How to Apply:

Lubricate the hinge by dabbing a little bit of Vaseline onto it.

Use white vinegar to clean the hinge and get rid of any dust or debris that might be causing it to squeak.

Why It Works: The hinge is cleaned and lubricated with vinegar, which lowers noise and friction.

7. Take Out the Wood’s Water Rings
Although water rings from glasses might be unsightly on hardwood furniture, you can quickly remedy them with this tip.

How to Apply:

  • Add a little amount of white vinegar to Vaseline.
  • Using a towel, gently rub the mixture onto the water rings.
  • Give it an hour to settle before cleaning it.

Why It Works: The surface is restored by the vinegar and vaseline, which hydrates the wood and helps remove water stains.

8. Remove the sticky zippers
Use Vaseline and vinegar to free a stuck zipper on your jacket, purse, or jeans.

How to Apply:

  • Apply a little layer of Vaseline on the zipper teeth.
  • To help any dirt or debris in the zipper come loose, use a little amount of vinegar.
  • Once the zipper glides easily, gently pull it in and out.

Why It Works: Vinegar helps loosen any dirt that could be clogging the zipper while Vaseline lubricates the zipper.

Concluding Remarks: White vinegar mixed with Vaseline is a flexible, affordable option for a range of home chores and personal hygiene requirements. These two products are fantastic when used together for hydrating skin, repairing leather, and removing stubborn stains. Reach for this pair the next time you need to solve a dilemma and discover the magic for yourself!