Unlock Rapid Hair Growth with Vaseline and Onion

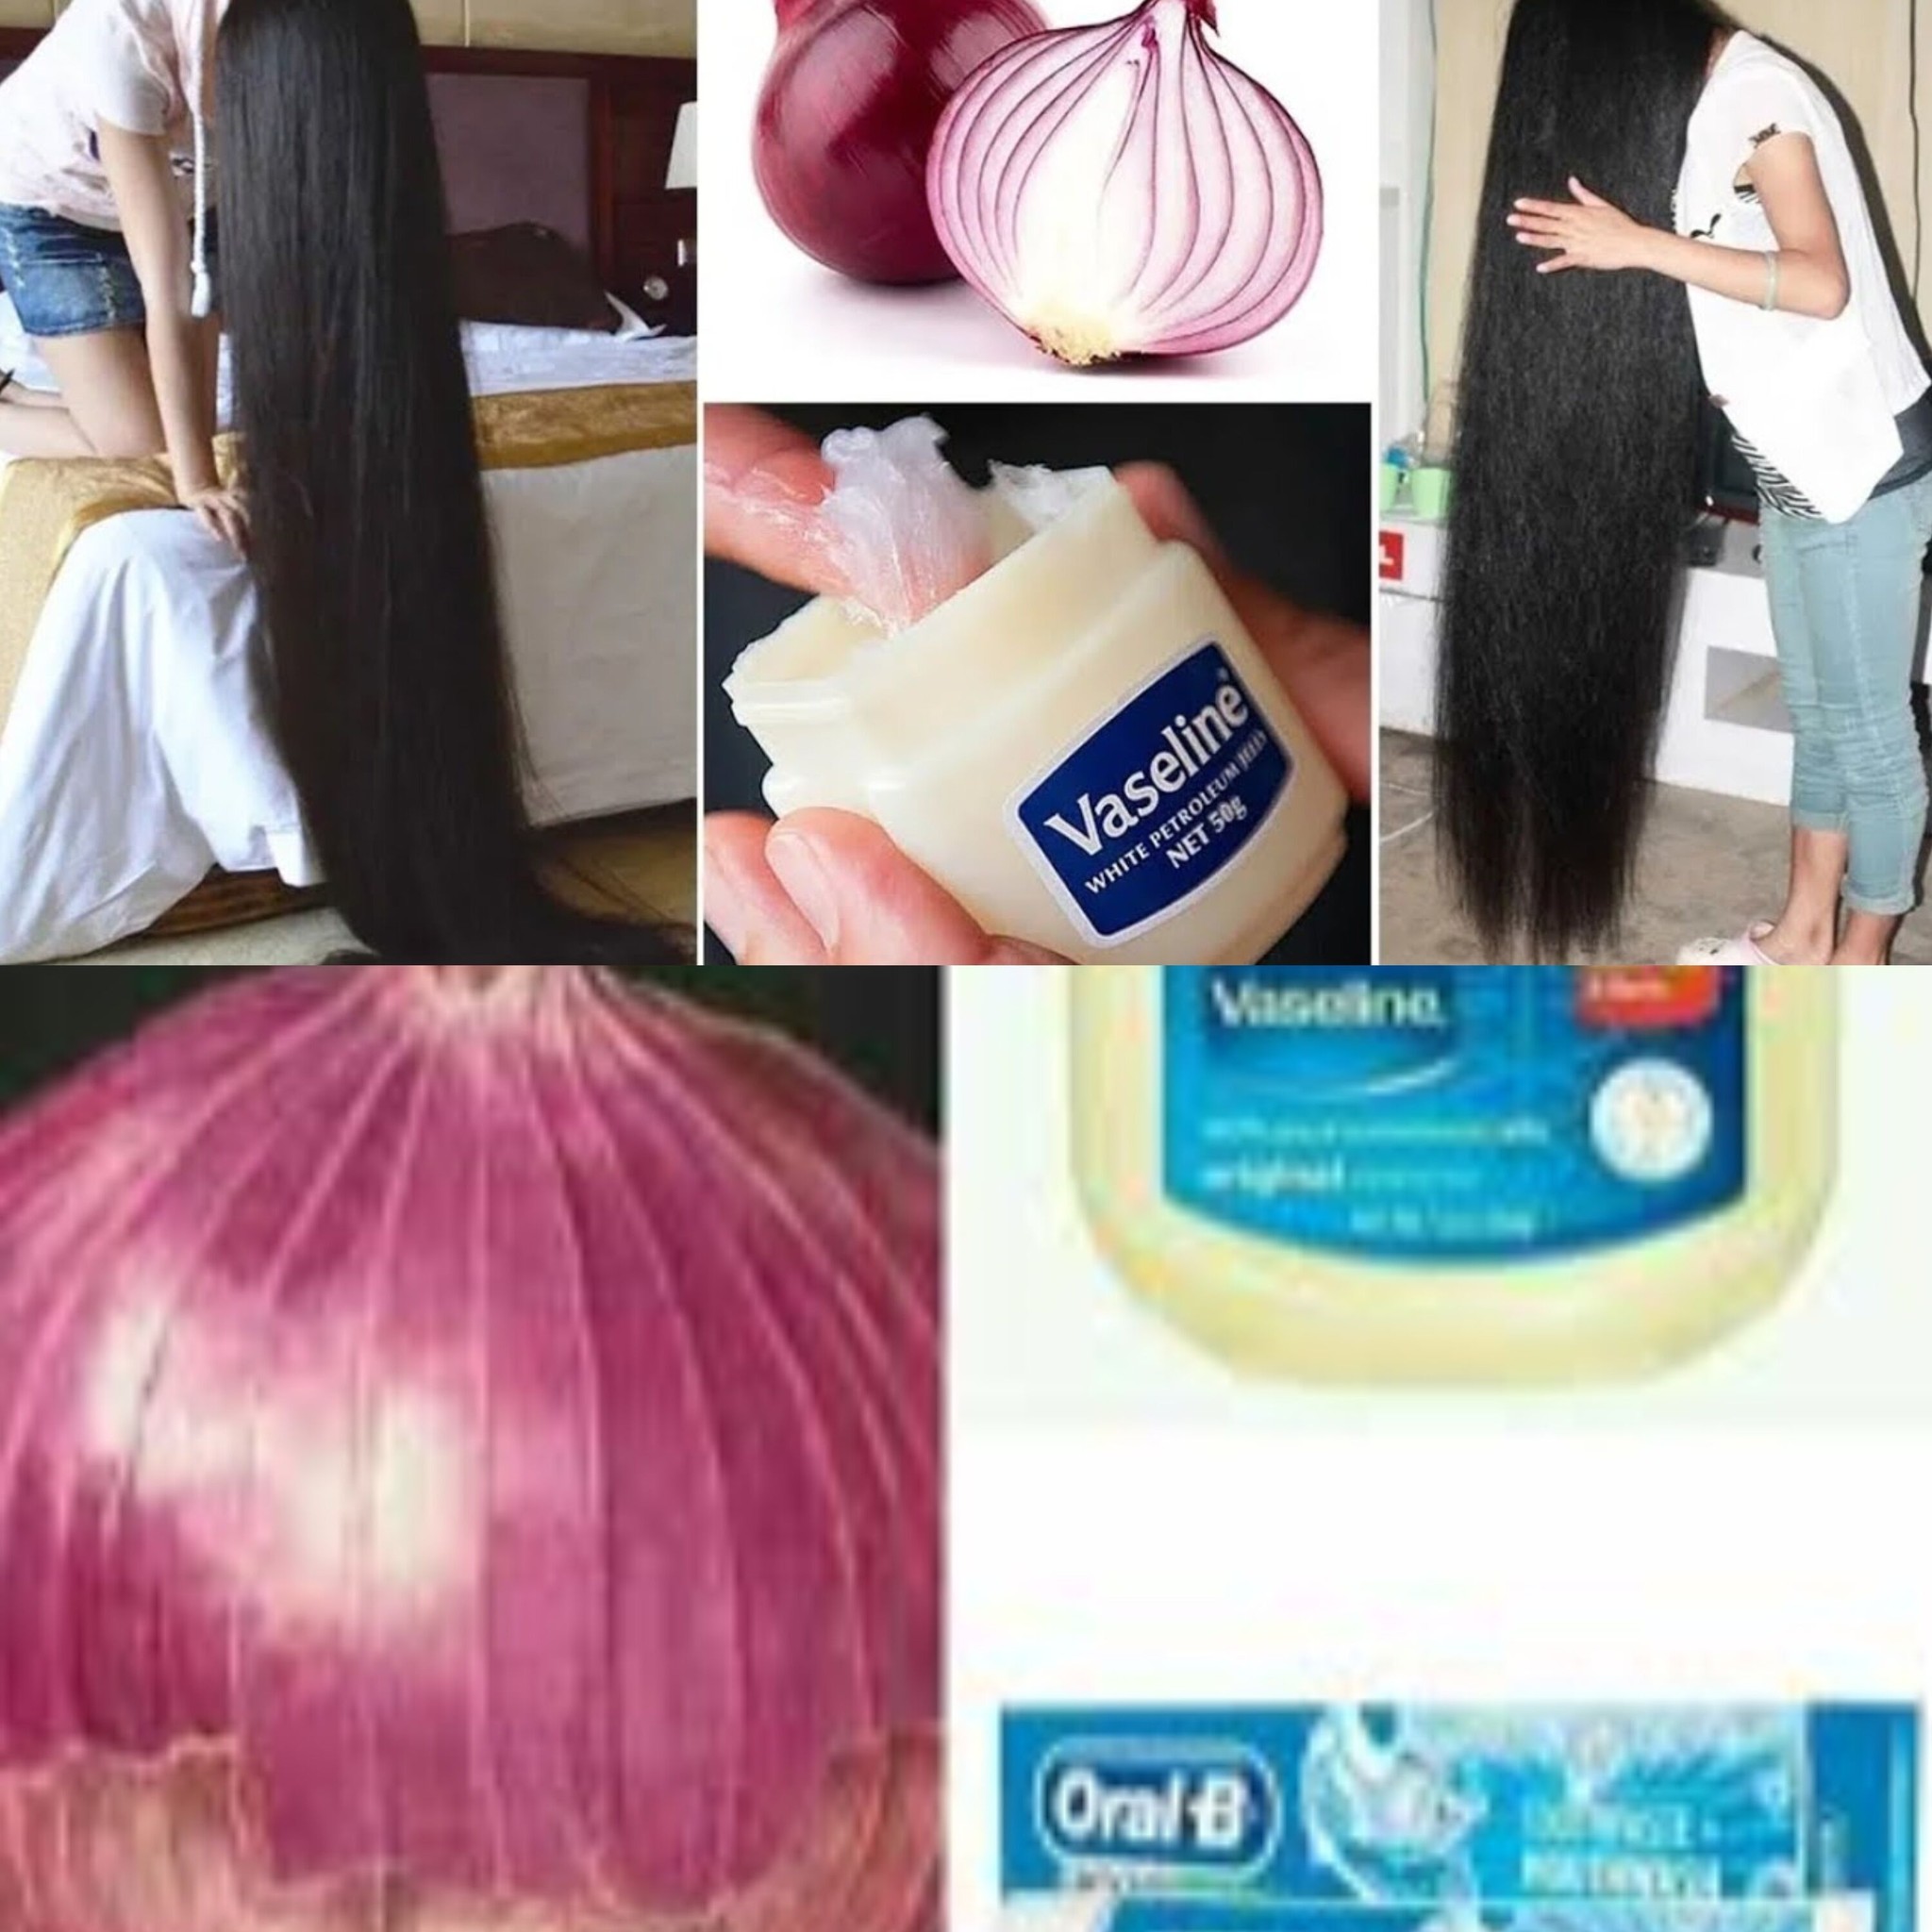
Unlock Rapid Hair Growth with Vaseline and Onion A Surprising Duo

Many people resort to natural therapies in their search for faster hair growth. Among the many home remedies, using Vaseline and onion is one particularly interesting technique. Although this may seem strange, many people vouch for its ability to encourage fast hair growth. Here’s how to try this unusual combination to see if it helps you grow hair faster.

Why Onion and Vaseline?

  • Sulphur is abundant in onions and is proven to reduce hair breakage and thinning. Additionally, Sulphur aids in the synthesis of collagen, which supports the development of healthy hair. By retaining moisture around the hair follicles, petroleum jelly, often known as Vaseline, helps your locks grow longer and healthier by reducing breakage.

How to Make and Apply the Onion and Vaseline Treatment

Components:

  1. One little onion
  2. two tsp worth of Vaseline

Guidelines:

Get the onion juice ready by:

  • After peeling, cut the onion into small pieces.
  • Juice the chopped onion by pureeing it in a blender. Using a sieve or cloth, strain the juice to remove any solid particles so that you are left with only the liquid.

Combine with Vaseline:

  • In a bowl, combine the onion juice and Vaseline. Stir until the mixture is uniform.

Use:

  • Be sure that your hair is clean and just a little bit damp before applying the mixture.
  • Concentrating on the places where your hair is thinning, thoroughly massage the mixture into your scalp.
  • Make sure your scalp is well covered, then gently massage it to improve absorption and increase blood flow.

Keep It Turned On:

  • To ensure maximum nutrient absorption, cover your hair with a shower cap and leave the mixture on your scalp for approximately an hour.
  • This keeps the Vaseline off of your clothes and linens as well.

Wash It Off:

  • To fully eliminate the mixture, give your hair a gentle washing and warm water wash. To remove all of the Vaseline, it can take a few washings.

Advice for Optimal Outcomes:

  • The Secret Is Consistency: Use this treatment at least twice a week for optimal effects. It takes several weeks of consistent use to notice noticeable effects.
  • Healthy Diet: Maintain a diet high in proteins, vitamins, and minerals to complement your hair development treatment. From the inside out, healthy hair begins!

In summary

  • Although applying Vaseline and onion to promote hair growth may seem a bit strange, the anecdotal evidence for its efficacy makes it a worthwhile experiment. This treatment’s easy application and natural chemicals may enable faster hair development, enabling you to get longer, healthier hair sooner than you might anticipate.


Just 1 Egg Properly Boiled It Will Work Wonders in Your Life

Just 1 Egg Properly Boiled It Will Work Wonders in Your Life

An egg cooked to perfection is a straightforward but effective addition to your diet. It’s a convenient, adaptable diet that’s full of nutrients and can do a lot for your health. A boiled egg can be eaten for breakfast, as a snack, or mixed with salads. It is a very versatile food. This explains the proper way to boil an egg and why.

What Makes an Egg Boiled?

  • Boiled eggs are a great way to get essential vitamins, minerals, and high-quality protein. They are high in vital nutrients that support many aspects of your health, yet they are low in calories.

The Health Advantages of Boiling Eggs

  • Rich in Protein: Protein, which is necessary for tissue growth and repair, preserving muscular mass, and bolstering the immune system, is abundant in boiled eggs.
  • Packed with Minerals and Vitamins: Important nutrients like iron, zinc, and selenium as well as vitamins B12, B6, and D can be found in eggs. The synthesis of energy, proper brain function, and general health depend on these nutrients.
  • Aids in Weight Management Because they are high in protein and low in calories, boiled eggs are a satiating and healthy choice for managing weight. They lessen the chance of overeating by extending your feeling of fullness.

Encourages Heart Health

Healthy fats and antioxidants like lutein and zeaxanthin found in eggs are good for the heart and eyes.

  1. How to Perfectly Boil an Egg
  2. Components
  3. One big egg
  4. Water
  5. Cubes of ice

Guidelines

  • Get the egg ready: Pour enough cold water into a saucepan to cover the egg by about one inch.
  • Bring the Water to a Boil: Put the water on medium-high heat and bring it to a rolling boil.
  • Prepare the Egg: After the water boils, put a lid on the saucepan and take it off the hob.

After the proper amount of time, let the egg sit in the boiling water:

  • 4–5 minutes for a soft boil
  • Simmer for 7–8 minutes.
  • Simmer for 10 to 12 minutes.

Chill the Egg:

  • Get a bowl of icy water ready. Once the egg reaches the proper doneness, move it to the icy water with a slotted spoon. To stop the heating process and make peeling easier, let it sit for a few minutes.

Peel and Savor:

  • To crack the shell, lightly tap the egg on a firm surface. Peel for easy removal under running water. Savor the egg on its own or use it into your preferred recipes.

Advice for the Best Outcomes

  • Use fresh eggs for the greatest flavour and texture.
  • Regular Timing: Set a timer to make sure your eggs are cooked to the doneness you desire
  • Ice Bath: Using an ice bath to cool the eggs reduces the risk of overcooking and facilitates peeling.

In summary

  • Your daily nutrition can be significantly improved by just one well-boiled egg. It’s an easy-to-prepare, tasty, and adaptable dish that offers a host of health advantages. No matter how hard, medium, or soft-boiled you like your eggs, including them in your diet can improve your general health. Try this technique and discover the benefits of having a nicely cooked egg in your life!

Surprise Under the Bed The Uninvited Guests

Surprise Under the Bed The Uninvited Guests

Imagine going to bed expecting to have a restful night’s sleep and finding out you’ve been sharing your room with some unexpected visitors! This is precisely what occurred to a woman who discovered a wasp colony directly beneath her bed.

Wasp nests can appear in the most unlikely places, and it can be very unsettling to discover one within our homes. Although wasps are usually found outdoors, on sometimes they manage to get inside in search of cover and a place to construct their nests. Unfortunately, warm, quiet places like beneath a bed could appear perfect to these buzzing invaders

If you ever find yourself in a scenario like this, you should be aware of the following:

  • Remain Cool: It’s crucial to remain composed. If a wasp feels threatened, it is more likely to sting. Retaining a composed attitude aids in keeping them from turning hostile.
  • Maintain a Safe Distance: After locating a nest, stay well away from it. This isn’t simply to protect yourself from stings; it’s also to allow yourself time to carefully consider what to do next.
  • Do Not Disturb: Refrain from destroying or upsetting the nest. When the nest is disturbed, the wasps may become agitated and form a swarm, which increases the threat.
  • Speak with Professionals: Hiring pest control experts is the safest approach to deal with a wasp colony. They can securely remove the nest without endangering you or the wasps because they have the necessary tools and experience.
  • Prevent Future Visitors: It’s a good idea to look for and seal any further possible access ways in your property after the nest has been removed. Frequent inspections of your home’s less-used areas can help you avoid unpleasant surprises later on.

final thoughts

  • Even though discovering a wasp nest in your house is unpleasant, it is manageable with the appropriate strategy. Recall that it’s important to maintain your composure and let the experts handle the matter. Everyone will be safe as a result, even our small, winged neighbors who probably never intended to be your flatwater!
  • You can feel secure knowing that you’re ready to welcome such unexpected guests in the most secure manner by following these suggestions.

The Importance of Intestinal Cleansing for Health

Clear the Way: The Importance of Intestinal Cleansing for Health

It’s commonly believed that general wellbeing is built upon a healthy stomach. Our ability to absorb nutrients, support our immune system, and even sustain our mood and energy levels depends on the health and clarity of our intestines. This is why maintaining your health may require an occasional gut cleaning.

Why Is the Intestines the Focus?

  • In addition to aiding in food digestion, our intestines are essential for eliminating toxins and waste from our bodies. Our digestive systems can become slow over time as a result of a bad diet, inactivity, and other environmental variables. This may result in an accumulation of waste materials that are harmful to our health.

How to Naturally Cleanse Your Intestines

  • 1. Increase Your Fiber Intake: Fiber is a vital instrument for intestinal cleansing. Fruits, vegetables, and whole grains are examples of foods high in dietary fiber that aid in keeping the digestive tract working and removing waste.
  • 2. Maintain Hydration: Toxin removal from the body requires frequent hydration. Try to have eight glasses or more each day to maintain equilibrium.
  • 3. Include probiotics: Good bacteria, or probiotics, are vital for gut health. The gut microbiota needs to be balanced for proper digestion and detoxification, which can be achieved by consuming foods high in probiotics, such as kefir, yoghurt, and fermented vegetables.
  • 4. Herbal Teas: Some herbal teas promote intestinal cleansing and digestive wellness. Seek for teas with the well-known digestive properties of ginger, peppermint, or dandelion root.
  • 5. Frequent Exercise: Movement aids in hastening the passage of food through the digestive tract. You can greatly enhance your overall digestion and intestinal health by taking even a regular walk.

The Advantages of Purging

  • You may have better digestion, more energy, smoother skin, and a general sense of lightness after cleaning your intestines. Maintaining a regular cleansing schedule can help keep waste and toxins from building up and keep your digestive system functioning properly.

Accepting a Routine

  • You don’t have to take dramatic measures to cleanse your digestive tract. Maintaining ongoing digestive health can be achieved by incorporating these easy behaviors into your everyday routine. It involves implementing long-term adjustments that facilitate your body’s natural functions.
  • Remember that it’s always a good idea to speak with a healthcare provider first if you’re thinking about doing a more thorough cleanse or if you have any health issues.
  • Take charge of your health, beginning with your internal well-being. You’ll be happier and healthier if your stomach is content!

Watermelon Wonders Nature’s Refreshing Healer

Watermelon Wonders Nature’s Refreshing Healer

Isn’t watermelon the ideal dessert? This fruit, which is sweet, juicy, and hydrating, is what we all gravitate towards on a bright day. But other from being a tasty snack, did you realise that watermelon has other uses? With advantages that encompass your entire body, it’s also an excellent way to enhance your health!

Because of its abundance of vitamins, minerals, and antioxidants, watermelon is an excellent food for keeping one’s health.

Let’s look at some of the incredible health benefits that watermelon can provide:

  • 1. Heart Health: Lycopene, a naturally occurring substance that gives watermelon its red color, is abundant in watermelon. Lycopene has been connected to heart health, supporting healthy blood flow and a robust heart. It’s like putting a little extra love in your heart with every bite.
  • 2. Hydration Hero: Watermelon has around 92% water, so it’s important to stay hydrated on those sweltering days. Consuming watermelon contributes to maintaining proper hydration, which supports optimal bodily functions such as metabolism and thermoregulation.
  • 3. Joint Support: Watermelon is a great option for preserving joint health due to its high water content and inherent sweetness. It keeps the cartilage pliable and removes impurities that may lead to inflammation, keeping your joints flexible and pain-free.
  • 4. Digestive Aid: Watermelon is a good source of fibre and water, both of which are necessary for a healthy digestive tract. Bowel regularity is aided by fibre, and water facilitates the easy passage of waste through your system, minimizing the likelihood of discomfort.
  • 5. Skin Saver: Watermelon, which is high in vitamin C, aids in the production of collagen, a protein that maintains your skin firm and supple. A watermelon slice can help prevent the ageing process and restore the youthful appearance of your skin.

in summary

  • Including watermelon in your diet is enjoyable and simple. You may eat it by itself, add it to a fruit salad, or incorporate it into a cool smoothie. For a unique touch, you can even be inventive and use it into savory foods like salads or salsas!
  • So why not enjoy this tasty and nutritious fruit? Watermelon is a full-body tonic that may make you feel great all day long, not just a tasty treat. Cheers to savoring a little health!

I Could Eat These Eggplants Every Day

I Could Eat These Eggplants Every Day! 

Eggplants are so adaptable that they may be used in so many delectable recipes. This flavorful and quick dish for garlic eggplant is a healthy alternative that doesn’t require frying. This recipe will show you how to prepare this tasty dish at home.

Components

  1. Two eggplants of a moderate size
  2. four minced garlic cloves
  3. Two tsp olive oil
  4. One tablespoon of soy sauce (or, for a gluten-free alternative, tamari)
  5. One tsp balsamic vinegar
  6. One tsp honey or maple syrup
  7. To taste, add salt and pepper.
  8. For garnish, use fresh parsley or basil.

Guidelines

1. Get the eggplants ready.

  • After washing, chop the eggplants into bite-sized chunks. Peeling them is not necessary because the skin adds nutrients and texture.

2. Turn on the oven.

  • Set oven temperature to 400°F, or 200°C. To make cleanup easier, line a baking sheet with parchment paper.

3. Prepare the Sauce with Garlic.

  • Combine the minced garlic, olive oil, soy sauce, balsamic vinegar, honey, or maple syrup in a small bowl. To taste, add salt and pepper for seasoning.

Discard the eggplants.

  • The cubed eggplants should be put in a big basin. Once the eggplants are coated uniformly, pour the garlic sauce over them and give them a good spin.

5. Let the eggplants bake.

  • Arrange the coated eggplant cubes on the baking sheet that has been preheated in a single layer. Bake the eggplants for 25 to 30 minutes in a preheated oven, stirring halfway through to ensure equal cooking, or until they are soft and beginning to caramelize.

6. Present and Garnish

  • After baking, take the eggplants out of the oven and place them on a platter. Add some fresh basil or parsley as a garnish for some flavour and color. Warm up and serve.


Advantages of This Recipe for Garlic Eggplant

  • Healthy and Nutritious: This recipe is a nutritious option because eggplants are high in fiber, vitamins, and antioxidants.
  • No Frying: By not frying, this recipe has fewer calories and is generally healthier.
  • Quick and Easy: This recipe can be made in less than 40 minutes using basic materials and straightforward preparation instructions.

Advice for the Best Outcomes

  • Even Coating: For optimal flavour, make sure the garlic sauce coats the eggplant cubes equally.
  • Stirring: Make sure the eggplants cook evenly and do not adhere to the baking pan by stirring them halfway through the baking process.
  • Fresh Herbs: To improve the flavour and presentation, garnish with fresh herbs like basil or parsley.

In summary

This dish for garlic auberge is a great illustration of how tasty and simple cooking healthfully can be. It’s a dish you’ll want to cook every day because of its delicate texture and deep garlic flavour. Savor this easy, quick, and wholesome recipe as an appetizer or even as a main course. Try it and discover how delicious eggplants can be!

A Fun and Simple Way to Generate Electricity at Home

Power Up with Potatoes: A Fun and Simple Way to Generate Electricity at Home

Ever consider charging your phone with a potato? As strange as it may seem, potatoes are capable of producing energy! In addition to exploring the science underlying natural energy sources, this easy-to-do experiment can temporarily power up your electronics. Let’s explore how you may use the common potato to produce some electricity at home.

Why Are Potatoes Used? Phosphoric acid, which is found in potatoes, aids in the chemical reaction that produces electricity when metal is combined with potatoes. Even though they won’t be able to power your entire house, you can use them to charge your electronics or light up a little LED in an emergency.

What You Require

  1. Two big potatoes
  2. Two copper pieces, or coins
  3. Two nails coated in zinc and galvanized
  4. Antenna clips (found in electronics stores)
  5. A charging cable for USB devices

Guidelines:

  • First, prepare the potatoes by giving them a good wash to get rid of any dirt. By doing this step, you may be confident that nothing will affect your materials’ conductivity.
  • Put the Metals in: Press a copper coin or strip into each potato’s end. Insert a galvanized nail into each potato’s opposing end. Make sure the potato’s interior is free of any metal contact!
  • Join the Potatoes: Attach the copper of the first potato to the nail of the second potato using alligator clips. Next, join the copper in the second potato to the nail in the first potato. By doing this, a circuit is formed and electricity begins to flow.
  • Connect to Your Device: Attach the free copper piece and nail to your USB charging cable using an additional set of alligator clips. Note: To accomplish this, you’ll need to expose the USB cable’s cables. Verify that the ends of the positive and negative wires a nail for the negative, a copper for the positive—match.
  • Commence Charging: After connecting all the necessary parts, insert your phone’s USB cord and begin charging. Although it won’t be quick, it’s a cool trick to watch in action!
  • Savor the Enchantment: This arrangement is a great way to start a discussion and shows off how chemical processes can be used to generate power. Although it’s not so much a useful charging solution as it is an instructional tool, it’s a great way to incorporate science into daily life.
  • Potatoes may be little power plants on your kitchen table, in addition to being a tasty side dish! This project is a fantastic way to pass the time with friends and family in addition to being an excellent way to charge your phone in an emergency. Have fun playing with energy from nature!

Tamarind Tea A Delicious Twist on Traditional Flavors

Tamarind Tea A Delicious Twist on Traditional Flavors

Within the realm of herbal teas, tamarind tea is distinguished by its distinct taste and exceptional health advantages. Known as Imli Ki Chai in the community, this delectable drink is not only enjoyable to drink but also bursting with health benefits, like strengthening your immune system, protecting your heart and liver, and even aiding in weight control. Let’s explore how to prepare this unusual tea at home and reap all of its health advantages.

Why Would You Drink Tamarind Tea?

  • The main ingredient in this tea is the sour fruit, ortamado, which is used in many different types of Asian cuisine. It has a lot of vitamins, minerals, and antioxidants, all of which are vital for preserving health. Because tamarind tea boosts metabolism, regular use can help maintain liver and heart health, strengthen the immune system, and aid with weight loss efforts.

Components of Matched Tea

  1. To make tamarind tea, which is refreshing, you will need:
  2. Two tsp of tamarind paste
  3. Four glasses of water
  4. Honey or taste-tested sweetener of your choice
  5. A dash of salt (if desired)
  6. Spices (optional; adds flavour) like ginger or cinnamon

The Recipe for Tamarind Tea

  • To prepare the tamarind, first dilute the paste with a small amount of warm water, so that it will be simpler to blend.
  • Boil: Add the diluted tamarind to a pot of water. Heat the mixture until it boils.
  • Simmer: After it comes to a boil, lower the heat and let it to simmer for ten to fifteen minutes. Add any additional spices, such as ginger or cinnamon, at this stage to give the tea more flavour.
  • Take the tea off of the burner and drain it into a cup or teapot. Then, add some sugar. Stir thoroughly after adding honey or another sweetener to taste. If desired, you can bring out the tamarind’s acidic flavour with a bit of salt.
  • Serve: You may either savor your tamarind tea warm or, for a nice summertime beverage, let it cool and serve it over ice.

Advantages and Pleasure

  • Tamarind tea is a health tonic in addition to being a pleasant beverage. It’s especially helpful for people who want to keep their liver and heart healthy as well as boost their immune system. Its inherent sweetness and tartness also make for a delicious drink that can aid with weight management and help squelch cravings.
  • Tamarind tea is a great complement to your daily routine, whether you drink it hot on a cold day or chilled in the summertime. It’s delicious to drink, simple to make, and excellent for your health. So why not make a pot right now and enjoy all of its flavors and health benefits? To excellent health and delicious food, cheers!

Try This Easy and Quick Sweet Potato Recipe!

 Try This Easy and Quick Sweet Potato Recipe!

Sweet potatoes are a great substitute for bread if you’re trying to reduce your intake of it while still enjoying something tasty and filling. They are simple to prepare, nutrient-dense, and adaptable. This is a quick, flavorful, and easy sweet potato recipe that goes well with any meal.

What Makes Sweet Potatoes Special?

  • Potassium, vitamin C, and A are just a few of the many vitamins and minerals found in sweet potatoes. Additionally, they contain a lot of fiber, which keeps you feeling content and full. They are a lovely component in both savory and sweet meals because of their inherent sweetness.

Quick and Simple Sweet Potato Recipe

Components:

  1. Two medium-sized sweet potatoes
  2. Two tsp olive oil
  3. One tsp of cinnamon
  4. One tsp of paprika
  5. To taste, add salt and pepper.
  6. Fresh herbs for garnish, such thyme or parsley

Guidelines:

  • Set the Oven’s Temperature to 400°F (200°C) before using it.
  • Peel and wash the sweet potatoes to start the preparation process. To guarantee that they cook through, cut them into cubes or wedges of consistent size.
  • Toss the sweet potato chunks in a big basin and season them. Add a drizzle of olive oil and season with salt, pepper, cinnamon, and paprika. Mix the seasoning into the sweet potatoes until they are well coated.
  • To bake the sweet potatoes, arrange them in a single layer on a baking pan and season them. Bake for approximately 25 to 30 minutes in a preheated oven, or until they are soft and have a hint of crunch on the edges. To achieve equal roasting, be careful to turn them halfway through cooking.
  • After cooking, take the sweet potatoes out of the oven and allow them to cool somewhat before serving and enjoying. Add some fresh herbs as a garnish for an additional flavour boost. You can eat them as a snack on their own or as a side dish.

Extra Advice:

  • Variety: Don’t be afraid to try out various herbs and spices. Try adding a small pinch of cayenne pepper for an even hotter kick. Before baking, you can add a small amount of honey or maple syrup for a sweeter choice.
  • Storage: You can keep leftover sweet potatoes in the fridge for up to three days if you place them in an airtight container. Reheat them in the microwave or oven to make a simple and quick dinner.
  • Sweet potatoes have a great deal of versatility. Additionally, you may mash them, fry them, or even use them into stews and soups.

In summary:

  • Sweet potatoes are very simple to prepare and make a great substitute for bread. This easy dish brings out their inherent sweetness and provides a tasty, nutritious choice for any meal. Try this simple and quick sweet potato recipe the next time you’re tempted to grab a piece of bread. Your body and taste buds will appreciate it!
  • Savor this delectable and nutritious recipe that is sure to become a family favorite. Have fun in the kitchen!

Discover the Magic of Cloves for Thicker

Discover the Magic of Cloves for Thicker, Longer Hair in Just 30 Days

In search of a natural way to add volume and length to your hair that will give you the results you want in less than a month? Perhaps cloves will become your new best friend! In addition to being well-known in the culinary community, this little but potent spice is a hidden gem when it comes to natural hair care. Let’s look at some ways to use cloves to lengthen and add volume to your hair.

Why Are Cloves Used? Cloves include a wealth of elements, such as vitamins, minerals, and antioxidants, that are good for hair development. These elements strengthen and fortify each hair strand by stimulating the scalp, enhancing blood circulation, and lowering hair loss.

What You Require

  1. One tablespoon of clove oil or powdered cloves
  2. One cup of coconut oil or olive oil
  3. A tiny pot
  4. Cheesecloth or a strainer

Guidelines:

  • Infuse the Oil: In a small saucepan, combine the ground cloves with your preferred olive or coconut oil. Take care not to let the mixture boil while you gently cook it over low heat for 5 to 10 minutes. The cloves’ powerful qualities are released into the oil through this moderate heating process.
  • Allow It to Cool: Once heated, take the saucepan off of the hob and let the oil cool fully. After the oil has cooled, strain it through cheesecloth or a strainer to get rid of any solids. You are left with a highly flavoured clove oil as a result.
  • Application: Massage your scalp and hair with the oil infused with cloves. Apply light circular massage to invigorate scalp. In addition to being extremely relaxing, the massage increases blood flow, which promotes hair growth even more.
  • Leave It On: If at all feasible, let the oil sit in your hair for at least an hour, or perhaps overnight, for optimal effects. Use your usual shampoo to wash your hair when the allotted time has passed. It can be worthwhile to shampoo again to make sure all the oil is gone.
  • Repeat Frequently: Apply this remedy no less than twice every week. The secret to getting results is consistency. Many notice that their hair seems longer and feels thicker after a month.

in summary

Appreciate Your Gorgeous Locks: You can use nature’s own remedy for promoting hair development by adding cloves to your hair care routine. It’s an easy, affordable, and practical way to get the long, thick hair you’ve always wanted.

Why not attempt it then? It’s a simple step in your beauty regimen that could have a significant impact on the appearance and health of your hair. Savor the trip to hair that is fuller and more colorful!