Miracle Recipe Perfectly Pickled Red Beet Pieces

Miracle Recipe Perfectly Pickled Red Beet Pieces

Pickled red beetroot pieces are a special recipe that many people look forward to cooking every year as the seasons change. This “wonderful recipe” guarantees that you can savor this nutrient-dense root vegetable all year long while also preserving its bright flavour. Pickled beets, with their beautiful deep crimson color and earthy, sweet flavour, are a favorite pantry staple.

Why Would You Pickle Beets?

  • Red beets are well-known for their abundance in vitamins, minerals, and antioxidants, among other health benefits. Pickling them is a useful and delicious way to keep them on hand because it improves their flavour and increases their shelf life. Pickled beets are as tasty as they are adaptable; they can be eaten directly out of the jar, added to salads, or served as a side dish.

Components:

  1. Three large, thoroughly cleaned red beets
  2. one cup of water
  3. One cup of vinegar made from apple cider
  4. Half a cup sugar or a substitute for sugar
  5. One tsp salt
  6. Two peeled garlic cloves
  7. One tsp full peppercorns
  8. One little red onion, cut thinly
  9. Optional garnishes include a cinnamon stick or a couple fresh dill sprigs for flavour.

Guidelines:

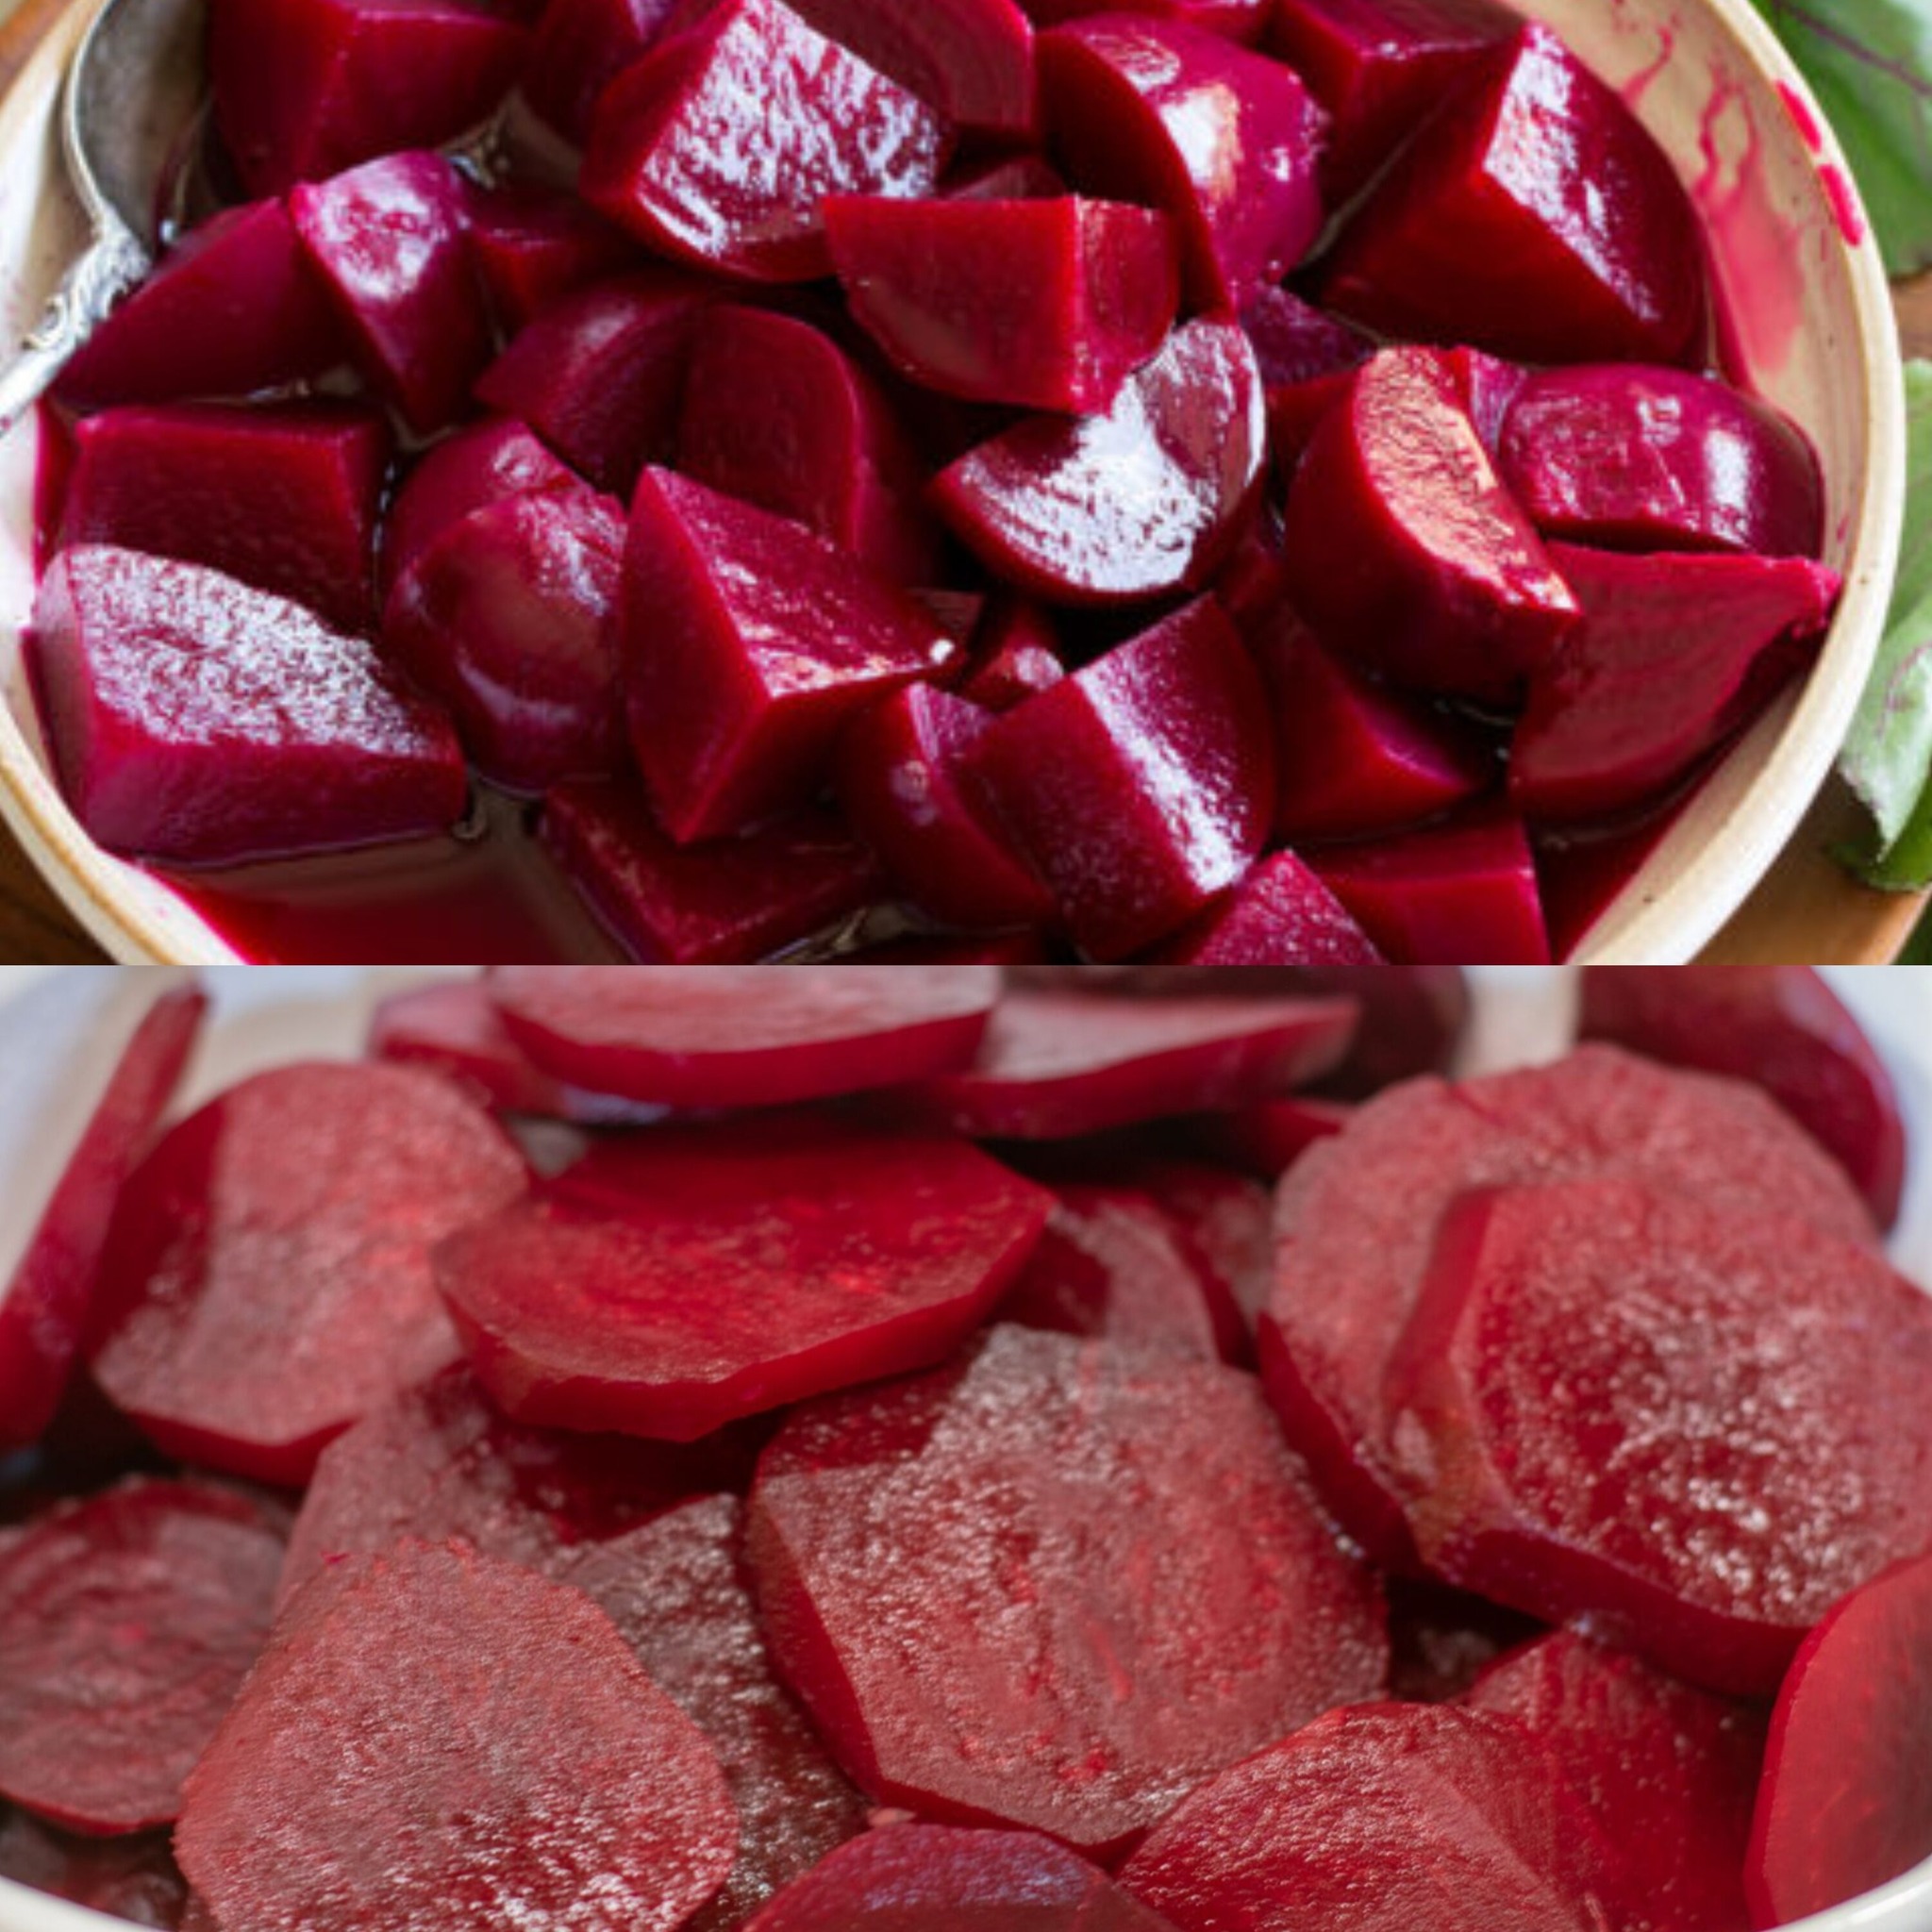
  • To prepare the beets, boil them in water until they become soft, which should take about 45 minutes. Peel and cut the beets into wedges or thick chunks once they have cooled.
  • To make the pickling brine, put the water, apple cider vinegar, sugar, and salt in a pot. Bring to a boil and stir until the salt and sugar are all dissolved. To add more flavour to the brine, add the peppercorns and garlic.
  • Arrange the Ingredients: Arrange the red onion and sliced beets in a clean container. For added flavour, place a cinnamon stick or dill between the layers, if using.
  • Pour the Brine: Make sure the onion and beetroot layers are fully submerged in the hot brine by carefully pouring it over them. The brine’s heat will aid in combining the flavours.
  • Seal and Store: Tightly seal the jar and let it to reach room temperature. The pickled beets should be chilled after cooling. After a day, they are ready to eat, but throughout that period, the flavors deepen and get better.

Serving Ideas

  • Pickled beets taste great in salads, especially when paired with walnuts and goat cheese. Additionally, they add color and flavour to heavy dishes like stews and roasts.
  • In addition to being a tasty, nutritious delicacy that highlights the flavors of the season, this easy, miraculous recipe for pickled red beets encapsulates the essence of home preservation. Savor the delicious tang that your handmade pickled beets add to your food!

Refreshing Watermelon, Ginger, Lime, and Strawberry Juice

Refreshing Watermelon, Ginger, Lime, and Strawberry Juice

Fruit juices have the most brilliant flavors and natural sweetness of any beverage when it comes to refreshing drinks. A delicious concoction of strawberries, lime, ginger, and watermelon not only tastes good but also has a lot of health advantages. This simple-to-prepare drink is great for increasing your energy and staying hydrated. Here’s how to make this delectable beverage at home.

Advantages for Health of the Ingredients

  • Each component of this drink has a unique set of health advantages. Because watermelon is low in calories and high in water content, it’s a great way to stay hydrated without overindulging in sweets.
  • In addition to adding a spicy touch, ginger is well known for its digestive and anti-inflammatory qualities.
  • A quick hit of vitamin C from limes boosts immunity and adds a zesty new flavour.
  • Strawberries are an excellent source of vitamins and antioxidants that strengthen your immune system and promote healthy skin.

Components

To prepare approximately four portions of this cool drink, you will need:

  1. Four cups of fresh chunks of watermelon
  2. One cup of uncooked, hulled strawberries
  3. two limes’ worth of juice
  4. One inch of newly peeled ginger
  5. Cubes of ice, optional for serving
  6. Mint leaves that are fresh (optional garnish)

Getting Ready

  • Get the Fruits Ready: Cut the watermelon into chunks first, making sure to remove all of the seeds. Hulling entails removing the white flesh beneath the green, leafy top of the strawberry.
  • Ginger Juice Extraction: Finely grate the ginger and use a small filter or cheesecloth to extract the juice. This will stop any fiber particles from getting into your juice.
  • Blend: In a blender, combine the watermelon, strawberries, and ginger juice. Process till smooth.
  • Add Lime: Juice two limes and squeeze them in, then quickly blend it again to ensure it’s well combined.
  • Pour the juice into glasses with ice and strain it through a fine mesh strainer to get rid of any pulp. If desired, garnish with fresh mint leaves.

Savor Your Juice

  • This beverage made with watermelon, ginger, lime, and strawberry tastes as good as it looks. It’s ideal for hot days or anytime you want a burst of cool energy. Rich in minerals and devoid of added sweets, it’s a nutritious option that leaves you feeling energized and renewed.
  • With its vibrant flavors and nutritious advantages, this juice is sure to wow guests whether you’re entertaining or just lounging around the house. So mix up a batch and raise a glass to deliciousness and good health!

Discover the Natural Wrinkle Fighter

Discover the Natural Wrinkle Fighter: Onion Juice for Your Skin

Who would have thought that a simple kitchen staple like the onion could be a secret weapon against wrinkles? Surprisingly, this humble vegetable is packed with properties that might just make it a natural alternative to Botox. Rich in vitamins, minerals, and antioxidants, onion juice offers a unique approach to maintaining a youthful appearance. Let’s explore how you can use onion juice to help reduce skin wrinkles and give your face a fresh, revitalized look.
Why Onion?
Onions are loaded with vitamin C, vitamin B6, and antioxidants, all of which are essential for skin health. They help protect the skin from free radicals, promote collagen production, and improve blood circulation, which can lead to firmer, less wrinkled skin. Plus, onions contain sulfur compounds that have antibacterial properties, helping to keep skin infections and acne at bay.
How to Prepare Onion Juice for Skin Care

Ingredients:

  1. 1 fresh onion
  2. A clean cloth or cheesecloth
  3. A small bowl

Steps:

  • Extract the Juice: Start by peeling the onion and chopping it into small pieces. Place the chopped onion in a blender and blend until smooth. Pour the blended onion into a cloth or cheesecloth over a bowl and squeeze out the juice.
  • Application: Before applying onion juice to your face, it’s important to do a patch test on a small area of your skin to ensure there’s no irritation. If all goes well, you can apply the juice gently to your face using a cotton ball. Focus particularly on areas with fine lines and wrinkles.
  • Leave It On: Let the onion juice sit on your skin for about 10-15 minutes. This allows the skin to absorb all the nutrients effectively.
  • Rinse Off: After the time is up, wash your face with lukewarm water and pat dry with a clean towel.

Tips for Using Onion Juice

  • Frequency: For best results, consider applying onion juice to your skin two to three times a week. This regularity helps the skin gradually get the benefits without overwhelming it.
  • Odor Management: To manage the strong smell of onions, you can add a few drops of an essential oil like lavender or rosemary to the juice before application.
  • Nighttime Routine: Using onion juice as part of your nighttime skincare routine can be beneficial since it gives your skin ample time to heal and rejuvenate overnight without exposure to sunlight.

Final Thoughts
Incorporating onion juice into your skincare routine might sound unconventional, but it could be a surprisingly effective way to enhance your skin’s elasticity and reduce the appearance of wrinkles. With regular use, you might just find your skin looking smoother, clearer, and more youthful. Why not give this natural remedy a try and see if it can make a difference in your skincare routine? Here’s to embracing natural beauty solutions!

Brighten Your Smile Naturally

Brighten Your Smile Naturally: Tomato Teeth Whitening

Are you trying to find a natural, non-invasive solution to brighten your smile? Perhaps tomatoes are the unexpected component you’ve been looking for! Tomatoes, well-known for their vivid hue and health advantages, can also help with oral hygiene, especially when it comes to cleaning teeth that have become discolored by tartar.

Why Are Tomatoes Used?

  • Vitamin C, found in abundance in tomatoes, is well-known for bolstering the immune system, but it also offers special advantages for dental health. Vitamin C can assist in strengthening the gums and removing tartar, which frequently causes teeth discoloration. Their organic acidic qualities can also aid in reducing plaque accumulation, giving your teeth a brighter, cleaner appearance.

How to Whiten Teeth Using Tomatoes

  • It’s easy to whiten teeth with tomatoes, and all you need is a fresh tomato at home!
  • Selecting a ripe tomato: Juicy and ripe tomatoes have the highest concentration of natural acids and vitamin C.
  • Get the tomato ready: To extract a little juice, cut the tomato into slices or crush it.
  • Application: Gently brush the tomato slice or juice across your teeth. Give the juice a minute or so to settle on your teeth.
  • Rinsing: To get rid of the acidic tomato juice, rinse your mouth well with water after waiting for approximately a minute. Continue with your usual brushing regimen after that.

Extra Advice

  • As the natural acids can damage enamel if left too long, always make sure there are no tomato seeds or juice remaining by giving the area a thorough rinsing and brushing.
  • A couple of times per week, incorporate this routine. When employing natural teeth-whitening procedures, consistency is essential.

A Happy and Healthy Smile

  • Although eating tomatoes might help whiten your teeth naturally, it’s still important to follow a schedule of basic dental care habits. Consistent brushing, flossing, and dental examinations are essential for maintaining healthy and radiant teeth.
  • Recall that although natural therapies have their uses, they should never take the place of expert dental counsel. Speaking with a dentist is advised if you are worried about the condition of your teeth or whether consuming tomatoes is safe for you.
  • This and other easy, natural approaches can make getting a brighter smile safe and fulfilling, giving you even more reason to grin every day!

Heal Cracked Heels with Toothpaste in Just 3 Days

Smooth and Soft: Heal Cracked Heels with Toothpaste in Just 3 Days

You may be shocked to learn that the solution to treating cracked heels is right in your bathroom cabinet if you’re looking for a quick and easy fix. Because toothpaste has cleaning and antibacterial qualities, it can also be a useful treatment for healing cracked heels. Toothpaste is frequently used to clean and preserve teeth. Here’s how to use it to rapidly achieve softer, smoother feet.

What Makes Toothpaste?

The cleaning and disinfecting qualities of toothpaste are advantageous for dental health but can also be applied to skincare, especially for the feet. While certain compounds in toothpaste, like menthol or baking soda, can have a cooling and calming effect, aiding in the healing process, its moderate abrasive character helps to gently exfoliate the dead skin cells from cracked heels.


How to Apply Toothpaste for Cracked Heels: A Step-by-Step Guide

What You’ll require:

  • A bottle of white toothpaste (gel versions might not work as well)
  • A foot scrubber or a toothbrush with soft bristles

Warm water

  • A moisturizing product (ideally containing shea butter or aloe Vera)

Guidelines:

  • Clean Your Feet: Make sure there is no dirt or grime on your feet. After giving them a warm water wash, pat dry.
  • Apply toothpaste: Using a generous squeeze, apply toothpaste directly to the parts of your heels that are cracked.
  • Gently Scrub: After applying toothpaste, gently scrub the affected regions with a foot scrubber or a toothbrush with soft bristles. Take two to three minutes to do this.
  • Let It settle: Give the toothpaste another three to five minutes to settle on your heels.
  • Rinse Off: Thoroughly dry your feet after washing off the toothpaste with warm water.
  • Moisturize: To hydrate and shield the recently exfoliated skin on your feet, liberally apply a moisturizer.

Advice for the Best Outcomes

  • For three nights in a row, repeat this technique every night to notice a noticeable difference in the state of your heels.
  • To keep your feet supple, keep moisturizing them daily.
  • Think about doing the toothpaste treatment again once a week as part of your ongoing care.

In summary

Many people find that applying toothpaste in this unique way is a useful remedy for mild to moderate cracked heels. It’s an inexpensive technique that makes use of a common household item. Results may vary with any home remedy, so it’s crucial to discontinue use if you feel any discomfort or irritation.

You can walk forward with comfort and confidence, ready to experience all of life’s adventures with healthier, more attractive feet, if you take care of your feet with this easy routine.

Discover a Natural Way to Lose Weight and Reduce Bloating

Discover a Natural Way to Lose Weight and Reduce Bloating with Tamarind and Ginger Drink

A homemade drink made with ginger and tamarind might be the answer you’re looking for if you want to lose weight naturally and feel less bloated. This delicious mixture works wonders as a powerful fat burner for the abdomen. Let’s learn how to prepare this beneficial drink and take advantage of all of its health advantages.

Advantages of Ginger and Tamarind The health benefits of ginger andtamarind include improving metabolism, aiding in digestion, and offering a wealth of antioxidants.

  • One popular natural treatment for bloating and gastrointestinal pain is ginger. It helps hasten the passage of food through your stomach by stimulating the digestive system.
  • Tamarind is high in fibre, helps with digestion, and is frequently used in traditional weight loss therapies.

Ingredients for Ginger and Tamarind Drink

To prepare this easy-to-make yet potent beverage, you’ll need:

  1. A tsp of tamarind paste
  2. One inch of newly grated, freshly fresh ginger root
  3. Four glasses of water
  4. To taste, honey or another natural sweetener
  5. A lemon slice as a garnish (optional)

How to Mix Your Drink Get the ingredients ready:

  • First, dissolve the tamarind paste completely by diluting it with a small amount of warm water.
  • Grate and peel the root of ginger.
  • Simmer: Bring the water to a boil in a medium-sized pot. Add the grated ginger and the tamarind mixture. Simmer the mixture for around fifteen minutes on low heat. This will impart the tastes and health

benefits of the ginger and tamarind into the water

  •  Strain: Take the saucepan off of the hob after it has simmered. Empty the mixture into a sizable pitcher or jug, discarding the solid ginger pieces and any tamarind pieces that haven’t dissolved.
  • Sweeten and Serve: Use honey to taste-test the beverage. This contributes its own natural benefits in addition to improving the flavour. Squeeze in a lemon slice for a cool citrus twist.
  • Savour: You can have this beverage warm or cold. Sipping a cup of this aromatic tea on a daily basis will help you efficiently control your weight and minimise bloating. Savouring Your Health Drink You may improve your overall digestion and get a flatter stomach by making this tamarind and ginger drink a daily ritual. This warming, calming drink boosts metabolism to help you lose weight while also assisting with bloating reduction.
  • Anyone searching for a natural approach to enhance their health and wellbeing should try this drink. Why not give it a shot now and see how it affects the comfort and health of your digestive system? With just one sip, here’s to a happier, healthier you!

Olive Oil and Salt Scrub for Joint Pain

Experience Relief with a Simple Olive Oil and Salt Scrub for Joint Pain

The discomfort that is caused by joint pain can be a barrier, but natural remedies such as a scrub made with olive oil and salt provide a solution that is not only straightforward but also highly effective. The anti-inflammatory properties of olive oil and the calming effects of salt are combined in this simple-to-make scrub, which offers a natural way to alleviate discomfort and aid in the enhancement of mobility. You may begin reaping the advantages of this scrub by following these instructions on how to make it at home.

Olive oil and salt both have a number of advantages:

Because of its high concentration of antioxidants and anti-inflammatory compounds, olive oil is an excellent choice for reducing the inflammation and pain that are associated with joint conditions. The addition of salt, particularly Epsom or sea salt, brings magnesium into the mix, which is known for its ability to relax muscles and reduce swelling.

How to Make and Use the Olive Oil and Salt Scrub:

  1. ½ cup of high-quality olive oil
  2. ¼ cup of fine sea salt or Epsom salt

Details to follow:

Mix Ingredients: In a bowl, add the olive oil and salt. Stir the mixture until it reaches the consistency of a paste. In order to reap additional advantages, you may choose to use a few drops of essential oils such as peppermint or lavender, which are known for their relaxing and anti-inflammatory effects.

You should apply the scrub by massaging it into the parts of your body that are experiencing joint discomfort in a gentle manner.

Increasing circulation and decreasing stiffness are two benefits that may be gained by massage. Be cautious to apply with moderate strokes to prevent irritating the skin or joints.
Leave on for Relief: Allow the scrub to remain on your skin for around 15-20 minutes. Because of this, the magnesium from the salt and the antioxidants from the olive oil have more time to infiltrate and work on the regions that are afflicted.

When the allotted time has passed, it is time to remove the scrub by rinsing it off with warm water. This scrub may be used on a daily basis or a few times each week, depending on the kind of skin you have and how sensitive it is.

Additional Tips:

Warm the Olive Oil: For a more calming experience, slightly warm the olive oil before combining it with the salt. Warm oil may help the combination enter deeper into the skin, improving its medicinal properties.

Maintain a healthy level of hydration: Consuming a large amount of water may assist in the elimination of toxins associated with inflammation.

Concluding remarks:

Creating your own olive oil and salt scrub is not simply an excellent technique to treat joint discomfort; it’s also a wonderful, spa-like routine that you can undertake in the comfort of your home. The use of this simple treatment may assist you in preserving your flexibility and comfort, therefore fostering a lifestyle that is more active and pleasurable. Give it a go, and you’ll notice a change in the way you go about your everyday day!

Ginger and Lemon: A Nightly Ritual for a Refreshing Morning

Ginger and Lemon: A Nightly Ritual for a Refreshing Morning

Are you trying to find a quick fix to make your mornings more productive? A warm beverage made with ginger and lemon right before bed can be exactly what you need! With its many health advantages, this calming drink that mixes the freshness of lemon with the fiery bite of ginger may just brighten your mornings.

Why Lemon and Ginger?

  • Ginger is more than simply a spice for cooking thanks to its zesty and energizing flavour. It has been praised for its capacity to promote easy digestion and calm the digestive tract. A little ginger can help soothe your stomach, whether you’re experiencing mild indigestion or a bloated feeling.
  • In contrast, a lemon tastes like a cup of sunshine. Antioxidants and vitamin C are abundant in it, and they are great for your immune system. In addition to being a natural mood enhancer, the crisp, citrussy scent is ideal for capping off the day well.

How to Make Your Evening Drink

  • This drink is quite simple to make. Just cut up some fresh ginger root and drop it into a boiling kettle of water. Give it a gentle simmer for approximately five minutes so that the fragrance of the ginger can seep into the water. Then add half a lemon’s juice to give your brew a zesty touch. Enjoy your drink exactly as it is if you prefer it a little heated, or allow it to cool to a lulling temperature that you can enjoy sipping before bed.

The Enchanted Overnight

  • The natural ingredients in ginger and lemon cooperate harmoniously while you sleep. The cooling properties of lemon and the warming properties of ginger may help facilitate a mild detoxification process. By morning, the purifying benefits may have left you feeling lighter and more energized, and you might even see a brighter complexion.

A serene and radiant dawn awaits.

  • Imagine waking up to a quiet stomach, a clear head, and a revitalized body. This little bedtime routine might just result in mornings that are more colorful. So why not give it a go this evening? It’s a tiny action that could have a significant impact on how you start each day. Savor the warmth and allow this enchanted mixture to lead the way to a wonderful morning!

A Delightful Breakfast Surprise Egg in a Tomato

A Delightful Breakfast Surprise Egg in a Tomato

Imagine waking up to a delightfully nutritious breakfast consisting of a nicely baked egg nested inside a fresh tomato. This easy-to-make but delicious recipe bakes one egg to perfection and mixes the comforting richness of an egg with the juicy tomatoes. It’s a comforting recipe that infuses your daily routine with a little ingenuity. Let’s look at how to cook this delicious breakfast at home with only a few items and very little preparation!

Why This Particular Combination? Eggs offer premium protein and vital nutrients, and tomatoes are a great source of potassium, folate, and vitamins C and K. This combo is delicious and provides you with a quick energy boost to get through the day.

Components:

  1. Four sizable tomatoes
  2. Four eggs
  3. To taste, add salt and pepper.
  4. Garnish with optional herbs like chives or basil.
  5. A sprinkling of grated cheese is optional.

Guidelines:

  • First, prepare the tomatoes by putting the oven temperature on 375°F (190°C). Slice off the top of each tomato gently, leaving the walls intact, and use a spoon to carefully hollow out the insides while the oven preheats. Your eggs will naturally form a cup as a result.
  • Season: Drizzle a little salt and pepper inside each tomato. For added flavour, feel free to add a pinch of your preferred dried herbs.
  • Crack an egg into each tomato cup to add the eggs. When baked, try not to break the yolk for a beautiful presentation.
  • Bake: To keep the tomatoes stable, put them in a baking dish. This is the perfect opportunity to top with some grated cheese if you enjoy cheese. Bake for 15 to 20 minutes, or until the eggs set to your desired consistency, in a preheated oven.
  • Garnish and Serve: Take out of the oven and sprinkle some fresh herbs, such as chives or basil, on top. These provide your meal a vibrant burst of flavour and color.

Serving suggestions:

  • Although this meal tastes great on its own, it also goes well with a light salad or a slice of whole-grain toast. It’s a vibrant, well-balanced dinner that will wow everyone.
  • This tomato recipe with egg is a culinary delight for the senses as well as the eyes. This is a great way to get extra veggies into your breakfast and to make cooking interesting. Savour this delicious, simple-to-make recipe that will quickly become a morning staple!

Cooking Corn the Right Way: A Chef’s Secret Trick

Cooking Corn the Right Way: A Chef’s Secret Trick

Corn on the cob is a vegetable that is commonly found in kitchens, particularly during the summer months when it is at its most deliciously fresh. The idea that you should simply boil corn in plain water is a frequent kitchen myth that may be preventing you from enjoying the corn that is the sweetest and most flavourful possible. According to this myth, you should boil the corn in plain water. Introducing a chef’s secret trick that will take your corn cooking technique to new heights, we are sharing this hidden trick with you today.

Can’t We Just Have Water? As a general rule, the majority of us just place our corn in a pot of water that is boiling and then call it a day. Despite the fact that this approach does cook the corn, it does not contribute much to the flavour of the corn. As a matter of fact, cooking maize in water might cause some of the inherent sweetness of the maize to be diluted.

The Milk and Butter Bath is a Culinary Cunning Technique Cooking corn in a mixture of milk, butter and water is the secret to achieving the most delectably sweet and delicate corn possible without sacrificing flavour. By using this approach, the natural flavours of the corn are enhanced, resulting in a corn that is irresistibly delicious. Here is how you can replicate this procedure in your own home:

Parts and pieces

  1. Harvested ears of corn, with the husks detached
  2. Wetness
  3. One gallon of milk
  4. 2 teaspoons of butter that has not been salted
  5. For an additional dose of sweetness, a pinch of sugar is optional.

Details to follow:

Getting the Corn Ready:

To clean the maize, remove the husks and the silk from the kernels. To ensure that the ears are clean and ready to be cooked, it is recommended that they be washed under cold water.

Mix the liquid used for cooking:

The water should be filled up to nearly half of a large pot. Place the milk, butter, and a little bit of sugar, if you are using it, into the mixture. The milk contributes a luxurious quality, the butter gives the dish a smooth texture, and the sugar has the potential to enhance the natural sweetness of the corn.

Simmer till it boils:

Bring the mixture to a boil by heating the saucepan over medium-high heat until it happens. Make sure the butter is completely melted and incorporated by stirring it in at regular intervals.

To prepare the maize:

Corn ears should be added to the mixture that is boiling. To cook the corn in a gentle manner for six to eight minutes, reduce the heat to a simmer and let it to cook. The corn should be soft, but it should still have a little bit of a bite to it.

Heat and serve:

Remove the corn from the pot using tongs, and then allow it to drain for a short period of time. The dish should be served hot, with additional butter or the seasonings of your choice.

Take pleasure in your meal: Although this milk and butter method may appear to be a little odd, once you experience the difference, you will understand why it is a technique that is suggested by cooking experts. One cannot reach the same level of richness in the maize that can be achieved by cooking it in water alone. The maize turns out extremely flavorful.

You can attempt this chef’s method the next time you are intending to serve corn, and you should get ready to receive some comments from your guests at the dinner table. Everything you do with maize will never be the same again!