Timeless Beauty Secret The Watermelon Wrinkle Eraser

Timeless Beauty Secret The Watermelon Wrinkle Eraser

Learn the rejuvenating benefits of watermelon for firm, wrinkle-free skin, a century-old remedy that has been kept a secret for generations! This delicious fruit is more than simply a summertime pleasure; it is also cherished for its moisturising qualities. It has moisturizing ingredients, vitamins, and antioxidants that can help prevent wrinkles and encourage a glowing, young complexion.

What makes watermelon special?

  • Antioxidants, amino acids, vitamins A, B6, and C, and other nutrients are all found in abundance in watermelon and are proven to keep skin supple, youthful, and free of wrinkles. Toxins are also flushed out by its high water content, which might result in skin that is cleaner and more luminous.

How to Prevent Ageing with Watermelon:

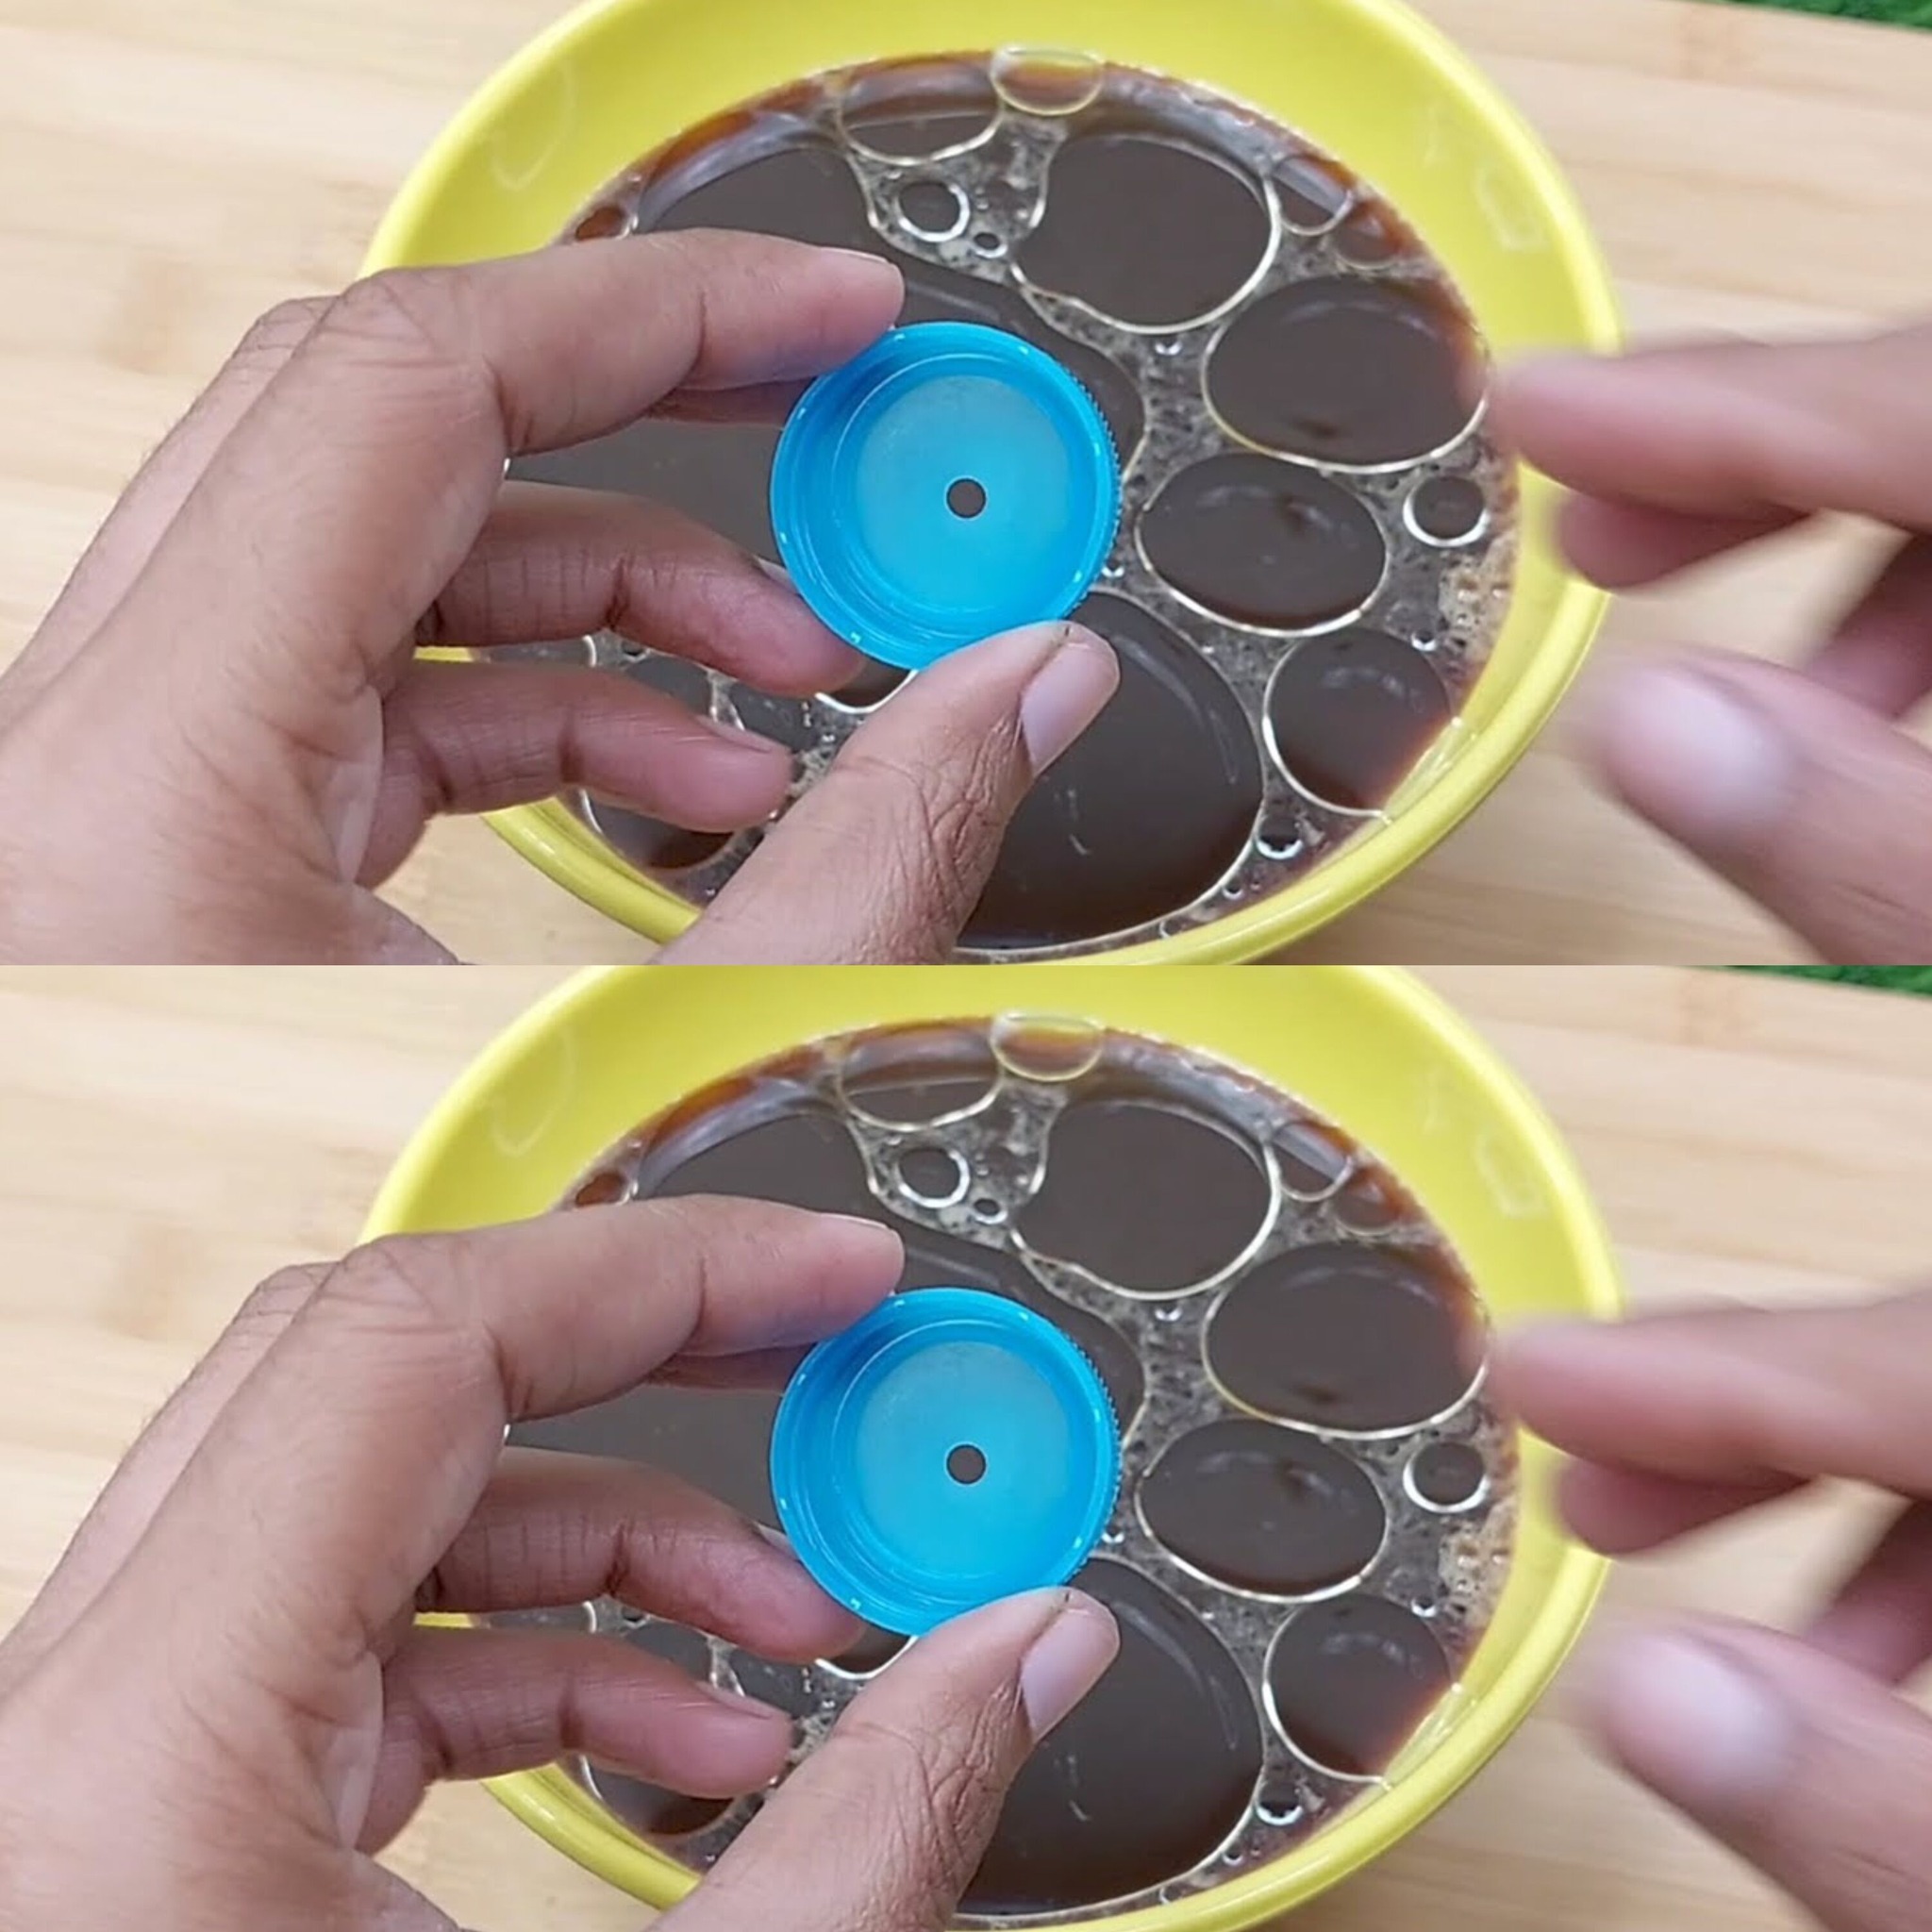
1. Juice from watermelon:

  • Ingredients: cotton pads and fresh watermelon juice.
  • Application: After washing your face, carefully apply a fresh watermelon slice that has been juiced on a cotton pad by soaking it in the juice. Natural fruit acids remove dead skin cells and promote cell renewal by acting as a mild exfoliator.
  • Benefits: This toner will tighten pores, minimize the look of ageing, and revitalize and nourish your skin.

2. Mask with Watermelon Pulp:

  • One tablespoon of watermelon pulp, one teaspoon of banana pulp, and one teaspoon of yoghurt are the ingredients.
  • To make a smooth paste, combine all the ingredients in a mixer.
  • Application: Cover your face with the mask, let it sit for 20 to 30 minutes, and then rinse with warm water.
  • Benefits: Your skin will feel soft, firm, and youthful after using this mask since it offers deep hydration and natural exfoliation.

3. Massage with Watermelon Rind:

  • Preparation: After removing the fruit, use the inside side of the watermelon rind.
  • Application: Use gentle circular motions to rub the rind over your face.
  • Benefits: The rind’s natural enzymes help brighten and soften skin, minimizing wrinkles and providing the appearance of tighter skin.

Why This Recipe Has Withstood Time and Tests: Using watermelon’s natural characteristics, this century-old remedy improves skin health without the need of chemicals or costly procedures. It serves as evidence of the efficacy of age-old natural therapies.

In conclusion,

embrace the ease of use and effectiveness of this time-honored beauty tip and turn to watermelon as your go-to remedy for reducing wrinkles and attaining firm, radiant skin. It’s a pleasant, natural, and efficient approach to keep your skin looking young without using harsh, commercial products. Rediscover the amazing fruit’s ability to defy ageing by trying these watermelon treatments for your beauty regimen!

Add Oil to Your Coffee and Discover the Benefits

Add Oil to Your Coffee and Discover the Benefits

Ever consider putting a little oil in your cup of coffee in the morning? Although it may sound a little strange, this small adjustment can improve the flavour of your coffee as well as provide numerous unexpected health advantages. Here are several reasons why adding oil to your coffee can become your new favorite morning routine!

Why Does Coffee Need Oil?

  • Coffee with oil added is not a recent trend. In actuality, it is a technique that is well-liked by numerous civilizations worldwide and is associated with increased vitality and improved cognitive performance. A nutritional boost can also be added by the type of oil you use. Here are a few well-liked choices:
  • Coconut Oil: Distinguished by its medium-chain triglycerides (MCTs), coconut oil has the potential to offer a long-lasting energy surge. It’s also believed to speed up the brain’s metabolism and supply rapid energy.
  • When mixed with coffee, butter—especially grass-fed butter—offers a creamy texture and a serving of good fats that can help control blood sugar levels and help you feel fuller for longer.
  • Olive Oil: Although this is a less common option, a few drops of olive oil in coffee can give a distinctive flavour and heart-healthy lipids.

How to Brew Coffee with Oil Infusion

Here’s how to make a delectable cup of coffee with oil added at home:

  • Brew Your Coffee: To begin, make your preferred cup of coffee as usual. Any type of coffee will do, whether it’s a French press, drip brew, or shot of espresso.
  • Select and Measure Your Oil: To your hot coffee, add approximately one tablespoon of butter, coconut oil, or one teaspoon of olive oil, depending on your preference.
  • Blend It: The secret to a delicious cup of oil-infused coffee is to blend the oil into the coffee until it is fully emulsified. This produces a texture that is creamy and smooth with no oiliness on top. For this stage, you can use a handheld milk frother or a standard blender.

What to Anticipate

  • Not only does oil alter the taste of coffee, but it also alters how your body processes and uses energy. Because the oil’s good fats slow down caffeine absorption, you’ll get a longer-lasting, more consistent energy boost without experiencing the usual caffeine crash. It is a terrific companion for those hectic mornings because it may also help suppress your appetite.

In summary

Consider putting olive oil in your coffee if you want to spice up your daily routine. It tastes unexpectedly good, but it also has a number of health advantages that could improve your mornings. Try it out, and you might end yourself thanking yourself for eternity!

Homemade Sugar-Free Litchi Juice

Homemade Sugar-Free Litchi Juice: Fresh, Tasty, and Easy to Make

Are you looking for a cool, tasty way to beat the heat? At home, try creating your own sugar-free litchi juice! Litchis are a lovely drink that is both refreshing and healthful, thanks to their sweet taste and floral perfume. Here’s a quick and easy recipe to make “Masdar,” or tasty, litchi juice that will definitely win people over!

For what reason is Litchi Juice?

Play Unmute Complete Screen
Litchis have several health advantages in addition to being delicious. They are an excellent option for improving your general health because they are high in antioxidants, copper, potassium, phosphorus, magnesium, niacin, riboflavin, folate, and vitamin C. Furthermore, you don’t need to add sugar because they are naturally delicious!

Components:

  1. Two cups of new litchis (around twenty to twenty-five litchis)
  2. one cup of chilly water
  3. Cubes of ice (optional)
  4. Leaves of mint (for garnish)

Guidelines:

  • Get the litchis ready: Peel your litchis and take out the seeds first. Although it may take the most time to complete, the work is well worth it!
  • Blend: Fill a blender with the peeled litchis. To aid in the blending process and get the right juice consistency, add one cup of cold water.
  • Whip Until Smooth: Whip the concoction until it’s silky. You can add a little extra water if you’d like the consistency to be thinner.
  • Strain the Juice (Optional): Pour the juice through a fine-mesh strainer for a smoother texture. Although optional, this step is advised to get rid of any leftover pulp or fragments.
  • Chill and Serve: To make the juice very cold, pour it into glasses with ice cubes on top. For a dash of sophistication and a bit of cooling flavour, garnish with a sprig of mint.
  • Have fun: It’s time to sip your own sugar-free litchi juice! It is ideal for offering at parties or taking pleasure in as a special treat on a steamy day.

In summary:

In addition to being simple to prepare, this homemade litchi juice is a healthier option than store-bought varieties, which frequently have extra sugars and preservatives. Making your own juice at home gives you complete control over the ingredients and guarantees that the beverage you’re consuming is not just delicious and revitalising but also healthful. Savour your “Mazedar” litchi juice, the ideal fusion of flavour and health!

Secret to Long, Luscious Locks with DIY Clove Oil

Unlock the Secret to Long, Luscious Locks with DIY Clove Oil

Clove oil may become your new best buddy if you’re looking for a natural way to promote quick and thick hair growth! The benefits of clove oil for hair growth and scalp health have been well-documented, and preparing it at home is easy and reasonably priced. Let’s go over how to make your own DIY secret clove oil for hair development.

Ingredients:

  1. 1 tablespoon of whole cloves
  2. One cup of olive oil;
  3. because of its nutrients and suitability for hair and scalp,
  4. olive oil is recommended.

Step-by-Step Guide:

1. Get the cloves ready:

  • Measure out the cloves first. A tablespoon or so is all you need because potency is such that a little goes a long way.

2. Pour Oil Into It:

  • Pour the olive oil over the cloves in a small pot. The combination should be heated for around 20 minutes on low heat. You want the oil to simmer gently, so take care not to boil it. The cloves’ nutrition and essential oils are extracted with the help of this gradual infusion, all without harming them.

3. Calm and Tense:

  • Remove the saucepan from the heat when it has simmered and let it cool fully. After the oil cools, strain it through cheesecloth or a fine-mesh strainer to get rid of all the clove fragments. You are left with a gorgeously infused clove oil.

Fourth, preserve your clove oil:

  • Transfer the filtered oil into a dry, clean bottle or jar. If at all feasible, use an oil in a dark glass bottle to preserve its natural qualities. Keep the oil somewhere cold and dark.

5. Apply Your Oil of Clove:

  • To use, just dab a little clove oil onto your scalp and give it a little massage. This improves blood circulation and stimulates the scalp, both of which are essential for encouraging hair development. Before using your usual shampoo to remove the oil from your hair, let it sit in there for at least an hour, or even overnight if feasible.

Making your own clove oil gives you control over what you put on your scalp and hair in addition to financial savings. This simple-to-make oil might be the perfect way to give your hair a natural boost, promoting faster and stronger growth. Savor the procedure and the amazing advantages it offers for your hair care regimen!

8 Remarkable Benefits of Rosemary

8 Remarkable Benefits of Rosemary You Should Know

In addition to being a fantastic herb for flavouring food, rosemary has a plethora of health advantages that are too great to overlook. Here are eight wonderful reasons to consider adding a little extra rosemary to your life.

  • 1. Improves Focus and Retention It has long been believed that rosemary improves memory. Research indicates that the act of breathing rosemary oil may enhance mental task performance in terms of accuracy, speed, and focus. Therefore, think about keeping some rosemary close by the next time you need a mental lift.
  • 2. Promotes Digestive Wellness It’s common practice to use rosemary to ease intestinal discomfort. It’s well known for relieving indigestion, gas and bloating. It improves the flavour of food and may facilitate digestion when added to meals.
  • 3. Packed with Antioxidants and Compounds that Reduce Inflammation The antioxidants in rosemary are essential for scavenging pathogens from the body. These anti-inflammatory qualities combined with antioxidants support improved blood circulation and an enhanced immune system.
  • 4. Promotes Healthy Hair One popular element in hair care products is rosemary oil. It’s thought to increase blood flow to the scalp, which promotes hair growth and decreases hair loss. Additionally, it is used to treat dry scalp and dandruff.
  • 5. Enhances Skin Quality Because of its anti-inflammatory qualities, rosemary is a fantastic plant for skincare. In addition to repairing blemishes and improving your skin’s natural shine and hydrated appearance, it can help reduce edoema and puffiness of the skin.
  • 6. Eases Pain One further benefit of rosemary is that it has analgesic qualities. For quick relief from aches and pains, especially those associated with arthritis, it can be topically used as an essential oil.
  • 7. Boosts the Immune System Rosmarinic acid, one of rosemary’s active ingredients, is essential for boosting immunity and warding against bacterial illnesses, particularly those of the stomach.
  • 8. Cleanses the Body Rosemary helps to improve gallbladder function and cleanse the liver. It facilitates bile flow and production, which is necessary for detoxification.

in conclusion

It’s easy to include rosemary in your everyday diet. Use it in your cooking to enrich meats, soups, breads, and teas, among other dishes. Not only will your food taste better, but your body will also experience all of these wonderful advantages!

How to Soak Almonds Effectively

Unlock the Benefits: How to Soak Almonds Effectively

Almonds can be made more easily digestible and have more health benefits by just soaking them. This traditional method not only softens the nuts and improves their flavour, but it also releases enzymes that help the body absorb nutrients more effectively. Here’s how to soak almonds properly, whether your goal is to include them in your diet for improved digestion, heart health, or just as a healthy snack.

Why Are Almonds Soaked?

  • Nutrient-dense almonds are high in fiber, magnesium, and vitamin E. Phytic acid, an antinutrient that can prevent the absorption of minerals including iron and zinc, is also present in them. Soaking stimulates enzymes that facilitate the easier absorption of almond nutrients and lowers phytic acid levels.

A Comprehensive Guide for Soaking Almonds:

  • 1. Choose Raw Almonds: Begin with almonds that are raw and unsalted. They are perfect for soaking because they haven’t been heat-treated or processed and yet have all of their natural enzymes.
  • 2. Clean Them: To get rid of any residues and contaminants, rinse your almonds under cool running water.
  • 3. Soak in Water: Put the almonds in a basin and add twice as much water to cover them. Make sure there is adequate space in the bowl because they swell when they absorb water.
  • 4. Cover and Soak: Place a cloth over the bowl and leave it there for the almonds to soak for at least eight to twelve hours. This length of time gives the enzyme enough time to activate.
  • 5. Drain and Rinse: After the almonds have soaked, drain them and give them a good rinse under cold water. The almonds ought to be a little softer at this time.
  • 6. Use or Store: The almonds can be eaten right away or kept in the fridge. Almonds that have been soaked can be stored in the fridge for a few days. Make sure they are in a sanitised container with a lid on it.

Soaked Almonds’ Uses:

  • Snacking: Savor them as a soft, creamy snack.
  • Smoothies: Include them in smoothies to add extra nourishment and a nutty flavour.
  • Almond Milk: To produce your own homemade almond milk, soak your almonds.
  • Recipes: Add them to homemade granola, salads, and desserts.

in summary

Almonds gain maximum health advantages when soaked, which also happens to make them tastier and simpler to chew. These kinds of small changes can have a big impact on how your body uses the nutrients in almonds. You may discover that you love almonds even more after trying this method!

Save Money and DIY: Making Avocado Oil at Home

Save Money and DIY: Making Avocado Oil at Home

Because of its health advantages and creamy texture, avocado oil is a favorite in kitchens and beauty regimens, but did you know that you can produce your own at home? It is true, indeed! You may extract all of the nutritional content from your avocados by using their seeds and peels in addition to making your own oil. Let’s explore how you can accomplish this while also saving money.

Let’s start by discussing the motivation behind making your own avocado oil. Avocado oil is a healthy option for frying and sautéing because of its reputation for withstanding high heat without degrading. It’s praised for its moisturizing qualities in hair and skin care as well. You have control over the process and can stay away from any additives present in store-bought goods by manufacturing your own.

Here’s a quick method for removing oil from avocado peels and seeds:

  • Gather the Seeds and Peels: Keep the seed and the peel from your avocados the next time you use one. They’ll be necessary in large quantities, so freeze them until you have them all.
  • Dry Them Out: After gathering a group, it’s time to dry them. To achieve this, spread them out on a baking sheet and put them in a low-temperature oven, or just leave them in the sun till they dry out.
  • Grind the Dry Ingredients: Pulverise the dry seeds and peels into a fine powder using a food processor or a powerful blender.
  • To extract the oil, put the powder in a pot and cover it with just enough water. Allow the oil to separate from the powder by simmering over low heat for a few hours. To extract the oil, strain the mixture through cheesecloth or fine mesh when it has cooled.
  • Keep Your Oil Stored: Transfer the oil into a dry, spotless bottle or jar. Store it somewhere cold and dark. You’re all set to use your homemade avocado oil!
  • Not only is it cost-effective to make your own avocado oil, but it’s also a fun activity that gives you control over the quality of oil you put on or eat. This handcrafted gem is a pleasant addition to your daily routine, whether it’s used as a dressing for salad or as a skin care product. Try it out and get the rewards of your hard work!

Air Fryer Oreos

Air Fryer Oreos

Oreos from an air fryer are just too good! While they’re significantly less expensive and slightly healthier in the air fryer, they taste just as fantastic as the fried Oreos you would get from the fair. Moreover, you can quickly prepare them at home.

Deep-fried Oreo cookies are, without a doubt, my favourite deep-fried treat! The cookie becomes softer and practically melts in the middle of its crispy exterior. It’s shockingly excellent, I promise.

I decided to try baking Oreos in the air fryer the other day because I was really craving some deep-fried ones. I got to consume a lot of air-fried Oreos during testing, which brightened my day!

Components

  1. Ten Chocolate Sandwich Cookies with Oreo Double Stuf
  2. One crescent roll dough sheet with powdered sugar as a garnish

Guidelines

  • Set the air fryer’s temperature to 380°F.
  • After unrolling the crescent dough sheet onto a slightly floured surface, gently flatten the dough with a rolling pin.
  • Divide the dough into ten equal portions, then wrap one piece of dough around each Oreo, squeezing the seams shut.
  • After lightly misting the wrapped cookie on both sides with oil spray, carefully lay it in an air fryer basket, taking care not to pack it too full. Work in groups if required.
    For four minutes, air fry.
  • Take out of the air fryer and generously dust with powdered sugar.
  • Warm up and serve.

Greek Chicken souvlaki

Greek Chicken souvlaki

Works great with chicken thighs or breasts! You must give these a try.

Components:

  1. Four cubed, skinless, boneless chicken breasts or thighs
  2. Two tsp olive oil
  3. two minced garlic cloves
  4. One tablespoon of lemon juice
  5. One tsp of dehydrated oregano
  6. A single tsp of dried thyme
  7. One tsp of paprika
  8. Half a teaspoon of salt
  9. 1/4 tsp black pepper
  10. To serve, tzatziki sauce
  11. Rice or pita bread, for serving
  12. Toppers that are optional include feta cheese, diced tomatoes, sliced cucumbers, and chopped red onions.

Guidelines:

  • Olive oil, minced garlic, lemon juice, dried thyme, dried oregano, paprika, salt, and black pepper should all be combined in a mixing dish. Mix thoroughly until fully incorporated.
  • To the bowl containing the marinade, add the diced chicken. Until the chicken is coated all over, toss. The chicken should marinate in the fridge for at least 30 minutes, but preferably up to 2 hours. Cover the bowl and let it there.
  • For around five minutes, preheat your air fryer to 200°C (390°F).
  • After the chicken has marinated for the full duration, thread the chunks onto skewers.
  • Leaving room between each skewer to allow for air circulation, place the skewers in the air fryer basket that has been preheated in a single layer.
  • The chicken souvlaki should be air-fried for 10 to 12 minutes at 200°C (390°F), turning the skewers halfway through, or until the meat is cooked through and has a golden brown exterior.
  • Once done, take the chicken souvlaki out of the air fryer with caution.
  • Serve the hot chicken souvlaki with your preferred toppings, rice or pita bread, and tzatziki sauce.
  • Savour your freshly made Greek chicken souvlaki just out of the air fryer!

The Heart-Friendly Benefits of Garlic

The Heart-Friendly Benefits of Garlic

Not only is garlic a mainstay in cooking due to its strong flavour, but it also has many heart-healthy advantages! Let’s explore the reasons why using a small amount of garlic in your meals may be a fantastic way to maintain the health of your heart.

The health benefits of garlic have been praised since ancient times. Garlic is rich in anti-inflammatory and antioxidant components that contribute to overall health, but its effects on heart health are especially significant.

Garlic is well-known for its capacity to assist in controlling cholesterol levels. Research indicates that garlic may help lower levels of LDL (low-density lipoprotein), or “bad” cholesterol, as well as total cholesterol. Garlic lowers blood pressure by controlling these levels, which lowers the risk of heart diseases like atherosclerosis by preventing the accumulation of plaque in the arteries.

The effect that garlic has on blood pressure is yet another wonderful advantage. As a natural blood thinner, garlic aids in the management of hypertension, a major risk factor for heart disease. Garlic is a food that can help maintain your blood vessels open and relaxed, which facilitates easy blood flow.

Allicin is another substance found in garlic that is released when the garlic is cut or crushed. Strong anti-inflammatory and antioxidant qualities of allicin may help shield the heart from oxidative stress, which is a factor in heart disease.

So what are some ways to increase your intake of garlic? It’s easy! Almost any dish can benefit from the addition of garlic. Garlic not only adds flavour and health benefits to recipes calling for it, but it also gives a burst of zest to marinades and simmering soups and stews. You can begin by infusing olive oil with garlic or you can add fresh garlic to your dips and sauces. A basic supper can be improved by simply roasting a few cloves with some veggies.

Keep in mind that garlic is only one component of a heart-healthy diet, even though it’s a fantastic complement. Maintaining heart health also requires frequent check-ups, physical activity, and a balanced diet.

The next time you’re in the kitchen, grab a head of garlic and keep in mind that each clove improves your food while simultaneously providing delicious support for your heart health!