Ginger Magic: A Recipe for Revitalizing Your Intestines and Liver

Ginger Magic: A Recipe for Revitalizing Your Intestines and Liver

Are you seeking a natural way to improve the health of your liver and digestive system? Ginger might be the solution! Ginger is widely known for its potent health properties and has been used for generations to promote general well-being. Let’s look at a straightforward ginger dish that is not only simple to prepare but may also give you a boost of vitality.

Why, Ginger?

The root herb ginger is prized for both its many health advantages and its powerful, fiery flavour. It is especially well-known for how well it supports liver function and how well it affects digestion. Improved bile production, increased digestive enzyme secretion, and liver detoxification are all aided by ginger, which may improve general health.

A Basic Recipe for Ginger

The key to this recipe is its simplicity and potency. It has been formulated to provide the reviving effects of ginger with a mild effect on the stomach.

Components:

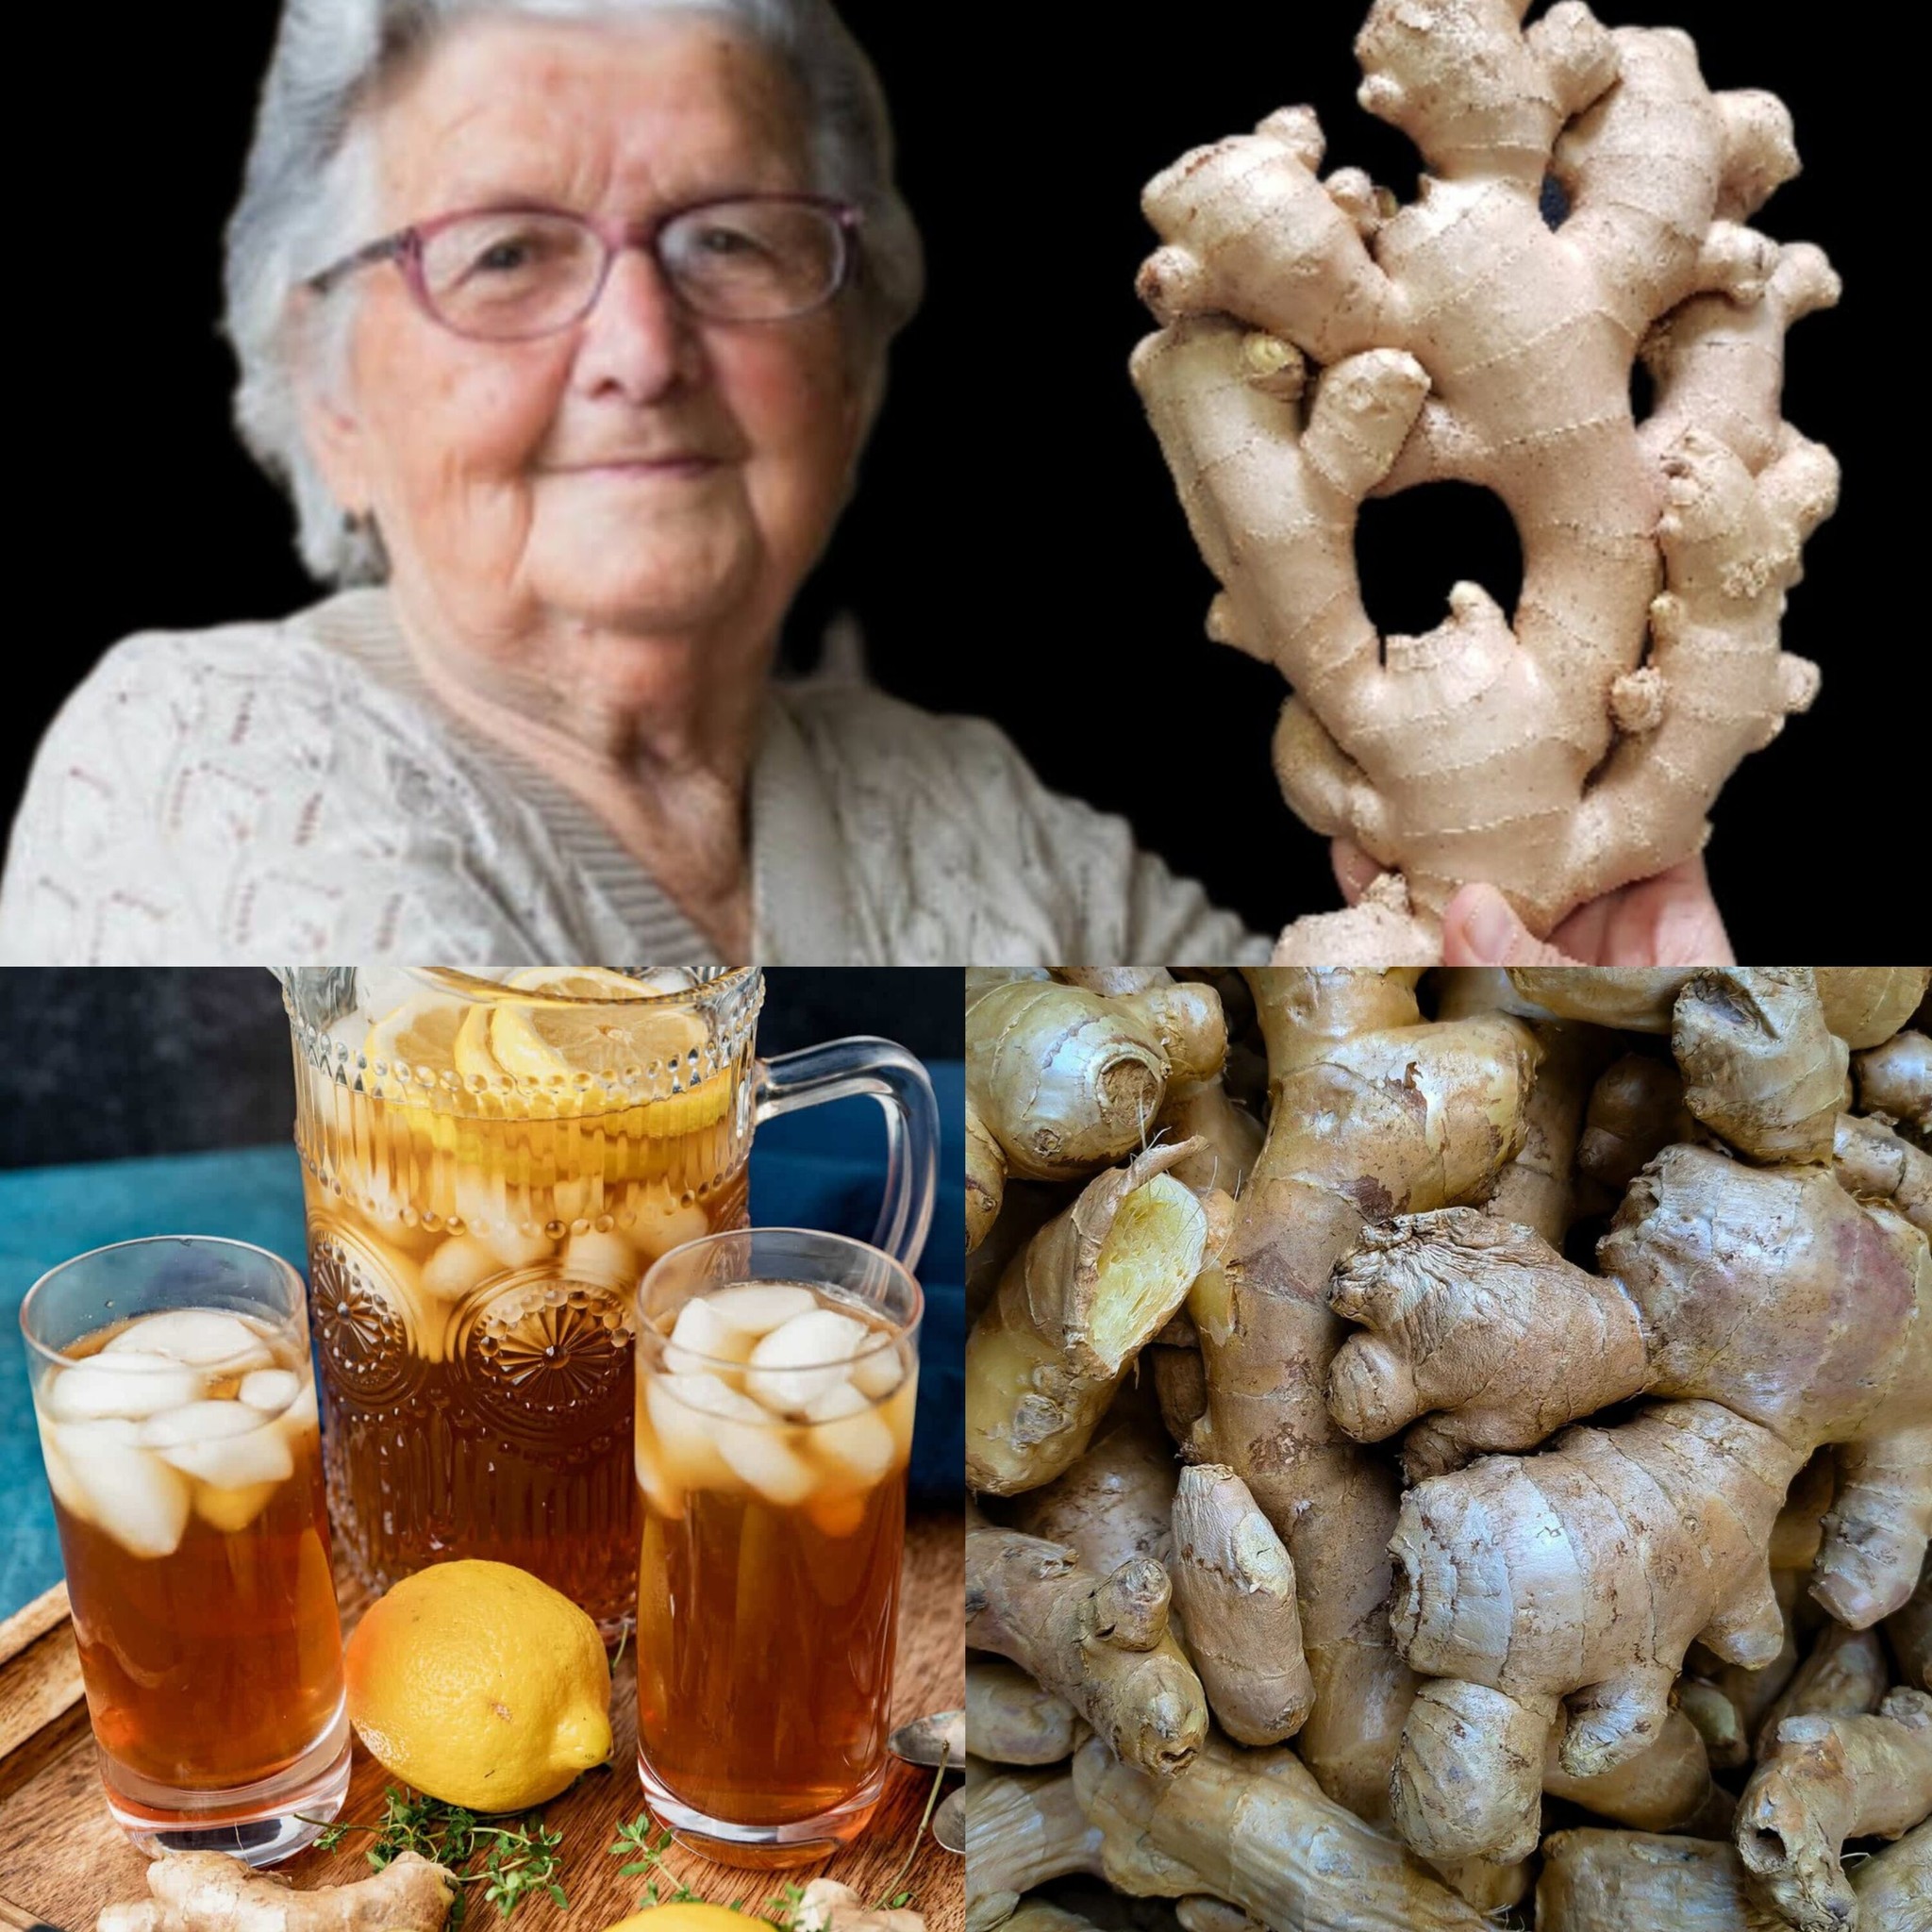
  1. 1 tsp finely shredded fresh ginger
  2. One cup of water that is boiling
  3. Honey (to taste, optional)
  4. Lemon juice (extra vitamin C optional)

Guidelines:

  • Get the ginger ready: Peel and finely chop a fresh ginger root first. One tablespoon or so of grated ginger will be required.
  • Steep the Ginger: Put one cup of boiling water over the grated ginger in a cup. Give it ten minutes or so to steep. This procedure aids in the ginger’s active component extraction.
  • After steeping, remove the ginger pieces from the water by straining them out and throwing them away. You have a strong ginger tea now.
  • Enhance the Flavour: You can increase the amount of vitamin C in the drink by adding a squeeze of lemon juice and honey to sweeten it. Both enhance flavour and offer extra health advantages.

What to Anticipate

Including this ginger tea in your daily regimen will assist liver function and aid with intestinal cleansing. You may have lighter bloating, better digestion, and increased energy. Additionally, ginger’s anti-inflammatory qualities can aid in soothing the digestive tract.

Safety and Things to Think About

Even while most individuals may safely use ginger, especially if you’re new to taking it, it’s always a good idea to start with tiny doses and observe how your body responds. Before beginning any new health regimen, it is advisable to speak with a healthcare provider if you have any medical concerns or are currently taking medication.

In summary

This recipe for ginger is a great way to use the natural properties of ginger to help clear your liver and intestines. It could have a big impact on your daily mood and is easy to use and effective. Why not give it a shot and see if you can get your step a little more peppier?

Revitalize Your Intestines and Liver in Just 3 Days with Carrots!

Revitalize Your Intestines and Liver in Just 3 Days with Carrots!

Are you feeling a little stuck or sluggish? Perhaps it’s time for a natural boost for your intestines and liver. In addition to being delicious, carrots are a great source of nutrients that can aid in body cleansing. This is how, in just three days, you can utilize carrots to cleanse your system!

Why Do Carrots?

Carrots are a great source of fiber, vitamins, and antioxidants that aid in healing and detoxifying. They have beta-carotene, which helps the liver operate and eliminate toxins by being converted by the body into vitamin A. Carrot fiber also aids in better digestion and maintains the clarity of your intestines.

A Basic Carrot Programme

This is a three-day carrot regimen that is meant to be light on your system and easy to follow.

Day 1: Juice made from carrots

Pour yourself a glass of fresh carrot juice to start your morning. This is a great approach to stimulate your intestines and liver. Juice four or five carrots, then savour! Carrots can also be blended with a small amount of water if juicing is not an option.

Day 2: Snack on Raw Carrots

Eat raw carrot sticks as a snack throughout the day. They are hydrating, crispy, and high in fiber. This will assist clean your intestines as the fiber passes through, in addition to keeping you full.

Day 3: Supper with cooked carrots

Finish off your three-day routine with a cooked carrot supper. As a side dish, you may steam some carrots or prepare a carrot soup. Carrots cooked in various ways release different nutrients, and it’s a calming way to end your cleanse.

What to Anticipate

At the end of the three days, you may have increased energy and a lighter feeling. Carrots contain fibre that aids in intestinal cleansing and minerals that promote healthy liver function. Better digestion, less bloating, and an overall sense of wellbeing can result from this easy detox.

Safety and Things to Think About

For the majority of people, this carrot regimen is safe and natural. Nonetheless, it’s wise to speak with a healthcare professional before beginning any new fitness regimen, particularly if you have any dietary or medical restrictions.

In summary

There is no need for liver and intestinal refreshing to be difficult or harsh. Carrots can naturally cleanse your system in just three days. Why not attempt it then? With just a few easy dietary changes, you could be astonished at how much better you feel!

How to Prepare Aloe Leaves for Edible Use and Freezing

How to Prepare Aloe Leaves for Edible Use and Freezing

Aloe vera is well known for its health advantages, particularly in relation to digestive and skin health. However, did you know that aloe vera may be eaten? Yes, it is correct! Before you can take use of aloe vera’s health benefits, you must carefully prepare the leaves in order to eliminate the latex, which includes substances that may irritate your digestive system. Here’s a quick guide explaining how to store aloe vera safely for later use.

First Step: Choosing and Preparing the Aloe Leaves

  • The outermost leaves of the aloe vera plant are the most developed and contain the most gel, so start by selecting fresh, plump leaves from there. In order to get rid of any dirt or debris, rinse the leaves under cool running water.

Step 2: Eliminating the Hazardous Elements

  • Actually, the “poison” in aloe leaves is a yellowish latex called aloin that is located just beneath the leaf’s surface. In order to ensure that the aloe is safe to eat, this must be removed.
  • Slice off the Base: To start, cut off a leaf’s base, which is where it connects to the rest of the plant, around an inch in length. The largest concentration of aloin is found in this section.
  • Peel the Skin: Gently remove the aloe leaf’s green outer skin with a sharp knife or vegetable peeler. To prevent removing too much of the clear aloe gel, try to keep your distance from the skin.
  • Eliminate the Yellow Sap: The yellowish latex will become visible when you peel the skin. You can either let it drain by placing the leaf on an incline for a few minutes, or you can wash it off under running water. To make sure all the aloin is gone, some people like to soak the aloe slices in water for a few hours.

Step 3: Aloe Vera Storage

  • Your clear aloe gel is now ready to consume, or it can be stored for later use.
  • For Instant Use: Chop the gel into cubes and use it straight away, or blend it into salads and smoothies.
  • To Freeze: Transfer the aloe gel cubes onto a parchment paper-lined tray and freeze for solidification. After the cubes are frozen, move them to a freezer-safe bag or container. This method of storing them allows them to be utilized as needed for several months.

In summary

Aloe vera requires some work to prepare for eating, but the health advantages make it worthwhile. Aloe vera can be used topically, as a digestive aid, or to improve smoothies. As long as the alone is properly removed, it can be a safe and adaptable part of any wellness regimen. Take advantage of aloe vera’s inherent benefits by following this simple preparation process!

Refreshing and Healthy: The Wonders of Watermelon Juice

Refreshing and Healthy: The Wonders of Watermelon Juice

There’s no better taste of summer than the crisp, cool taste of watermelon. However, did you know that making a juice out of this beloved fruit can provide a number of health advantages in addition to a delicious drink? Here’s why watermelon juice ought to be your go-to beverage, particularly in the summertime.

What Makes Watermelon Juice?

In addition to being delicious, watermelon is a great source of nutrition and hydration. It’s a great source of hydration because it contains around 92% water. It also has substantial levels of antioxidants, amino acids, vitamins A, B6, and C, and a little quantity of potassium. These all add to its health-promoting qualities.

Benefits of Watermelon Juice for Health

  • Hydration: Watermelon juice is a delicious method to meet your fluid demands. Remaining hydrated is essential for preserving healthy bodily processes.
  • Heart Health: Citrulline, an amino acid found in watermelon, may aid to lower blood pressure and increase blood flow.
  • Anti-inflammatory Properties: Lycopene, an antioxidant found in watermelon, has the ability to both lessen inflammation and offer some UV protection.
  • Relieving Muscle Soreness: Watermelon juice is a fantastic post-exercise beverage since it contains citrulline, which may help lessen muscle soreness.

Preparing Juice from Watermelon

Watermelon juice preparation is quick and easy, taking only a few minutes. Here’s how to do it:

Components:

  1. Watermelon fresh (seeds or not)
  2. A fresh lime juice squeeze (optional for extra zest)
  3. Mint leaves (especially refreshing if you add them in)

Guidelines:

  • Cut the watermelon into chunks to prepare it. Iron and zinc can be found in the seeds, which you can remove if you’d like.
  • Blend: Fill a blender with the watermelon pieces. For a refreshing taste, add some mint leaves and a squeeze of lime for a tangy twist.
  • Strain (Optional): Strain the mixture to get rid of the pulp for a smoother juice. But if you leave the pulp in your drink, it will have more fiber.
  • Serve Cold: Transfer the juice into glasses and savor it immediately. Serve over ice for an even more pleasant beverage.

In summary

Juice from watermelon is a great addition to your drink selections because it has several health advantages in addition to great flavour. It’s incredibly refreshing, simple to prepare, and ideal for increasing your fluid intake on hot days—or actually any day. What better way to enjoy a refreshing beverage than making some fresh watermelon juice? Your taste senses and your body will both appreciate it!

Sugar-Free Pineapple Watermelon Juice

Sugar-Free Pineapple Watermelon Juice: A Refreshing and Nutritious Drink

Nothing like a cool glass of juice to relieve your thirst and improve your health when the weather becomes hot. Pineapple watermelon juice is a fantastic sugar-free option if you’re seeking for something sweet. This refreshing beverage is bursting with health benefits as it blends the zest of the tropics with the gentle sweetness and hydration of watermelon.

Why Watermelon and Pineapple?
Both pineapple and watermelon are great options for a nutritious juice because they are low in calories and high in nutrients. Bromelain, vitamin C, and antioxidants—all of which are linked to immune system support and anti-inflammatory effects—pack a punch in pineapple. Contrarily, watermelon is an incredibly hydrating fruit that also contains magnesium, vitamins A and C, and the amino acid citrulline, which is beneficial for both heart health and muscle repair.

Benefits of Pineapple Watermelon Juice for Health

  • Boosts Hydration: The high water content of pineapple and watermelon keeps you feeling hydrated and rejuvenated.
  • Promotes Digestive Health: Bromelain, an enzyme found in pineapples, helps break down proteins and may help lessen bloating and other digestive problems.
  • Promotes Heart Health: The potassium in watermelon and the bromelain in pineapple have the potential to reduce blood pressure and enhance cardiovascular health in general.
  • Anti-Inflammatory Effects: Due to their anti-inflammatory qualities, both fruits may aid people with arthritis and other inflammatory illnesses by lowering inflammation in the body.

How to Make Pineapple Watermelon Juice Without Sugar

Components:

  1. Two cups of freshly cut and seeded watermelon
  2. One cup of freshly diced pineapple
  3. Cubes of ice (optional)
  4. sprigs of fresh mint (for garnish)

Guidelines:

  • Peel and cube the pineapple and watermelon as you prepare the fruit. Ripe fruits provide the greatest flavour.
  • Blend: In a blender, combine the watermelon and pineapple cubes. Process till smooth.
  • To serve, pour the juice into a glass over ice and add some fresh mint leaves for a finishing touch of greenery.

Savoring Your Juice

You may sip this sugar-free pineapple watermelon juice anytime of the day. It’s ideal as a light, fruity drink for evening relaxation or as a morning pick-me-up or afternoon refreshment. In addition to tasting great, every drink adds an abundance of nutrients to your diet.

In summary

A great method to take advantage of the natural sweetness and health benefits of fruits without any additional sugar is to drink sugar-free pineapple watermelon juice. This drink is incredibly refreshing, simple to prepare, and full of health-promoting components. Try it; you never know, it might end up being your new go-to healthy beverage!

5 Homemade Dressings

🥗🌿 5 Homemade Dressings 🌿🥗
Ingredients:
Lemon and Basil Dressing:
– 1/4 cup of fresh lemon juice
– 1/2 cup of olive oil
– 2 tablespoons of chopped fresh basil
– 1 clove minced garlic
– Salt and pepper to taste
Honey Mustard Dressing:
– 2 tablespoons of Dijon mustard
– 2 tablespoons of honey
– 1/4 cup white wine vinegar
– 1/2 cup of olive oil
– Salt and pepper to taste
Ginger and Soy Dressing:
– 2 tablespoons of soy sauce
– 1 tablespoon of rice vinegar
– 1 teaspoon of freshly grated ginger
– 1 teaspoon of honey
– 1/4 cup sesame oil.
– Salt and pepper to taste
Avocado and Lemon Dressing:
– 1 ripe avocado
– 1/4 cup of fresh chopped cilantro
– 2 tablespoons of lemon juice
– 1 clove minced garlic
– 1/4 cup of olive oil
– Salt and pepper to taste
Mint and Yogurt Dressing:
– 1 cup of natural yogurt
– 2 tablespoons of fresh mint
– 2 tablespoons of lemon juice
– 1 clove minced garlic
– Salt and pepper to taste

Instructions:
1. In a small container, combine all the ingredients of the selected dressing until well combined.
2. Taste and adjust the flavor to your preference, adding more salt, pepper or lemon if needed.
3. Refrigerate the dressing for at least 30 minutes before serving to allow the flavors to mix properly.
4. Serve over your favorite salads and enjoy these delicious homemade dressings.
5. Accompany your meals with these homemade dressings and delight your palate with their freshness and unique taste! 🥗✨

Cabbage Wraps: A Simple Remedy for Swollen Joints and Thyroid Issues

Cabbage Wraps: A Simple Remedy for Swollen Joints and Thyroid Issues

Are you trying to find a natural remedy for enlarged joints or thyroid issues? Wraps made with cabbage may be the solution you’ve been looking for! This straightforward, traditional remedy provides solace and peace by utilizing the therapeutic qualities of cabbage.

For what reason is cabbage?

In addition to being a kitchen staple, cabbage has strong anti-inflammatory qualities. It has glucosinolates and antioxidants that aid in the body’s detoxification and inflammatory reduction. Because of this, it’s a great option for treating inflammatory diseases like arthritis.

How to Make Cabbage Wraps

It’s simple to make cabbage wraps with only a few ingredients. This is how you manufacture them:

  • Select the Correct Cabbage: Red or green cabbage are the greatest options. Make sure the foliage is crisp and fresh.
  • Prepare the Leaves: To make the cabbage leaves more flexible, cut off their tough stems. The leaves can be made softer by rolling them with a rolling pin or blanching them in hot water for a short while.
  • Apply to Affected Area: If you have thyroid issues, use the cabbage leaves directly on your swollen joints or around your neck. If you would like, you can gently crush the leaves with your hands to release extra juice.
  • Tighten the Wrap: To keep the leaves in place, use a bandage or plastic wrap. Make sure it stays secure, but don’t wrap it too tightly.
  • Leave it On: For best results, you should leave the wrap on for a few hours or perhaps overnight.

What to Anticipate

Even though cabbage wraps are a conventional treatment, it’s crucial to have reasonable expectations. Many patients report great symptom reduction, while some may only notice slight improvements. Maintaining a healthy lifestyle along with this treatment is crucial.

Safety and Things to Think About

Most people can safely eat cabbage wraps. Before attempting this treatment, though, it’s advisable to conduct a patch test or speak with a healthcare professional if you have sensitive skin or any particular sensitivities.

In summary

A cheap, easy, and natural way to treat swollen joints and thyroid problems is with cabbage wraps. Without the need for prescription drugs, these wraps provide a calming and helpful treatment due to their anti-inflammatory qualities. Try it out and see if it improves your health and comfort level!

Boost Your Well-Being with Rosemary and Walnuts

Boost Your Well-Being with Rosemary and Walnuts A Natural Remedy

Nature offers us a wealth of healing medicines, and occasionally combining two potent components can result in even greater health benefits. Two such nutrients that, when combined, provide a multitude of health benefits are rosemary and walnuts. Let’s see how you may improve your everyday life with this natural pair.

  • 1. Cognitive Boost: Rosemary is well known for its capacity to improve focus and memory. Compounds in the herb stop acetylcholine from degrading, which is a neurotransmitter necessary for memory, focus, and thought processes. Due to their high content of omega-3 fatty acids, which are known to promote brain function, walnuts are a great complement to this advantage. They work well together to maintain mental acuity.
  • 2. Heart Health: Rich in omega-3 fatty acids and antioxidants, walnuts are a heart-healthy snack that lowers the risk of cardiovascular illnesses. The anti-inflammatory qualities of rosemary also aid to enhance blood circulation and decrease blood pressure. This combination is good for your heart in addition to being tasty.
  • 3. Anti-Inflammatory Properties: Walnuts and rosemary both have potent anti-inflammatory qualities, which make them great for lowering inflammation all across the body. Those who suffer from inflammatory diseases like arthritis or joint discomfort may find this very helpful.
  • 4. Stress Relief: In addition to being aesthetically pleasing, the aroma of rosemary has a relaxing influence on the body and mind, which may aid in lowering stress levels. The modulation of serotonin levels, a neurotransmitter that aids in mood stabilization, is one way that walnuts facilitate this.
  • Including Walnuts and Rosemary in Your Diet: Make your own trail mix by combining walnuts, other nuts, and seeds with dried rosemary to create a tasty snack.
  • Rosemary Walnut Pesto: To make a tasty pesto, combine fresh rosemary with walnuts. Use this as a pasta sauce or as a spread for sandwiches.
  • Infused Tea: To make a calming herbal tea, steep some fresh rosemary leaves in boiling water with a small handful of crumbled walnuts.

in summary

Including walnuts and rosemary in your daily routine is a delicious approach to improve your mental and physical well-being. These powerful combination can improve your general well-being and make every day a little healthier and a lot more pleasurable, whether you’re eating them as part of a meal, in a snack mix, or in a soothing tea.

Beetroot, Carrot, Apple & Ginger Juice

Beetroot, Carrot, Apple & Ginger Juice A 100% Detox, Natural Immune & Energy Booster

Juice made from beetroot, carrot, apple, and ginger is a refreshing and nutrient-dense approach to enhance your immune system, purify your body, and increase your vitality. With so many vitamins, minerals, and antioxidants in one potent mixture, you can feel your best every day. Let’s examine the advantages and demonstrate how to prepare this potent juice at home.

Benefits of Ginger, Beetroot, Carrot and Apple Juice

1. Cleans the Body

  • Packed with Antioxidants: Carrots and beetroot are a great source of antioxidants that aid in liver cleansing and the removal of toxins from the body.
  • Enhances Digestion: The digestive enzymes included in apples and ginger help to maintain a healthy digestive tract and encourage the removal of waste.

2. Enhances Immune Function

  • Vitamin C Powerhouse: Rich in vitamin C, which is necessary for a robust immune system, apples and carrots are high in this vitamin. Frequent ingestion can aid in warding off infections and colds.
  • Anti-Inflammatory: Strong anti-inflammatory chemicals found in ginger help lower inflammation and increase immunity.

3. Boosts Vitality

  • Natural Sugars: Unlike processed sugars, which can cause a collapse after a short energy spike, apples and beets contain natural sugars.
  • Enhances Blood Flow: The nitrates found in beetroot help to promote blood flow and the delivery of oxygen to the muscles, which increases stamina and general vigour.

4. Encourages Skin Health

  • Nutrient-Rich: By increasing collagen formation and mending skin cells, the vitamins and minerals in this juice, like vitamins A and C, support good skin.
  • Hydration: These nutrients’ high water content keeps your skin moisturized and radiant.

How to Prepare Apple, Carrot, Ginger and Beetroot Juice

Components:

  1. One medium-sized beetroot, cut and peeled
  2. Two carrots, sliced and peeled
  3. One cored and cut apple
  4. a 1-inch piece of raw, peeled ginger
  5. One cup of water (for blending, optional)

Guidelines:

  • Get the ingredients ready: Begin by cleaning, peeling, and cutting the ginger, apple, carrots, and beetroot. Verify that the pieces will fit into your blender or juicer.
  • Juicing: Just put the beetroot, carrots, apple, and ginger into your juicer if you have one. Pour the juice into a pitcher.
  • Blending: Put the chopped ingredients and a cup of water into a blender, if you’re using one. Process till smooth. If preferred, you can strain the mixture through cheesecloth or a fine mesh screen to get rid of the pulp.
  • To serve, transfer the juice into a glass and take a sip right away. Add a slice of lemon or a couple ice cubes for an additional touch.

Summarized:

Drink Your Way to Improved Health Adding apple, ginger, carrot, and beetroot juice to your daily routine is a quick and easy approach to improve your health. This delectable and nutrient-rich natural detox, immunological, and energy booster is excellent. To gain the benefits and maintain a bright and healthy lifestyle, have a glass every day!

How to Make Beetroot Pineapple Juice

How to Make Beetroot Pineapple Juice A Super Healthy Beet Juice

The earthy sweetness of beets and the tropical tang of pineapple combine to create a tasty and nutrient-rich beverage known as beetroot pineapple juice. This delightful beverage is not only refreshing but also very healthy. Here’s how to prepare this incredibly healthful beetroot juice at home and the reasons you should incorporate it into your everyday routine.

The advantages of pineapple-beet juice

 1. Enhanced Immune Response

  • Rich in Vitamins: Vitamin C, which boosts immunity and aids in the prevention of infections, is one of the many important vitamins that can be found in both beetroot and pineapple.
  • Strong Antioxidant Potency: The betalains found in beetroot are potent antioxidants that lessen inflammation and shield your cells from harm.

2. Promotes Digestive Wellness

  • High in Fiber: Dietary fiber, such as pineapple, promotes healthy gut flora and facilitates digestion. Additionally, beetroot helps maintain digestive health by encouraging regular bowel motions.
  • Digestive Enzymes: Bromelain, an enzyme found in pineapples, aids in the digestion of proteins and promotes better digestion.

3. Raises Vitality Levels

  • Natural Sugars: This juice is a terrific pick-me-up at any time of day since it contains natural sugars from pineapple and beetroot that give you a quick energy boost.
  • Enhances Blood Flow: Beetroot has been shown to increase energy and stamina by improving blood flow and oxygen delivery to muscles.

4. Encourages Skin Health

  • Vitamins & Hydration: This juice’s high water content and vitamin content keep your skin moisturized and radiant. Pineapple vitamin C promotes the synthesis of collagen, which keeps the skin supple.
  • Effects of Detoxification: Beetroot aids in liver detoxification, which promotes healthier skin and a cleaner complexion.

How to Prepare Pineapple and Beetroot Juice

Components:

  1. One medium-sized beetroot, cut and peeled
  2. One cup of raw pineapple pieces
  3. Half a cup of water (for blending only)
  4. Cubes of ice (optional; to garnish)

Guidelines:

  • Get the ingredients ready: Begin by cleaning, slicing, and peeling the beetroot. Chop the raw pineapple into large pieces.
  • Juicing: Place the pineapple and beetroot chunks into your juicer, if you have one. Pour the juice into a pitcher.
  • Blending: Add the diced beetroot, pineapple pieces, and half a cup of water to a blender. Process till smooth. If preferred, remove the pulp from the mixture by straining it through cheesecloth or a fine mesh sieve.
  • To serve, transfer the juice into a glass and, if desired, top it off with ice cubes. For optimal flavour and nutritional value, consume right away.

In summary,

savor the advantages of beetroot pineapple juice. Beetroot pineapple juice is an easy yet powerful technique to improve your health that you can incorporate into your everyday routine. Packed with vitamins, antioxidants, and natural sugars, this incredibly healthy beetroot juice supports good digestion, immunity, energy, and skin. Enjoy this delectable and revitalising beverage, and continue to lead a lively and healthy life!