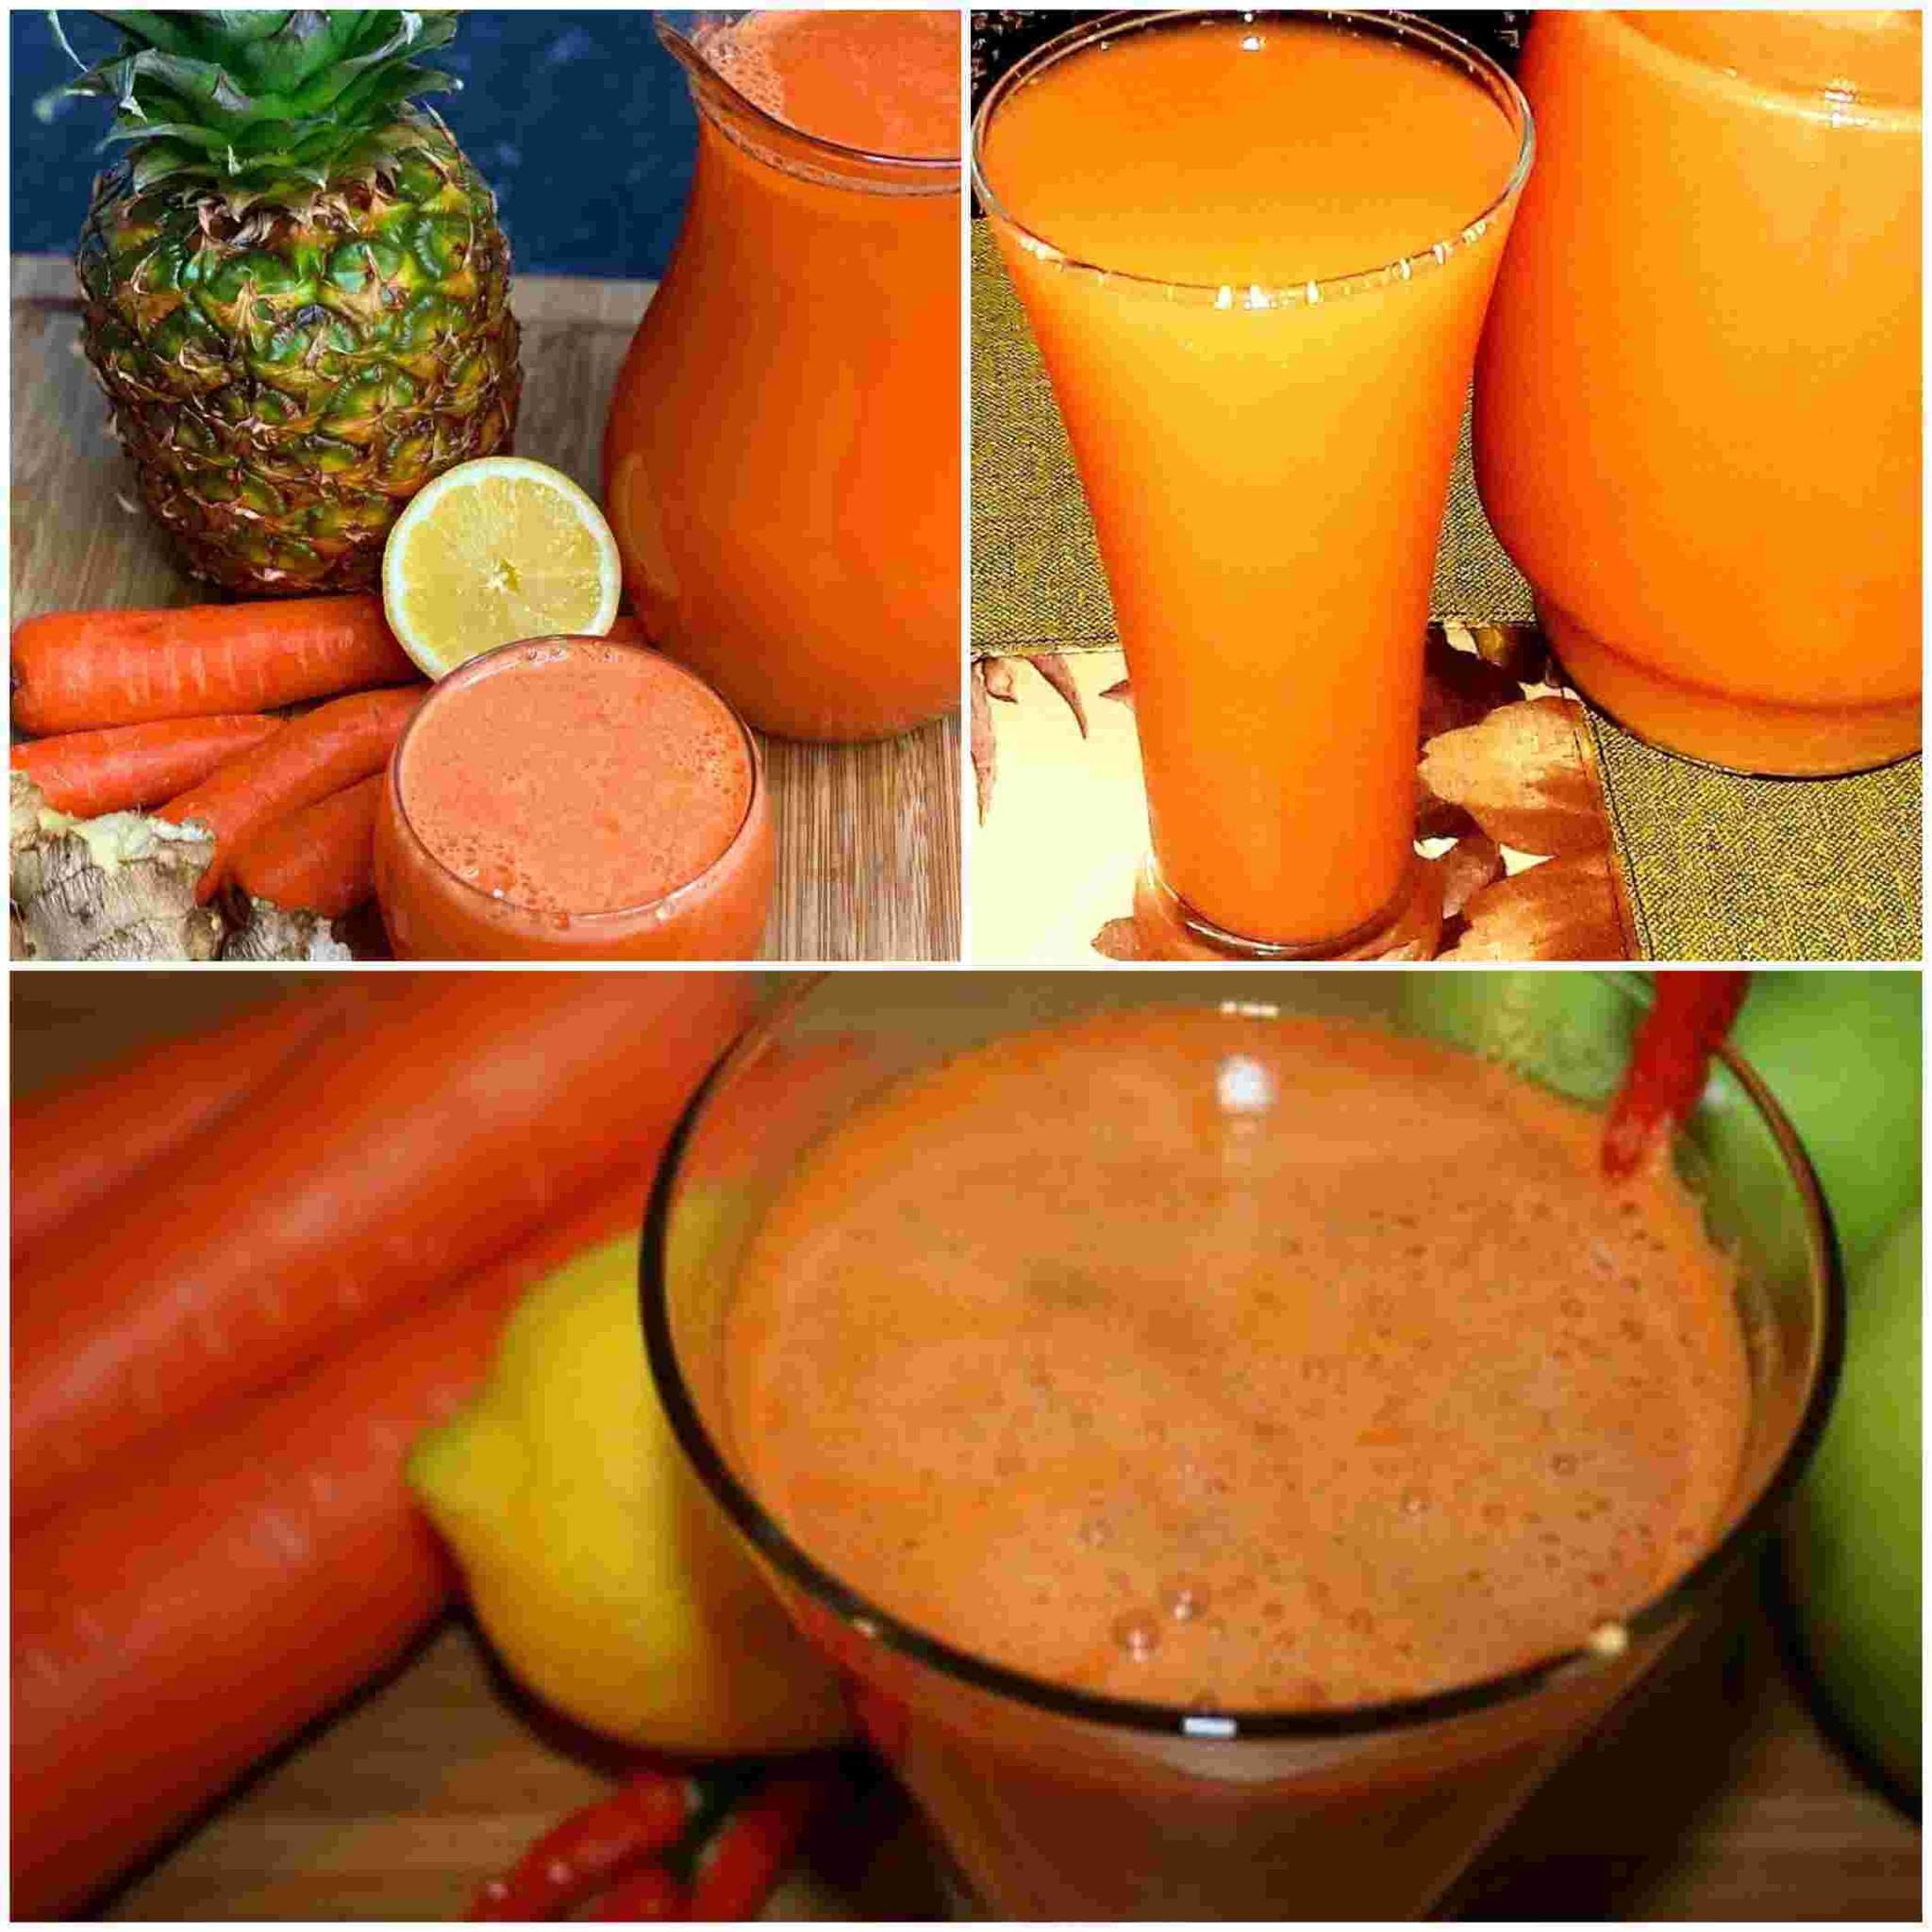
Watermelon Honey Sugar-Free 1 Ingredient Easy Recipe
Honey made from watermelon is an excellent option to consider if you are seeking for a product that is naturally sweet and pleasant. Watermelon is the only ingredient that goes into making this sugar-free syrup, which is not only simple to make but also extremely elastic in its application. You may use it as a natural sweetener for your beverages and sweets, and you can even sprinkle it on meats as a glaze. This dish is both easy to make and tasty, so let’s get started!
Components
- 1 watermelon of a big size
Details to follow
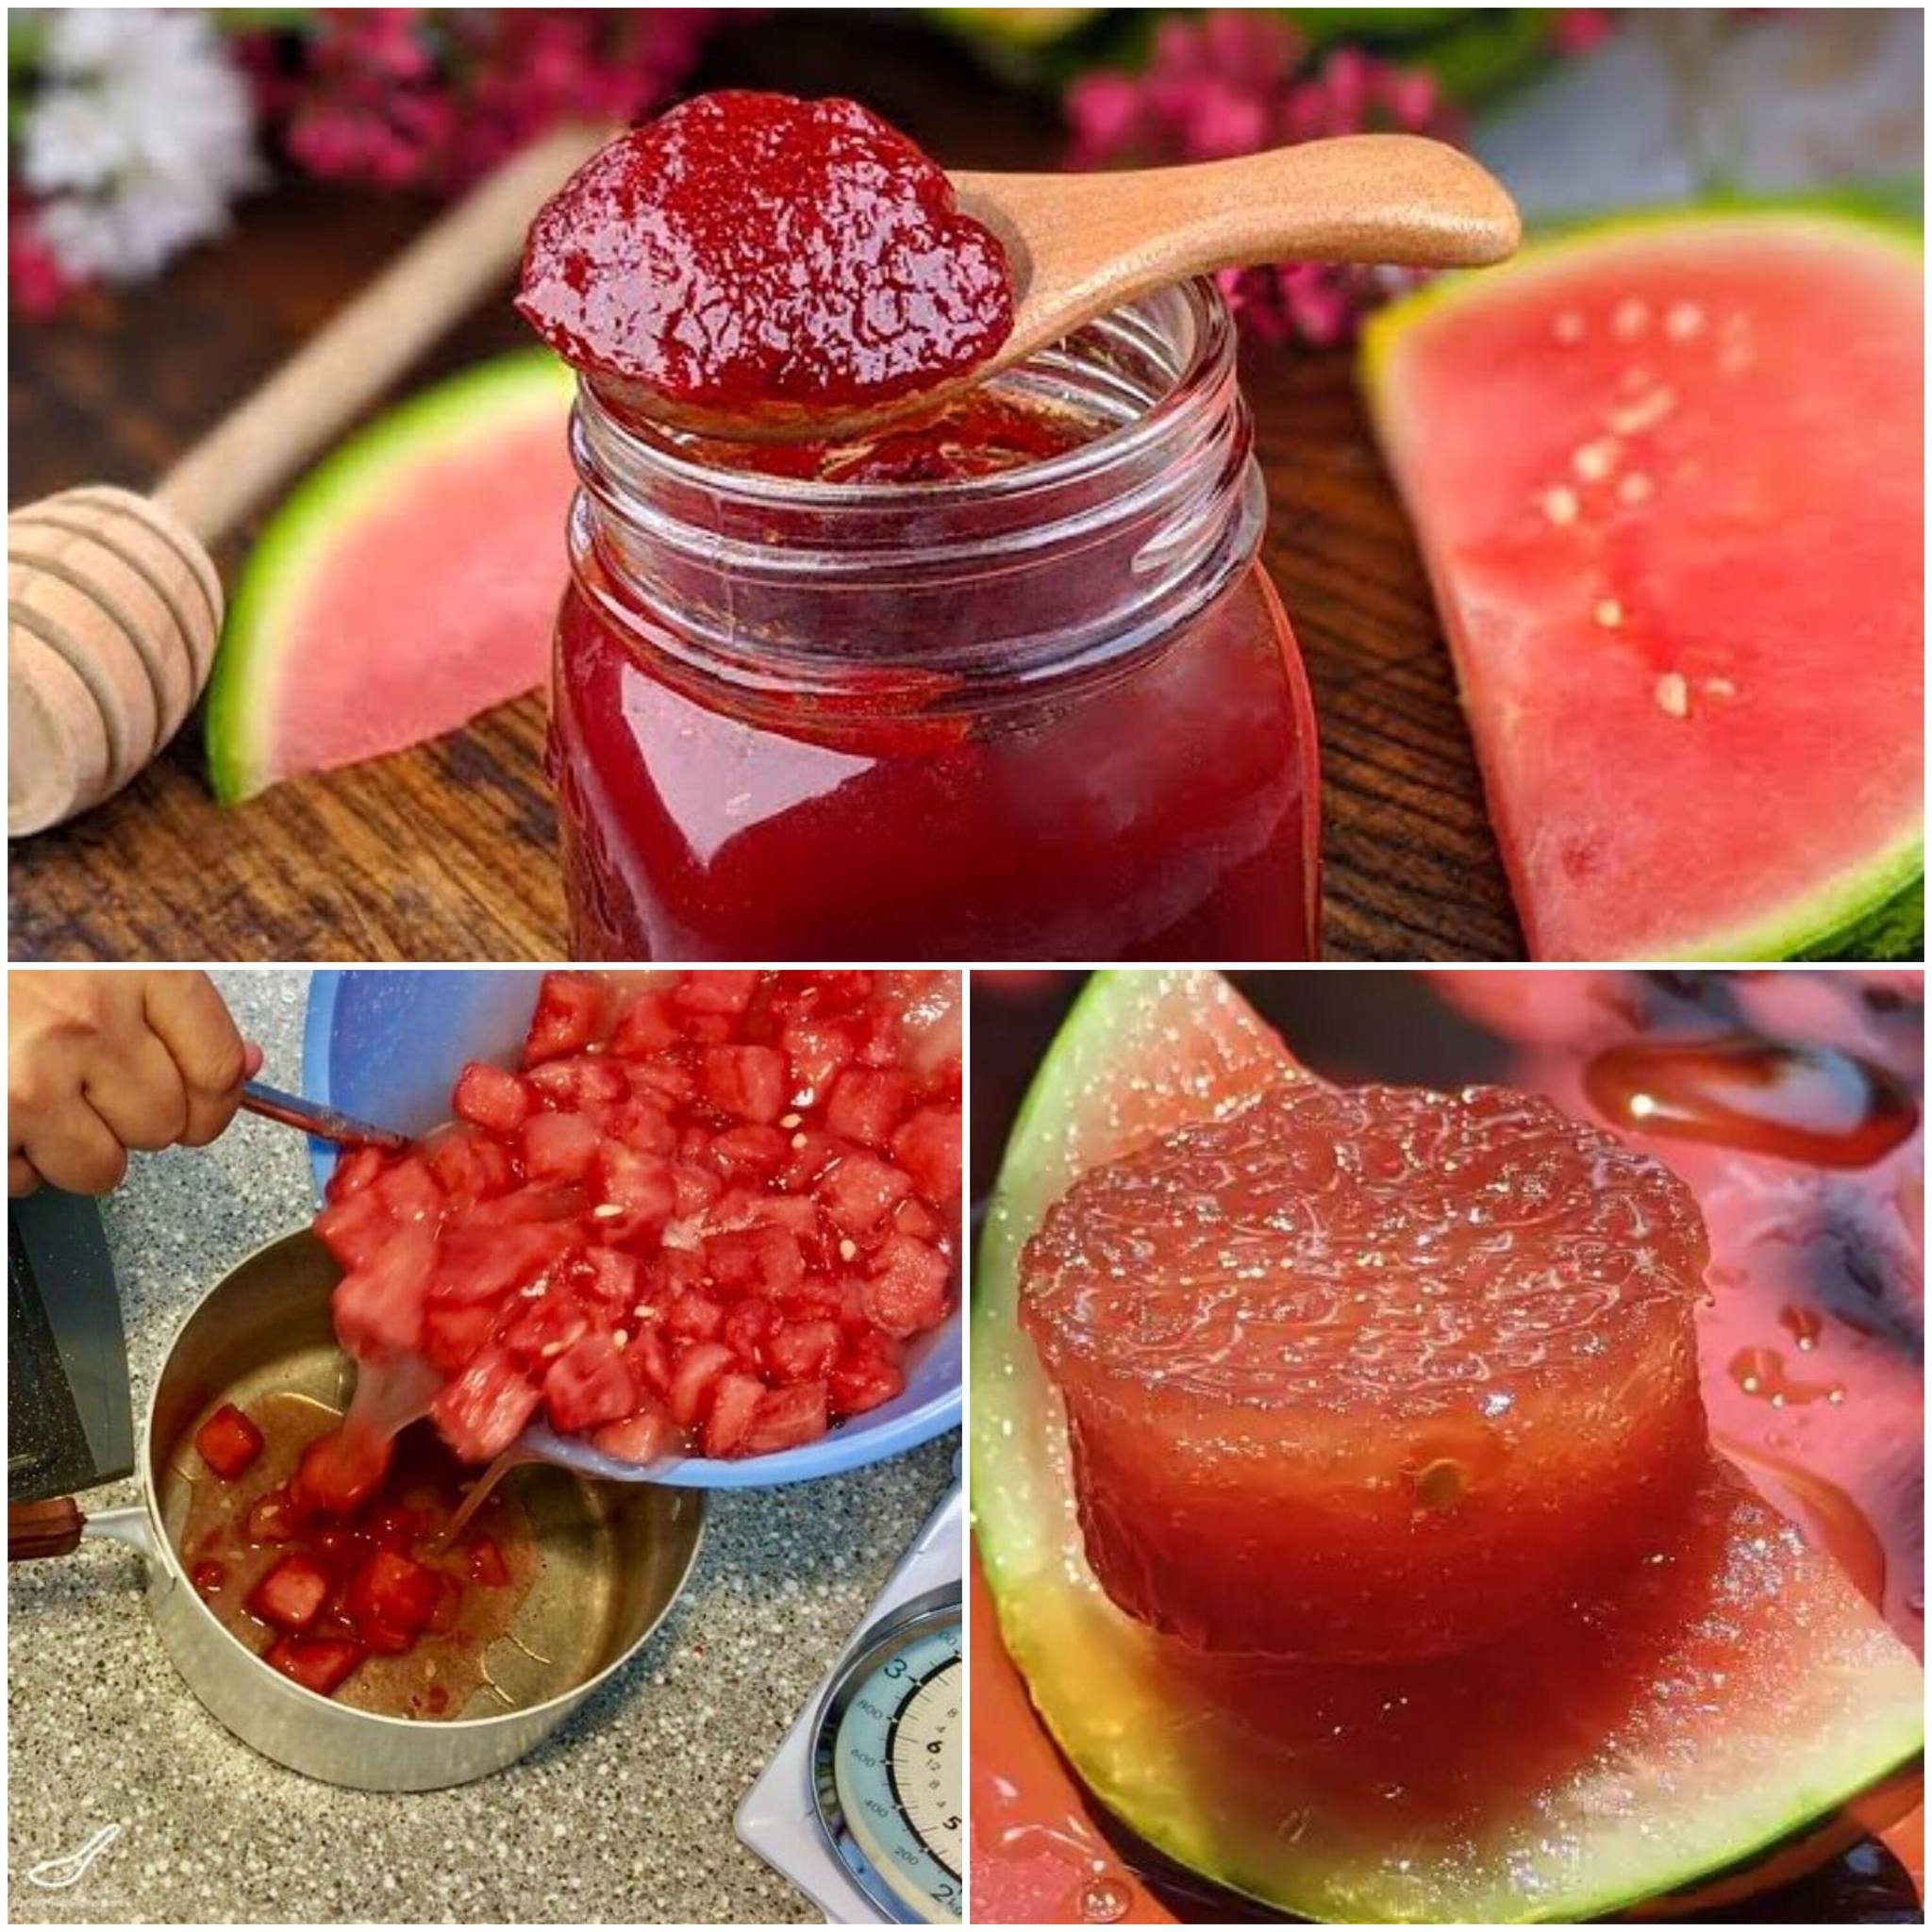
- Firstly, get the watermelon ready by:
- Cut and scoop: To begin, create huge chunks of watermelon by cutting it into pieces. The meat should be removed, and as many seeds as possible should be extracted. At the conclusion of the process, you should have a huge bowl full with watermelon chunks.
- The watermelon should be blended: The watermelon pieces should be placed in a blender or food processor in order to create a puree. Blend until you get a purée that is completely smooth. Depending on the size of your blender, you might have to complete this task in batches.
- Third, strain the juice by:
To strain the watermelon puree, pour it into a big basin or pitcher and then strain it through a cheesecloth or a strainer with a fine mesh. The juice and the pulp will be separated as a result of this. In order to extract as much juice as possible from the pulp, you should press down on it with a spoon. - Simmer the juice for a while:
- Bring to a boil: Place the watermelon juice that has been squeezed into a big pot. In a saucepan set over medium-high heat, bring the juice to a boil.
- The next step is to bring it to a boil, then decrease the heat to a low setting and let it to simmer. Simmer the juice for around two to three hours, stirring it occasionally throughout that time. The juice will become more concentrated and thicken into a syrupy consistency as it continues to boil.
5. Allow to cool and store:
- After the juice has reached a consistency similar to honey, chill it by removing it from the heat and allowing it to cool to room temperature.
- When it is time to store the honey, pour it into a jar or bottle that has been well cleaned and disinfected. It is possible to store it for up to a month if you put it in the refrigerator.
Using Watermelon Honey Sweetener in the Following Ways:
- Teas, smoothies, and lemonades may all benefit from the addition of watermelon honey as a natural sweetener.
- If you want to add a fruity flavor to your breakfast, drizzle it over some yogurt, waffles, or pancakes.
- Marinade or Glaze: A sweet and fruity taste may be added to meats such as chicken or pig by using it as a marinade or glaze during the cooking process.
Advice to Achieve the Best Possible Results
- To be consistent: The time required to make great watermelon honey is essential. If you let the juice simmer for a sufficient amount of time, you will get the most desirable thick and syrupy consistency. Using a seedless watermelon will help you save time and work during the preparation process as it does not include any seeds.
- Variations in Flavor: If you want to add more flavor to the dish, try adding a splash of lemon juice or a few mint leaves throughout the simmering period.
Final Thoughts
Honey from watermelon is a pleasant sweet that does not include any sugar, is simple to prepare, and has a wide range of applications. Producing a delectable syrup that can be used to enhance the flavor of a wide variety of foods may be accomplished with just one ingredient. If you give this straightforward recipe a shot, you will be able to experience the natural sweetness and healthiness of watermelon honey in the dishes and beverages that you like the most. Take pleasure in your new, nutritious sweetener!