Using Fig Leaves Power Treatment for Diabetes and Other Conditions

Using Fig Leaves Power Treatment for Diabetes and Other Conditions

Using Fig Leaves Power Treatment for Diabetes and Other Conditions Many civilizations have long utilised fig leaves as an all-natural treatment for diabetes and other illnesses. Fig leaves provides health benefits.

The common fig leaf is a useful tool that is sometimes disregarded in the search for natural health remedies. The leaves of the fig tree provide a variety of therapeutic qualities that are especially helpful for people with diabetes, even though the fig fruit is well known for its tasty flavour and nutritious advantages.

Health Benefits of Fig Leaves:

  • Diabetes Management: Consuming fig leaf extract may assist people with type 2 diabetes lower their blood sugar levels, according to certain research. Flavonoids, polyphenols, and soluble fibre are among the substances found in fig leaves that may help explain their hypoglycemic properties. These substances may lessen insulin resistance and increase insulin sensitivity, which would enhance blood glucose regulation.
  • Antioxidant Properties: The body uses flavonoids and phenolic chemicals, which are abundant in fig leaves, to counteract damaging free radicals. Antioxidants are essential for lowering inflammation and oxidative stress, two factors that are connected to a number of chronic illnesses, such as cancer, diabetes, and cardiovascular disease.
  • Anti-Inflammatory Effects: According to some research, fig leaves may have anti-inflammatory qualities that can help treat diseases like inflammatory bowel disease, asthma, and arthritis. Fig leaves include compounds called ficusin and bergapten, which have been investigated for possible anti-inflammatory properties.
  • Digestive Health: Dietary fibre, which is found in fig leaves, can help with digestive health by controlling bowel motions, avoiding constipation, and fostering the development of good gut flora. Furthermore, fig leaves may have modest laxative qualities that may relieve occasional constipation.
  • Regulation of Cholesterol: According to preliminary research, fig leaf extract may lower cholesterol and thereby lower the risk of heart disease. Fig leaves have the potential to support healthy cholesterol levels by regulating lipid metabolism and preventing the intestines from absorbing cholesterol.


Making Fig Leaf Tea A Straightforward Recipe

Making fig leaf tea is one of the easiest and most productive methods to use fig leaves. This can be appreciated for its health advantages alone, or it can be a great addition to a diabetes treatment regimen. Here’s how to get ready for it:

Ingredients For the Recipe:

  1. Water
  2. Fig leaves (fresh or dried)


Instructions For the Recipe:

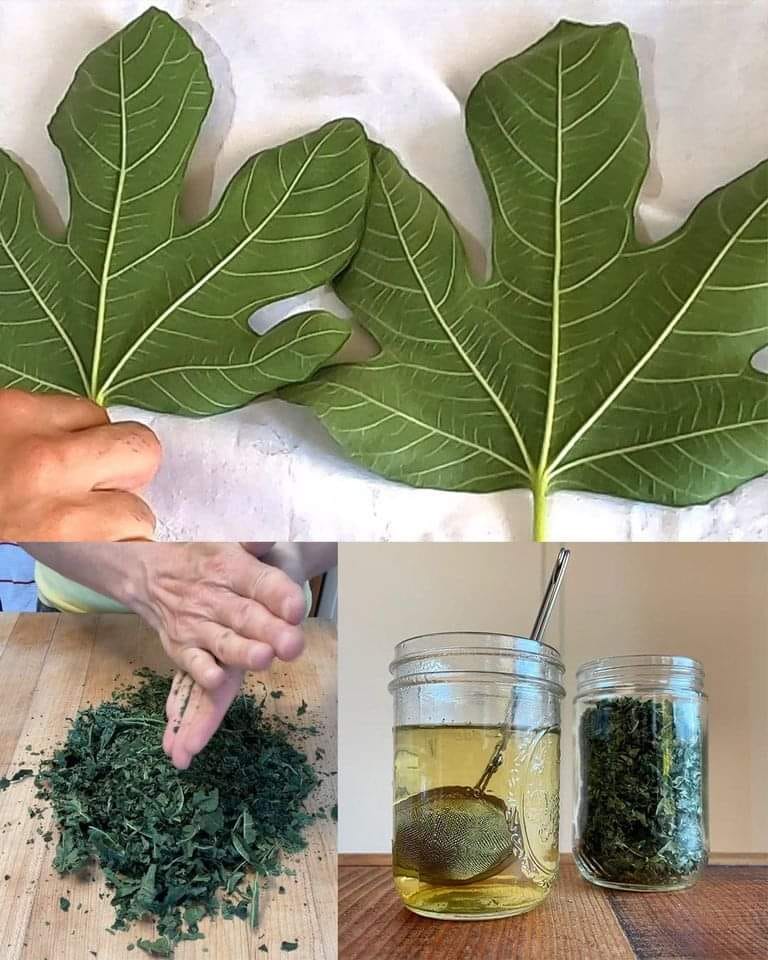
  • If the fig leaves are fresh, start by cutting them into smaller pieces. Should you be utilising dehydrated leaves, they might already be in an appropriate state for infusion.
  • For every cup of tea, measure out approximately one teaspoon of chopped fig leaves.
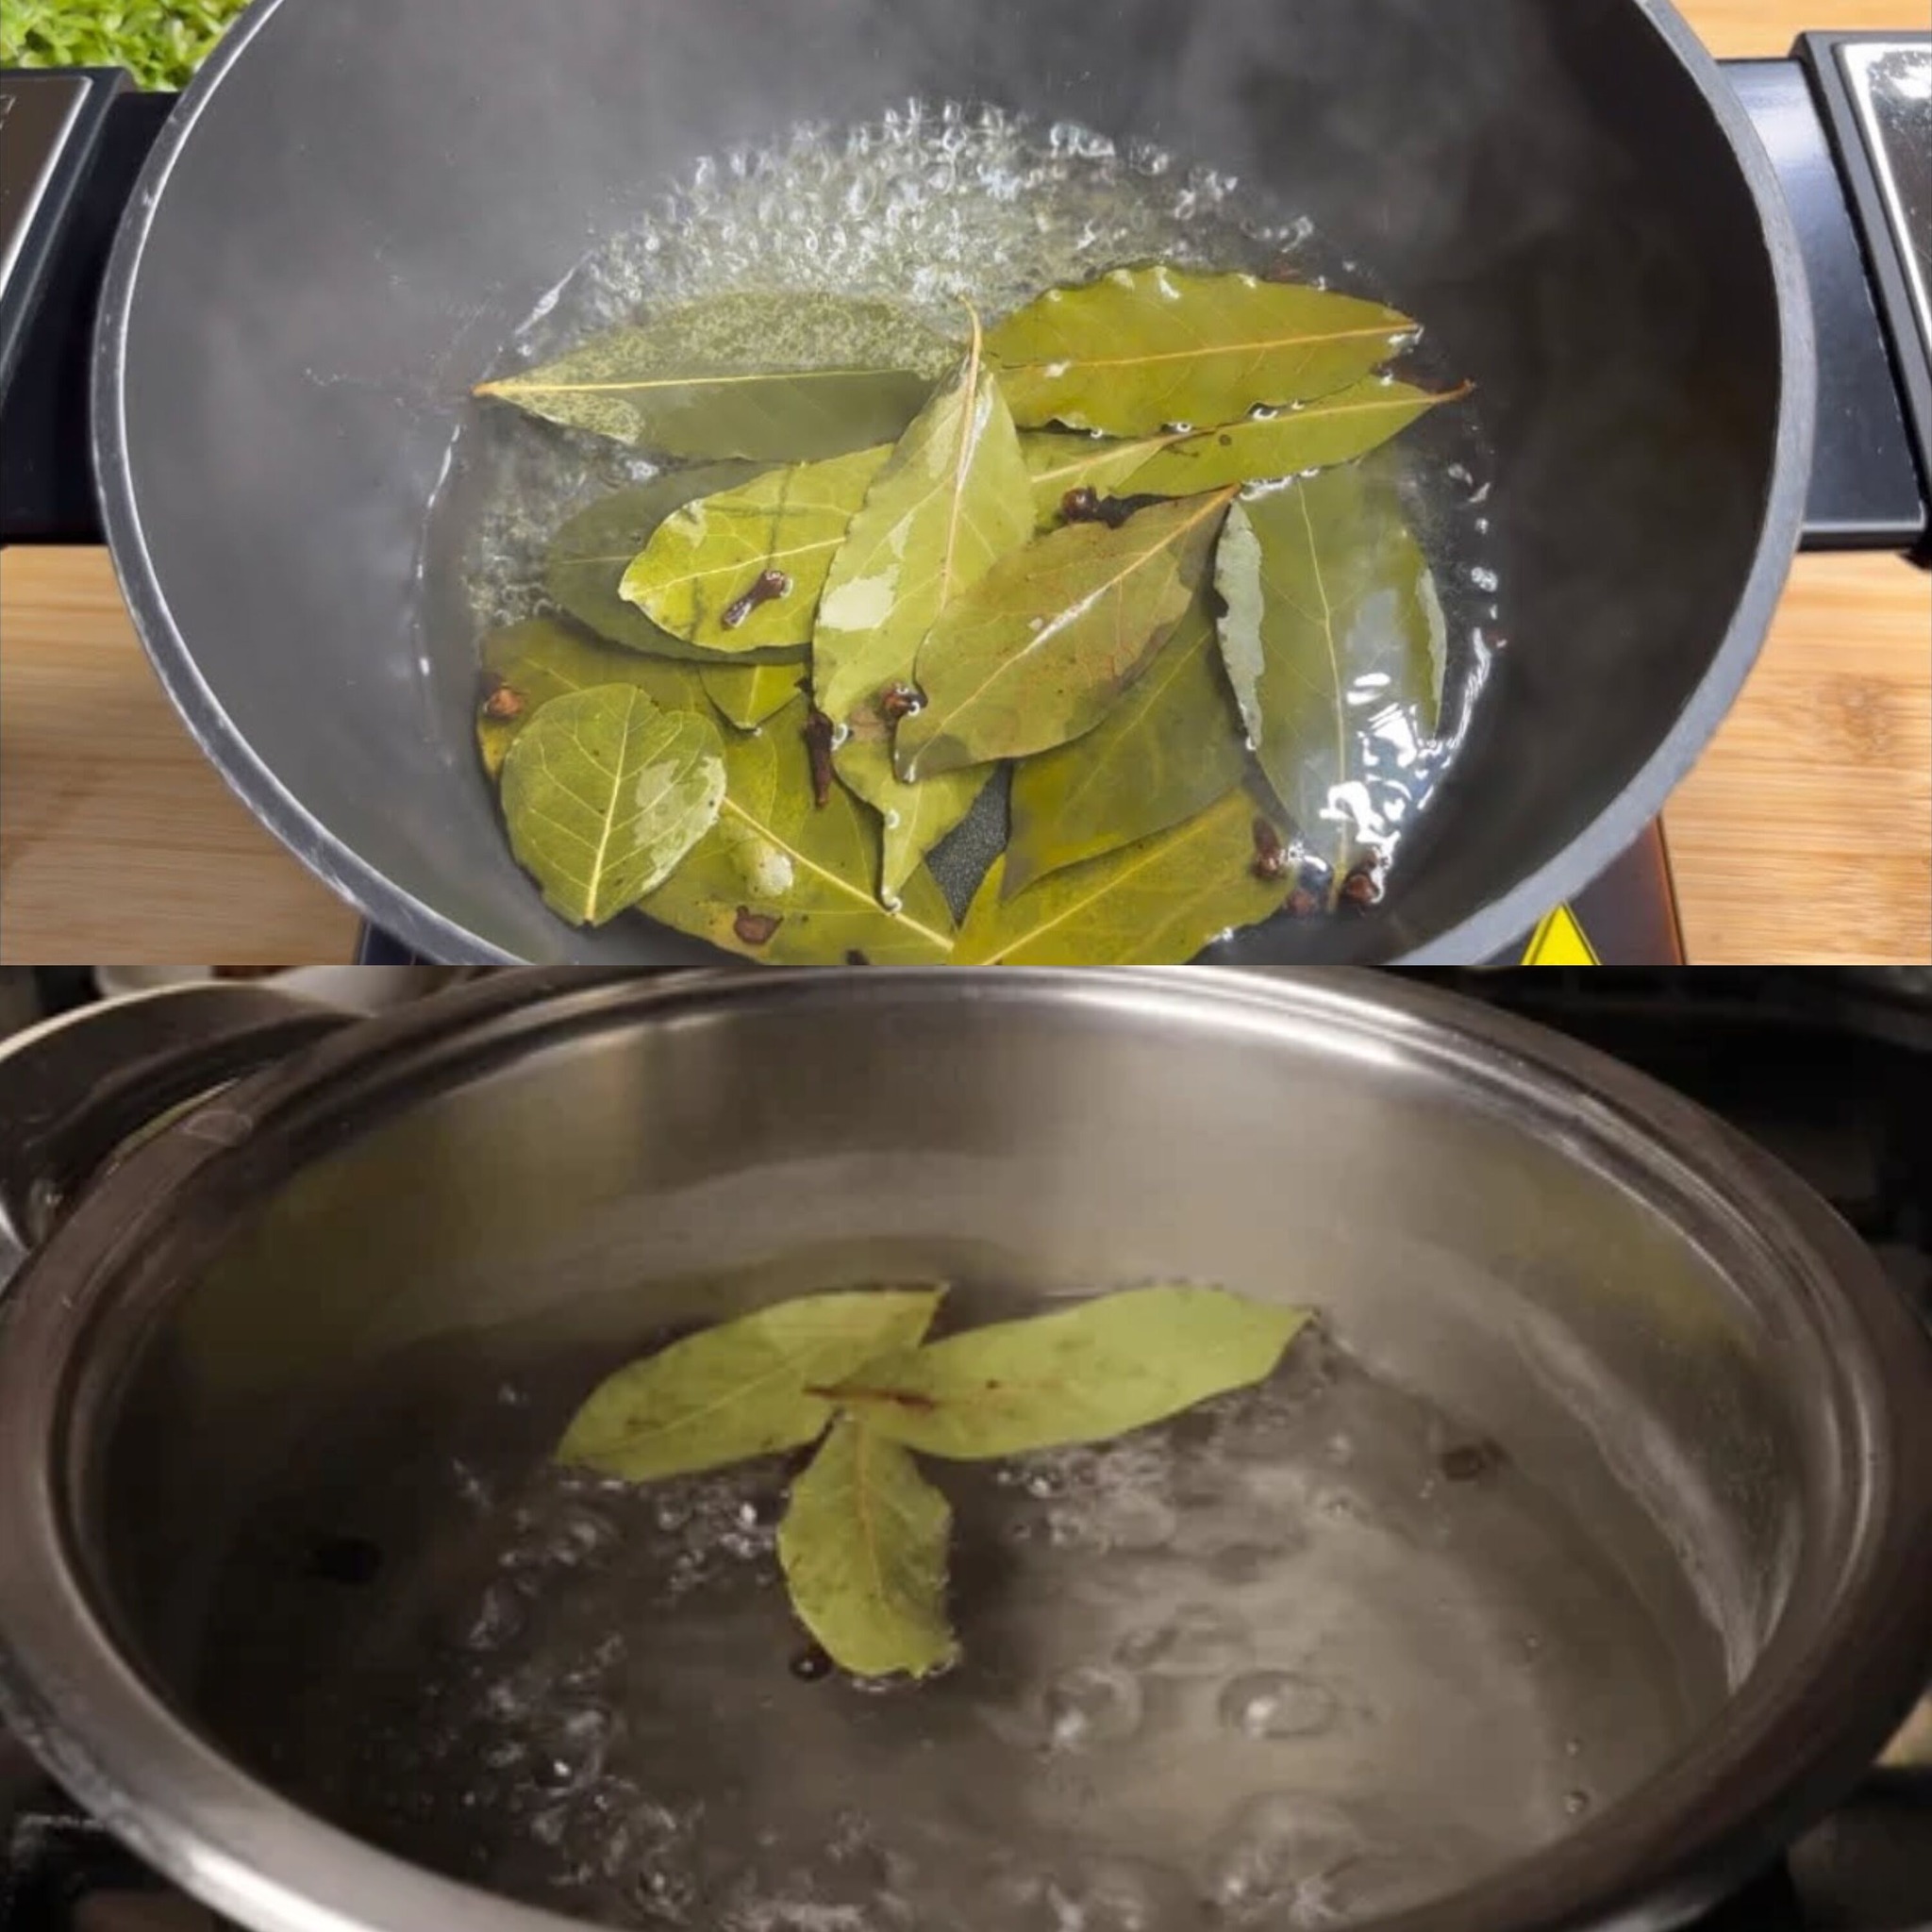
  • Place the fig leaves in a pot of boiling water. Give them a good fifteen minutes to simmer. This procedure aids in removing the advantageous substances from the leaves.
  • Once the tea has simmered, drain it to get rid of the leaf fragments.
  • Warm tea should be served. It is advised to consume one to two cups each day to help control blood sugar.

This tea is a delightful beverage to sip at any time of day because it not only lowers blood sugar levels but also has a calming impact on the body.

Security and Suggestions:

  1. Although fig leaves are typically safe to eat, it’s crucial that people with diabetes who are currently on medication or insulin therapy speak with their doctor before adding fig leaf tea to their regimen. This guarantees the balance and efficacy of their entire treatment strategy.
  2. Fig leaves are more than just a component of the delicious fruit-bearing tree. They are a veritable powerhouse of health benefits, especially for diabetics. A more natural approach to health and wellness can be adopted by include fig leaf tea in your diet. Fig leaves present a viable and adaptable solution, whether your goal is to control your blood sugar levels or just learn more about the advantages of natural therapies.
 

Revealing the Secret to Timeless Vitality

Revealing the Secret to Timeless Vitality

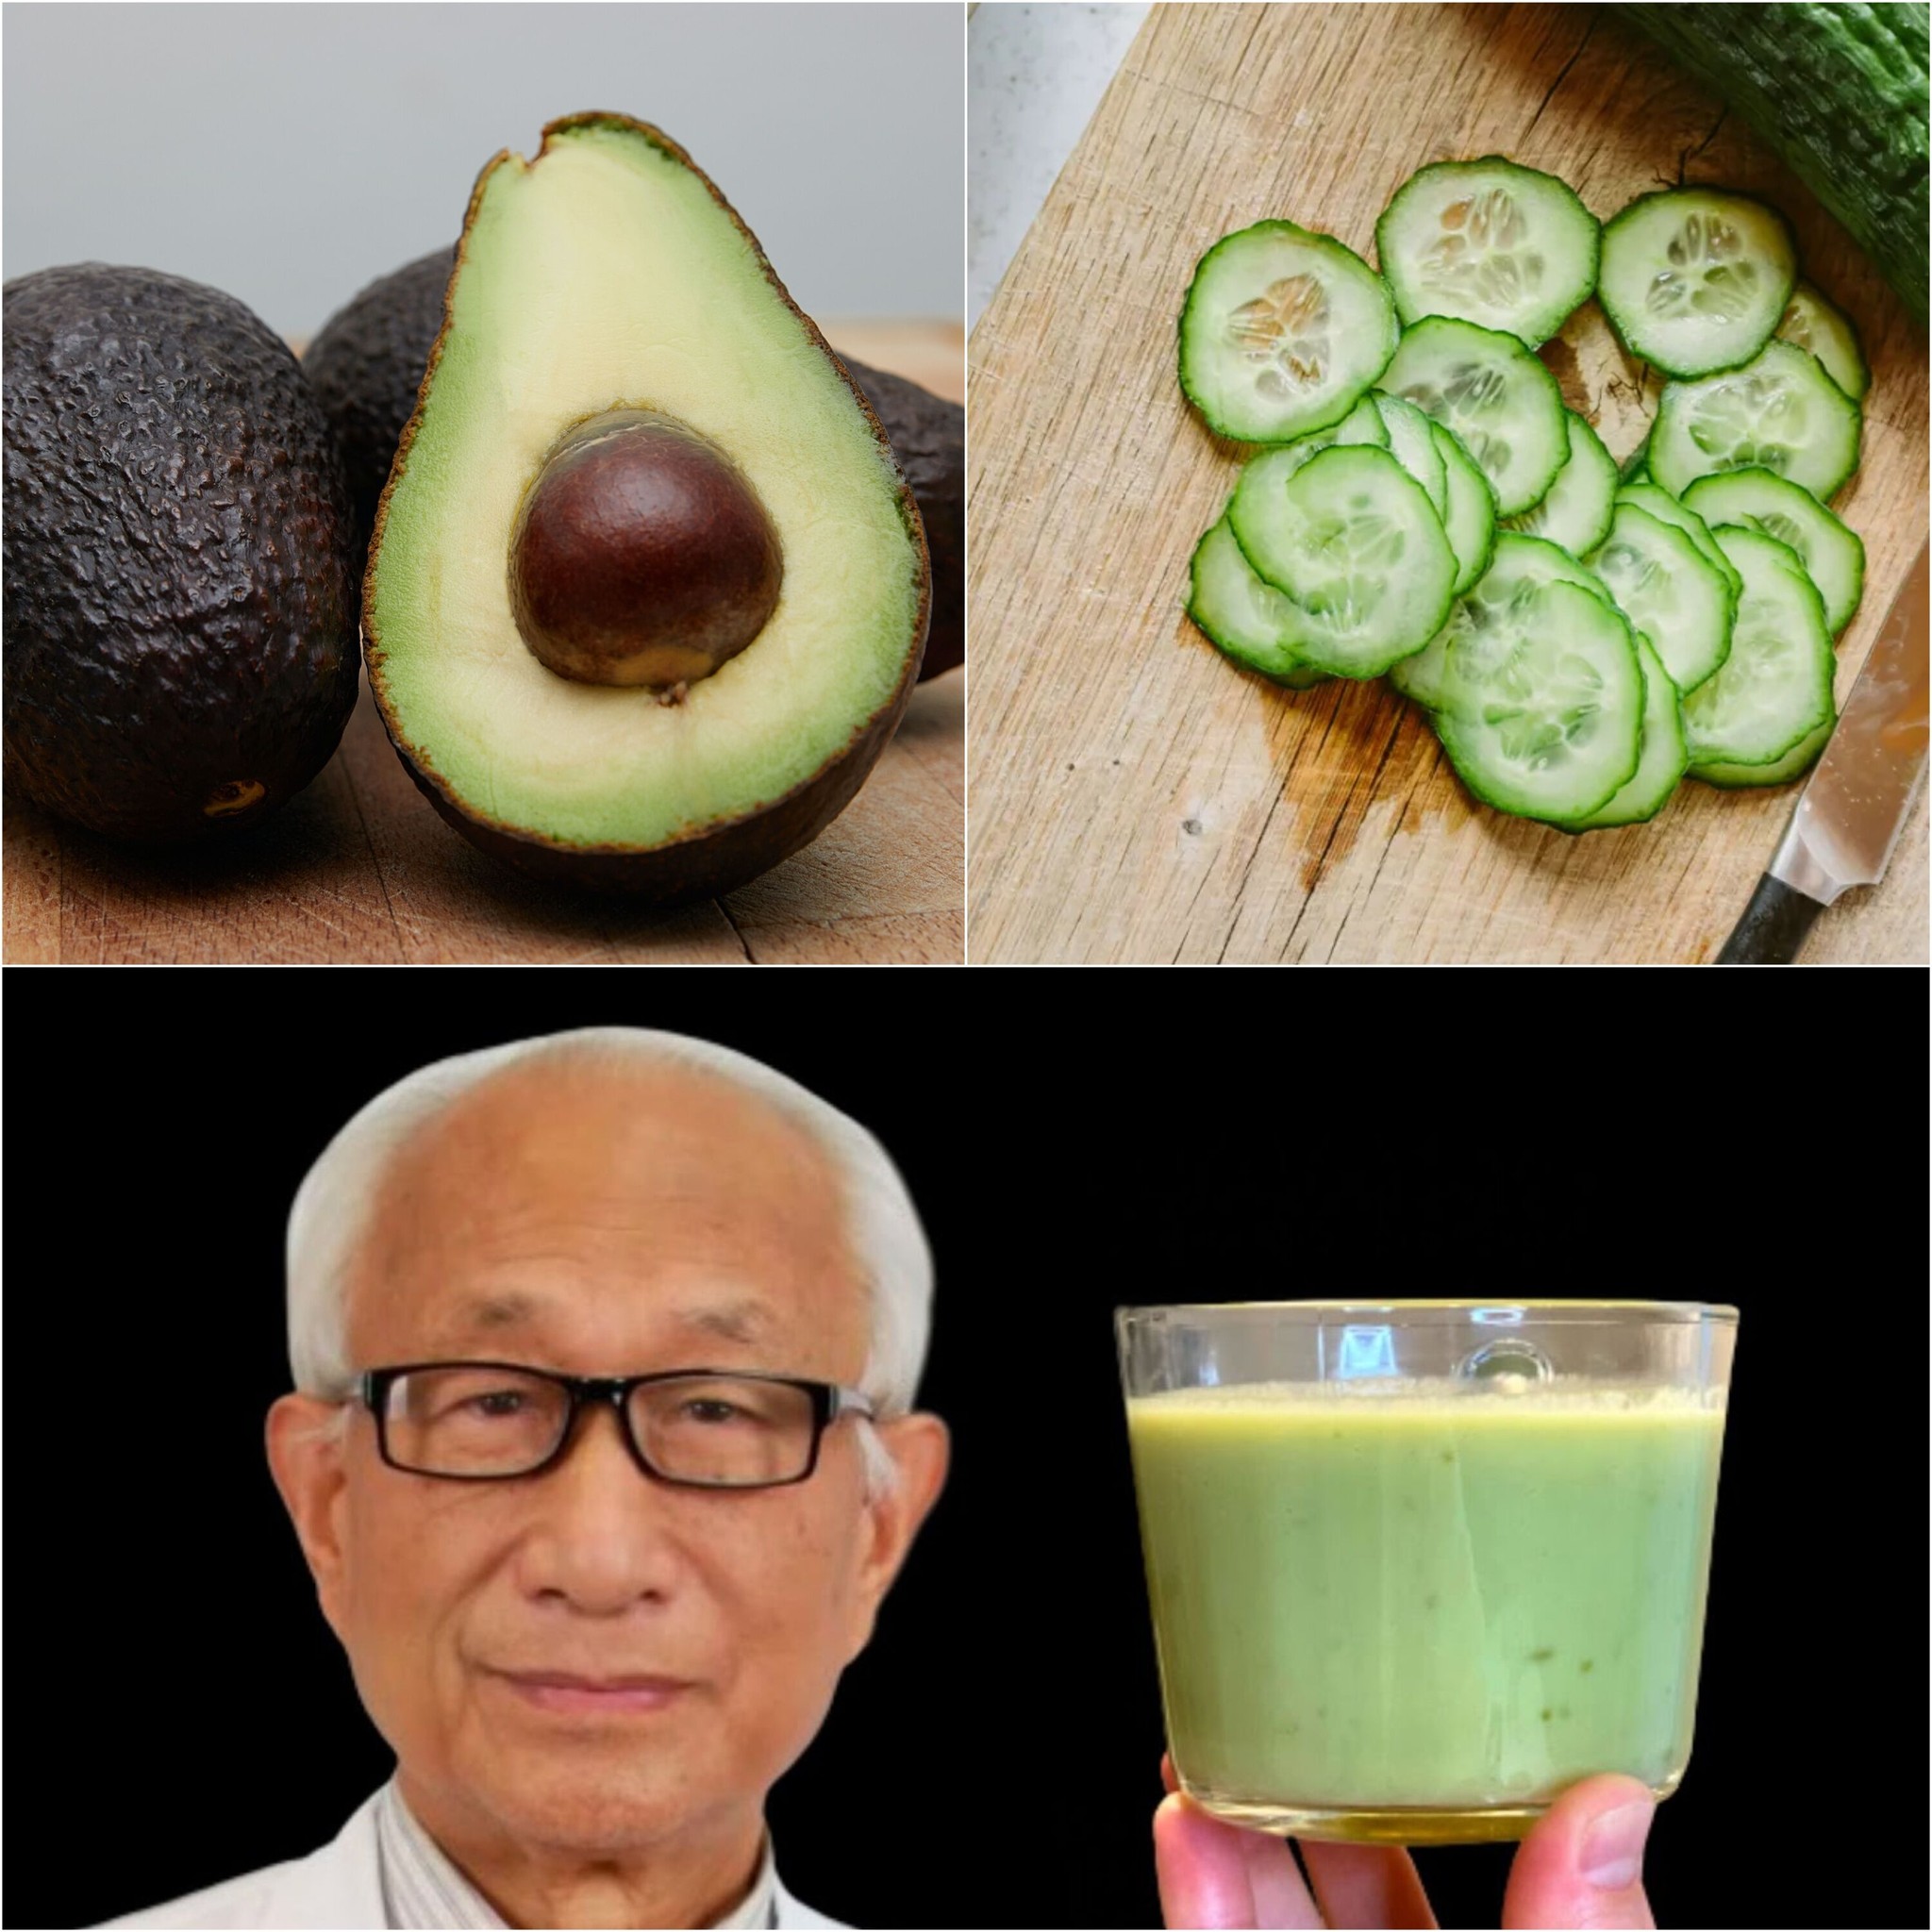
Revealing the Secret to Timeless Vitality In the flurry of activity of a kitchen full of life, something extraordinary has been passed down through the ages. This recipe has kept a 95-year-old Chinese healer vibrant and gives him the energy of a much younger person. It is stunningly simple yet incredibly effective. This narrative goes beyond simple lifespan and serves as evidence of the ability of nature’s resources to support strong health and long-lasting vitality.

A combination of foods so colourful and fresh that they vibrate with nutrition is the source of magic:

  • Crisp Cucumber: A vitamin-rich, hydrating treasure trove that helps the body eliminate impurities.
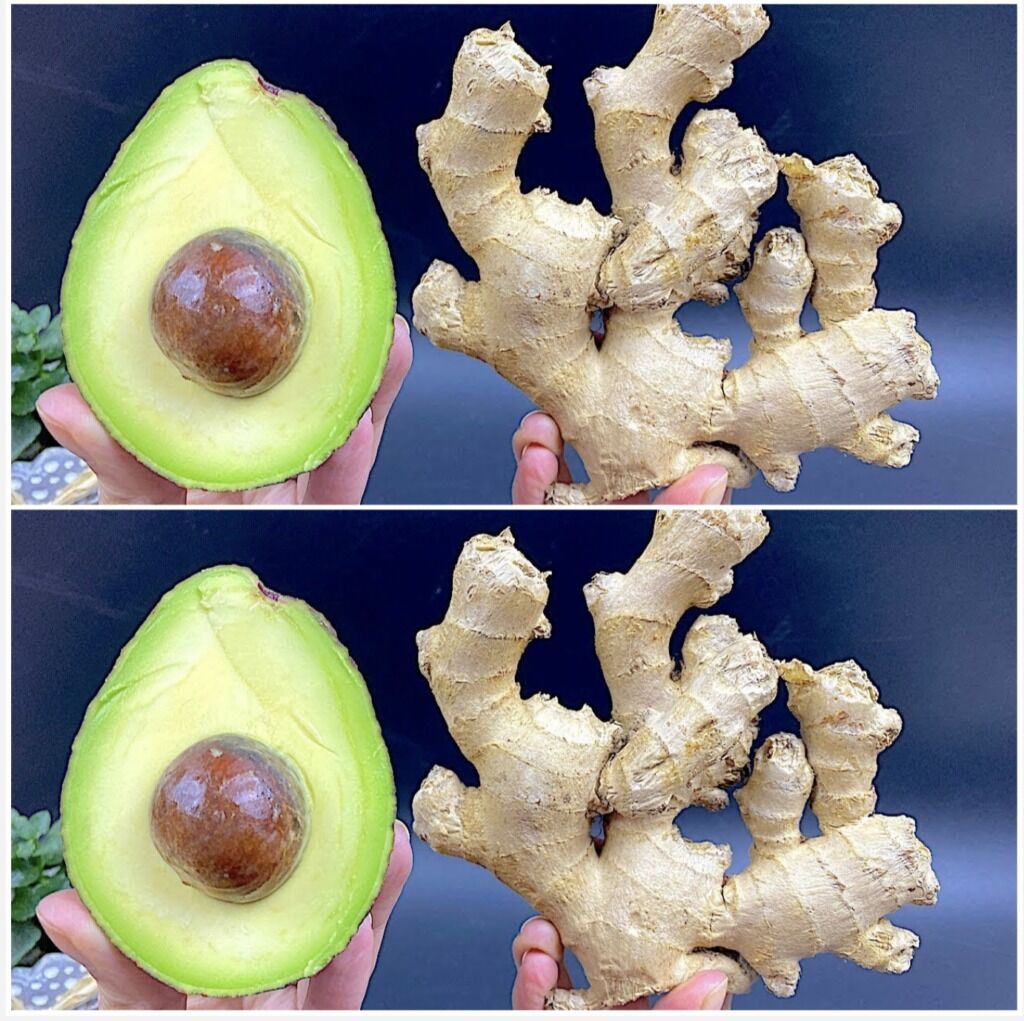
  • Creamy Avocado: Packed with heart- and digestive-healthy fats that are similar to nature’s butter, avocados help absorb vital nutrients.
  • Tangy Green Apple: Rich in nutritional fibre and antioxidants, this fruit aids in digestion and controls blood sugar.
  • Spicy ginger: Warm and strong, it reduces inflammation, calms the digestive tract, and speeds up metabolism.
  • Zesty Lemon Juice: Packed with vitamin C, it strengthens the immune system and cleanses the liver.
  • Pure Water: The life-giving liquid that ensures a smooth mixing experience while providing hydration and supporting the body’s natural detoxifying processes.

Making the Remedy:

These components are carefully combined to make a smooth beverage that goes beyond simple refreshment to become a daily ritual for rejuvenation—this elixir of youth. Every drink not only satisfies thirst but also replenishes the body with enzymes, vitamins, and minerals, supporting the important processes of the intestines and liver.

Age-Old Wisdom:

This meal is unique not only because of its nutritious value but also because of the deep knowledge it contains. It reminds us that food is medicine, a means of reviving and healing, in addition to being a source of nourishment. In a world full with artificial cures and fast fixes, this age-old formula serves as a reminder of the long-lasting power of natural therapies.

Every Day Is Wellness Celebration:

Including this elixir in your daily routine shows that you are dedicated to providing your body with the best that nature has to offer. Here’s to health, vitality, and the happiness that comes from realising that sometimes the simplicity of a glass full of nature’s abundance holds the secret to youthful exuberance and bright health. Cheers to a life well-lived, when every drink is a step towards enduring health and wellbeing. Let’s toast to life!

How to Cure Hair Loss

how to cure hair loss recipe

How to Cure Hair Loss Some natural hair growth techniques that may help you regrow hair include massaging your scalp, applying essential oils and following general advice. lets follow the important things;

Determine the Fundamental Cause:

Genetics, hormonal fluctuations, illnesses (such as alopecia or thyroid problems), stress, inadequate diet, or specific drugs can all contribute to hair loss. Selecting the right course of action might be aided by knowing the underlying cause.

  • Keep Up a good Diet: For good hair development, a diet high in vitamins, minerals, and proteins should be balanced. Consume a diet rich in leafy greens, fruits, vegetables, nuts, and seeds, as well as lean proteins. If you have deficiencies, you might want to think about taking supplements, but first speak with a healthcare provider.
  • Develop Healthy Hair Care Routines: Steer clear of strong hair treatments and overstyling, as these might harm your hair and scalp. Apply gentle conditioners and shampoos based on the type of hair you have. When brushing or combing your hair, use delicate strokes; do not pull or tug.
  • Control Stress: Prolonged stress has been linked to hair loss. Engage in stress-relieving activities like yoga, meditation, deep breathing, or taking up a hobby you enjoy.
  • Seek Medical Advice: Speak with a dermatologist or other healthcare provider if your hair loss is significant or ongoing. They can assist in making an accurate diagnosis of any underlying illnesses and suggest the best course of action, which may involve surgeries like hair transplants or drugs like finasteride or minoxidil.
  • Think About Natural Treatments: Certain natural treatments might aid in reducing hair loss or promoting hair growth. These include of massaging the scalp, applying natural hair masks prepared from components like aloe vera, coconut oil, or onion juice, or diffusing essential oils like peppermint or rosemary.

Note:

Keep in mind that every person will see different results, and that any treatment plan for hair loss must be patient and constant. Seeking guidance unique to your circumstances is best left to the advise of a healthcare practitioner.

FURTHER MORE; Methods for creating POWERFUL ORGANIC HAIR OIL:

Making your own potent, organic hair oil at home may be a gratifying and enjoyable endeavour. Here is a simple recipe to get you going:

Components:

  1. Carrier Oils: You can use coconut oil, argan oil, jojoba oil, sweet almond oil, or olive oil as one or more carrier oils. Your hair gets its foundation and sustenance from these oils.
  2. Essential Oils: Choose essential oils that are recognised for their ability to nourish and strengthen hair. Tea tree oil, cedarwood oil, peppermint oil, lavender oil, and rosemary oil are a few examples.
  3. Optional Additions: For even more advantages, you can include more components like vitamin E oil, aloe vera gel, or extracts like nettle or rosehip.

Guidelines:

  1. Depending on your tastes and hair type, decide what ratios of carrier oils to use. For instance, you might want to use more hydrating oils, such coconut or argan oil, if your hair is dry.
  2. In a jar or bottle with a clean glass exterior, combine the carrier oils. Starting with equal portions of each oil, you can vary the amount to suit the needs of your hair.
  3. Drops of each selected essential oil should be added to the carrier oil combination. Start with a tiny quantity and taste and modify the strength and aroma to suit your needs.
  4. For added nourishment, feel free to add any optional ingredients, such as aloe vera gel or vitamin E oil.
  5. Tightly seal the bottle or jar and give it a good shake to combine all ingredients thoroughly.
  6. To maintain its potency, keep the hair oil out of direct sunlight and store it somewhere cold and dark.
  7. Make sure the oils are thoroughly mixed in the bottle by gently shaking it before each use.
  8. Apply by transferring a tiny quantity of the oil onto your palms and rubbing it into your hair and scalp. For deep conditioning, let it on for at least 30 minutes or overnight, and then shampoo and rinse as normal.
  9. Prior to utilising any new oils or substances, always perform a patch test, particularly if you have sensitive skin or allergies. Savour the potent organic homemade hair oil!


Discover the Potent Goodness of the Verdant Elixir Smoothie

Discover the Potent Goodness of the “Verdant Elixir” Smoothie!

Discover the Potent Goodness of the Verdant Elixir Smoothie As we strive for a healthy lifestyle, we frequently investigate natural remedies to improve our health. Today, we’ll discuss the remarkable advantages of a revitalising and nutrient-rich smoothie – the “Verdant Elixir” – with a potency 150 times stronger than the combination of garlic and lemon! This simple mixture not only pleases the palate but also does wonders for bolstering immunity and general health.

Pomegranate Potential

The pomegranate, a plant known for its medicinal properties, is the most notable component in our “Verdant Elixir.” Pomegranate acts as a natural disinfectant, effectively clearing the body of bacteria and fungus. It boosts your immune system and works well to avoid common illnesses like coughs and runny noses. But it’s important to be aware of allergies and contraindications. Before adding new ingredients to your diet, always consult your physician.

Avocado Enhancement

A ripe avocado, a fruit that is not only delicious but also good for heart health, is used in our recipe. Avocados are recognised for their ability to lower bad cholesterol and increase good cholesterol levels in the body.

To create this health elixir, gather the following ingredients:

  • 200 millilitres of water
  • Juice from one-half lemon
  • A couple of handfuls of spinach
  • One tsp of ginger
  • One tablespoon of oats
  • One teaspoon of honey is optional; if you have any allergies, proceed with caution.

How to Make “Verdant Elixir”:

  1. In a blender, combine avocado, water, oats, ginger, spinach and lemon juice.
  2. Add a spoonful of honey, if desired, to make it sweeter.
  3. When the mixture is smooth, your “Verdant Elixir” is ready to drink!
  4. Do not forget to see your physician, particularly if you have any allergies or other health issues.
Plum Superiority:
The plum is another nutrient-dense contribution to our wellness quest. Plums are full of fibre, fruit acids, and a variety of vital vitamins and minerals. They are also a delicious way to support your health.
Plum Excellence Recipe:
Rinse the plums well, then cut out the pits.
Plums, 200 ml water, lemon juice, mint leaves, and honey should all be combined in a blender.

If the mixture has a velvety consistency, strain it through gauze.

Last Word of Advice:

Watch out for allergies and sensitivities as you set out on your path to become a healthier version of yourself. Before making any big dietary changes, put your health first by speaking with your doctor.

How to prepare ginger water for weight loss?

How to prepare ginger water for weight loss?

What You Need:
5 spoonfuls of freshly grated ginger (about 50 g)
Juice from 2 lemons
6 cups of water (1.5 liters)
Preparation Steps:
Bring the water to a boil, then add the grated ginger.
Allow the mixture to infuse for 1-2 minutes before removing it from the heat.
Let it rest for about 10 minutes, then strain.
Stir in the fresh lemon juice.
For optimal results, drink this on an empty stomach. Consistency is key, so enjoy this detoxifying beverage daily. Remember, the changes won’t be instant but will manifest over time. Patience and persistence are your allies in achieving lasting health benefits.
When to Drink:
Ideally, consume this drink first thing in the morning. However, if it suits your lifestyle better, feel free to carry it in a thermos and sip throughout the day. There’s no limit to how much you can drink.
The Power Duo: Ginger and Lemon
Ginger: Originating from Asia, ginger has been a staple in cooking and medicine for over 5,000 years. Known in the West for its health benefits, ginger is celebrated for its aphrodisiac, anti-emetic, and weight loss properties.
Lemon: Revered as the fruit of the Sun, lemon thrives in warm regions like India, the Middle East, and the Iberian Peninsula. Beyond its high vitamin C and B9 (folic acid) content, lemon is rich in essential nutrients like phosphorus, calcium, magnesium, and potassium. It also boasts natural antioxidants, including polyphenols.
Combining Ginger and Lemon:
When ginger and lemon come together, they create a synergistic blend that amplifies the individual benefits of each. This combination is more than just a culinary delight; it’s a health-boosting powerhouse.
I love you all💕💕

Breathing Fresh Life into Pest Control

Breathing Fresh Life into Pest Control: Embracing Natural Approaches

Imagine living in a peaceful house where there are no cockroaches to disturb, no mosquito bites to sting, and no continuous buzzing of flies. It’s a lovely picture, and realising this calm situation could be around the corner. Let’s look at some eco-friendly ways to ward off these unwanted visitors and maintain the cosiness and comfort of your living area.

Essential Oils

Nature’s Aromatic Guardians: Essential oils are effective insect repellents in addition to providing a pleasant aroma. For instance, lavender oil, which is well known for its relaxing effects, naturally repels flies and mosquitoes. In a similar vein, peppermint and eucalyptus oils work well to repel a variety of insects. To keep your home fresh and pest-free, just combine a few drops with water in a spray bottle and spritz around the house. This is a natural, chemical-free solution.

Herbs and Plants

Your Protectors in Green: You may be surprised to learn that some plants can repel pests. Using plants like marigolds, basil, or lemongrass can be a healthy and efficient way to keep flies and mosquitoes away. These plants add a touch of greenery and freshness to your home and contain natural oils and chemicals that insects find distasteful.

DIY Repellents

Handmade and Useful: You may make easy-to-make repellents that work well even with basic household components. For example, you can attract and catch flies with a mixture of apple cider vinegar and a few drops of dish soap. Boric acid can be sprayed in cockroach-prone regions to discourage the pests, but it must be kept out of children’s and dogs’ reach.

In conclusion, adopting natural methods of insect repellent helps you to create a healthier and more sustainable living space in addition to a pest-free environment. In place of harmful chemicals, essential oils, herbs, and homemade repellents provide an effective alternative that lets you enjoy the peace and quiet of your home without sacrificing the environment or your health. You’ll notice that a small effort put into employing these environmentally friendly techniques may have a big and positive impact on the comfort and tranquilly of your living area as you take in the clean, pest-free air. Thus, make a move in the direction of a cleaner, greener home and enjoy the happiness and tranquilly that follows.

A Simple and Delightful Carrot Milk Recipe

A Simple and Delightful Carrot Milk Recipe

A Simple and Delightful Carrot Milk Recipe Overview This recipe for carrot milk is ideal if you’re searching for a warm, soothing beverage that’s nutrient-rich and simple to prepare. It’s a delicious way to savour the sweetness of carrots in their natural state when combined with smooth milk. Let’s get started with this easy meal that takes only five minutes to prepare.

Ingredients:

  1. Two big carrots, finely shredded after peeling
  2. Four cups of milk (for creaminess, whole milk is ideal)
  3. Two teaspoons of honey or sugar (optional; taste and adjust accordingly)
  4. A pinch of ground cardamom or cinnamon for extra flavour (optional)

Directions:

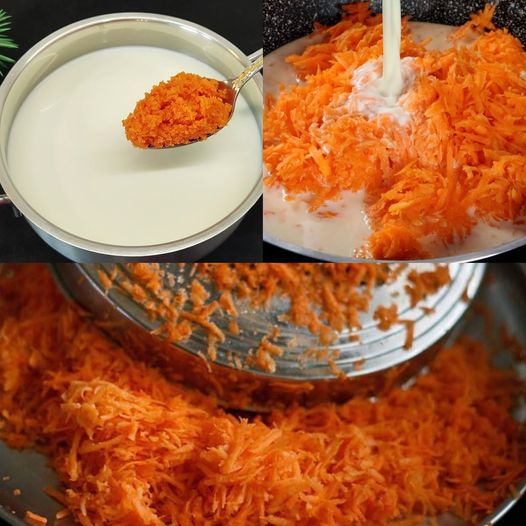
  1. Peel and finely grate the carrots as the first step in preparing them. They will cook more quickly and mix in with the milk more easily as a result.
  2. Boil the Milk: Heat the milk to a gentle boil in a medium-sized pot. As the milk heats up, watch it closely to make sure it doesn’t boil over.
  3. When the milk reaches a boiling point, stir in the grated carrots. After lowering the heat to medium-low, simmer the mixture for three to four minutes. Stir occasionally to make sure the milk and carrots are thoroughly combined.
  4. Taste Your Drink: This is the time to add sugar or honey if you like a little sweetness. A dash of cardamom or cinnamon can also wonderfully intensify the flavour. Stir.
  5. Serve Warm: Your carrot milk is ready to be savoured once the carrots have softened and the milk has taken on a beautiful orange hue. Transfer into your preferred cup and savour it warm.

Advantages for Health This carrot milk recipe isn’t just tasty; it’s also a healthy choice. Carrots are rich in beta-carotene, which is excellent for vision. Milk, on the other hand, provides calcium and vitamin D, essential for maintaining strong bones. Together, they make a nutritious combination that’s both satisfying and beneficial.

In summary This recipe for carrot milk is a great example of how basic ingredients can be turned into a delectable beverage. Whether you’re settling down with a book or need something warm before bed, this carrot milk is a fantastic choice. Enjoy the creamy richness of this simple and quick dessert by giving it a try today.


Health Benefits of Cucumber and Lemon

Health Benefits of Cucumber and Lemon

Discovering the Health Benefits of Cucumber and Lemon  A Refreshing and Nutritious Pair First of all, When it comes to culinary delights and natural treatments, cucumber and lemon make a refreshing and adaptable combo. Cucumber with lemon has several health benefits, including boosting digestion, improving flavour, and encouraging hydration. For these reasons, those who are concerned about their health often choose for it.

Let’s examine the many applications for this dynamic pair and the reasons they should be a part of your everyday routine.

Recipe By: thegreenlife

How to Make Refreshing Cucumber and Lemon Juice:

  1. Squeeze one lemon juice.
  2. Three medium cucumbers (peel of the skin) cut in thin slices.
  3. Three cups of water.
  4. 7 tbsp of sugar (or as needed)
  5. Blend until smooth
  6. Strain the Juice.
  7. Enjoy the taste.

Refreshment and Hydration Benefits of Cucumber and Lemon:

  • Hydrating Properties: Because cucumbers are mostly made of water, they are a very hydrating food. Cucumber and lemon water together make a tasty and revitalising drink that helps slake your thirst and keep you hydrated all day. The lemon provides a zesty freshness to the drink.
  • Electrolyte Balance: Electrolytes, such as potassium, are found in lemons and are necessary for the body to maintain the right fluid balance. Cucumber slices improve the hydration qualities of lemon water and help to restore electrolytes lost through perspiration or other activity.


Aid for Digestion Benefits of Cucumber and Lemon:

  • Encourages Digestion: The high fibre content of cucumbers and lemons facilitates regularity and helps with digestion. Cucumber and lemon water stimulates the digestive tract, relieves constipation, and lessens gas and bloating.
  • Alkalising impact: When metabolised, lemons have an alkalising impact on the body despite their acidic nature. This can promote general digestive health and help the body’s pH levels remain balanced.


Enhancement of Flavour of Cucumber and Lemon :

  • Refreshing Taste: The bright, acidic zest of the lemon combined with the mellow, cooling flavour of the cucumber makes for a revitalising and refreshing flavour. Cucumber slices give lemon water a refreshing taste and a visually pleasing appearance.
  • Versatile Culinary Ingredient: Cucumber and lemon work well together in salads, sandwiches, drinks, and flavoured water, among other dishes. Its adaptable flavour profile gives any recipe a burst of freshness and goes well with a variety of ingredients and meals.


In conclusion, drinking cucumber and lemon together has several health and wellbeing benefits, whether it is used as a digestion aid, flavour enhancer, or hydration beverage. You may take advantage of the many health advantages that this dynamic pair offer while also being hydrated, full, and rejuvenated. Thus, the next time you grab a drink or make a meal, think of combining some lemon juice and some cucumber slices to enjoy the delicious combination of these two components.

Fix for Uncooperative Stove Grease

Fix for Uncooperative Stove Grease

The Unexpected Fix for Uncooperative Stove Grease Vaseline Petroleum jelly, popularly known as Vaseline, is used for more than just moisturising dry skin. It has a secret ability that works wonders to clean your stove of grease and filth. But why does Vaseline perform so admirably in this surprising capacity?

Emollients and lubricants included in Vaseline are excellent at lifting and dissolving tough grease stains. It makes the residue softer and easier to remove with a cloth. Additionally, it forms a shield that stops accumulation in the future, simplifying your cleaning schedule.

Trick By: Greentricks


How to Use Vaseline to Clean Your Stove???

Using Vaseline to clean your stove is an easy and efficient method. Here’s a step-by-step tutorial to assist you:

Required materials:

  1. Petroleum jelly Vaseline
  2. Microfiber cloth
  3. Quad zero steel wool
  4. Gloves (optional but recommended)


Instructions for the Trick:

  • Before starting, put on gloves if your skin is sensitive.
  • Apply a little quantity of Vaseline on a microfiber cloth. Recall that little is often enough.
  • Scatter the towel dipped in Vaseline over your stove’s surface. Observe how the grease spots are mysteriously lifted and softened by the Vaseline.
  • To remove stains or difficult spots, use quad zero steel wool. To get rid of the residue, gently scrub the affected region, being cautious not to use too much pressure and perhaps damaging the surface.
  • To remove any last traces of oil and Vaseline, use a fresh microfiber towel. You’ll be astounded by how spotless and glossy your cooker gets.
  • If more work is required, especially to remove persistent or older stains, repeat the procedure.

The Vaseline Protective Layer:

The protective layer that Vaseline leaves on your stove is one of its biggest advantages. This layer makes your routine cleaning tasks much easier by acting as a barrier against future grease and grime buildup.

Finally words:
Vaseline cleaning may seem strange, but it’s a useful and efficient way to get rid of greasy buildup and maintain the best possible condition for your stove. This tried-and-true cleaning tip will shine back your cooker, gas or electric, and simplify your cleaning process. Why not give it a shot and enjoy your kitchen’s shining, grease-free cooker?


Try reducing the dark circles under your eyes

Try reducing the dark circles under your eyes

Try reducing the dark circles under your eyes with this simple trick


Those dark circles can be a real eyesore

Dark circles under the eyes are a common sight. The very thin skin under your eyes quickly becomes discoloured. The advice against dark circles or a blue haze is often: “drink more water and get more sleep.” However, people who live healthily and get plenty of sleep can still get these circles. That’s because it’s genetically determined as well. Luckily, there’s something you can do about it and you’ve already got the solution in your kitchen.

The solution for dark circles under your eyes is… a potato!


Dark circles

There are dark circles beneath many people’s eyes. You may be partially to blame for this, but your genetic makeup is also a factor. Regretfully, some people’s circles won’t go away even if they consume an excessive amount of water and sleep a lot. Although many pricey creams and lotions claim to be able to lessen dark circles, you already have the ideal ingredient in your kitchen cabinet.


Potato!

You read correctly: a potato does wonders for treating dark circles beneath the eyes. Because potatoes are inherently chilly and have a relaxing effect, they are used to treat circles under the eyes. Because they contain vitamin C and antioxidants that nourish the skin, they’re also perfect for using against a blue or dark haze beneath your eyes. Your eyes will appear more open when the puffiness reduces due to the potato’s cooling.

Catechol

In what way then do potatoes combat dark circles? An chemical substance called catechol is found in potatoes. This natural ingredient is frequently used in skin care treatments designed to lighten skin. Asian makeup often emphasises whitening the skin to remove pigmentation spots. The skin around your eyes may lighten as a result of this chemical, which is only mildly present in potatoes, relieving you of the dark circles under your eyes.

Clean:

Select an ordinary potato rather than a sweet or red one. The potato should be thoroughly peeled and cleaned to ensure that no dirt remains on it, as this could irritate your skin and eyes.

This is how you do it

There are several methods to use the potato in your fight against dark circles. We’ll go over each one with you!

Method 1: The simplest method is to cut the potato into thin slices, which you should then lay beneath your eyes. Take care that none of the potato’s juice gets in your eyes.
Method 2: A different way is to first grate the potato. That way, a bit more moisture is released, which helps against the circles. Put the grated potato into a thin handkerchief and place this over your eyes.

Method 3: After grating the potato, pass it through a sieve that is placed over a bowl. To force the potato’s liquid into the bowl, use the back of a spoon. After soaking them in the liquid, fold two cotton pads in half. To allow these folded cotton pads to work, place them beneath your eyes.

For best results, apply the potato (or cotton pad) to your eyes for 15 minutes, using whichever way you like. For optimal effects, repeat this process each morning.