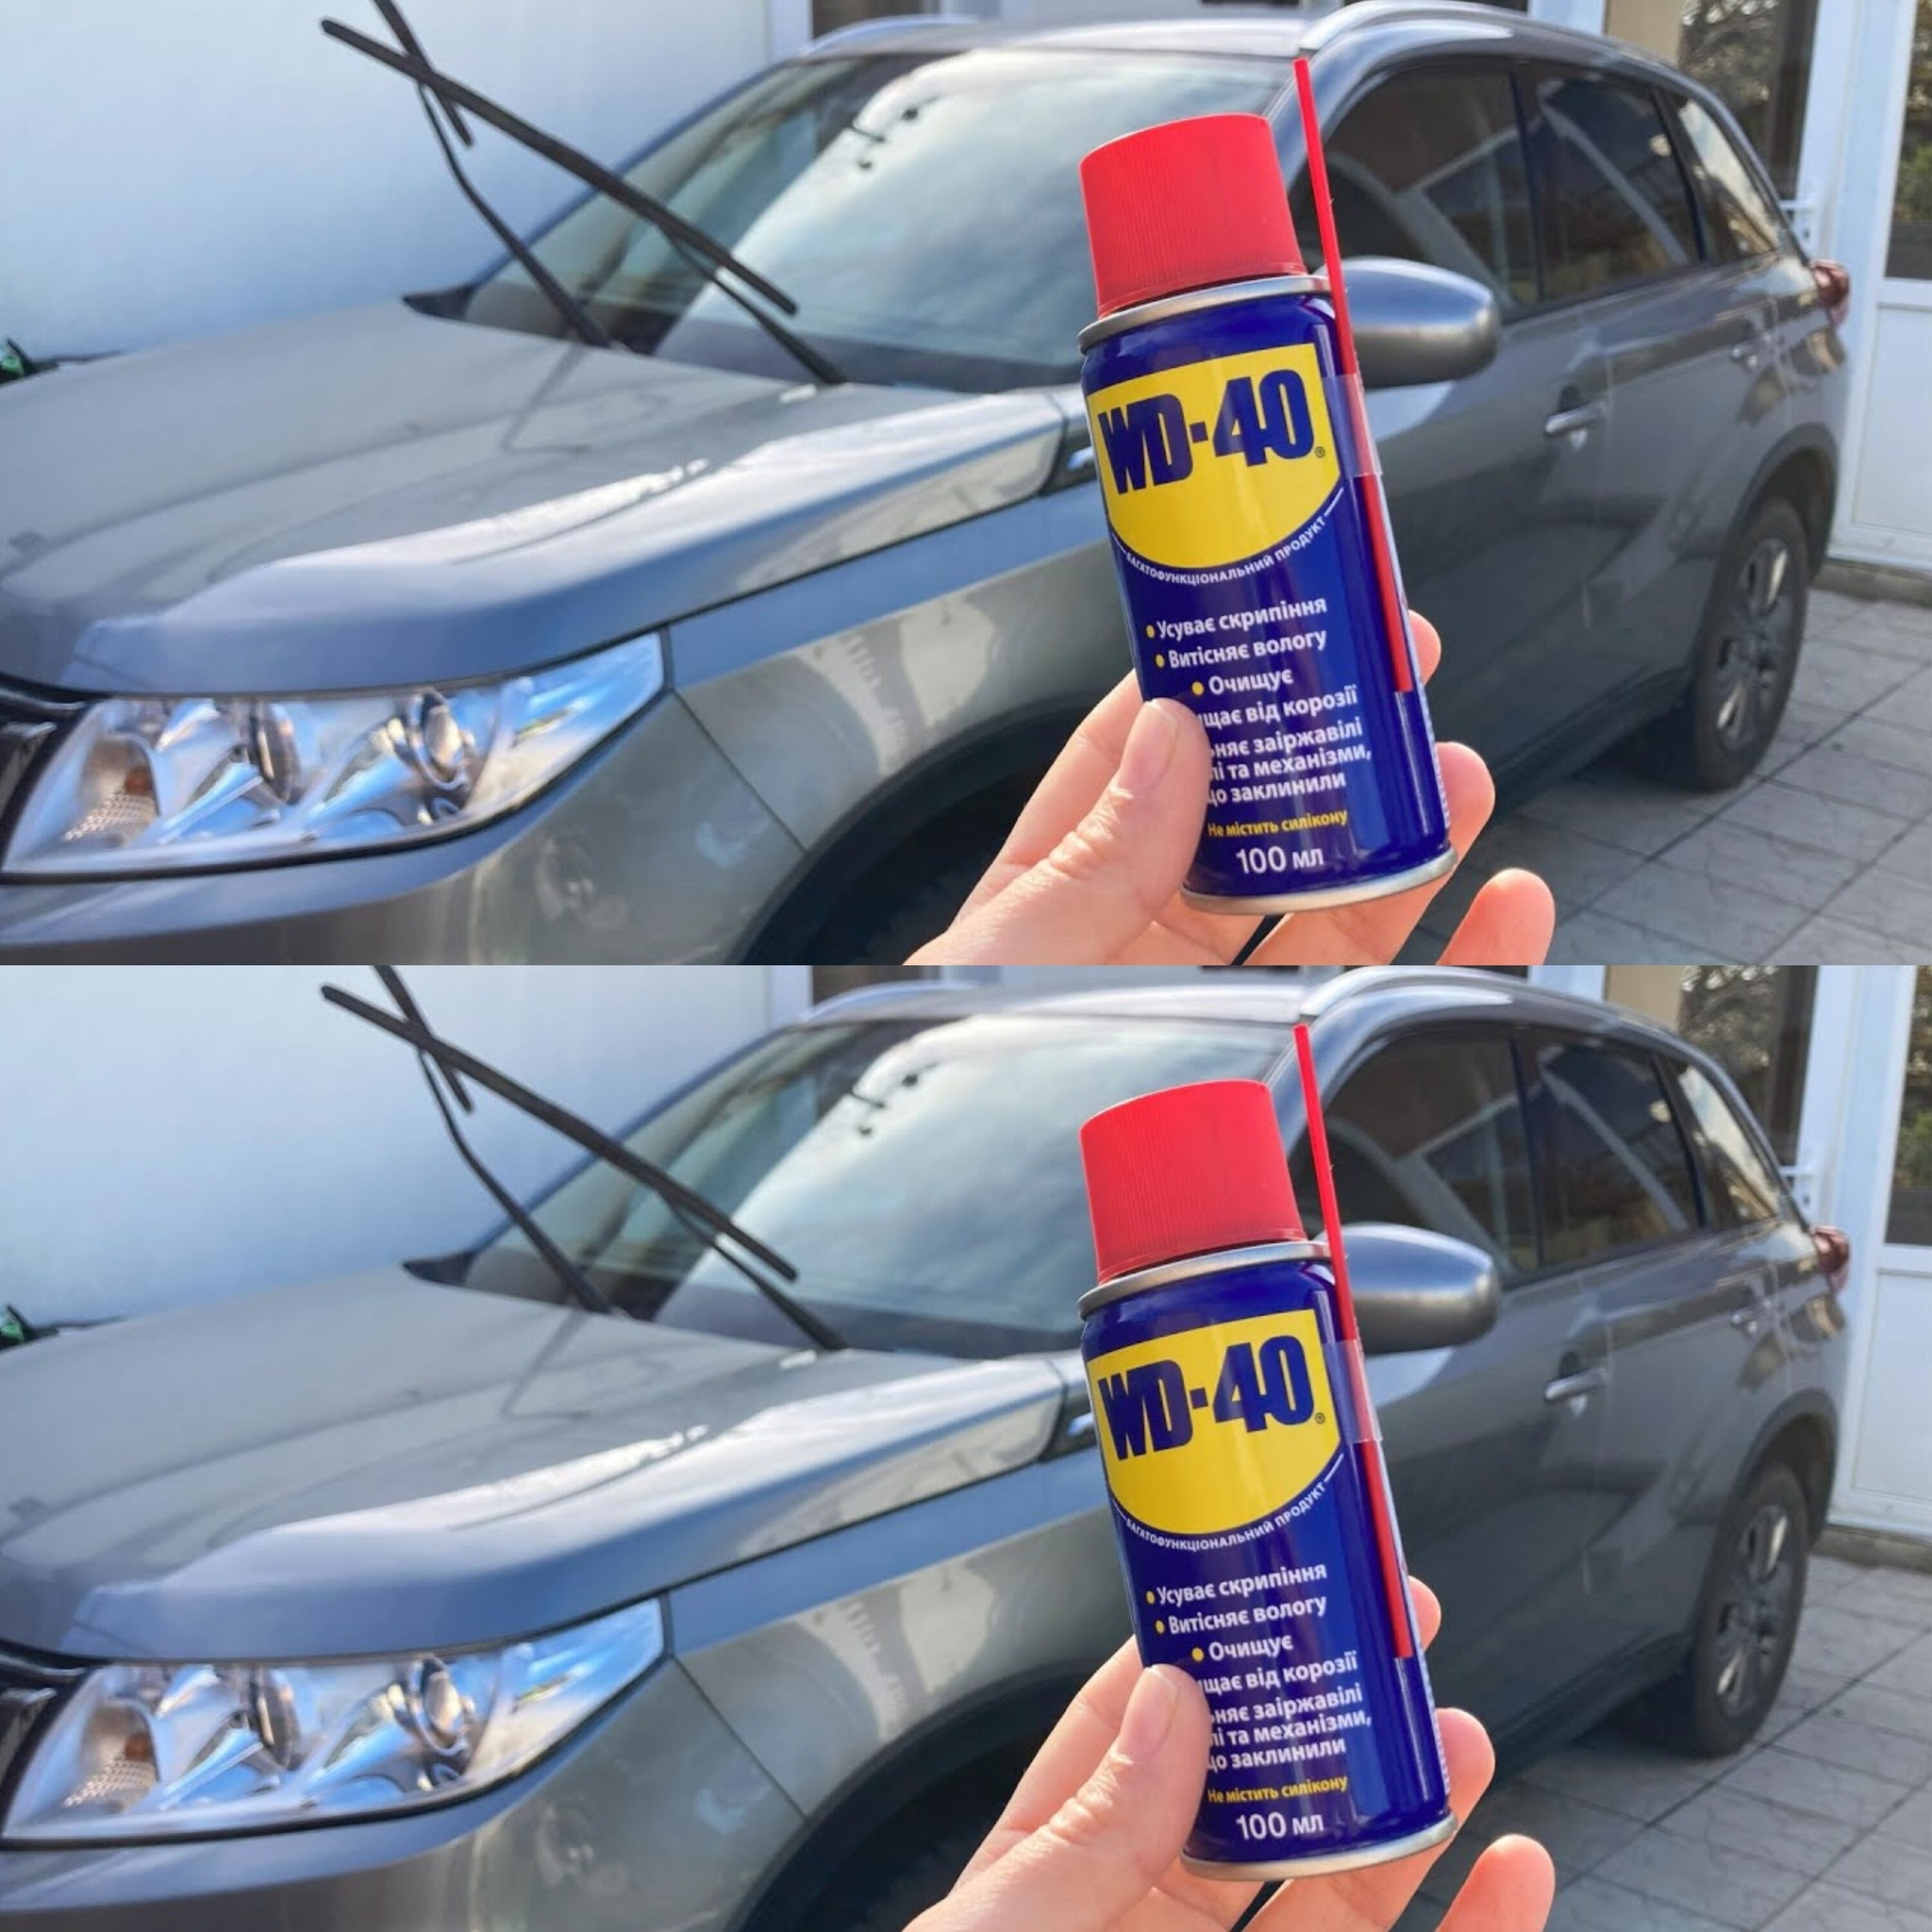
Zesty Lemon Cream Cheese Delight Muffins

Picture beginning your day with a mouthwatering citrus explosion and a thick, creamy centre that melts in your tongue. Perfectly balancing silky cream cheese with tart lemon, these Zesty Lemon Cream Cheese Delight Muffins are a light and decadent treat that’s wonderful for breakfast or an afternoon snack. These muffins, which have a sweet lemon glaze on top, are really delicious and impressive to look at. They’re also quite simple to prepare. To make a delicious handmade dessert that tastes just like sunlight, follow this recipe.

Ingredients:

For the Muffins:

  1. 2 cups all-purpose flour
  2. 1 cup granulated sugar
  3. 1 tsp baking powder
  4. 1/2 tsp baking soda
  5. 1/4 tsp salt
  6. 1/2 cup unsalted butter, melted
  7. 1 cup buttermilk
  8. 2 large eggs
  9. 1 tsp vanilla extract
  10. Zest of 2 lemons
  11. Juice of 1 lemon

For the Creamy Filling:

  1. 8 oz cream cheese, softened
  2. 1/4 cup granulated sugar
  3. 1 tsp vanilla extract

For the Lemon Glaze:

  1. 1 cup powdered sugar
  2. 2 tbsp lemon juice
  3. Zest of 1 lemon

Guidelines:
1. Get the muffin batter ready.

  • Before you begin, preheat your oven to 350°F (175°C) and prepare a muffin tray.
  • Combine the all-purpose flour, sugar, baking soda, baking powder, and salt in a large basin.
  • Whisk together all the dry ingredients until well combined.
    Melted butter, buttermilk, eggs, vanilla essence, lemon zest, and lemon juice should all be combined in a different bowl.
  • The wet components should be added to the dry mixture gradually while being stirred gently until everything is just mixed.
  • Do not overmix the muffins as this may result in a thick texture.

2. Prepare the Cream Cheese Filling:

  • Using a medium-sized bowl, combine the sugar, vanilla extract, and softened cream cheese until a smooth and creamy consistency is achieved.

3. Put the Muffins Together:

  • Fill each muffin liner approximately halfway with the muffin batter using a spoon.
  • Fill the centre of each muffin with a tablespoon of the cream cheese mixture.
  • Add more batter on top of each so that the cream cheese is completely coated.

Cook:

  • A toothpick placed into the muffin, not the cream cheese centre, should come out clean after 18 to 22 minutes of baking.
  • After allowing the muffins to cool somewhat in the muffin tray for five minutes, transfer them to a wire rack to finish cooling.

Get the Lemon Glaze Ready:

  • As the muffins cool, mix the powdered sugar, lemon juice, and lemon zest until they become creamy and suitable for drizzling.
  • After the muffins cool, liberally pour the lemon glaze over the top.

In summary:

This recipe for Zesty Lemon Cream Cheese Delight Muffins is the ideal balance of sweet, creamy, and acidic flavours. These muffins are a visually striking treat because of the smooth cream cheese filling and the blast of fresh lemon flavour in every mouthful. They will definitely make your day, whether you share them with family or keep them to yourself!

Clean Your Lungs in 3 Days

Clean Your Lungs in 3 Days: Homemade Cough Syrup with Garlic, Ginger, and Turmeric

Advantages of Every Ingredient:
1. Garlic: Packed with antibacterial and immune-boosting qualities, garlic is an infectious disease fighter.
2. Ginger: Serves as a natural anti-inflammatory and helps clear congestion and sore throats.
3. Turmeric: This herb may help lessen respiratory system inflammation since it contains curcumin, a bioactive substance with potent anti-inflammatory and antioxidant qualities.

Ingredients:

  1. 1 cup of honey (preferably raw and organic)
  2. 1/4 cup of chopped ginger
  3. 1/4 cup of garlic cloves, peeled and minced
  4. 2 tablespoons of turmeric powder
  5. 1/2 cup of water

Guidelines:
1. Get the Combination Ready:
Mix the ingredients together: Put the water, turmeric, ginger, and garlic in a small saucepan.

Simmer: On low heat, bring the mixture to a simmer and cook for 20 to 30 minutes. To enable the components to fully infuse, the water should somewhat evaporate.

2. Strain: After the mixture has simmered, turn off the heat and let it to cool somewhat.

Press on the sediments to extract as much liquid as you can while you strain the mixture into a big dish using cheesecloth or a fine mesh screen.

3. Add Honey: Stir carefully to properly integrate the honey into the mixture while it’s still warm, being careful not to heat it too much as this would destroy its healthful qualities.

4. Bottle the Syrup: Transfer the completed syrup into a spotless glass jar and secure the lid. Keep refrigerated.

How to Apply:
Dosage: Give adults one tablespoon of the syrup three times a day, or give children over one year old one teaspoon three times a day.

Duration: Take the syrup as prescribed for three days, or longer if symptoms are still present. See a doctor if your symptoms do not get better or become worse.

Take precautions:
Hypersensitivity and Allergies: Verify if you have any sensitivities to any of the recipe’s components. Those who are allergic to any of the ingredients should not consume this syrup.

Babies Under One Year: Because honey poses a danger of botulism, babies under one year old shouldn’t be fed this syrup.

Pregnancy and Medical Conditions: If you are expecting, breastfeeding a baby, or have any long-term medical issues, speak with a healthcare provider before taking this syrup.

In conclusion, this homemade cough syrup is a potent cure for clearing the lungs and relieving coughing because to its blend of garlic, ginger, and turmeric. The majority of consumers may safely utilise its natural components, which provide an alternative to over-the-counter cough medications without any chemicals. To maintain clean and healthy respiratory systems throughout the cold and flu season, keep this syrup refrigerated.

Baked Lemon Donuts

Baked Lemon Donuts

Without the need for frying, baked lemon doughnuts are a wonderful treat that mix the light, tangy flavour of lemon with the fluffy texture of a traditional doughnut. These doughnuts are simple to make and even simpler to eat, making them ideal for breakfast, brunch, or a sweet snack. Here’s a thorough recipe to help you get started:

Components

Regarding the doughnuts:

  1. One cup of flour for all purposes
  2. 1/2 cup of sugar, granulated
  3. One tsp baking powder
  4. One-fourth teaspoon of baking soda
  5. 1/4 tsp salt
  6. 1/4 cup melted unsalted butter
  7. half a cup of buttermilk (or half a tablespoon of lemon juice added to ordinary milk)
  8. One big egg
  9. One tsp vanilla essence
  10. One large lemon’s zest
  11. two tsp freshly squeezed lemon juice

Regarding the Lemon Glaze:

  1. One cup of sugar powder
  2. Two to three tablespoons of freshly squeezed lemon juice (adjust for consistency)
  3. Half a lemon, zest removed (optional; adds flavour)

Guidelines

Warm up the oven:

  • Set the oven temperature to 350°F (175°C).
  • Grease a doughnut pan with butter or nonstick cooking spray very lightly.

2. Combine the arid components:

  • Mix the flour, sugar, baking soda, baking powder, and salt thoroughly in a sizable mixing bowl.

3. Mix the moist ingredients together:

  • Melted butter, buttermilk, egg, vanilla essence, lemon zest, and lemon juice should all be combined in a different bowl.
  • Make sure all the ingredients are well combined and the mixture is smooth.

4. Blend Dry and Wet Ingredients Together:

  • Stirring lightly until just incorporated, gradually add the wet components to the dry ingredients. Take care not to overmix because the doughnuts may become very dense.

5. Put Doughnut Pan Filling:

  • Transfer the mixture into a piping bag or a large ziplock bag by cutting off the corner.
  • Fill each cavity of the doughnut pan approximately two thirds full with batter as you pipe it in.

6. Prepare the doughnuts:

  • After preheating the oven, place the doughnut pan inside and bake for 10 to 12 minutes, or until a toothpick put into the centre comes out clean and the doughnuts are faintly brown.
  • After taking the doughnuts out of the oven, let them to cool in the pan for five minutes before moving them to a wire rack to finish cooling.

7. Get the Lemon Glaze Ready:

  • Mix the powdered sugar and lemon juice in a small bowl until well combined. To change the consistency, add more lemon juice for a thinner glaze or more powdered sugar for a thicker glaze.
  • You can add some lemon zest to the glaze for an added burst of flavour.

8. Pour Glaze on Doughnuts:

  • When the doughnuts are totally cool, dip each one’s top in the lemon glaze, letting the extra drop off.
  • To let the glaze harden, put the glazed doughnuts back on the wire rack.

9. Present and Savour:

  • The baked lemon doughnuts can be served right away or kept for up to two days at room temperature in an airtight container.
  • These doughnuts make a bright, zesty dessert or go well with a cup of tea or coffee.

10 Secret Health Benefits of Cloves

10 Secret Health Benefits of Cloves That EVERYONE Must Know!

Not only are cloves a fragrant spice with a deep, warming flavour, but they also have a number of remarkable health advantages. These are ten hidden health advantages of cloves that everyone ought to be aware of:

1. Packed with Antioxidants

  • Packed with antioxidants, cloves aid in the body’s battle against free radicals. This can lower oxidative stress and shield against long-term illnesses.

2. Inflammatory-Reduction Capabilities

  • Cloves contain a chemical called eugenol, which has potent anti-inflammatory effects. In particular, it helps lessen pain and inflammation in illnesses like arthritis.

3. Offers Cancer Prevention

  • According to research, cloves contain chemicals that may help prevent cancer by slowing the growth of tumours and causing the death of cancer cells.

4. Enhances Immune Response

  • The antibacterial qualities of cloves aid in the prevention of illnesses. They can improve how well the immune system fights against different infections.

5. Enhances Digestion

  • Cloves have the potential to improve digestion by increasing the secretion of digestive enzymes and lowering symptoms like indigestion, bloating, and gastric irritation.

6. Encourages Dental Health

  • Cloves have long been used as a popular treatment for toothaches, gum disease, and oral infections since eugenol is also efficient against oral pathogens.

7. Controls Blood Sugar

  • Cloves include certain molecules that are known to help control blood sugar levels, which makes them advantageous for diabetics.

8. Defence of the Liver

  • High concentrations of antioxidants found in cloves are known to help shield the liver from the damaging effects of free radicals, which can lead to liver disease.

9. Encourages Bone Health

  • Cloves include manganese, which is beneficial to bone health since it promotes bone growth and density.

10. Natural Pain Reliever

  • Cloves function as a natural anaesthetic, helping to relieve pain and suffering because of their analgesic qualities.

How to Eat Cloves:

A Comprehensive Guide

  • When cooking, add whole or ground cloves to your food to enhance its flavour. They complement savoury foods and drinks as well as desserts.
  • Tea: All the health benefits of clove tea are contained in this warming, spicy beverage. Enjoy a few whole cloves steeped in boiling water.
  • Topical Application: Apply clove oil directly to the affected area for problems such as toothaches, but use a carrier oil to dilute it first.

In summary

  • Cloves are a spice that is loaded with health advantages in addition to its flavour. Including cloves in your daily diet can have a number of positive health effects, such as enhancing oral health and warding off chronic illnesses. Thus, the next time you add some spice to your food, keep in mind that you’re also greatly improving your health!

Transform Your Health with Lime Water

Transform Your Health with Lime Water: The Natural Way to Battle Obesity

Lime water may be the drink you need if you’ve been looking for a natural way to help lose weight and enhance your general health. Lime water is a flavourful and health-promoting beverage that can be added to any diet with ease. Here are several ways that adding lime water to your daily routine can improve your heath and help you control your weight.

Why Is Lime Water So Beneficial?

1. Increases Metabolism: Vitamin C, which is abundant in limes, is believed to increase metabolic efficiency. Having lime water can help you burn more calories throughout the day by boosting your metabolism, especially first thing in the morning.

2. Boosts Hydration: Maintaining good bodily function and successful weight management depend on being hydrated. Many individuals find lime water more enticing than plain water, so you could find yourself sipping more of it during the day.

3. Promotes Better Digestion: The acidic qualities of limes can aid the digestive system in breaking down food more quickly, which helps lessen bloating and enhance digestion. Effective weight loss depends on having a healthy digestive system.

4. Natural Appetite Suppressant: Lime juice’s citric acid has the ability to naturally reduce appetite. You can feel fuller and less likely to overeat if you have a glass of lime water 30 minutes before meals.

5. Detoxifies the Body: Because they are high in antioxidants, limes are well renowned for their ability to detoxify the body. Frequent use of lime water can assist the body rid itself of toxins, which may promote weight loss and better skin.

How to Make Lime Water to Get the Most Out of It

Components:

  1. new limes
  2. Water (at room temperature or chilled, according on personal choice)

Guidelines:

Fill a glass with half a lime squeezed into it:

  • You can change the amount of lime to suit your own tastes. If they like a stronger flavour, some folks might prefer the juice from an entire lime.

Blend thoroughly and sip:

  • Lime water can be used at any time of day, but to speed up your metabolism, try sipping it first thing in the morning.

Optional Extras:

  • You can add a spoonful of honey or a sprinkling of Himalayan salt for extra flavour and health advantages like improved hydration or a calming sensation.

In summary

  • Lime water is not simply a delightful beverage; it may be an effective weapon in the fight against obesity and be very helpful in your weight loss efforts. Incorporating lime water into your daily routine can help you lose weight while also improving your digestion and detoxifying your body, all of which can lead to greater health and energy.

Clears the throat better than pills

Clears the throat better than pills. Chimney sweep for respiratory organs. To try

Sage has significant therapeutic benefits as well, especially for respiratory health. It is well-known for its fragrant qualities and culinary applications. It helps to clear the throat and lessen inflammation when used as a “chimney sweep” for the respiratory system. Here’s how to use sage to help clear your throat and possibly improve the health of your respiratory system as a whole:

Sage’s Health Advantages for Respiratory Health

1. Anti-inflammatory Properties: Sage is helpful in treating throat irritations and congested nasal passages since it contains active chemicals that have anti-inflammatory properties.

2. Antimicrobial Effects: The herb’s inherent antibacterial qualities can aid in the fight against respiratory tract and throat infections, which are frequently the source of discomfort and irritation.

3. Calming Effects: Sage’s calming effects help ease coughs and facilitate the expulsion of mucus from the throat and lungs. This is why it’s frequently employed in herbal therapy.

Sage’s Applications for Respiratory Health

One of the easiest and most efficient methods to take advantage of sage’s benefits for respiratory and throat health is to drink sage tea.

Components:

  1. Sage leaves, either fresh or dried (1-2 teaspoons fresh, 1 teaspoon dry)
  2. One cup of water that is boiling
  3. Lemon or honey, to taste, are optional.

Guidelines:

Get the Sage ready:

  • Fresh sage leaves should be rinsed under cold water. Make sure the dried sage you use comes from a reputable and clean source.

Cultivate the Sage:

  • Transfer the sage leaves to a tea infuser or cup.
  • Cover the cup with boiling water and pour over the sage. Give it ten to fifteen minutes to steep. To optimise the benefits of the tea, cover the cup to help retain the flavours and essential oils.

After straining, serve.

  • After removing the sage leaves, transfer the tea into a cup for sipping.
  • Add a squeeze of lemon for vitamin C or honey, which has more antibacterial qualities and can help relieve sore throats, if preferred.

Use:

  • When you have trouble breathing or have sore throat, drink sage tea two or three times a day.
  • Other Applications of Sage in Respiratory Health

Sage Gargle:

  • Use a cup of cooled sage tea with a teaspoon of salt dissolved in it as a gargling solution to destroy bacteria and lessen throat irritation.

Inhaling sage:

  • In a bowl of steaming hot water, add the sage leaves. Take a towel over your head and breathe in the steam. This can relieve congestion by helping to unclog sinuses and nasal passages.

Warnings and Things to Think About

  • Allergic Reactions: Sage allergies are uncommon, although they do occur. Should you encounter any negative effects, stop using the product right away.
  • Pregnancy and Nursing: While sage is typically safe to use in food preparation, if you’re pregnant or nursing, talk to your doctor before taking any medications.
  • Interaction with medicines: Sage may have interactions with sedatives and diabetic medicines. If you are on any drugs, speak with a medical professional.

In summary

  • Sage is an amazing plant for respiratory health that provides natural, efficient relief from congestion and irritations of the throat. It can be inhaled, gargled, or taken as a tea. All of these methods can yield substantial health advantages and act as a natural substitute for OTC medications. Sage should always be used carefully, and if in doubt, get advice from medical professionals to make sure it fits in with your entire routine.

Master the Art of Cooking Eggs

Master the Art of Cooking Eggs: Why You Should Start with Hot Water

Even while cooking eggs might appear easy, getting the ideal cooked consistency is frequently difficult to achieve. Starting with cold water is one common error people make. Hard-to-peel eggs and inconsistent cooking can result from using this procedure. Let’s investigate the “hot start” approach instead, which is highly regarded by chefs for reliably yielding delicious eggs.

Explanation of the Hot Start Method

The “hot start” method of starting eggs in hot water is dropping eggs straight into boiling or almost boiling water. Compared to the conventional cold start approach, which involves placing eggs in cold water and then heating it to a boil, this technique has a number of advantages.

Advantages of the Hot Start Technique

  • Simpler Peeling: Direct immersion of eggs in hot water causes the whites to firm up more quickly and separate from the membrane lining the shell. This greatly streamlines the peeling process, which is especially beneficial for peeling fresh eggs, which are generally more challenging.
  • Improved Control over Cooking: The hot start technique makes it possible to precisely regulate the cooking time. Because the water is already hot, cooking begins instantly and the time it takes to return to a boil is shortened.
  • Decreased Cracking: When eggs are placed in cold water and subsequently heated, the quick temperature fluctuations can lead to cracking of the eggs. This risk is reduced when you start with hot water because the eggs’ temperature changes more gradually after the initial shock.

How to Cook Eggs Perfectly Using the Hot Start Method

  • Boil Water: Raise the water in a pot to a boil. Enough water should be present to submerge the eggs by no less than one inch.
  • Prepare the eggs: Just before cooking, remove the eggs from the refrigerator to prevent drastic temperature changes. Using a spoon or ladle, carefully lower the eggs into the boiling water to avoid cracking them.
  • Set the timer.
  • Cook for roughly 6-7 minutes for soft-boiled eggs.
  • Cook for around 8 to 9 minutes for medium-boiled yolks that are firm but creamy.
  • Boil for 11 to 12 minutes if you want hard-boiled yolks that are completely firm.
  • Ice Bath: Immediately after cooking, place the eggs in an ice bath or run them under cold water for a minimum of one minute. This puts an end to the cooking process and facilitates peeling.
  • Peel and Savour: Gently tap the eggs to release the shell, and then begin peeling. It should be simple and tidy to remove the shell.

In summary

  • Making the transition to the hot start method could improve your cooking routine if you’ve been starting your eggs in cold water. Using this procedure not only makes peeling easier, but it also makes your cooked eggs look and feel better overall. Try it the next time, and savour the consistency and ease of perfectly cooked eggs every time.

Keeping Apples Fresh and Delicious

Keeping Apples Fresh and Delicious: How to Make Apple Compote Without Sugar

Apple compote is a fantastic technique to keep apples’ delicious texture and inherent sweetness for several months. You may still enjoy the authentic apple flavour and create a healthier option by leaving out the sugar. Here’s how to make this easy, sugar-free dessert:

Components:

  1. Fresh apples (any kind, like Fuji or Granny Smith, that cooks well)
  2. Water
  3. Add some optional flavourings, such nutmeg, cinnamon, or vanilla essence.

Guidelines:

Get your apples ready:

  • First, give the apples a good cleaning.
  • If you want a smoother compote, peel the apples; if you want more fibre, leave the skins on.
  • Slice and core the apples to get uniform chunks. By doing this, they cook more evenly.

Prepare the Apples:

  • The apple slices should be put in a big pot.
  • Pour in just enough water to fill the pot halfway up (approximately ½ inch). This keeps the apples from sticking and aids in their cooking so that no additional sugar is needed.
  • Add a few drops of vanilla extract, a cinnamon stick, or nutmeg if desired. The apples’ inherent sweetness is accentuated rather than drowned out by their natural flavours.

Gently Simmer:

  • After bringing the water to a simmer, cover the saucepan.
  • Cook the apples until they are soft and have developed a thick, saucy consistency, about 20 to 30 minutes. To make sure they don’t stick to the saucepan, stir from time to time.

Chill and Store:

  • Take the apples off of the fire as soon as they are cooked to your preference.
  • Take out the cinnamon stick if you used one before storing.
  • Before putting the compote into airtight jars, let it cool fully.

Maintain:

  • Your apple compote can keep for up to two weeks in the refrigerator.
  • Spoon the compote into freezer-safe bags or containers and freeze for extended storage. The compote keeps well in the freezer for several months.

Serving Ideas: Use your apple compote as a garnish for pancakes, yoghurt or cereal. It is also a great addition to baked products or eaten as a nutritious treat on its own.

Crispy Fried Mushrooms

Crispy Fried Mushrooms

These Crispy Fried Mushrooms will delight you with their crunch and flavour! These golden-baked mushrooms make a great snack, appetiser, or party plate when served with a cool ranch dip.

Components:

About the Fried Crispy Mushrooms:

  1. One pound of cleaned and trimmed button mushrooms or cremini mushrooms
  2. One cup of flour for all purposes
  3. One teaspoon of garlic powder
  4. One teaspoon of paprika
  5. A half-tsp of onion powder
  6. To taste, add salt and pepper.
  7. Two big eggs
  8. half a cup of milk
  9. 1 cup panko breadcrumbs (for added crunch)
  10. vegetable-based frying oil

Regarding the Cool Ranch Dip:

  1. One cup of sour cream
  2. 1/4 cup of mayonnaise
  3. 1 tablespoon dried parsley
  4. One tablespoon of dried dill
  5. One teaspoon of garlic powder
  6. One teaspoon of onion powder
  7. ½ teaspoon dried chives
  8. One tablespoon of freshly squeezed lemon juice
  9. To taste, add salt and pepper.

Guidelines:

Get the mushrooms ready:

  • Utilising paper towels, pat dry the cleaned mushrooms. Combine the flour, onion powder, paprika, garlic powder, salt, and pepper in a shallow dish.

Put the Breading Station in Place:

  • Whisk the eggs and milk together in a small dish. Transfer the breadcrumbs to another shallow dish.

Get the Mushrooms Bread:

  • Shake off any extra flour after applying the seasoned flour to each mushroom. After dipping the floured mushroom into the egg mixture, carefully press it into the breadcrumbs to ensure it sticks. Continue with every mushroom.

Cook the Mushrooms:

  • In a big skillet or pot, heat about 1 inch of vegetable oil to 350°F (175°C). Carefully place the breaded mushrooms in batches so as not to pack the pan too full. Fry for three to four minutes, or until crisp and golden brown. Take out and let dry on paper towels.

Prepare the Ranch Dip Cool:

  • Combine the sour cream, mayonnaise, dried dill, dried parsley, dried onion powder, dried chives, lemon juice, salt, and pepper in a small bowl. After thoroughly mixing, taste and adjust the seasoning.

Serve:

  • Present the warm, crispy fried mushrooms alongside a portion of Cool Ranch Dip for dunks.
  • Savour the flavourful and crispy Crispy Fried Mushrooms paired with Cool Ranch Dip!

Homemade Apple and Carrot Juice Recipe

Homemade Apple and Carrot Juice Recipe

Components:

  1. Four large carrots, cleaned and de-seeding
  2. Two big apples, cored and cleaned
  3. Peeling the fresh ginger (approximately an inch piece) is optional but adds more zing.
  4. Use freshly squeezed lemon juice (from half a lemon) to retain colour and improve flavour.

Tools:

  1. blender or juicer
  2. Strainer with fine mesh (if blending)
  3. oversized dish or jug

Guidelines:

Get the ingredients ready:

  • Just chop the apples and carrots into small enough pieces to pass into the feed chute if you’re using a juicer.
  • To facilitate blending, cut the apples and carrots into small pieces if you’re using a blender.

Juice Extraction:

  • Regarding Juicer Users: Put the apples, carrots, and, if using, the ginger into the juicer. To get the most juice out of the carrots and apples, switch between them.
  • For blender users: To aid in the blending process, add 1/2 cup water to the blender along with the diced apples, carrots, and ginger. Process till smooth.

Pour the Mixture Through a Strainer:

  • If you blended the mixture, transfer it into a big dish or pitcher using a fine-mesh strainer. Press down with the back of a spoon to get out as much juice as you can.

Incorporate Lemon Juice:

  • Add the lemon juice and stir. This keeps the juice bright and stops oxidation in addition to adding a delicious tang.

To Serve or Put Away:

  • To have the freshest flavour, serve the juice right away over ice.
  • If you want to store the juice, put it in a sealed container and keep it cold. To ensure optimal quality, consume within 24 hours.

Advantages for Health:

  • Apples are an excellent source of vitamin C and soluble fibre.
  • Beta-carotene, fibre, potassium, vitamin K1, and antioxidants are all found in carrots.
  • Ginger can help with digestion and contribute anti-inflammatory qualities.
  • Lemon not only improves the flavour but also increases the amount of vitamin C, which strengthens the immune system.
  • Savour your vibrant, fresh apple and carrot juice for a revitalising afternoon pick-me-up or as a great way to start the day!