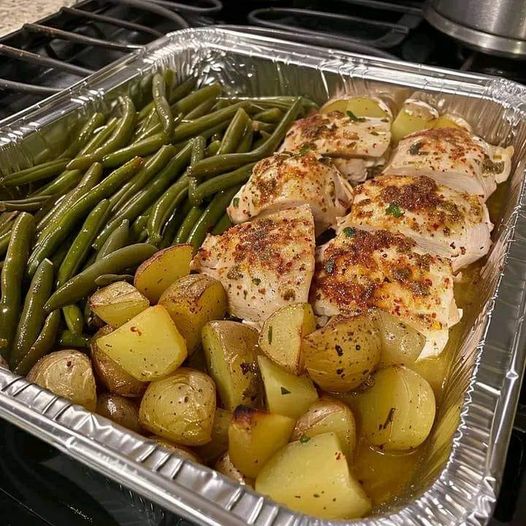
ITALIAN CHICKEN POTATO AND GREEN BEAN BAKE
Italian Chicken, Potato, and Green Bean Bake is a delightful one-pan meal for a family supper or meal prep. Italian herbs and spices season tender chicken, creamy potatoes, and crisp green beans, which are cooked to perfection. Let’s explore this extensive recipe that will keep you hooked.
Why Bake Italian Chicken, Potato, and Green Beans?
- This dish tastes good and:
- Easy: One-pan meals require less cleanup.
High in protein, veggies, and healthy nutrients. - Versatile: Choose your spices and vegetables.
Popular among youngsters and adults.
Ingredients
- 4 boneless, skinless chicken breasts/thighs
- 4 cups baby potatoes (halved or quartered if large)
- 2 cups trimmed green beans
- Three tablespoons olive oil
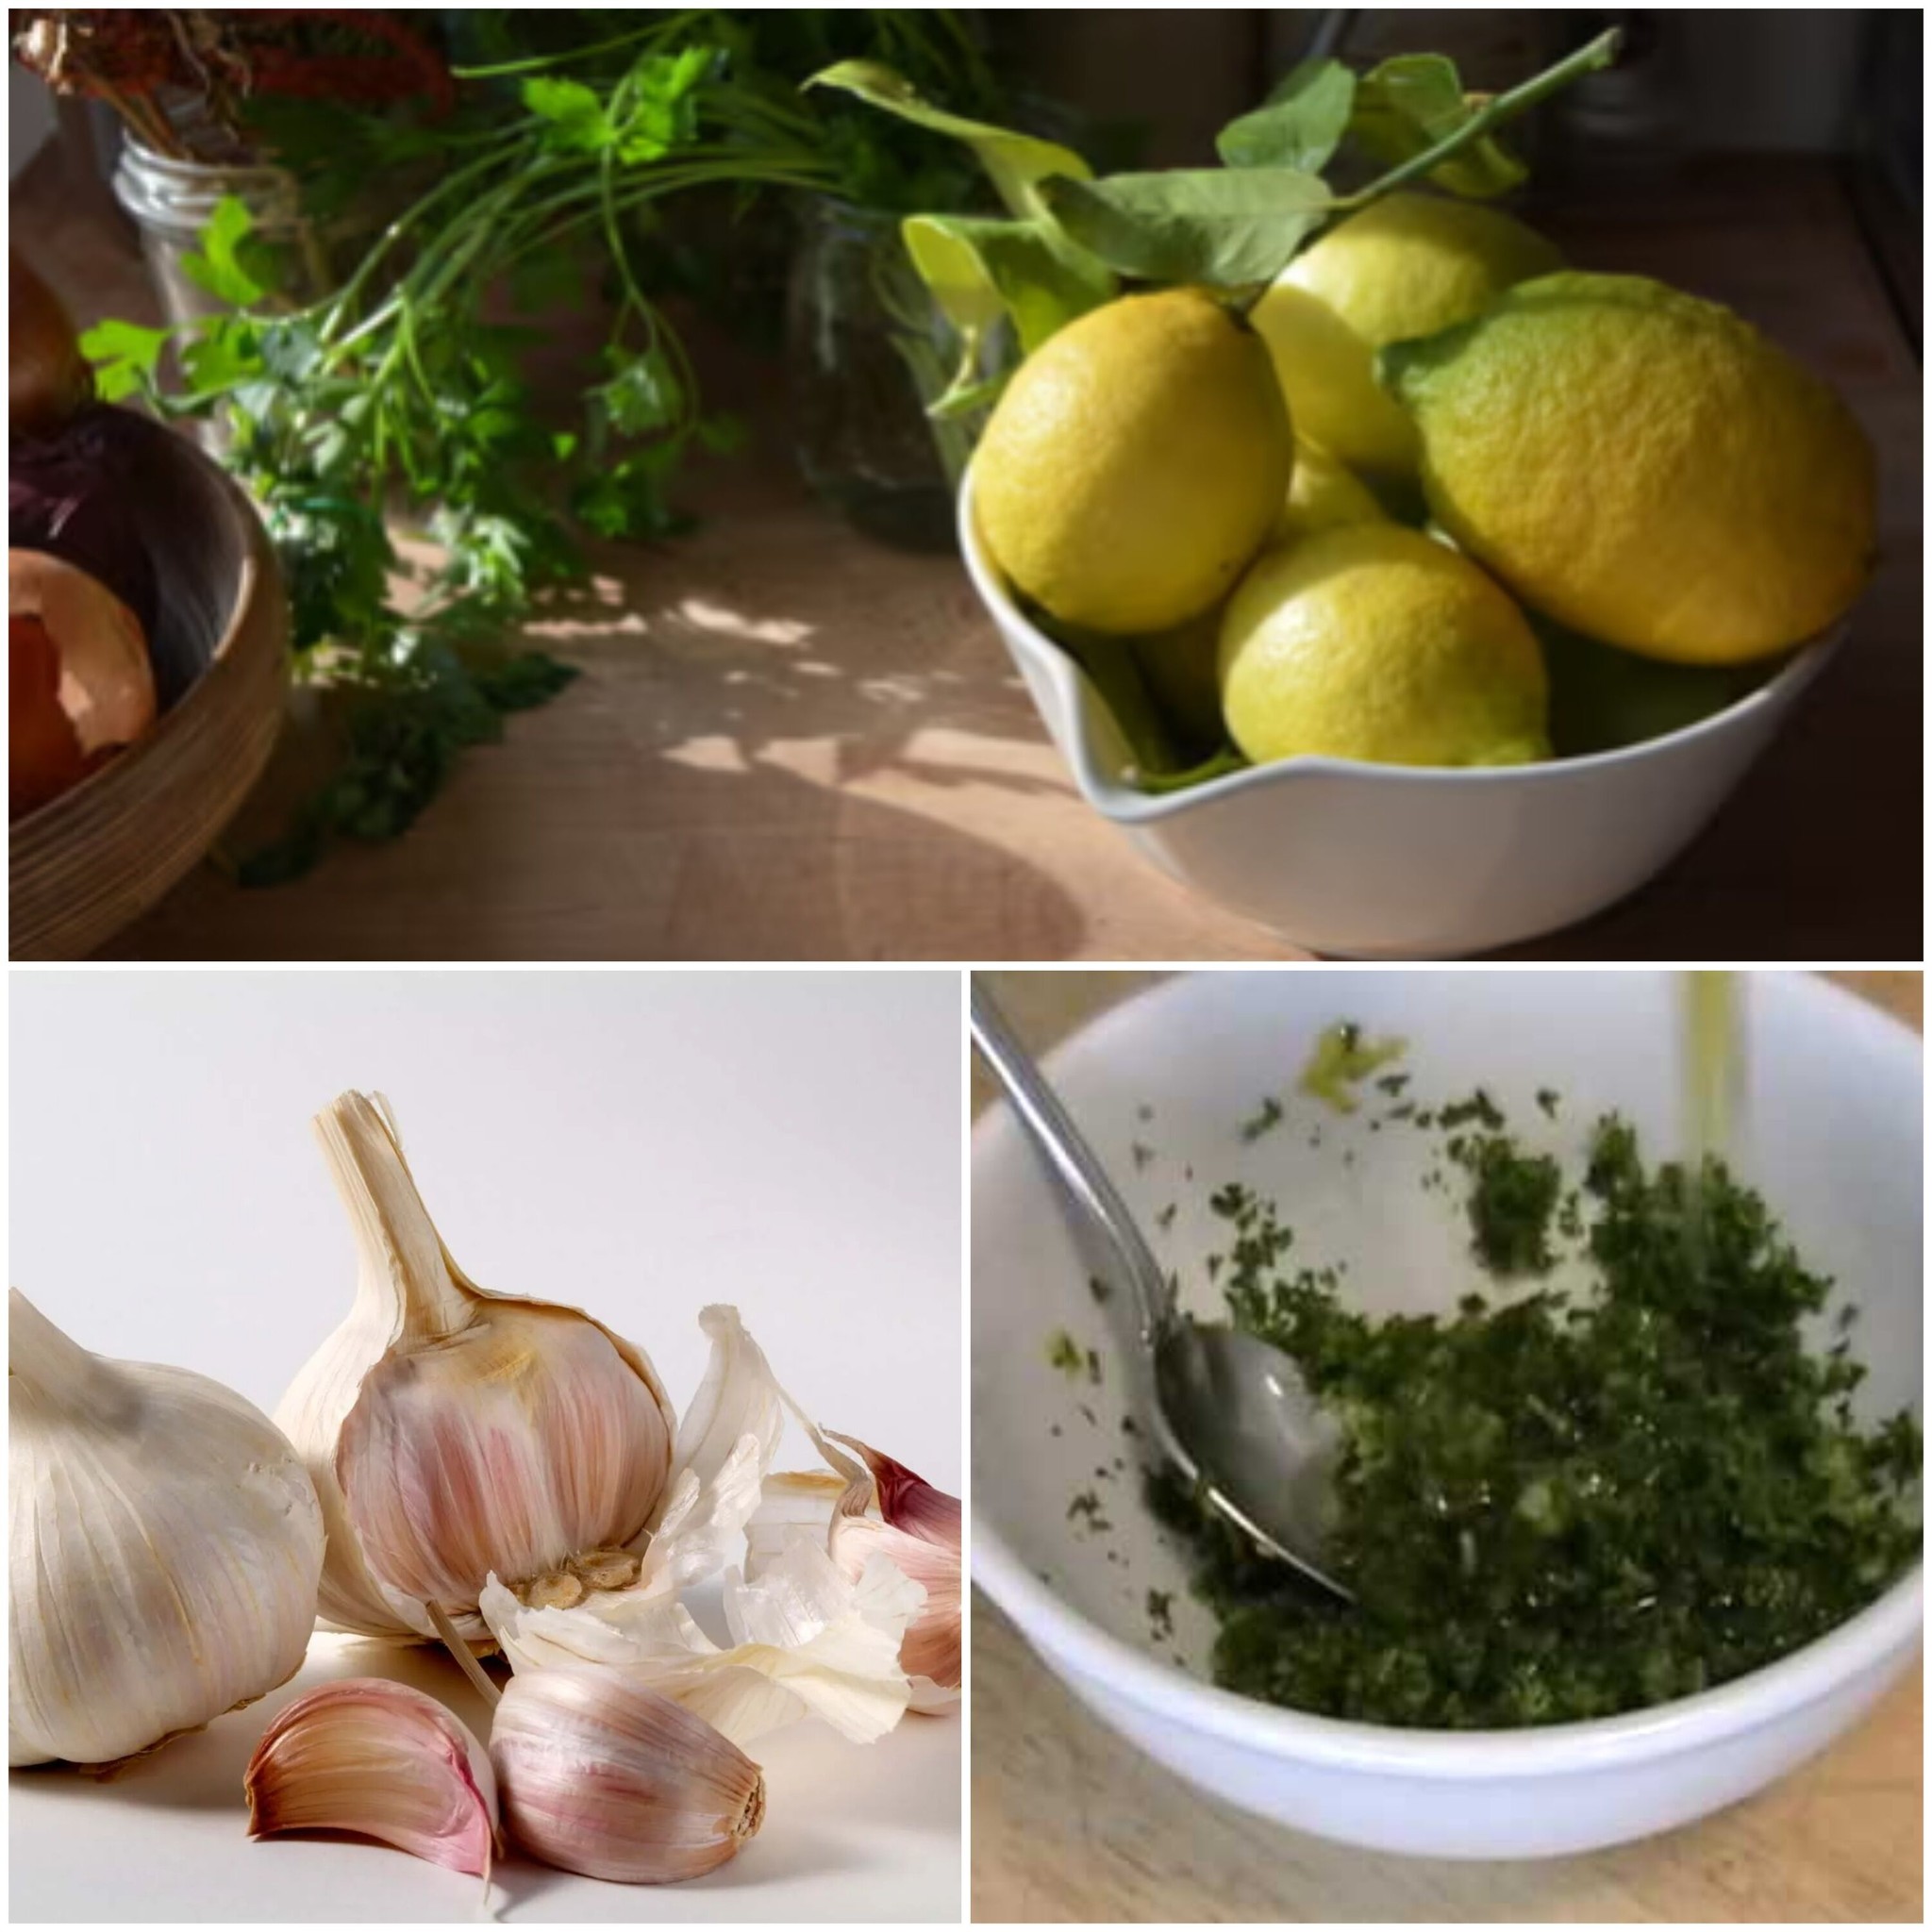
- 3 minced garlic cloves
- 1 tsp dried oregano
- 1 tsp dried basil
- 1 tsp dried thyme
- paprika, 1/2
- 1/2 tsp onion powder
- Salt and pepper (to taste)
- 1/4 cup grated Parmesan
- 1 lemon (sliced optional)
- Fresh parsley or basil (optional garnish)
Equipment
- Large baking dish or sheet
- Mixing bowls
- Cutting board, knife
- If desired, aluminium foil
Instructions in detail
1. Heat the oven
Heat the oven to 400°F (200°C).
2. Prepare Ingredients
Trim the green beans, wash and divide the tiny potatoes, and mince the garlic.
3. Season Chicken.
Mix 1 tablespoon of olive oil, garlic, oregano, basil, thyme, paprika, onion powder, salt, and pepper in a bowl. Coat the chicken breasts with the seasoning.
4. Season Vegetables
Mix the baby potatoes with 1 tablespoon of olive oil, salt, and pepper in another bowl. Mix the green beans with the remaining 1 tablespoon of olive oil, salt, and pepper in a third bowl.
5. Arrange on baking sheet
Place seasoned chicken breasts in the baking sheet centre. Put young potatoes around the chicken, then green beans. Keep everything on one layer for even cooking.
6. Bake
Bake the baking sheet in the preheated oven for 25–30 minutes, or until the chicken is 165°F (74°C) and the potatoes are soft.
7. Broil with Parmesan
Sprinkle grated Parmesan over chicken and veggies. If desired, top with lemon slices. Broil for 2-3 more minutes until the cheese melts and turns brown.
8. Serve.
Remove from oven and rest for a few minutes. If preferred, add fresh parsley or basil. Italian Chicken, Potato, and Green Bean Bake is delicious when served hot!
Success Tips for Even Cooking: Ensure chicken breasts are equal in size and thickness for uniform cooking. Pound them to a consistent thickness.
To roast evenly, place the ingredients in a single layer on the baking sheet.
Carefully broil: Watch the dish during broiling to avoid scorching.
Adaptations and flavour ideas
- After mastering the basic recipe, try different flavours and variations:
- Mediterranean twist: Bake with cherry tomatoes, olives, and feta.
- Spicy Version: Add red pepper flakes or hot sauce to the seasoning.
- For a stronger flavour, use fresh herbs like rosemary, thyme, or basil.
Conclusion
Simple and tasty Italian Chicken, Potato, and Green Bean Bake is excellent for any night of the week. This detailed instructions will help you make a hearty, delicious lunch for the whole family. Enjoy your cooking and every taste of this delicious dish!