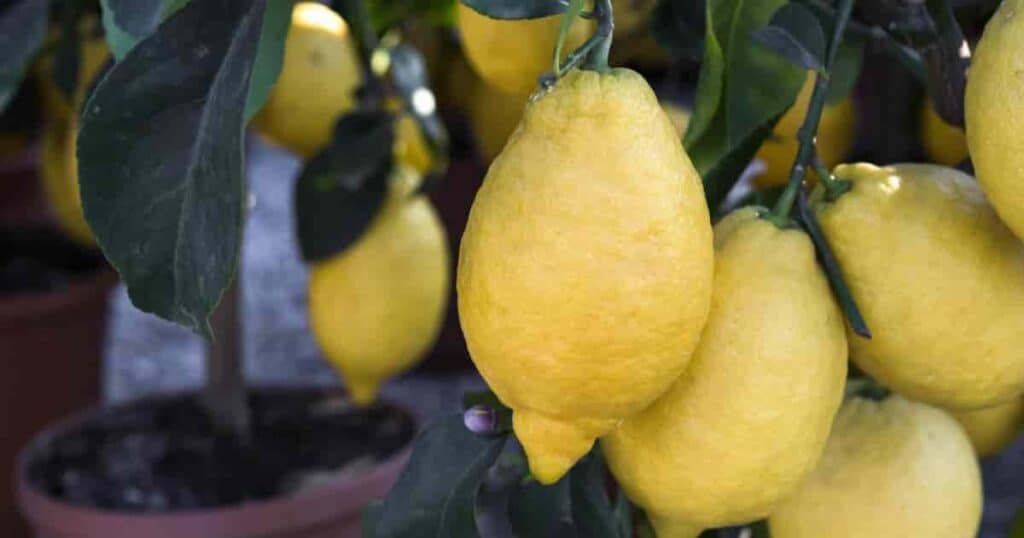
How To Grow Lemon Trees In Pots
Growing citrus fruit is excellent, but what if you live in a cool area or at a balcony-only flat? Are lemons and other citrus growable?
Thankfully, the answer is “yes!” You may grow citrus, especially lemon trees, in pots if you choose tiny variety.
Which Lemon Trees Are Best for Containers?
Any container-grown lemon tree will stay tiny, but a dwarf variety is preferable.
These types are popular with container citrus gardeners:
- Meyer Got Better Dwarf grows like a shrub but can be managed like a tree. This cultivar boasts fragrant blossoms and tasty fruit.
- Ponderosa Semi-Dwarf delivers huge fruit from a little citron-lemon hybrid.
- Small and spherical, Dwarf Lisbon produces interesting oblong fruit. It can handle wind, temperature variations, and other climate issues.
- These are ideal selections because they self-pollinate like all lemon trees.
- They may be grown indoors and produce fruit if cared for.
What Container Is Best For Lemon Trees?
- A good container for most container plants needs plenty of growing space and drainage holes.
- Choose a foot-diameter pot for a young lemon tree.
- The container should be tall enough to offer several inches of new soil below the plant’s root ball and an inch between the root ball/soil and the pot.
- Use a large plastic or terra cotta pot. Terracotta is permeable, keeping roots aerated.
- Weight may be an issue.
- Plastic pots are lighter yet less airy.
- Choose a pot with many drainage holes on the bottom or drill more if needed.
- A few low holes on the container walls will also improve airflow.
- Wooden half barrels and other lemon tree containers offer good drainage and airflow.
- Large grow bags are another possibility. These durable cloth bags provide great aeration and drainage.
Lemon Tree Repotting: How?
- Your budding lemon tree will come in a black nursery pot or plastic case.
- Get it out of its temporary housing and into its semi-permanent container ASAP.
- Thus, before bringing your new tree home, you should have the planter and soil ready.
- Fill the container loosely with high-quality, well-draining potting mix or slow-release fertilizer. The first three months of this fertilizer should feed your tree.
Follow these steps:
- Create a well in the mix large enough for your new plants’ root ball.
- Create the well by pressing soil against the container sides.
- This will compact the soil and help the plant root.
- Remove your lemon tree from its casing or nursery container gently. Avoid damaging roots.
- Put the plant in the soil well you prepared. Add dirt to improve root contact.
- Leave an inch between the soil and pot. This will make watering easier and cleaner.
How to Care for a Potted Lemon Tree?
Growing and caring for lemons: considerations.
- Schedule regular watering to keep your plant from drying out. The soil should be just damp. Lemon trees lose leaves if entirely dry.
- Check the soil’s moisture level often, and remember that your tree will need more water in spring and summer than in autumn and winter.
- lemon trees need watering every other day during the growing season and twice a week in fall and winter.
- This may be affected by summer rainfall and winter hot, dry heating systems for indoor trees.
- Apply new water to the top inch of soil when it feels nearly dry.
- Never overwater your lemon tree, since this will cause root rot.
TIPS: Track soil moisture below the surface with a hygrometer. Add colorful pebbles to your tree’s mulch to retain moisture.
Maintain high humidity around your tree.
- Put your planter on a pebble tray with a little water at the bottom (not touching the base) and spritz your tree daily. Best to mist in the morning.
- Use high-quality slow-release fertilizer regularly. Carefully follow box instructions for optimum results.
- Fertilize regularly in spring and summer, not autumn or winter.
TIP: Iron-chelated citrus food will maintain your plant healthy and strong.
Place your lemon tree indoors in good light.
- A south or southwest window is optimal, although you may require artificial light.
- When placing your tree outdoors in summer, gradually move it to full sun.
- To control its size and shape, prune your lemon tree and remove new stems near soil level.
- These “suckers” drain the plant and look bad.
- Pick lemons from your tree when they are somewhat tender.
Will a potted lemon tree fruit?
The first two years are unlikely to yield fruit from your tree. Immature trees rarely flower or produce lemons.
Maintain care to promote fruiting.
- During the growth season, reduce nitrogen and increase potassium and phosphorus in your fertiliser.
- outdoor trees produce more fruit than interior trees in the growing season.
- Even without fruit, your plant will likely produce lovely, sweet-smelling blossoms.
- A lemon tree indoors is lovely even without fruit.
- Pollinate your tree’s flowers to maximise lemon production.
- If no pollen reaches flowers, these self-pollinating trees will not pollinate.
-
Make sure your lemon tree has gentle air movement to spread pollen.
- You can also use a paintbrush to collect and spread pollen between flowers.
- Don’t worry if your lemon tree loses some flowers. They constantly bloom more than they can develop.
What issues do potted lemon trees face?
- Suckers Drain Plant
- Potted lemon plants often struggle with the sucker branches. This applies especially to rootstock-grown plants.
- If the tree is stressed, like when moved or repotted, the rootstock sends forth suckers at the base.
- When you see one, clip it cleanly near the trunk.
- 2. Sudden Changes Stress
Potted lemon trees are more temperature-sensitive than landscaped ones.
- Watch the weather if your potted tree is outside in spring and summer.
- Moving your plant to a shaded spot on hot, dry days is advised.
- If a cold snap is expected, cover your tree with a blanket or tarp or take it indoors.
- Your lemon tree may shed fruit due to sudden temperature fluctuations, heat, or dryness.
- Guard a fruit tree from the sun. Water more before a hot, dry spell.
- 3. Too Much Water Causes Many Issues
- Container lemon trees also suffer from moisture extremes.
- If your tree is outdoors throughout the growing season, make sure its container drains rainwater.
- Check it often, especially during droughts, to avoid hot, dry soil.
- 4. Roots and foliage can get fungus.
- Sooty mold on foliage and root rot below the soil can result from excess rain and humidity.
- Sooty mold covers plant leaflets with grayish-white dust. It hinders photosynthesis and weakens lemon trees.
- Long-term moist soil causes root rot. Root rot disintegrates roots and stops delivering nutrients to the plant.
- Shelter your lemon tree from heavy rain to prevent fungal growth. Avoid crowding the tree with plants.
- Leave room for airflow. Avoid overhead watering and overwatering.
- Instead, water near the soil surface in the morning lets excess moisture evaporate before sunset.
- 5. Underwatering leads to leaf loss, wilting, and plant death
- Soil moisture should be monitored to avoid yellow and brown leaves.
- Water your thirsty plant well, letting the water trickle through the soil and out the drainage holes.
- Feed the roots seaweed solution to help the plant recover.
- 6. Nutrient Deficit Slows Growth and Drops Leaves
- Potted lemon trees with insufficient nutrients or sunlight often develop yellow leaves.
- To start the growing season strong, fertilise early in spring. The nitrogen in pelleted chicken manure is great for citrus trees.
- Make sure your lemon tree gets 6-8 hours of sunlight everyday, but avoid excessive, scorching sunlight. This can brown leaves by burning them.
- 7. Dry air makes lemon trees suffer
- Remember that lemon trees are tropical. Indoor air is rarely humid enough for them.
- Citrus trees prefer 50% humidity. A humidifier, pebble tray, or misting will increase humidity if your tree has dry, brittle leaves.
- 8. Pasty Insects
- Bronze Orange Bugs, Aphids, and Scale can damage lemon trees, especially those in poor conditions.
- Check your plants and control pests regularly.
Always employ natural methods, such as:
- Water can eliminate Bronze Orange Bugs (Stink Bugs) from your plant. Next, mist with neem or insecticidal oil.
- If you catch scale before it attaches to your plant, a soapy cloth can remove it. After treatment, spray neem oil.
- Repeat the spray weekly for a month to kill offspring.
- Aphids can be hosed off plants. Next, spray neem oil.
Are Lemon Trees Happy Indoors?
Most trees prefer the outdoors. If you give your lemon tree the correct light, temperature, humidity, air movement, and nutrients, it can thrive indoors.