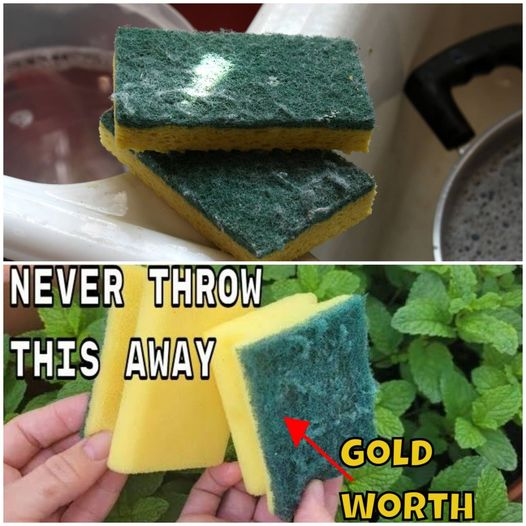
Discover the Golden Value of Used Sponges for Your Home and Garden
Consider reconsidering the possibilities of old sponges if you’re used to discarding them. The discarded sponges hold a secret gem for your garden and houseplants. You may put these adaptable things to good use in your green areas if you have a little imagination and concern for the environment. This is how to turn your old sponges into something useful for your plants.
1. Enhanced Moisture Retention and Soil Aeration
Sponges are great at holding onto moisture, which is especially useful for garden beds or potted plants that dry out easily. Sponge cuttings, when broken into little pieces and incorporated into the soil, assist sustain moisture levels, lowering the frequency of watering and guaranteeing that your plants stay well-hydrated.
2. Root Development and Support
The delicate, permeable The texture of sponges offers the perfect setting for the growth of roots. This is very useful for beginning seeds or multiplying cuttings. The fragments of sponge form air pockets in the soil that enhance soil structure and encourage root development.
3. Elimination of Weeds
Bigger bits of sponge can be used as a mulch to the soil surface surrounding plants, keeping the soil wet and suppressing weeds. This organic barrier can shorten the time you spend weeding by slowing the development of undesirable plants.
4. Prevention of Pests
Additionally useful in the control of pests are sponges. You may stop the stress that makes plants vulnerable to pests by keeping the soil’s moisture levels more uniform. Furthermore, the way sponges are made might discourage a few insects that crawl.
How to Use and Prepare Your Sponges for Cleaning in the
- Garden: Make sure the sponges are clean and devoid of any chemical or soap residues before using them. To get rid of all the food particles and detergents, give them a thorough rinse under water.
- Cutting: Cut the sponges into the proper sizes based on the planned application. While bigger bits can be utilized as mulch, smaller pieces work well for adding into potting soil.
- Placement: Before planting, include tiny bits of sponge into the potting soil to help retain moisture. Place bigger pieces on the soil’s surface surrounding the plants to be mulched.
- Monitoring: Keep an eye on the soil’s moisture content, particularly when utilizing sponge pieces for the first time, to make sure it doesn’t get too wet, which might lead to decay of the roots.
In summary
Think about the various advantages a used sponge may have for your house and garden before you discard it. Reusing old sponges for new purposes not only promotes sustainable gardening but also improves the appearance and health of your plants. Recycle your old sponges and see how much better your garden does as a consequence.