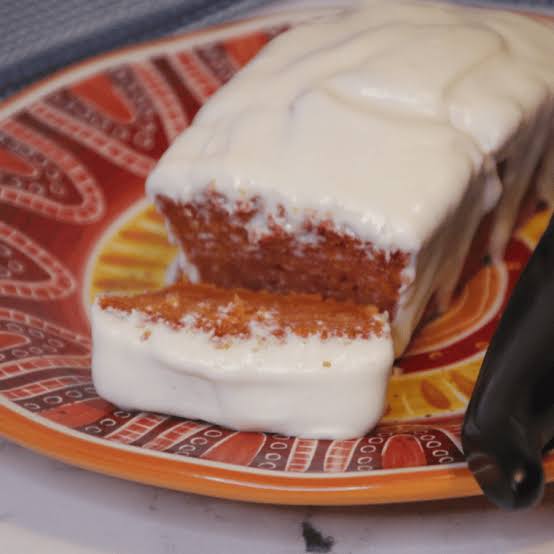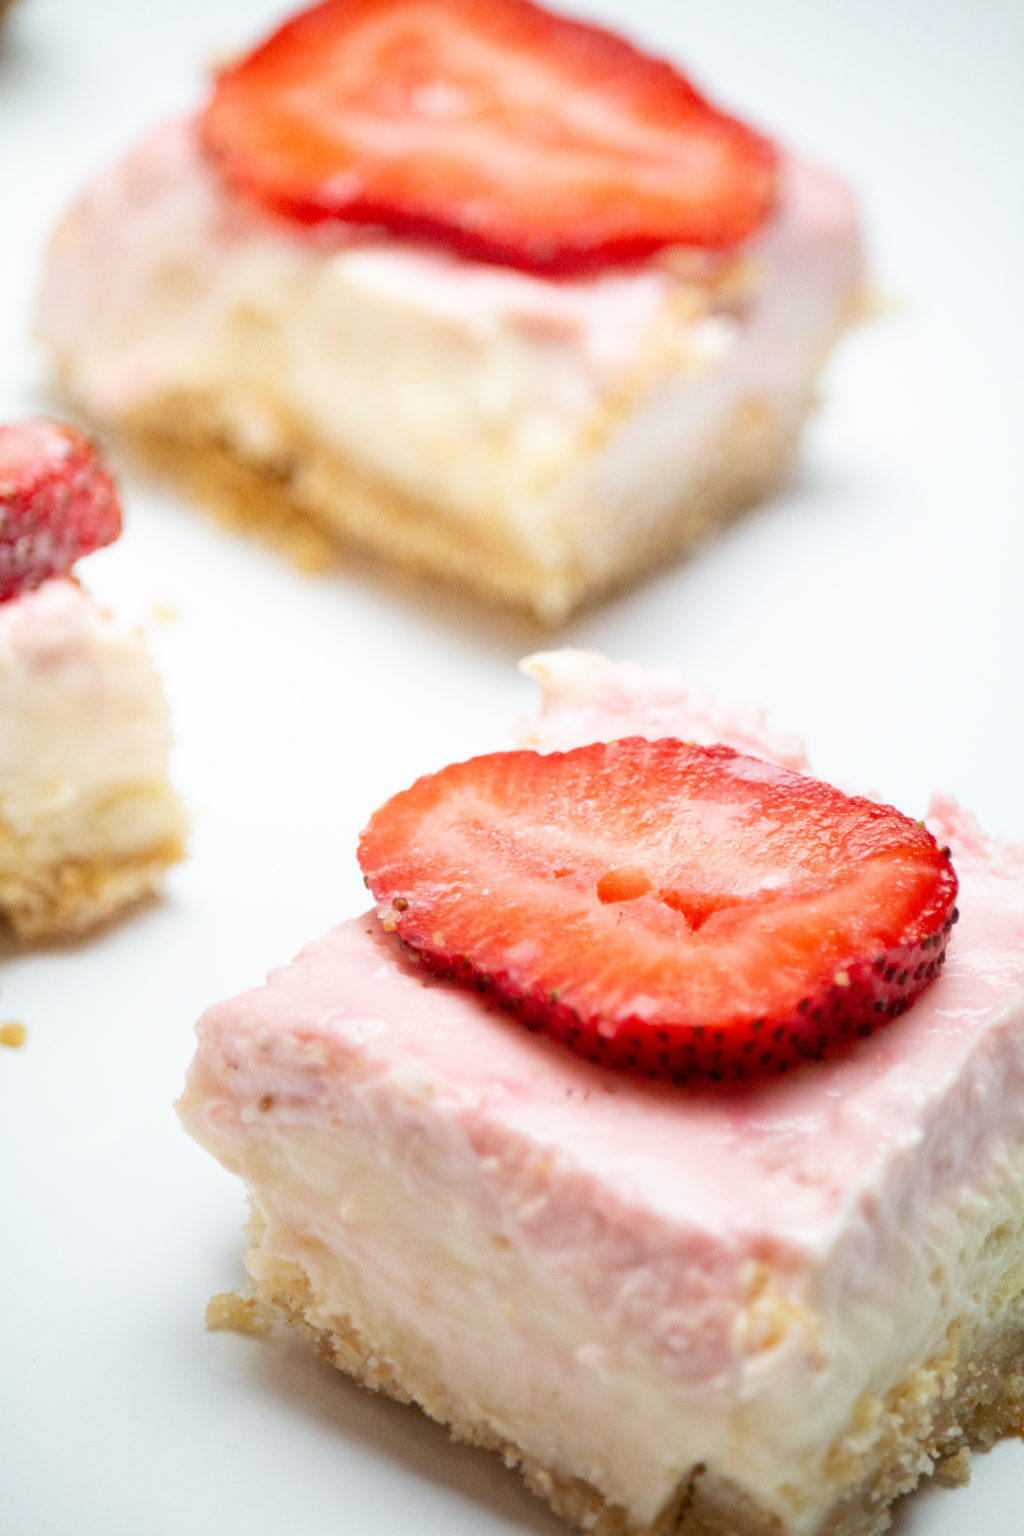
Air Fryer Strawberry Cheesecake Bars
Enjoy the amazing combination of creamy, tangy, and sweet tastes in our recipe for Air Fryer Strawberry Cheesecake Bars!
Components
- 1 and a half cups of graham cracker crumbs, made from roughly 12 crackers
- Melted 1/4 cup unsalted butter
- and 16 ounces of softened cream cheese
- 1/2 cup of sugar, granulated
- One tsp vanilla essence
- One big egg
- Half a cup of strawberry preserves
- Half a cup of cut strawberries (for garnish)
Guidelines
- Melted butter and graham cracker crumbs should be combined in a mixing basin. Stir until butter is distributed evenly over the crumbs.
- Using parchment paper, line the bottom of a square or rectangular baking pan that fits within the air fryer basket, allowing overhang on two sides. Later on, this will make lifting the bars out much easier.
- Pour the graham cracker mixture into the pan that has been lined. Press it into the bottom of the pan firmly and evenly using the back of a spoon or a flat-bottomed glass. While you make the cheesecake filling, put the pan in the freezer.
- Beat the softened cream cheese until smooth and creamy in a different mixing dish. Beat in the vanilla extract and granulated sugar until thoroughly blended. After adding the egg, stir the mixture until it becomes smooth.
- Cover the chilled graham cracker crust in the pan with the cream cheese mixture. Place generous amounts of strawberry preserves in the cheesecake layer using spoons. To create a marbled effect, mix the strawberry preserves into the cheesecake mixture with a knife or toothpick.
- Set your air fryer to 160°C, or 320°F. Use the lowest temperature that is offered if your air fryer lacks a temperature control.
- In the basket of the preheated air fryer, place the pan containing the cheesecake mixture. Cook in the air fryer for about 20 to 25 minutes, or until the center still has some give and the borders are set.
- After taking the cheesecake bars out of the air fryer, allow them to cool for about fifteen minutes in the pan. After that, place the pan in the fridge and let it cool for for a minimum of two hours, or until the cheesecake sets completely.
- To remove the cheesecake from the pan, use the overhanging parchment paper. Slice it into squares or bars. Add some fresh strawberry slices on the top of each bar.
- Serve your anxious family or visitors your Air Fryer Strawberry Cheesecake Bars on a plate, and then enjoy the exquisite blend of fruity goodness and creamy cheesecake.