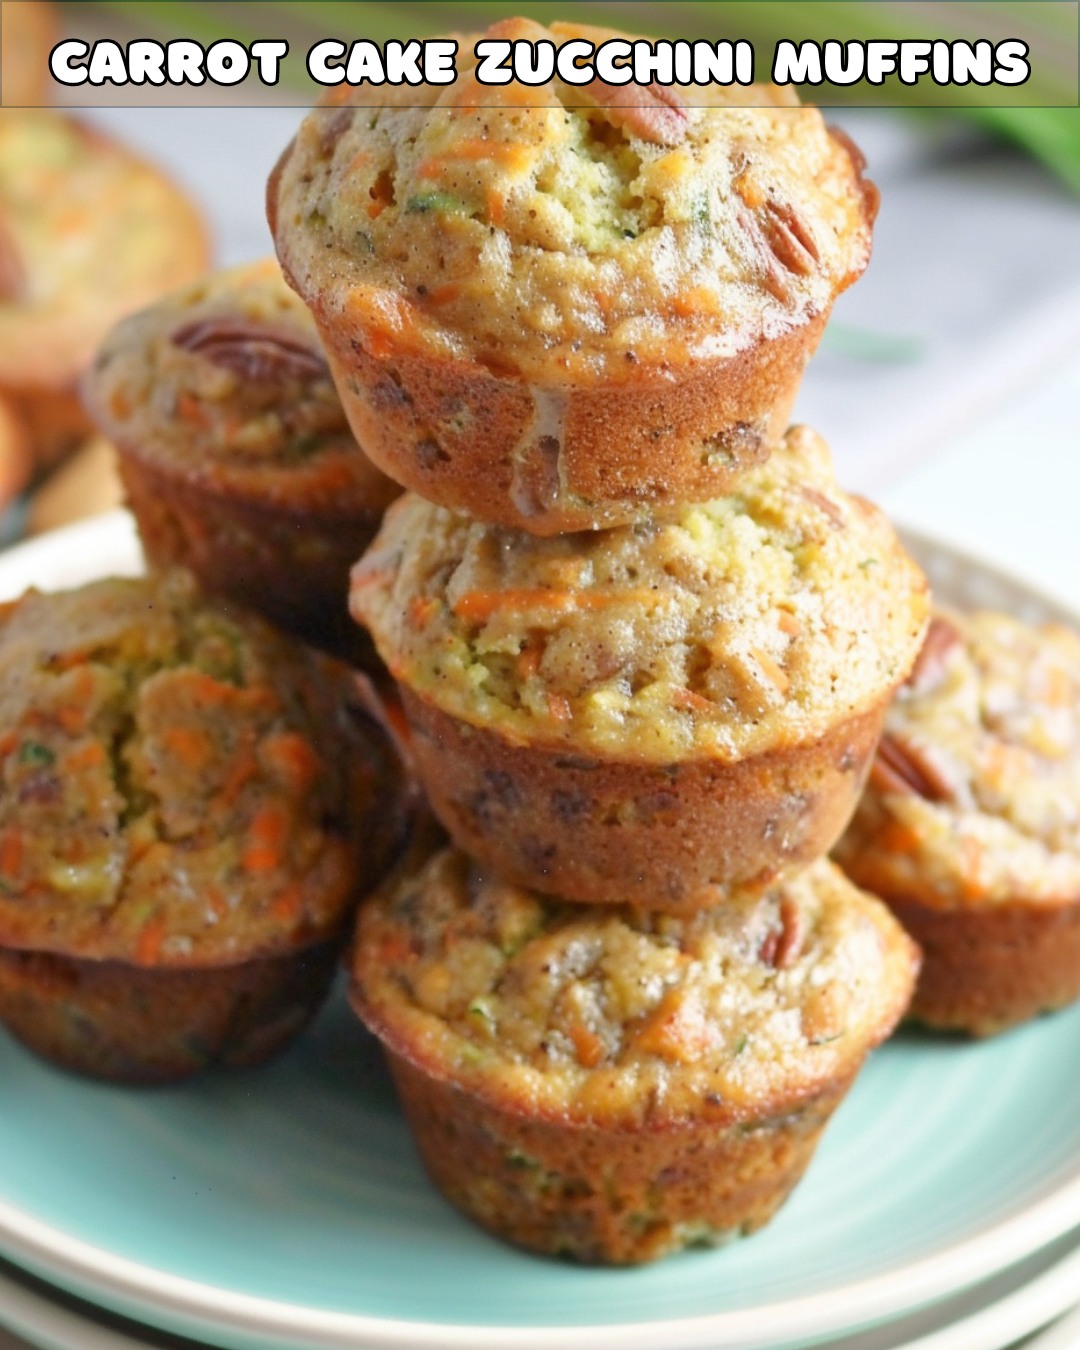
sausage egg and cream cheese recipe
Parts and pieces:
- 1. One pound of breakfast sausage (you can choose between mild and spicy).
4 eggs of a significant size - Eight ounces of cream cheese, softened
- 1 cup of shredded cheese (your choice of cheddar or another cheese)
- To taste, season with salt and pepper
- Garnish with chopped green onions or herbs, either of which is optional.
you also may like
SMOKEY POLISH SAUSAGE WITH FRIED POTATOES
https://technicalaia.com/smokey-polish-sausage-with-fried-potatoes/
sausage rolls
https://technicalaia.com/sausage-rolls/
Simple Sausage Breakfast Muffins
https://technicalaia.com/simple-sausage-breakfast-muffins-2/
Delicious and filling Monterey Sausage Pie
https://technicalaia.com/delicious-and-filling-monterey-sausage-pie/
Details to follow:
- Set the Oven to 350 degrees Fahrenheit (175 degrees Celsius) and preheat it.
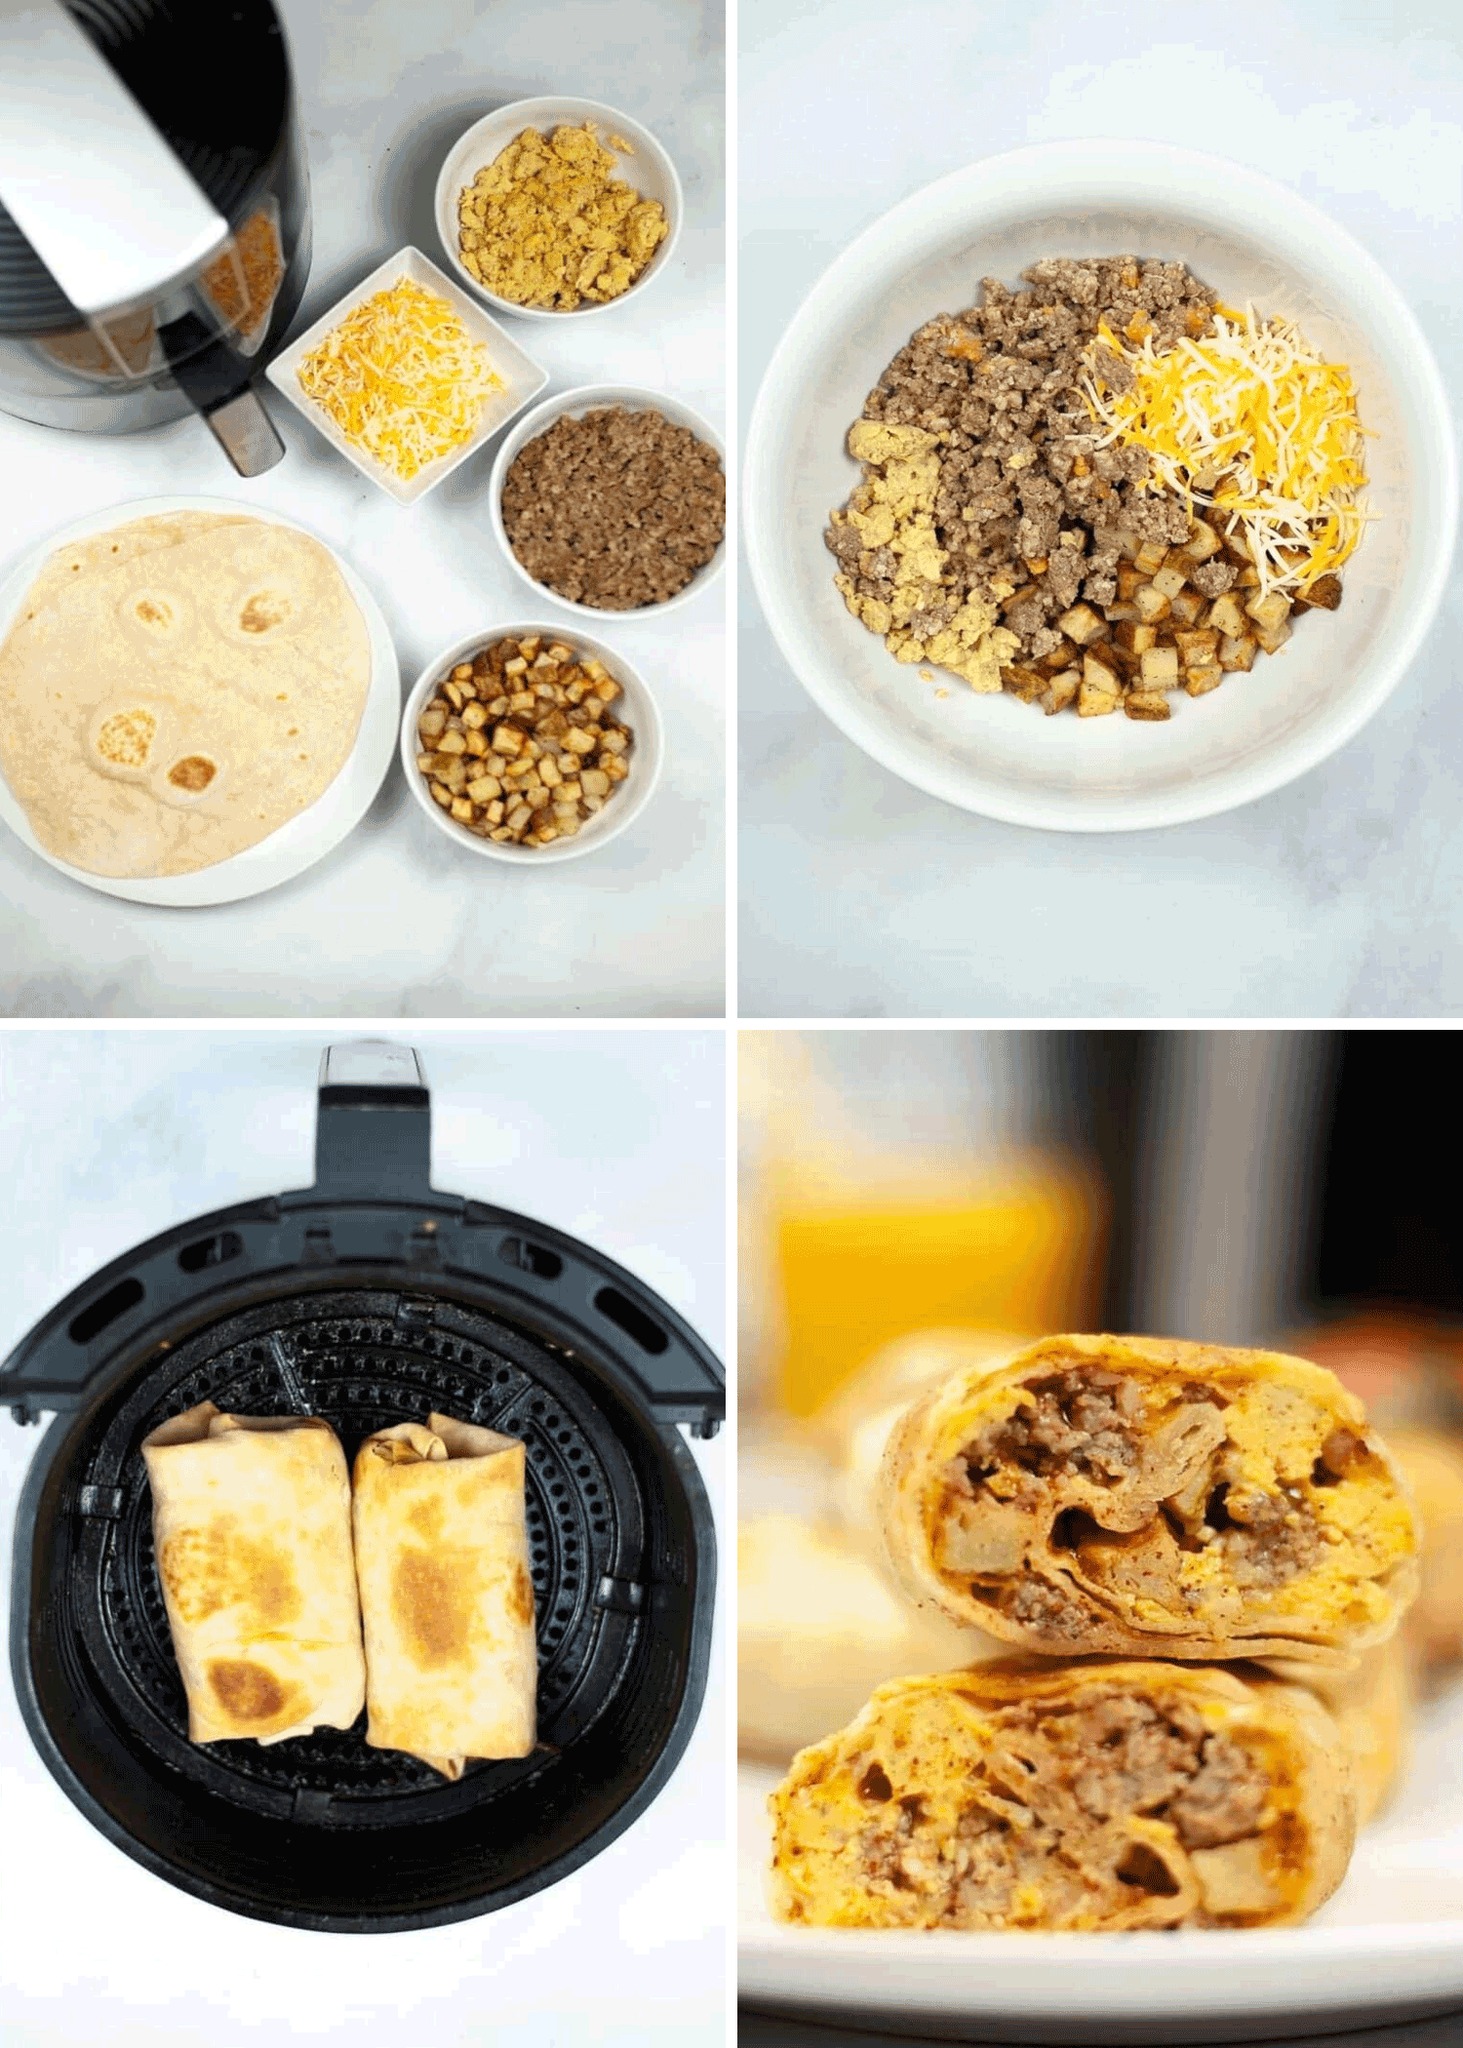
- Prepare the Sausage: Place the morning sausage in a skillet and cook it over medium heat until it is browned and cooked all the way through. During the cooking process, break it up into smaller pieces. Please remove any extra fat.
- In a bowl, whisk the eggs and season them with salt and pepper. Whisk the eggs until they are smooth.
- add the Ingredients: In a large mixing bowl, add the shredded cheese, cream cheese, and sausage that has been cooked. Combine thoroughly by stirring. The beaten eggs should then be folded in carefully.
- Bake the mixture by pouring it into a muffin tin or a baking dish that has been buttered. Using a muffin tin, fill each cup to roughly three quarters of its capacity.
- Bake in an oven that has been warmed for approximately twenty to twenty-five minutes, or until the eggs have set and the tops have turned a golden color.
- Wait till they have slightly cooled down before serving them. In the event that you so prefer, garnish with chopped green onions or herbs.
Have fun!
As a snack, breakfast, or brunch, these nibbles are the ideal choice for any occasion. There is also the possibility of personalizing them by including vegetables such as spinach or bell peppers!