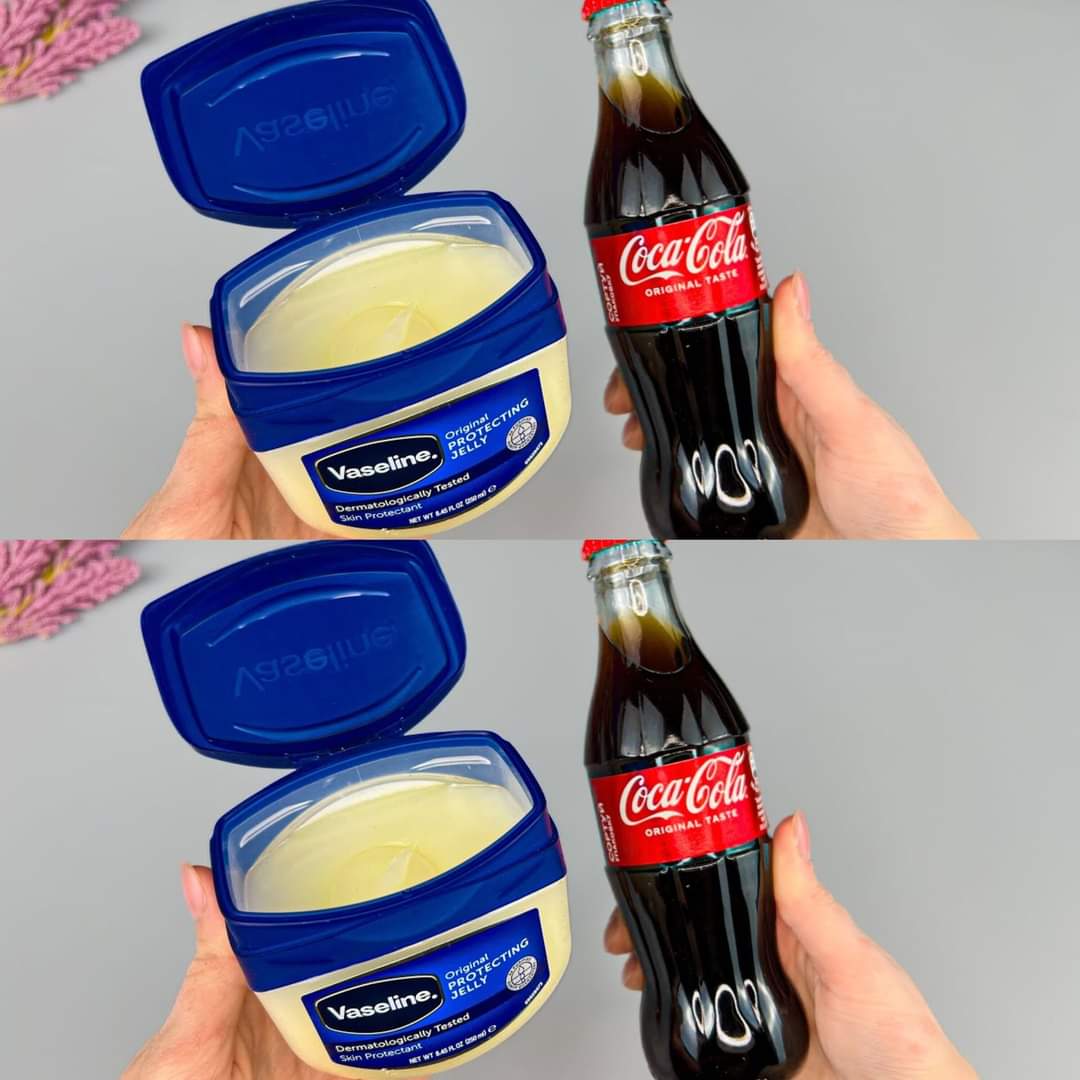
Unveiling the Astonishing Beauty Hack: Coca-Cola and Vaseline Mix
Overview Get ready to take an unexpected trip into the world of beauty with Vaseline and Coca-Cola, an unlikely combo. Even while Vaseline is a multipurpose skincare product and Coca-Cola is a delightful beverage, the real magic emerges when these two substances combine. Come discover the amazing benefits of combining Coca-Cola with Vaseline for beauty, and get ready to be astounded by the outcome!
The Wonders of Vaseline and Coca-Cola Combining Coca-Cola and Vaseline results in more than just a distinctive drink; it also opens up a world of cosmetic advantages that can completely change your skincare regimen.
- Moisturizing Properties: Vaseline, also known as petroleum jelly, is a well-known moisturizer that helps to hydrate and protect the skin’s barrier, leaving it soft and supple.
- Enhanced Absorption: When mixed with Coca-Cola, Vaseline can penetrate the skin more effectively, allowing for deeper hydration and nourishment. Exfoliating Power: Coca-Cola contains phosphoric acid, which can help to gently exfoliate the skin, removing dead cells and revealing a smoother, more radiant complexion.
How to Make the Homemade Fix Unlock the beauty advantages of Coca-Cola and Vaseline with this simple DIY recipe:
- assemble your ingredients: a container of Vaseline and a tiny bottle of Coca-Cola are required.
- Mixing: Put a few drops of Coca-Cola and a teaspoon of Vaseline in a clean basin. Until the mixture has a smooth, creamy consistency, thoroughly stir it.
- Application: Focus on the regions of clean, dry skin that require more hydration or exfoliation while applying the Coca-Cola and Vaseline mixture there. Till the mixture is completely absorbed, gently massage it into the skin.
- Use: Apply this home-made solution as needed to your skincare regimen, either as a daily moisturizer or as a weekly exfoliating treatment.
In summary
The unexpected pairing of Coca-Cola and Vaseline in this do-it-yourself beauty tip will astound you with the outcome. Utilizing these two substances’ exfoliating and moisturizing qualities can help you get smoother, more hydrated skin that exudes energy. Why then wait? Try this unusual beauty cure, and get ready to be amazed by how much Coca-Cola and Vaseline can change your life.