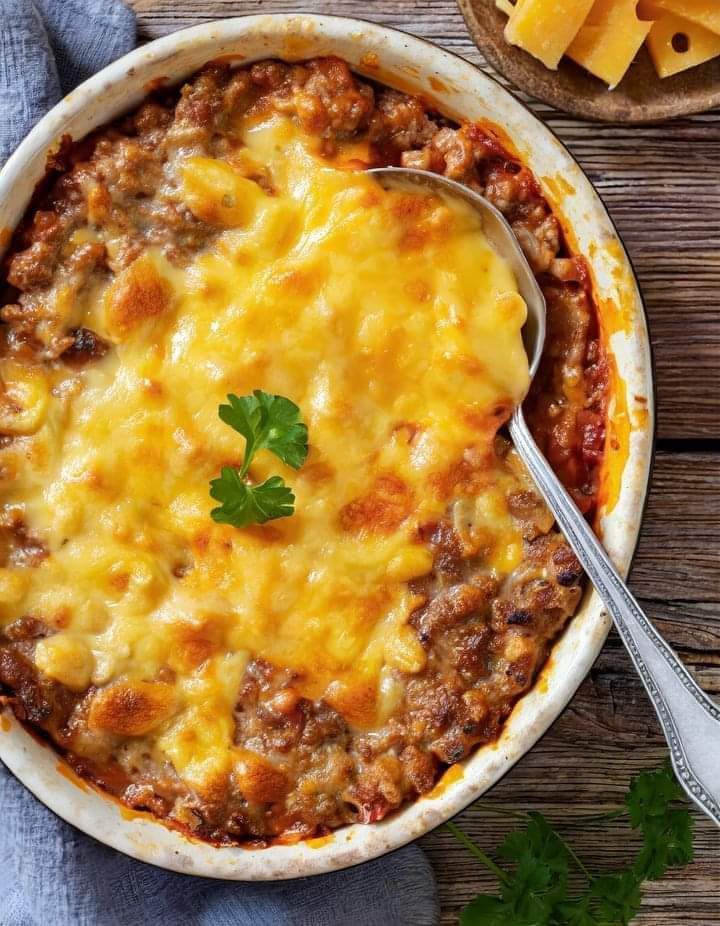
GROUND BEEF CASSEROLE
This ground beef casserole is so simple and healthful that I prepare it whenever I’m not sure what to serve for dinner. It is low in calories, low in carbs, and ketogenic if that’s a problem for you. Most importantly, it tastes great!
I keep vacuum-packed ground beef in the refrigerator at all times. It’s really quite practical. I use it to make a lot of delicious ground beef recipes, like meat pie, Korean ground beef, and kale casserole.
How is casserole made with ground beef made?
How simple is this dish with ground beef? Ground beef is rapidly browned with a few spices, cream cheese and shredded cheddar are added, and the mixture is baked until the cheese melts.
This recipe tastes great with onion powder, and it’s much faster to avoid dealing with slicing onions, so I purposefully left it without any chopped onions.
Ingredients:
- Pan spray with olive oil
- Two pounds of extra-lean (93% lean) ground beef
- A tsp fine sea salt and a ¼ tsp black pepper
- two tsp powdered garlic
- One tsp powdered onion
- One-fourth tea
- spoon of cayenne
- Cubed 4 ounces of reduced fat cream cheese,
- divided 2 tablespoons of minced parsley as garnish,
- and 1 cup of shredded cheddar
INSTRUCTIONS
- Set oven temperature to 400 degrees Fahrenheit. Grease a 2-quart casserole dish very lightly with olive oil and place it aside.
- A big nonstick skillet should be heated over medium-high heat. Apply a little layer of olive oil on it.
- To the skillet, add the ground meat. Cook for about 5 minutes, stirring occasionally and breaking up the meat into small pieces, or until it is no longer raw. If desired, remove the steak from the skillet (I personally don’t bother with this step).
- Turn down the heat to medium. Season the beef with salt, pepper, onion powder, garlic powder, and cayenne. Gently stir in the cream cheese and stir until it melts completely.
- After turning off the heat, stir in half of the shredded cheddar cheese with the meat mixture.
- Pour the mixture into the 2-quart casserole dish that has been ready. Top with the remaining half cup of cheddar cheese.
- For about ten minutes, or until the cheese is melted, bake the ground beef casserole. Add parsley as a garnish and serve.
- Enjoy!