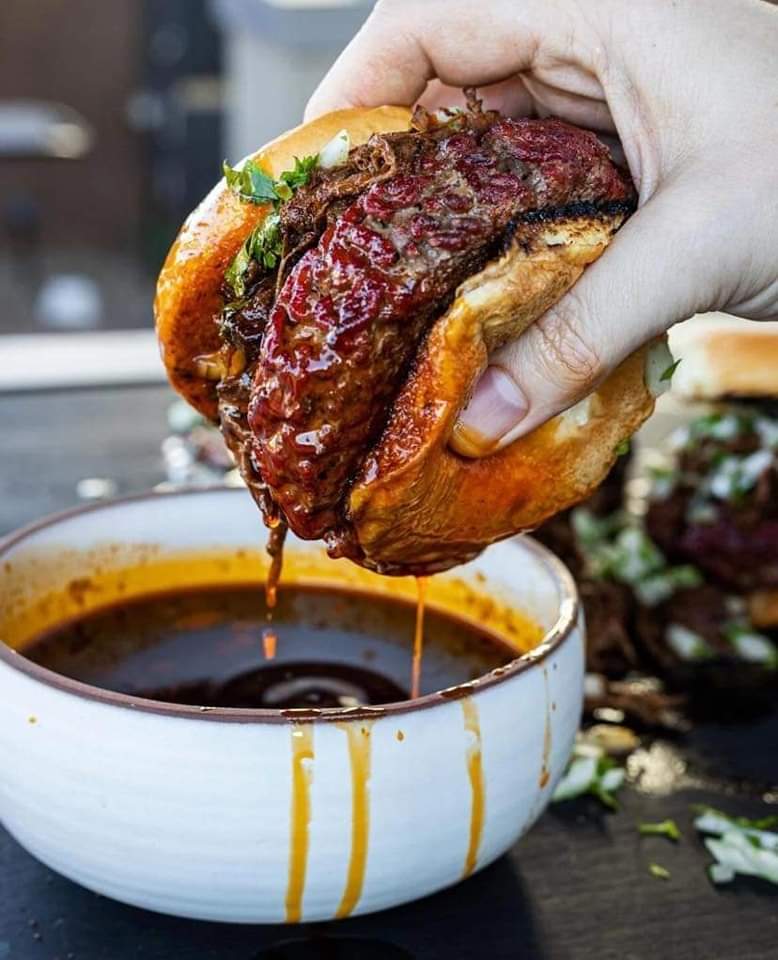
Southern Brisket Grilled Cheese
Barbecue and grilled cheese sandwiches are two of my favorite foods ever. The resulting recipe mixes the two to create a mouthwateringly excellent feast. There’s no better way to use up leftover brisket than in this crunchy, cheesy, meaty, melt-in-your-mouth sandwich, I promise.
To season the meat, you can use any kind of barbecue sauce. I want ones that are spicy, sweet, and possibly infused with bourbon. You can also use a milder or tangier sauce if that’s your preference. Using wonderful leftover brisket, high-quality cheese, and fluffy white bread are essential ingredients. Now is the perfect time to use your cast iron pan or griddle, if you have one.
Ingredients
- 8–10 ounces of cooked, shredded brisket
- Half a cup of barbecue sauce
- Eight pieces of white bread
- 1/4 cup room temperature unsalted butter
- Two cups of cheddar cheese, shredded
Guidelines
1. Combine the barbecue sauce and beef in a medium-sized bowl.
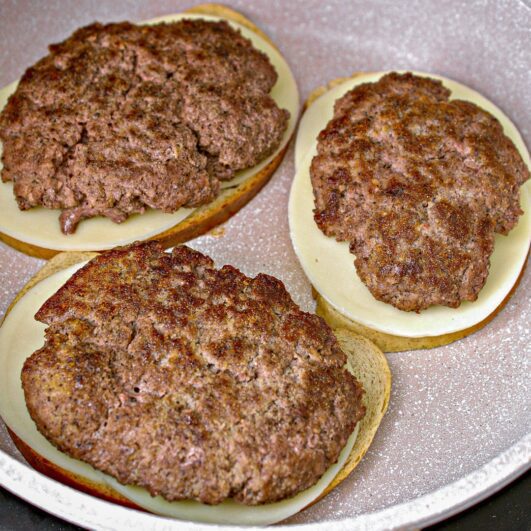
2. Spread butter on one side of each of the two pieces of bread and place, butter side down, in a large skillet over medium heat.
3. Put a small amount of cheddar cheese on top of each piece.
4.Next, top each slice of bread with a layer of brisket.
5. Place a second handful of cheese and the remaining buttered side-up bread slices on top. Close the skillet’s lid.
6. Cook the bread for 4 minutes on each side, or until the cheese has melted and the bread is golden brown.
7. Prepare the final two sandwiches in the same manner.
8. Cut each sandwich in half, then present it warm.