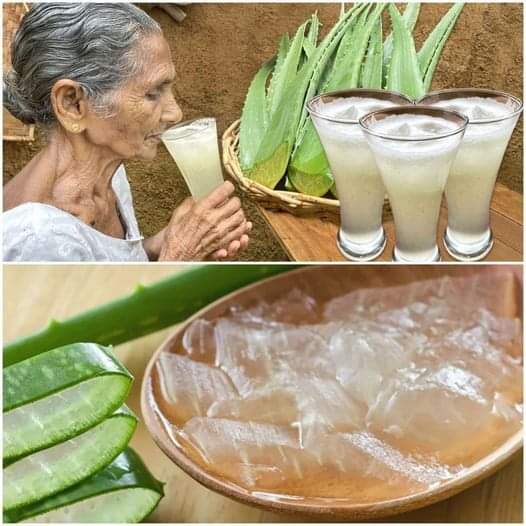
Savor Longevity with Every Sip: The Secret of Oregano, Sage, and Rosemary Tea
Amidst the rich tapestry of nature’s most exquisite gifts, several plants have been treasured for millennia for their significant health advantages, in addition to their olfactory appeal. In this sense, three herbs—oregano, sage, and rosemary—stand out as a trinity that have been associated with energy and a full life. It’s interesting to note that societies who incorporate these herbs into their regular routines frequently stand out as models of longevity and health. So, with beautiful plants in his garden, why should a guy be concerned about the passing of time?
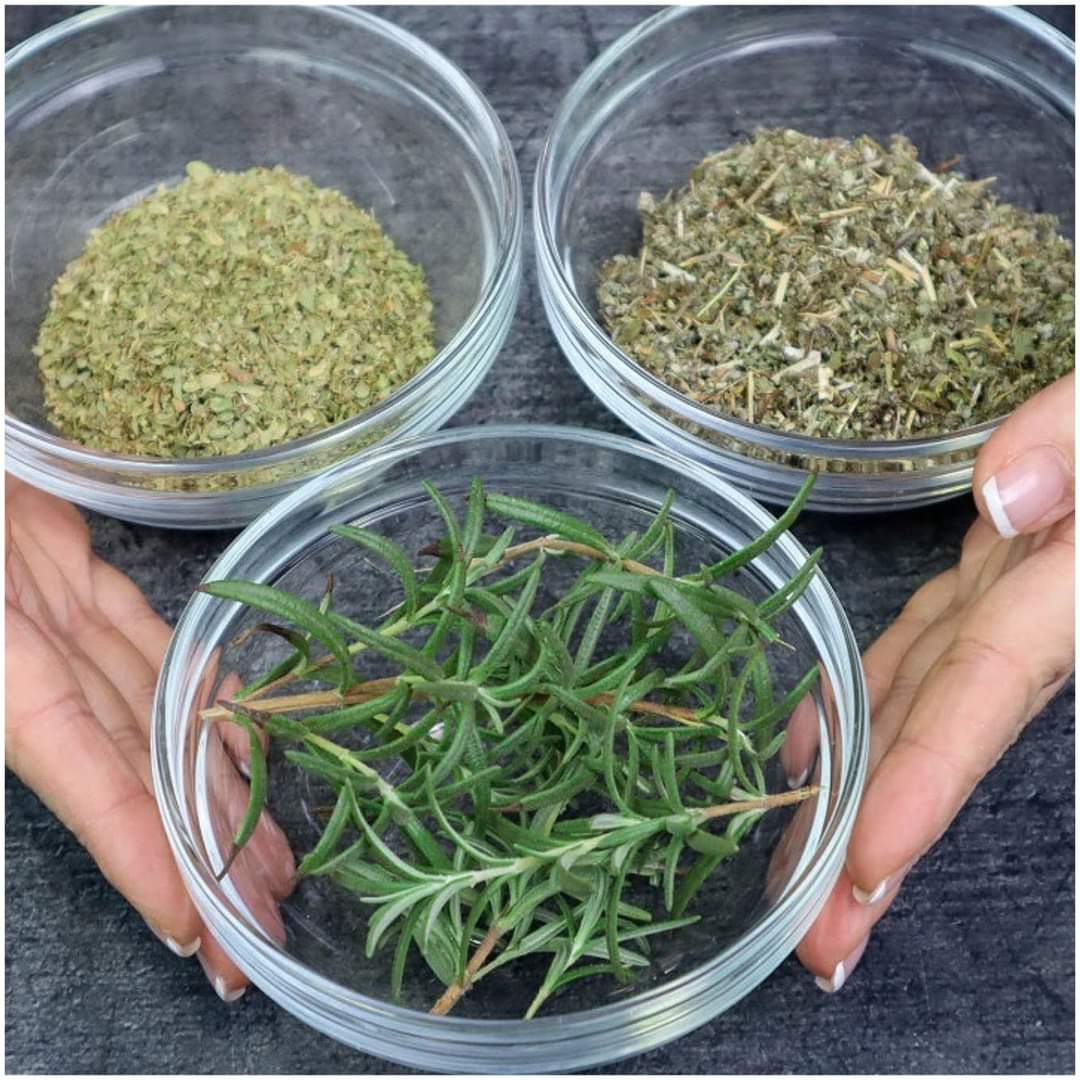
Oregano: The Healing Herb
- First up, we have oregano, a herb that is widely used in kitchens worldwide and a powerful source of antioxidants. The body uses these substances as its strongest protection against chemicals known as free radicals.That may contribute to cancer, heart disease, and other illnesses. Oregano is a natural defender that strengthens our immune system and shields our cells from harm.
Sage: A Leaf’s Wisdom
- Then, as its name suggests, sage adds knowledge to our wellness routines. It is well known for its ability to improve memory and brain function. Sage relieves mental tension and fosters clarity and calmness in a cup of tea. It is a mild tonic for the mind. It is also a useful ally in promoting general health because of its anti-inflammatory and antioxidant qualities.
Rosemary: An Aroma of Eternity
- And last, rosemary is useful for more than just cooking thanks to its unique scent. It is said to strengthen the neurological and circulatory systems.energizing the body and mental faculties. Rosmarinic acid, the key ingredient in rosemary, is well known for its anti-inflammatory and antioxidant properties, which contribute to the herb’s reputation as a means of maintaining a youthful and vibrant body.
A Tea Honoring Life
- Imagine these three amazing herbs combined in a tea. It’s a ceremony that celebrates the body’s resiliency and the kindness of nature, not just a drink. This tea symbolizes a history of health that promotes a harmonious, well-balanced life.
- Including a cup of this herbal blend in your daily routine is a celebration of life itself, not just a health tactic. It’s a toast to the wisdom of using natural cures, the simplicity and abundance of nature, and the happiness of every moment.that have endured over time.
- When you have rosemary, sage, and oregano by your side, why worry about the years? Let’s toast to good health, joy, and a life well lived, surrounded by the most beautiful things in the natural world.