A Low Calorie and Healthy Recipe

 A Low Calorie and Healthy Recipe

Losing Weight Eating This Dinner!

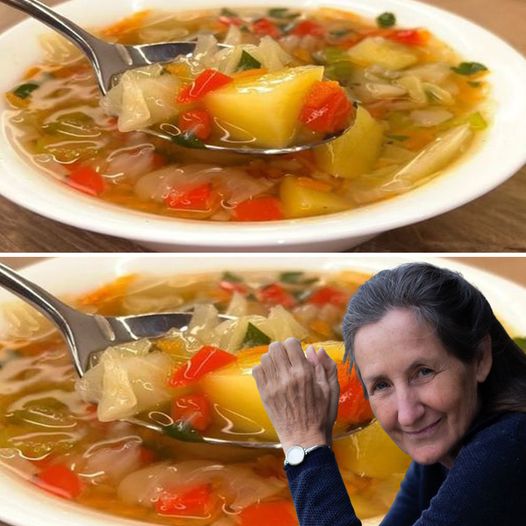
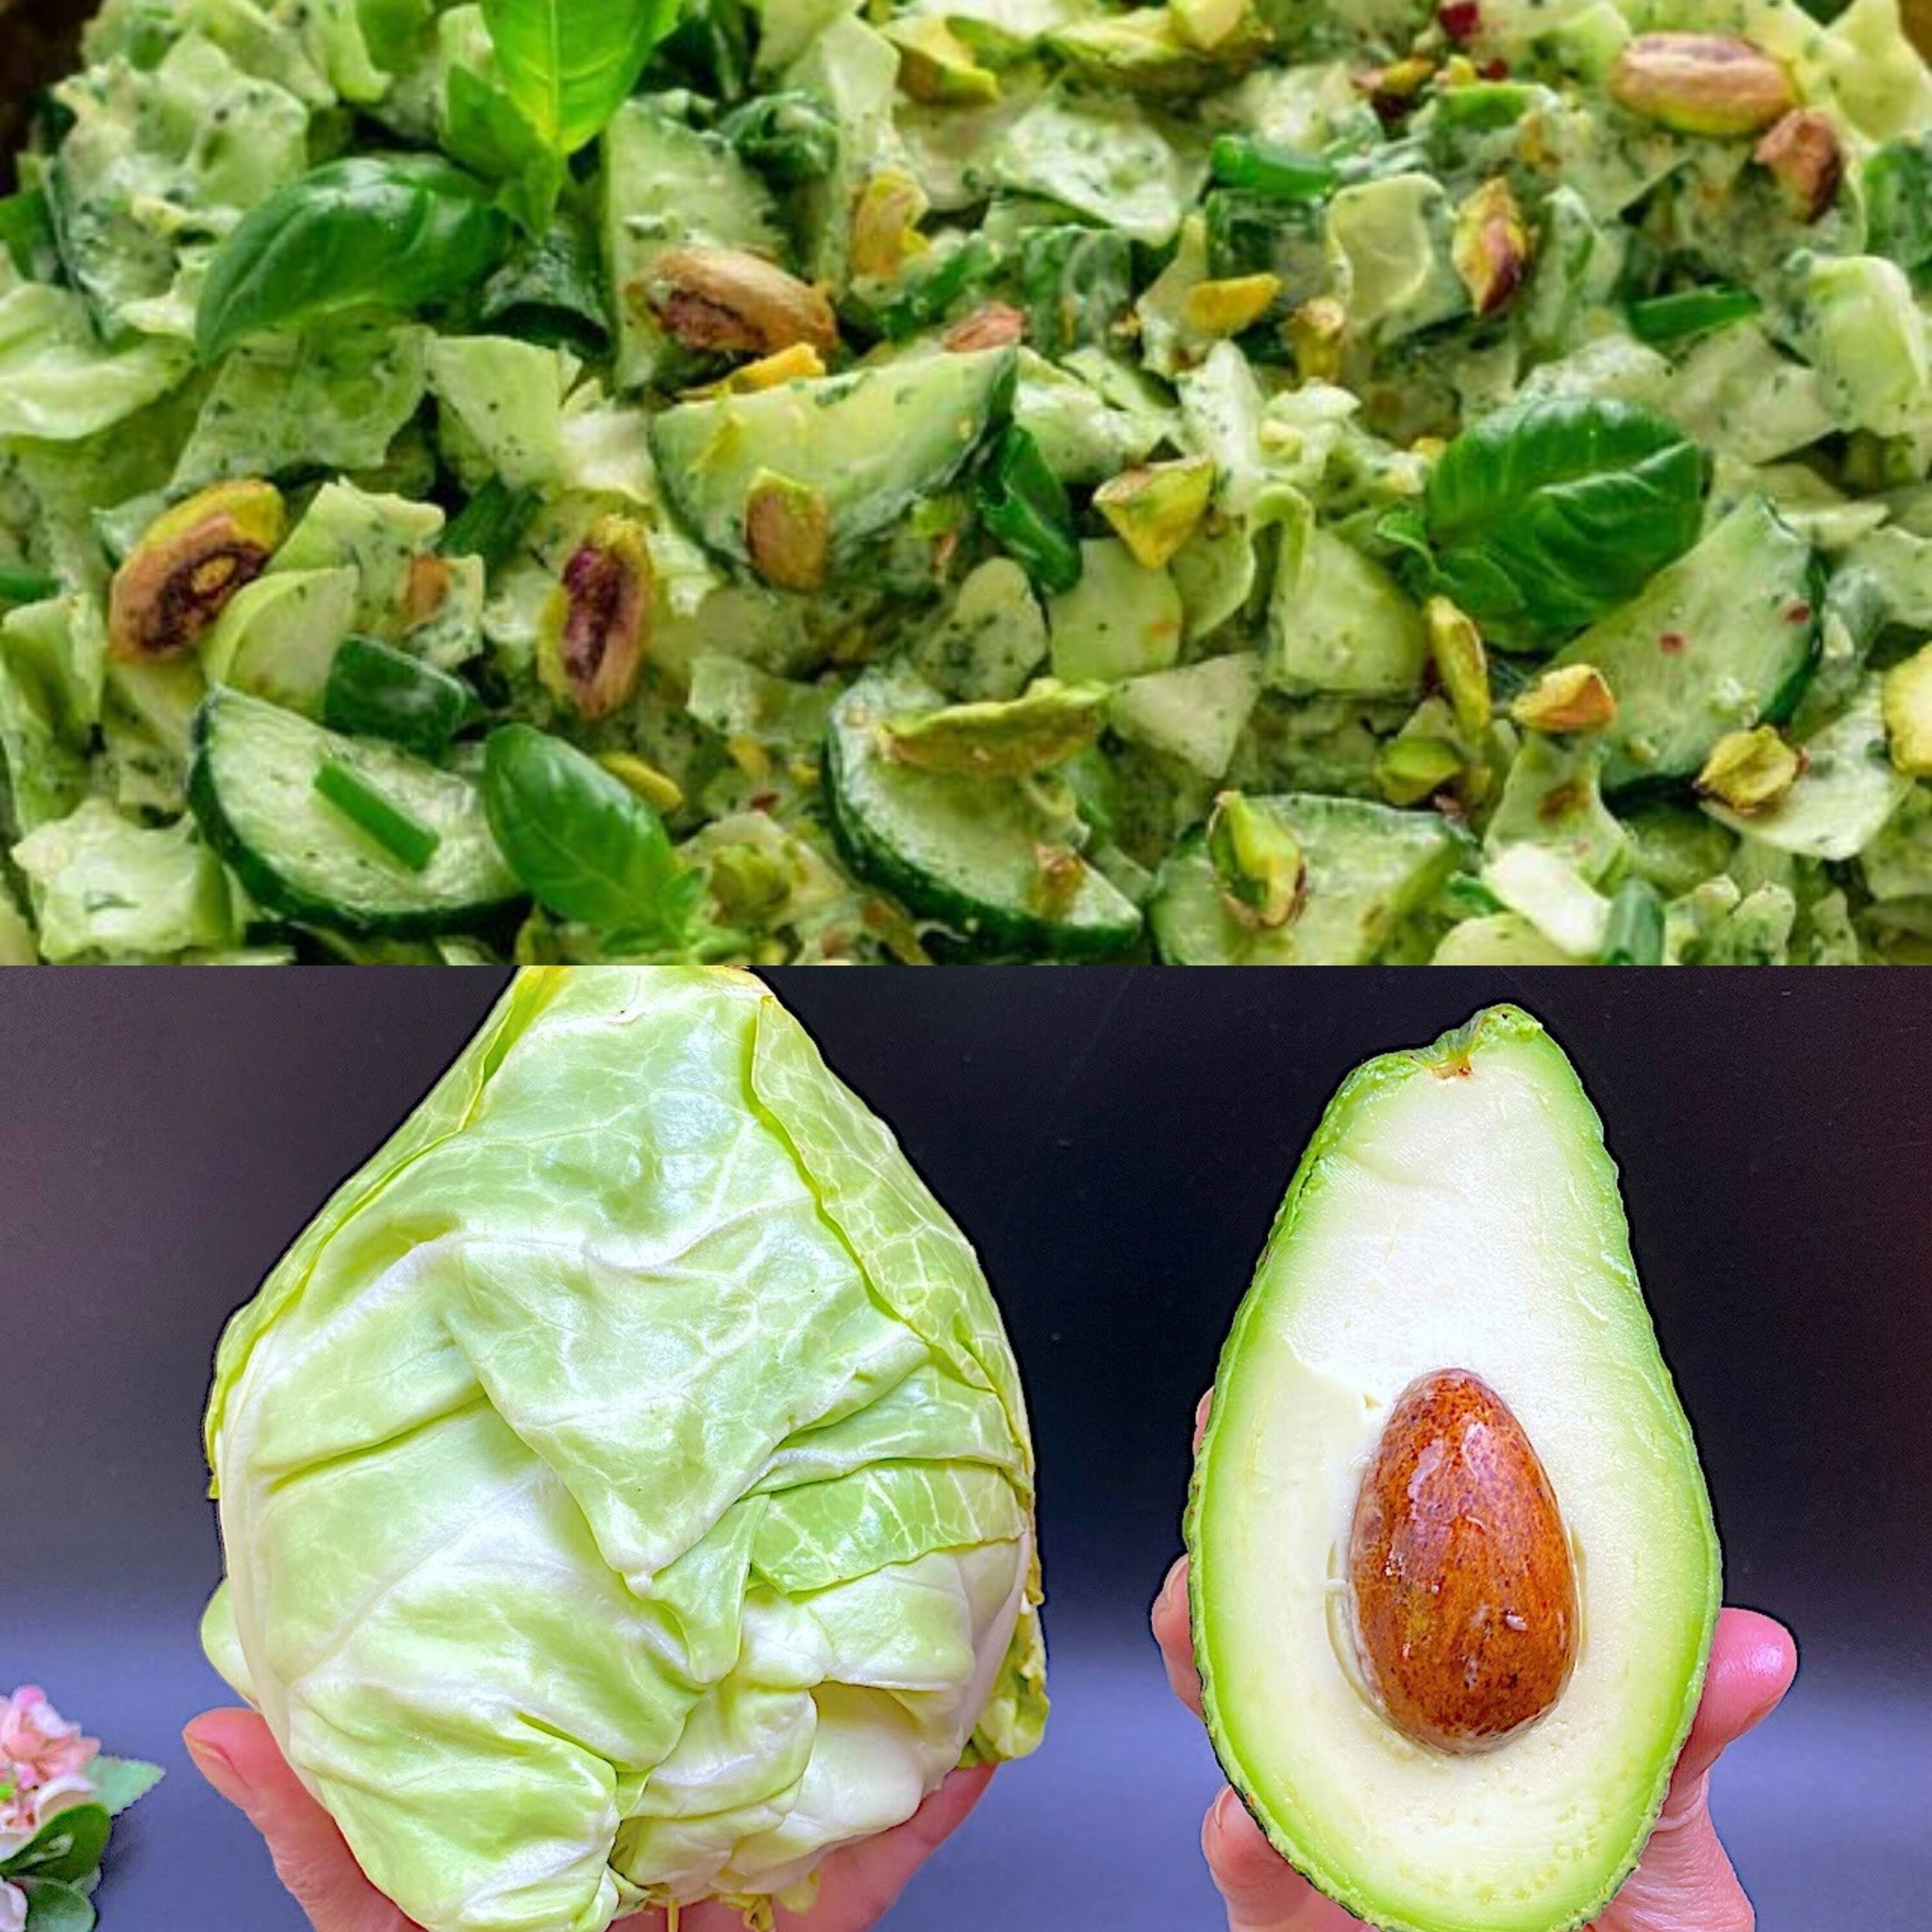
You don’t have to give up flavour or enjoyment to lose weight. This tasty and wholesome dinner of cabbage and avocado will provide you with a satisfying, low-calorie, and health-promoting meal. It’s ideal for anyone who wants to have a filling supper and lose a few pounds.

Ingredients:

  1. One and a half heads of cabbage
  2. One mature avocado
  3. One tablespoon of olive oil
  4. one garlic clove
  5. one lime’s juice
  6. To taste, add salt and pepper.
  7. A few cherry tomatoes are optional but provide flavour and colour.

Directions:

  1. The crunchy texture of cabbage and the creamy smoothness of avocado come together in this easy-to-make but fulfilling recipe to make a delicious and healthful supper.

Why Are These Ingredients Used?

  • Cabbage: While cabbage is low in calories, it is strong in fibre, which prolongs feelings of fullness. It also has a lot of antioxidants, vitamins C and K, and other nutrients that promote general health and help with weight loss.
  • Avocado: Rich in nutrients, avocado is a food that offers fibre, healthy fats, and vital vitamins and minerals. While avocados are higher in calories than most fruits, their healthy fats promote satiety and help regulate metabolism, making them a great addition to a weight-loss diet.

How to Prepare Your Cabbage and Avocado Dinner:

  1. To prepare the cabbage, first wash it and thinly slice it into half a head. This will be the foundation of your meal, giving you lots of volume without a lot of calories.
  2. Sauté the Cabbage: Place one tablespoon of olive oil over medium heat in a large pan. Add one minced garlic clove and cook until aromatic. Next, add the chopped cabbage and simmer, turning periodically, for approximately 5 to 7 minutes, or until the cabbage is soft but still somewhat crunchy.
  3. Add salt and pepper to taste while spicing the sautéed cabbage. For added zest, feel free to squeeze in some lime juice.
  4. Prepare the Avocado: Halve a ripe avocado, remove the pit, and scoop out the flesh into a bowl as the cabbage cooks. Using a fork, mash the avocado until it’s smooth and creamy. Incorporate the lime juice and adjust the seasoning with a dash of salt and pepper.
  5. Mix and Serve: Take the cabbage off of the hob and place it onto a platter. Place the mashed avocado on top. You may also sprinkle some halved cherry tomatoes on top for colour and flavour.

TIPS:

Utilise foods that are ripe and fresh for optimal flavour and health benefits.

Pair with Protein: To make your meal more well-balanced, think about serving lean protein sources like tofu or grilled chicken on the side.

Enjoy Often: To assist with your weight reduction efforts, including this nutritious supper in your weekly meal plan.

This tasty, low-calorie choice, made with cabbage and avocado, is ideal for anybody trying to shed pounds without sacrificing flavour or enjoyment. Savour this nutritious dinner and feel good about feeding your body with real foods. Salutations!

Homemade lemon jam

Homemade lemon jam

Homemade lemon jam: simple and quick recipe

With this easy and fast recipe for Homemade Lemon Jam, you can capture the colourful essence of lemons. This wonderful jam, bursting with citrus sweetness, is a fantastic addition to desserts or a zesty boost to your morning table. The finest aspect? It just needs a few ingredients and is very simple to create. Together, we can turn this homemade lemon jam into a jar of sunshine that will enhance your culinary creations.

Ingredients:

  1. 4 large lemons, preferably organic (for zest and juice)
  2. 2 cups granulated sugar
  3. 1/4 cup water

Directions:

1. Prepare the Lemons:

  1. To get rid of any wax or residue, give the lemons a good cleaning.
  2. Zest two of the lemons using a zester or fine grater. Put the zest aside.
  3.  Press the juice from all four lemons to get about a cup of fresh lemon juice. Remove pulp and seeds using a strainer.

2. Allow Lemon Zest to Cook:

  • Put the water and lemon zest in a saucepan.
  •  Cook the mixture for approximately five minutes over medium heat, bringing it to a moderate boil. This lessens any bitterness and helps to mellow the zest.

3. Add Sugar and Lemon Juice:

  • Add the powdered sugar and stir until it fully melts.
  • Add the freshly squeezed lemon juice and give everything a good swirl.
     

4. Simmer to Jam Consistency:

  • Over medium-high heat, bring the mixture to a boil.
  • After it boils, turn down the heat so that it simmers. Stir from time to time.
  • Simmer until the liquid thickens to the consistency of jam, about 20 to 25 minutes. To check, place a small amount on a cold plate; if it wrinkles when pushed with your finger, it’s ready.

5. Test and Adjust:

  • After tasting the jam, you can add extra sugar or lemon juice to make it more sweet or sour to your taste.

6. Chill and Store:

  •  Give the jam several minutes to cool.
  •  Fill sterilised jars with homemade lemon jam, leaving a little amount of headroom.
  •  Close the jars and allow the temperature to drop to room.
  •  Store the jam in the refrigerator for up to a few weeks.

7. Have fun:

  •  Spread this burst of sunshine on toast, use it as a filling for pastries, or swirl it into yogurt for a delightful treat

Conclusion:

A testament to the ease of preparation and freshness of handmade treats is homemade lemon jam. Add a spoonful of sunshine to your breakfasts and desserts with this jam, which captures the vibrant flavours of lemons in a sweet and tangy sauce. You may enjoy lemon flavour in a delicious and adaptable way with this simple and quick dish. Savour the crisp flavour of homemade lemon jam, which is sure to become a household mainstay. Cheers to creating jam!

Vegetable Soup

Vegetable Soup

Vegetable Soup: The Perfect Recipe for Managing Blood Sugar Levels

Are you trying to find a healthy and delicious approach to control your blood sugar? There’s nowhere else to look! This easy dish for vegetable soup significantly decreases blood sugar levels while also satisfying your palate. Let’s explore this culinary gem’s intricacies.

1. Overview: A Comforting Bowl of Goodness

Envision indulging in a warm cup of vegetable soup on a chilly evening, providing nourishment to your body and providing emotional comfort. Doesn’t it sound delightful? This soup, however, provides more than simply comfort. It’s an excellent method for controlling blood sugar levels.

2. The Secret Components: Simple but Effective

Here’s what you’ll need to create this amazing soup:

  1. 2 Potatoes
  2. 1 Carrot
  3. 1 Pepper
  4. 1 Cabbage
  5. 2 Stalks of Celery
  6. 1 Onion
  7. Salt
  8. Basil
  9. Parsley

3. A Step-by-Step Guide: From Pot to Palate

Let’s get started with the cooking procedure:

  • Prepare the Base: To begin, put the potatoes and shredded carrot in a saucepan with two litres of water. Put it over medium heat and bring it to a simmer.
  • Add Taste: After the potatoes are tender, stir in the chopped celery, cabbage, onion, and basil. Allow the flavours to combine.
  • Last Bite: Add the red pepper and minced parsley to complete. Simmer for five more minutes with a lid on the pot. And viola! It’s time to serve your vegetarian soup.

4. The Ideal Combination: Take It to the Next Level

Even though this soup tastes great on its own, adding some hard grated cheese on top would intensify the flavour even more. I promise that it takes the flavour to a whole new level!

5. Why Vegetable Soup Is Beneficial: More Than Just Delicious

Vegetable soup tastes delicious and has a number of health advantages, such as:

  • Blood Sugar Regulation: This soup’s low glycemic index and high fibre content assist to keep blood sugar levels stable.
  • Packed with Nutrients: Packed with antioxidants, vitamins, and minerals, it boosts your immunity and fosters overall well-being.
  • Weight control: Eating a cup of soup before to meals will help reduce appetite and promote weight reduction.
  • Hydration: This soup keeps you feeling full and hydrated because of its high water content.

So feel free to indulge in a cup of this delicious vegetable soup. It will not only please your palate but also assist you in controlling your blood sugar levels. Remain well and have fun!

Elevate Your Coffee Game with a Surprising Twist

Elevate Your Coffee Game with a Surprising Twist

Elevate Your Coffee Game with a Surprising Twist: Lemon Infusion

Are you a coffee enthusiast hoping to infuse your morning brew with something new and refreshing? There’s nowhere else to look! We have a straightforward yet unexpected trick that will blow your coffee experience out of the water. You’ll be amazed at the distinct flavour and energising kick that a little lemon added to your coffee powder can provide to your cup. Let’s explore this surprising pairing and see how it might revitalise your daily routine.

Unveiling the Lemon-Coffee Fusion

Achieve Soft Wrinkle Free Hands with Vaseline and Tomato

Achieve Soft Wrinkle Free Hands with Vaseline and Tomato

Achieve Soft Wrinkle Free Hands with Vaseline and Tomato

It might be difficult to keep smooth, supple hands, especially after numerous washings and outside weather exposure. Nonetheless, you may revitalise your hands with a straightforward home cure that just requires Vaseline and tomato to make them feel and look younger. For those who want to restore moisture and minimise wrinkles without having to spend a lot of money on treatments, this simple and inexpensive solution is ideal.

Benefits of Vaseline and Tomato for Hands

Tomatoes and Vaseline both have certain advantages that make them great for hand care:

  • Petroleum jelly, often known as Vaseline, is a well-known moisturiser that helps seal in moisture to ward against dryness and cracking. It helps the skin recover and retain moisture by creating a barrier of defence.
  • Tomato: Packed with vitamins and antioxidants, especially lycopene and vitamin C, tomatoes shield the skin from the elements and encourage the formation of collagen, which can minimise the appearance of wrinkles.

How to Use Vaseline and Tomato for Soft Hands

Here’s how to use these materials to cure rough hands in a straightforward, step-by-step manner:

Components:

  1. One ripe tomato
  2. Use Vaseline

Guidelines:

1. Get the tomato ready:

Cut the tomato in half to begin. For a more severe treatment, you can purée the tomato or use fresh tomato slices.

2. Apply Tomato to Your Hands:

  • Make sure you massage all over your hands with the tomato halves, paying particular attention to any dry spots or wrinkles. Use the pureed tomato to cover your hands like a mask.
  • Give the juice five to ten minutes to rest on your skin. Tomatoes naturally contain acid, which promotes blood circulation and aids in exfoliating dead skin cells.

3.Rinse and Dry:

  • When the allotted treatment time has passed, rinse your hands with cold water and gently pat dry with a gentle cloth.

4.Apply Vaseline:

Use a large quantity of Vaseline to seal in the moisture while your hands are still somewhat damp. The moisture from the tomato therapy will remain sealed into your skin thanks to the barrier that Vaseline creates.

Brighten Your Smile Naturally with Instant Coffee

Brighten Your Smile Naturally with Instant Coffee

Brighten Your Smile Naturally with Instant Coffee: A Quick and Effective Home Whitening Method

Getting a whiter smile doesn’t necessarily mean going to the dentist or spending a lot of money on procedures. It may surprise you to learn that instant coffee, a common household commodity, works well for at-home teeth whitening. Although coffee is commonly associated with tooth discoloration, there are instances in which it can aid in polishing and cleaning the enamel. Let’s look at a two-minute, natural teeth-whitening method that uses instant coffee.

Benefits of Using Instant Coffee for Teeth Whitening

Crafting Homemade Mozzarella with an Ancient Recipe

Enjoy the fruits of your labor with vine-ripened tomatoes, fresh basil, and a drizzle of olive oil for a truly classic experience!

Crafting Homemade Mozzarella with an Ancient Recipe

Imagine using a recipe that has been around for more than 2000 years to make fresh mozzarella in your own home! With just two basic materials, you may easily do this wonderful activity that will take you back to the origins of traditional cheese-making. Here’s how to make this classic treat that will bring a little of antiquated cooking to your table.

1. Required Ingredients
To begin creating mozzarella, gather the following:

  1. One gallon of whole milk—ideally unpasteurized and fresh—
  2. one-fourth cup of citric acid solution or lemon juice

You only need these basic elements to get started, which haven’t changed over the ages.

2. Warm the milk.
Fill a big saucepan with your milk to start. To avoid burning, slowly heat the milk to 90°F (32°C), stirring often. It is important to gently warm the milk proteins since this helps them to coagulate correctly without becoming rubbery.

3. Add Lemon Juice or Citric Acid

The milk should be the proper temperature before you add your citric acid solution or lemon juice. After about 30 seconds of gentle stirring, stop. As the acid works to separate the curds from the whey, you’ll observe the milk starting to curdle.

4. Check the Curd

Allow the milk to stand undisturbed for five to ten minutes after adding the acid. The curd ought to be sufficiently stiff to cut with a knife and to separate from the pot’s edges. Allow it to rest for a few more minutes if it’s still too soft.

5. Cut and Cook the Curd

After the curd sets, cut it into cubes while it’s still in the saucepan and reheat it to around 40°C, or 105°F. This procedure aids in the curds’ subsequent solidification. To prevent them from sticking together, gently stir.

6. Drain and Stretch

To remove the whey, move the curds to a cheesecloth or strainer. The exciting part will next begin: stretching! The curds should be quickly heated in a microwave or hot water until they become stretchy. Shape the curds into a ball as you stretch and fold them repeatedly until the cheese is glossy and smooth.

7. Cool and Store

After shaping, place the mozzarella into an ice water basin to solidify its form and reduce its temperature. Your handmade mozzarella is ready to eat when it has cooled. To keep it wet, store it in the fridge partially soaked in whey or brine.

Why Make Your Own Mozzarella?
Freshness and Flavour: Nothing beats the flavour of freshly whipped mozzarella.

A Hint of History: Delight in interacting with a traditional cooking technique that has been satisfying palates for generations.

DIY satisfaction: Making something wonderful by hand gives you a special sense of fulfilment.

It’s not only about producing cheese with these traditional two-ingredient mozzarella recipes; it’s also about bringing a little of culinary history into your own kitchen.  Enjoy the fruits of your labor with vine-ripened tomatoes, fresh basil, and a drizzle of olive oil for a truly classic experience!

Turmeric Coffee

Turmeric Coffee

Turmeric Coffee: A Simple Recipe with Many Health Benefits

Overview Envision beginning your day with a cup of coffee that improves your health in addition to waking you up. Turmeric coffee is a tasty and nourishing beverage that combines the well-known health benefits of turmeric with the soothing warmth of coffee. This easy dish is a great way to get the many health benefits of turmeric and get more of it in your diet.

Why Is There Turmeric in Coffee? The vivid yellow spice turmeric, which is frequently used in Indian cooking, has long been praised for its antioxidant and anti-inflammatory qualities. Turmeric’s key ingredient, curcumin, has been connected to lowered risk of chronic illnesses, antioxidant protection, and even less inflammation. Blending turmeric with the invigorating properties of coffee gives your daily routine a nutritious twist.

Components To prepare coffee with turmeric, you’ll need:

  1. One cup of just made coffee
  2. half a teaspoon of powdered turmeric
  3. one-fourth teaspoon of cinnamon
  4. 1/8 teaspoon of black pepper (to improve the absorption of turmeric)
  5. One teaspoon of maple syrup or honey (optional; for sweetness)
  6. A little amount of milk or a substitute for milk (optional, to add smoothness)

Getting Ready:

  1. Brew Your Coffee: To begin, make your preferred cup of coffee as you usually would. Any brewing method—such as an espresso machine, French press, or drip coffee maker—will function flawlessly.
  2. Add Spices: When the coffee is hot, mix in the black pepper, cinnamon, and turmeric. These spices boost the drink’s health advantages in addition to improving its flavour.
  3. Sweeten and Lighten: To taste, add honey or maple syrup to your coffee if you want it sweet. If you want your coffee creamier, add a dash of your favourite milk or milk substitute.
  4. Mix Well: Make sure that every component is well combined. To properly incorporate the turmeric and get rid of any powdered texture, you might wish to whisk the coffee and spices in a small saucepan over low heat for optimal results.

summary

In summary Beyond merely being a fashionable beverage, turmeric coffee is a delicious and beneficial complement to your daily routine. With only one cup, you may significantly improve your general health by consuming this beverage, which combines the strong, rich taste of coffee with the health benefits of turmeric. Turmeric coffee is incredibly warming and simple to make, making it an ideal choice for anybody wishing to improve their health while still enjoying the comforts of coffee. Have a cup in the morning tomorrow and start your day with a spice-filled boost!

Red Onion and Tomato for Youthful Skin

Red Onion and Tomato for Youthful Skin

Using natural nutrients like tomato and red onion may dramatically revitalise and freshen the appearance of your skin, however it may seem too good to be true. Many people attest by the effectiveness of this easy at-home cure for tightening and revitalising skin. Here’s how to include some everyday items from your kitchen in your beauty routine to maybe appear years younger.

1. Benefits of Red Onion and Tomato

  • Carrot: Packed with vitamins A, C, and E, carrots are great for your skin. They can enhance collagen formation, which is essential for skin suppleness, and help shield the skin from free radicals that cause premature ageing.
  • Tomato: Rich in antioxidants, especially lycopene, which helps skin look younger and has anti-aging qualities, tomatoes are a superfood. Additionally, they have acidity, which helps close pores and shield skin from acne.

2. Creating a Face Mask with Red Onion and Tomatoes

Components:

  1. One little red onion
  2. One ripe tomato
  3. One teaspoon honey, optional for further moisturising properties

Getting ready:

  1. After peeling, put the red onion in a blender and process until smooth.
  2. Blend the tomato puree and add the red onion paste.
  3. Because honey has calming and moisturising qualities, add it to the mixture.
  4. Don’t forget to ignore the delicate area around your eyes when applying the mixture to your face and neck.
  5. After applying the mask for around twenty minutes, rinse it off with cold water.

3. When to Take This Treatment

  • Try using this mask twice a week for optimal benefits. To achieve changes in skin tightness and complexion overall, consistency in use is essential.

4. Why This Fix Is Effective

  • When red onion and tomato are combined, a potent mix of nutrients and antioxidants is produced that is ideal for preventing the appearance of ageing. Both compounds’ natural acids encourage a tightening action that may give the skin a tighter appearance.

5. Additional Tips

  • Prior to using new products all over your face, always perform a patch test on a tiny portion of your skin.
  • To keep your skin moisturised, use a mild, non-comedogenic moisturiser after the treatment.

Red onion and tomato are two natural components that can help preserve the skin’s young resilience and radiance, even if no treatment can completely turn back time. This at-home remedy is proof of how nature can nourish and revitalise our skin in the most natural way imaginable. Try it out, and you could discover that your complexion has changed to one that is glowing.


The Magic Potato Remedy for Cracked Heels

The Magic Potato Remedy for Cracked Heels

The Magic Potato Remedy for Cracked Heels

It might be difficult and ugly to suffer with cracked heels, but what if you could easily find a natural remedy? You may use potatoes, which are usually present in your kitchen, for a homemade cure that might give you the smooth, soft heels you’ve always wanted in a matter of days. Here’s how to heal your foot with this common veggie.

1. Why Are Potatoes Used?

  • Natural Moisturisers: Vitamins C and B6 are abundant in potatoes and are essential for healthy, regenerating skin. Additionally, they contain potassium, which effectively hydrates and moisturises the skin.
  • Exfoliating Properties: Potatoes’ slight acidity aids in exfoliation by dissolving dead skin cells on the rough surfaces of your heels.

2. Preparing the Potato Remedy

Ingredients:

  1. One huge potato
  2. lukewarm water
  3. Foot cream or moisturiser

Guidelines:

  1. After giving the potato a thorough wash, cut it into thick slices without peeling it (the skin has nutrients that are good for you).
  2. Make sure the juice reaches every crevice on your heels by rubbing these slices over them.
  3. Give your heels a good fifteen to twenty minutes to dry out from the potato juice.
  4. After the juice has dried, give your feet a ten-minute soak in lukewarm water.
  5. To get rid of the softened dead skin, gently exfoliate the heels with a pumice stone or foot scrubber after soaking them.
  6. After patting dry, use a heavy moisturiser or foot lotion on your feet.
  7. Make sure the juice reaches every crevice on your heels by rubbing these slices over them.
  8. Give your heels a good fifteen to twenty minutes to dry out from the potato juice.
  9. After the juice has dried, give your feet a ten-minute soak in lukewarm water.

3. How Often Should You Apply This Remedy?

Use the potato treatment every day for three days or more to achieve noticeable results. You can cut down on the treatment to twice a week for ongoing maintenance to keep the skin smooth and stop new cracks from developing.
4. Additional Tips for Better Results

  • Use foot lotion each night before going to bed to keep your feet moisturised.
  • After moisturising, put on socks to keep the moisture in all night.
  • Drink lots of water to keep hydrated, as this is good for your skin’s general health.

5. The Benefits of Persistence

  • This potato cure may be used regularly to restore and revitalise damaged heels, making them supple, smooth, and soft again. It’s an economical, all-natural approach that uses the therapeutic qualities of a popular kitchen ingredient instead of harsh chemicals.

Try this magic potato cure, and with each application, take a step towards healthier, more attractive feet. It’s an easy-to-use, all-natural remedy for anybody with dry, cracked heels.