Crafting Homemade Mozzarella with an Ancient Recipe
Imagine using a recipe that has been around for more than 2000 years to make fresh mozzarella in your own home! With just two basic materials, you may easily do this wonderful activity that will take you back to the origins of traditional cheese-making. Here’s how to make this classic treat that will bring a little of antiquated cooking to your table.
1. Required Ingredients
To begin creating mozzarella, gather the following:
- One gallon of whole milk—ideally unpasteurized and fresh—
- one-fourth cup of citric acid solution or lemon juice
You only need these basic elements to get started, which haven’t changed over the ages.
2. Warm the milk.
Fill a big saucepan with your milk to start. To avoid burning, slowly heat the milk to 90°F (32°C), stirring often. It is important to gently warm the milk proteins since this helps them to coagulate correctly without becoming rubbery.
3. Add Lemon Juice or Citric Acid
The milk should be the proper temperature before you add your citric acid solution or lemon juice. After about 30 seconds of gentle stirring, stop. As the acid works to separate the curds from the whey, you’ll observe the milk starting to curdle.
4. Check the Curd
Allow the milk to stand undisturbed for five to ten minutes after adding the acid. The curd ought to be sufficiently stiff to cut with a knife and to separate from the pot’s edges. Allow it to rest for a few more minutes if it’s still too soft.
5. Cut and Cook the Curd
After the curd sets, cut it into cubes while it’s still in the saucepan and reheat it to around 40°C, or 105°F. This procedure aids in the curds’ subsequent solidification. To prevent them from sticking together, gently stir.
6. Drain and Stretch
To remove the whey, move the curds to a cheesecloth or strainer. The exciting part will next begin: stretching! The curds should be quickly heated in a microwave or hot water until they become stretchy. Shape the curds into a ball as you stretch and fold them repeatedly until the cheese is glossy and smooth.
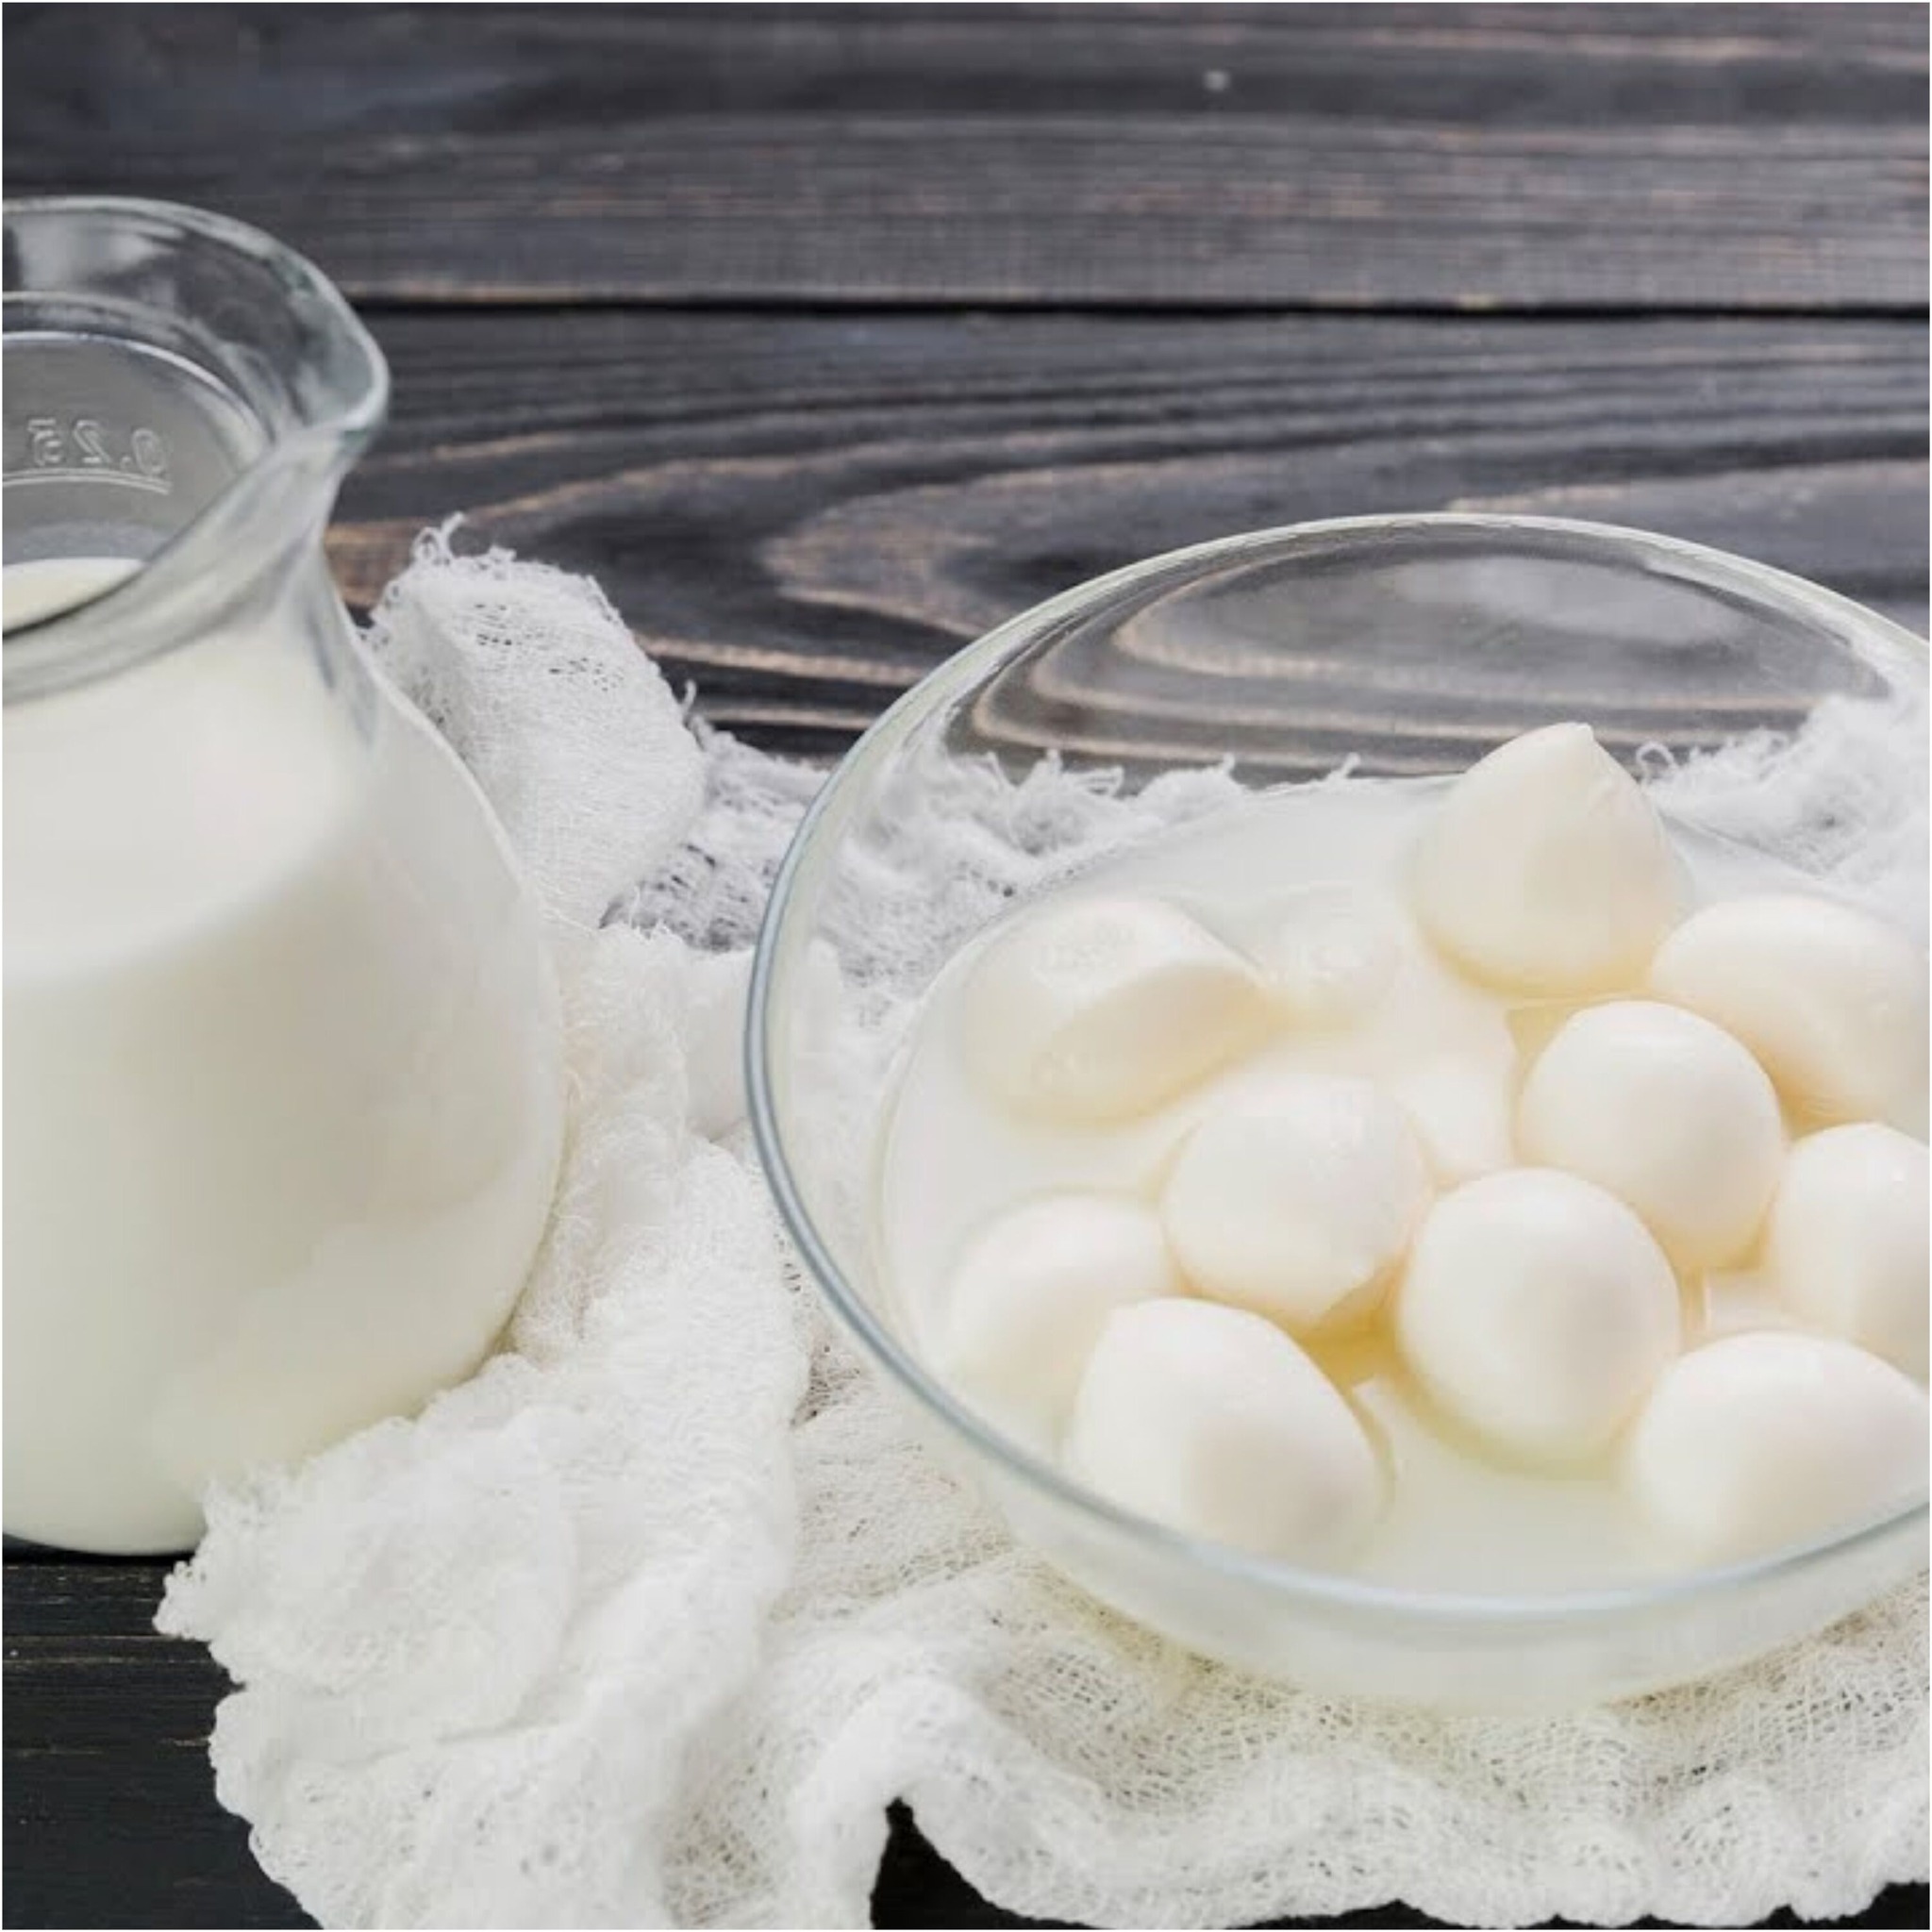
7. Cool and Store
After shaping, place the mozzarella into an ice water basin to solidify its form and reduce its temperature. Your handmade mozzarella is ready to eat when it has cooled. To keep it wet, store it in the fridge partially soaked in whey or brine.
Why Make Your Own Mozzarella?
Freshness and Flavour: Nothing beats the flavour of freshly whipped mozzarella.
A Hint of History: Delight in interacting with a traditional cooking technique that has been satisfying palates for generations.
DIY satisfaction: Making something wonderful by hand gives you a special sense of fulfilment.
It’s not only about producing cheese with these traditional two-ingredient mozzarella recipes; it’s also about bringing a little of culinary history into your own kitchen. Enjoy the fruits of your labor with vine-ripened tomatoes, fresh basil, and a drizzle of olive oil for a truly classic experience!