A Delicious Breakfast Recipe with Overripe Plantain and Egg: Irresistible Morning Delight

A Delicious Breakfast Recipe with Overripe Plantain and Egg: Irresistible Morning Delight‎‎

Overview Since breakfast is the most essential meal of the day, there’s no better way to start the day than with a tasty and filling dish that combines the richness of eggs and the sweetness of overripe plantains. It’s difficult not to crave more of this morning dish because it’s so delicious and simple to prepare. Let’s get started on how to quickly prepare this morning treat in a few easy steps.

Ingredients Required:

  1. One overripe plantain
  2. two eggs
  3. When cooking, use butter or olive oil.
  4. Herbs, salt, and pepper are optional for flavoring.

Detailed Instructions:

1. Get the plantain ready:

  • Depending on your preference, peel the overripe plantain and cut it into rounds or lengthwise strips.
  • If the plantain is extremely tender, To make cooking easier, you can slightly mash it with a fork.

2. Make Plantain Cooking:

  • Put a tablespoon of butter or olive oil in a skillet and heat it over medium heat.
  • When the plantain is golden brown and caramelized, add it to the skillet and cook it for two to three minutes on each side.

3. Let the eggs cook:

  • Crack two eggs into a bowl and beat lightly with a fork while the plantain cooks.
  • When the plantain is done, move it to one side of the skillet and fill the empty space with the beaten eggs.
  • Cook the eggs until they are thoroughly cooked and scrambled, stirring from time to time.

4. Blend and Flavor:

  • After the eggs are done, combine them with the plantain that has caramelized.within the skillet.
  • For more taste, season the mixture with salt, pepper, and your preferred herbs or spices.

5. Present and Savor:

  • Serve the plantain and egg combination hot after transferring them to a platter.
  • For a full and hearty meal, serve your delectable breakfast creation with a side of toast, avocado, or fresh fruit.

In summary It only takes a few basic ingredients and little work to make a delicious breakfast dish that will make you want more. The flavor combination of fluffy scrambled eggs and sweet, caramelized plantains will delight your palate and give you energy for the rest of the day. Try this delicious breakfast meal and you’ll have mornings to look forward to!

Cozy Comfort: Lemon and Cinnamon Warm Drink

Cozy Comfort: Lemon and Cinnamon Warm Drink

Nothing compares to the coziness of a warm drink in your hands on a chilly morning or evening. Today, we’re offering a simple yet incredibly cozy drink that combines the sweet, spicy warmth of cinnamon with the zesty freshness of lemon. This five-minute-to-make lemon-cinnamon beverage has several health benefits in addition to warming you up.

  • The Power Couple: Cinnamon and Lemon

The colorful citrus fruit lemon is rich in antioxidants and vitamin C, which strengthen the immune system and improve digestion. With its elements of sweetness and spice, cinnamon is well known for its anti-inflammatory and blood-sugar-regulating qualities. When combined, they provide a calming beverage that not not only keeps the cold at bay but also promotes wellness.

The Ideal Hot Concoction

A calming and energizing beverage is made when cinnamon and lemon are combined. When you want to unwind with something warm but don’t want to use caffeine, this is the perfect drink. Additionally, the invigorating smell of lemon and the perfume of cinnamon combine to provide a sensory experience that improves relaxation.

How to Make a Warm Drink with Lemon and Cinnamon

  • Making this soothing beverage is as simple as it gets. Here’s how to do it:
  • Pour some boiling water into your preferred mug.
  • After adding a cinnamon stick to the mug, soak it for two to three minutes so the water may absorb the tastes of cinnamon and sweetness.
  • Take out Add the cinnamon stick and squeeze in the half-lemon juice. You can also add a spoonful of honey if you like your drink sweeter.
  • You can now enjoy your warm lemon-cinnamon drink after giving it a good stir.
  • Comfort in a Cup
  • This beverage made with lemon and cinnamon is a ritual that nourishes the body and the soul, not merely a means to get warm. This is a simple drink that urges you to stop and enjoy the moment, whether you’re starting your day or slowing down in the evening. It’s evidence of how simple components may combine to make something quite unique. So keep this lovely mixture in mind the next time you need a little warmth and comfort. and allow its fragrances and tastes to envelop you in comfort.

GRILL CHEESE IN THE AIR FRYER

GRILL CHEESE IN THE AIR FRYER

GRILL CHEESE IN THE AIR FRYER! Prepare to fall in love with grilled cheese made in an air fryer! Perfectly toasted bread packed with gooey, melting cheese is a simple, family-friendly comfort dish.
Like everyone else, I enjoy a delicious grilled cheese sandwich, but I don’t enjoy carefully monitoring each sandwich while it’s cooking over a high heat. I was immediately captivated by the simplicity of making grilled cheese in an air fryer!

Just assemble the sandwich, spread a little butter on the outside, and let the air fryer handle the rest.

The sandwich will only need to be flipped once to make sure it is crispy on both sides. Every time, the outcome is warm, melted cheese placed into properly toasted bread.

When it comes to family-friendly dinners, this dish is a lifesaver. Every single week, my kids request me to prepare grill cheese sandwiches in the air fryer! And when something is this simple and tasty, I’m happy to say yes.

Ingredients:

  1. One tablespoon of room temperature butter
  2. two pieces of cheese, any kind
  3. two pieces of bread

Directions:

  1. Set the air fryer’s temperature to 340°F.
  2. Using the bread, create a sandwich with the two slices of cheese inside.
  3. Apply butter to the outside of the sandwich on both sides.
  4. Place in the basket and cook, monitoring closely because the wattage of your air fryer might affect the cooking time, for 3 to 4 minutes on each side (6 to 8 minutes total) until golden.

Notes:

How to reheat a cheeseburger:

  • Set your air fryer’s temperature to 340 degrees.
  • . Put the grilled cheese in your air fryer and heat it for three to four minutes, or until it’s hot.

Recipe By: Samantha

Here Are 8 of the Best Ways to Detox Your Liver

Here Are 8 of the Best Ways to Detox Your Liver

Here Are 8 of the Best Ways to Detox Your Liver

In today’s world, avoiding poisons can be quite difficult.Regretfully, the liver is primarily responsible for eliminating a large number of these poisons.Thus, how can you cleanse your liver and guard against the damaging effects of common pollutants?Let’s examine some effective strategies that can promote your liver’s health.

However, it’s crucial to first inquire…

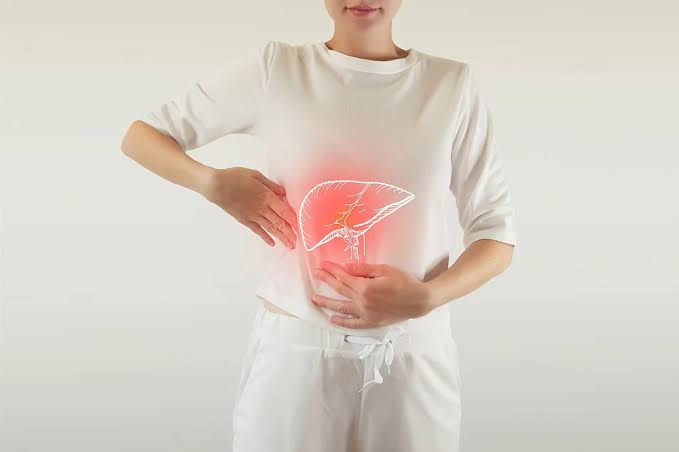
The liver: what is it?

One important organ that is essential to maintaining the health of your body is the liver. It creates hormones and enzymes, stores vitamins and minerals, and filters and eliminates pollutants from the blood.

You are daily exposed to a multitude of pollutants by living in the modern world. These poisons, which range from processed meals to environmental pollutants, can surpass your liver’s capacity for detoxification. A buildup of toxic compounds in the body can result from an impaired liver, which can cause a number of health problems.

10 SIGNS THAT YOU MAY HAVE A TOXIC LIVER

These are a few typical symptoms that could point to a toxic liver.

  1. Fatigue and Low Energy

Fatigue and low energy are classic indicators of a poisoned liver. A poor metabolism may result from the liver’s inability to break down fats as effectively when it isn’t working properly. Toxin accumulation in the body can also impede the flow of essential nutrients to the cells, resulting in fatigue and sluggishness.

  1. Digestive Issues

The liver produces bile, which is used by the digestive system to break down lipids in food. An excess of toxins in the liver can cause digestive problems including bloating, constipation, or diarrhoea by interfering with the liver’s normal bile production.

  1. Skin Problems

Sweat glands on the skin are one method the body gets rid of toxins. A toxic liver can cause skin problems such as acne, eczema, or psoriasis due to an accumulation of waste products trying to exit through the skin.

  1. Mood Swings

An intact digestive system is essential for mood regulation. The lining of your stomach produces around 95% of the happy hormone serotonin, which is passed by your liver by means of amino acids. Mood swings and irritation might result from gut health issues caused by liver dysfunction.

  1. Weight Gain

A toxic liver that can’t efficiently metabolize fats can lead to weight gain. This is particularly true of the abdominal area since its fat cells safely store toxins away from vital organs to protect them from harm.

  1. Hormonal Imbalances

The liver is essential for preserving hormonal equilibrium because it removes excess hormones like oestrogen. Overloading the liver with toxins might make it more difficult for it to properly eliminate these hormones, which can result in imbalances and accompanying problems like painful or irregular periods.

  1. Allergies and Sensitivities

Histamine reactions can be brought on by the liver’s difficulty eliminating toxins from the body, which can lead to allergies and sensitivities. You might consequently get symptoms including rashes, hives, or other skin irritations.

  1. Headaches

An overworked liver can lead to poor waste product disposal, which can worsen inflammation and give headaches.

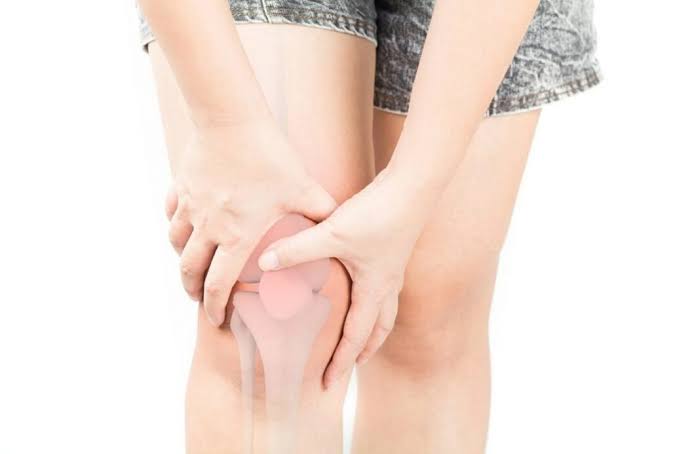
  1. Joint Pain and Muscle Aches

Inflammation can result from your body’s inability to effectively remove poisons brought on by environmental causes such as pesticides on food or pollution in your lifestyle. When the liver fails to clear up this inflammation, it may settle in joints and soft tissues, resulting in pain.

  1. Bad Breath

An unhealthy gut could be the cause of chronic foul breath, even after brushing or trying to cover up the smell. Toxin buildup in the liver can cause unpleasant-smelling gases to escape through your skin pores or other detox channels, such as your mouth.


Here Are 8 of the Best Ways to Naturally Detox Your Liver

  1. Reduce Alcohol Intake

Reducing or quitting alcohol is one of the earliest and most crucial stages in liver detoxification. Overconsumption of alcohol can eventually harm liver cells. This damage can disrupt liver function and impair its ability to filter out toxins effectively.

  1. Increase Water Intake

Another essential stage in liver detoxification is drinking lots of water. Water helps flush out toxins from the body while also keeping you hydrated throughout the day. It also aids in digestion, which indirectly benefits liver function by reducing its workload.

  1. Consume Liver-Friendly Foods

Including wholesome foods in your diet is a good method of liver detoxification. Leafy greens like kale and spinach are good for the liver because they help with detoxification and are rich in antioxidants. Olive oil and avocados, two foods high in healthy fats, may also promote liver function.

  1. Reduce Sugar and Processed Food Intake

When ingested in excess, refined sugars and processed meals can be detrimental to the liver due to their high concentration of artificial sweeteners, preservatives, and additives. Limiting their intake is crucial because these compounds may interfere with the liver’s detoxification function.

  1. Get Regular Exercise

Frequent exercise is essential for good liver function as well as general health. All over the body, physical activity aids in the reduction of inflammation. Additionally, it helps with weight management, which is crucial because gaining too much weight can result in fatty liver and other health issues.

  1. Try Liver Cleansing Supplements

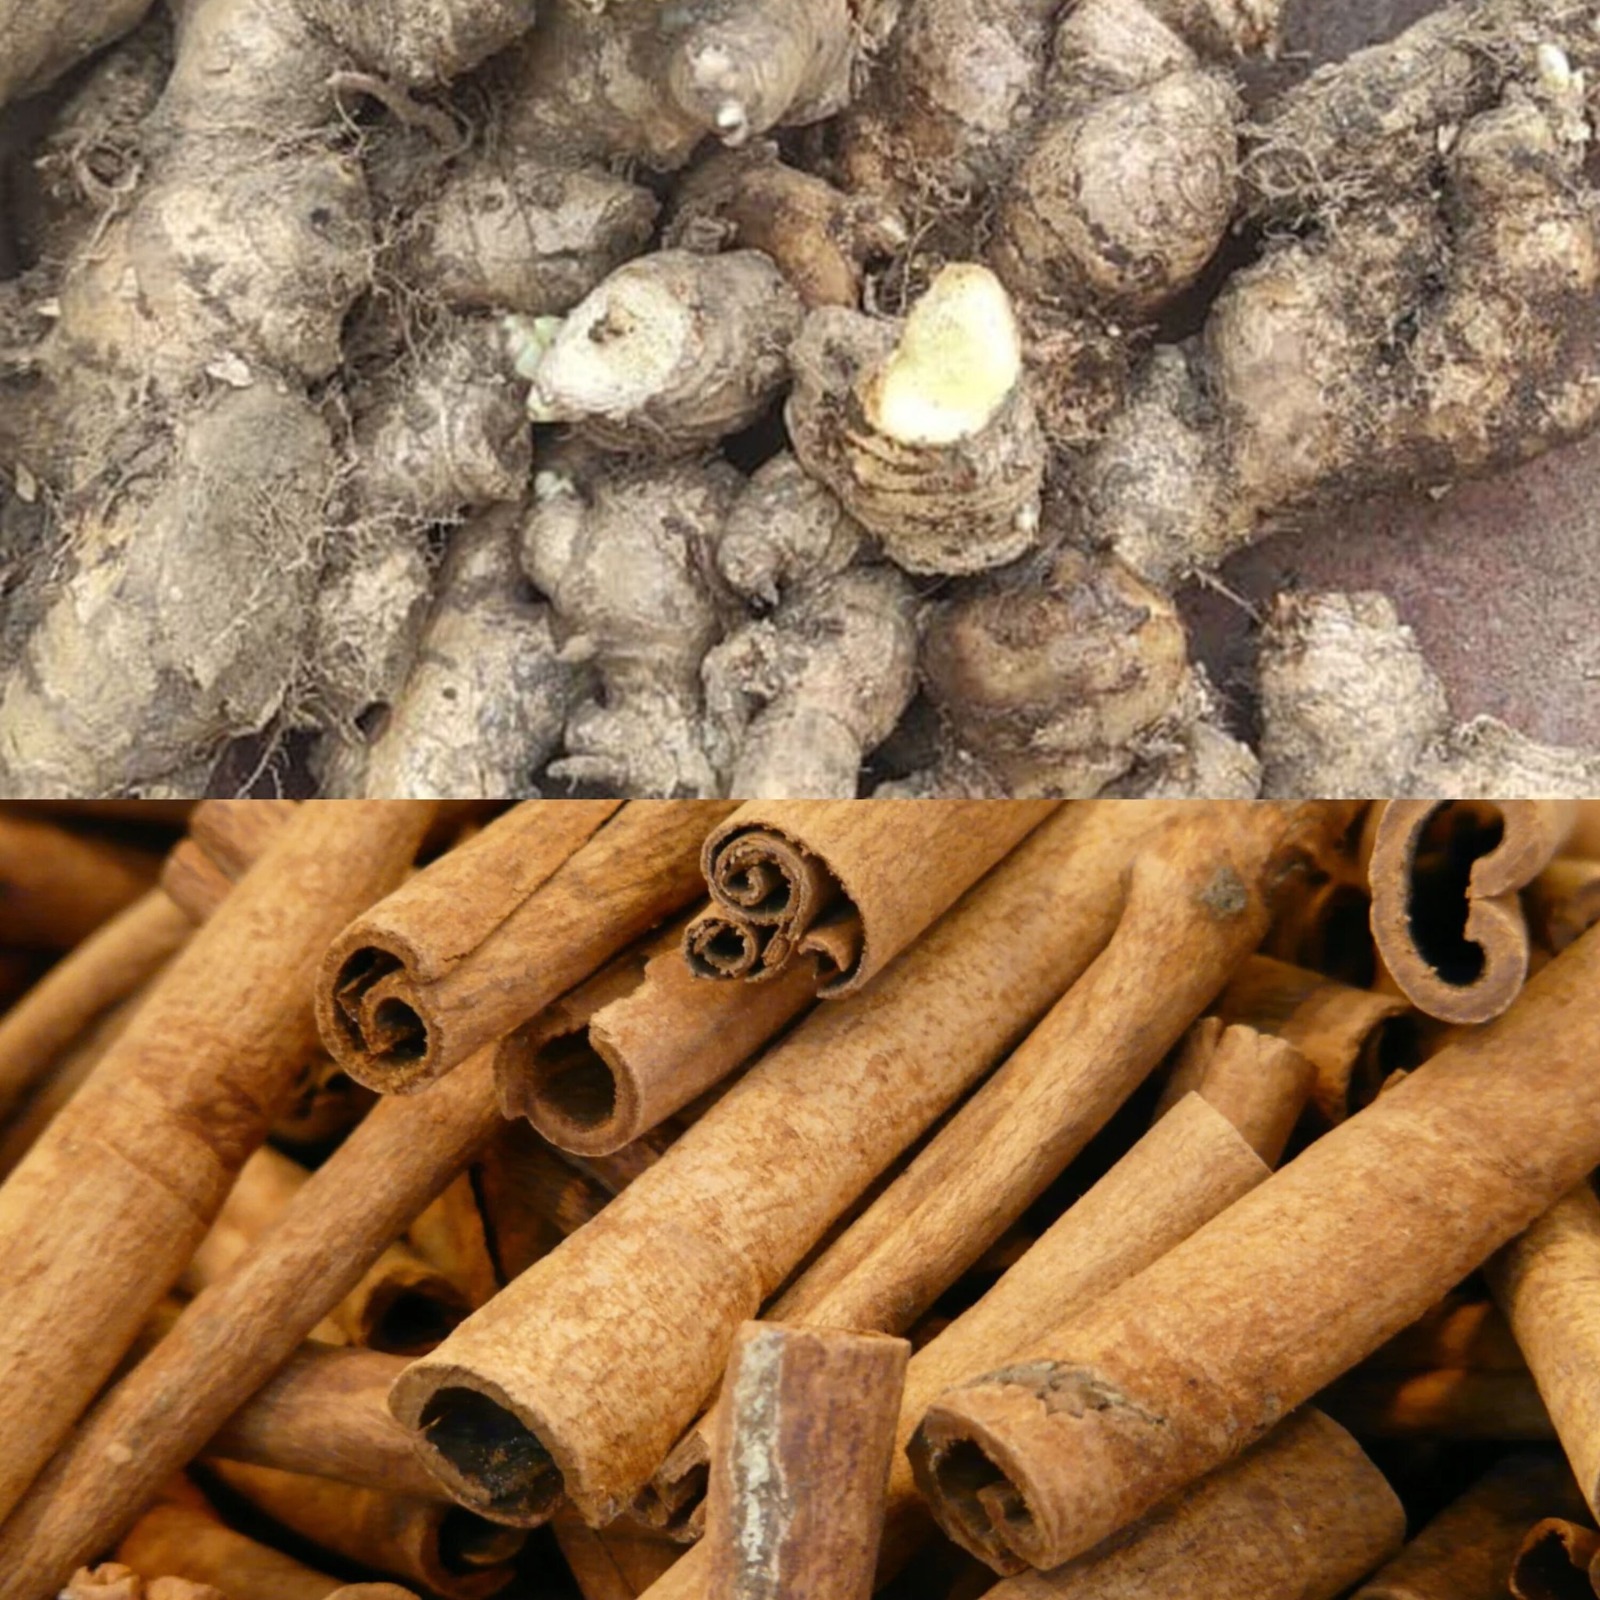
It is believed that some vitamins can help with the detoxification process. Milk thistle is a popular supplement known for its liver-protective properties, while turmeric has anti-inflammatory benefits.

  1. Limit Exposure to Environmental Toxins

Your liver’s burden can be lessened by limiting your exposure to environmental pollutants such chemicals, pesticides, and pollution. Using natural cleaning products in your house, choosing organic produce whenever feasible, and limiting your exposure to harsh chemicals are some of the best methods to stay clear of these pollutants.

  1. Get Enough Sleep

The body needs good sleep in order to heal itself. Sleep is crucial for preserving a healthy liver because it is when the body works to cleanse and eliminate waste materials.


OPTIMIZE LIVER FUNCTION

A multifaceted strategy is needed for liver detoxification, including regular exercise, eating a balanced diet, and limiting exposure to toxins in the environment. You may encourage the best possible liver function and general health by adopting these actions into your daily routine.

Before beginning any new supplement regimen or making big dietary or lifestyle changes, make sure to speak with your doctor.

Written by: keith Row

Okra Water A Health Powerhouse

Okra Water: A Health Powerhouse

Okra Water A Health Powerhouse!Do you know what okra, sometimes called lady’s finger, is? Despite this vegetable’s distinct flavour and stickiness, a lot of people steer clear of it. But what if I told you that okra is not only inexpensive and readily accessible but also low in calories and bursting with health benefits?

Okra has only 30 calories and about 21 milligrammes of vitamin C, making it a great vitamin C source. It provides about 60 milligrammes of magnesium, which is another abundant mineral. That’s not all, though. In addition, okra has 2 grammes of proteins, 3 grammes of dietary fibre, 80 micrograms of folate, and 6 grammes of carbs. All of these amazing nutrients can be obtained from just one glass of fresh homemade okra juice.

Okra’s adaptability lets you include it in your diet in a variety of ways. It can be boiled or stewed, or fried to make a tasty dish. Pickles are another famous sour delight in Asian countries. The nicest thing about okra is that it’s a year-round vegetable, which means it’s a dependable supply of nutrients for frequent eating.

What are the potential health advantages of including okra into your diet? These are a handful:

1. Diabetes Management

“Mucilage,” a form of fibre found in okra, slows down the pace at which sugar is absorbed from the intestines, helping to stabilise blood sugar levels. It is therefore advantageous for those who have diabetes or pre-diabetes.

2. Respiratory Health

For those suffering from asthma or other respiratory conditions, the vitamin C content in okra can contribute to the improvement of lung function and reduce the likelihood of respiratory infections.

3. Heart Health

Okra’s dietary fibre can help decrease cholesterol, which lowers the risk of heart disease. This vegetable’s magnesium content also helps to keep the cardiovascular system in good working order.

4. Kidney Disease Prevention

Okra is well-known for having diuretic qualities, which means that it can encourage the body to eliminate toxins and produce more pee. By doing this, kidney illnesses can be avoided and general renal health can be preserved.

Conclusion:

Okra tastes and feels sticky, but don’t let that stop you from enjoying all of its amazing health advantages. Okra is a great addition to your diet because of its high nutritional value and low calorie content. Whether you enjoy it fried, pickled, boiled, or stewed, okra offers a wide range of possibilities for improving your overall wellbeing. Why not explore the benefits of this underappreciated vegetable by giving it a try?

3 Natural Ways To Get Rid Of Chronic Pain

3 Natural Ways To Get Rid Of Chronic Pain!Pain relievers that are 100% natural and effective, eliminating the need for harmful prescription or over-the-counter medications. Now let’s get going.

1. Strawberries (anti-inflammatory)

It has been demonstrated that these tasty and alkalizing berries lower the body’s levels of C-reactive protein, an inflammatory marker.1. Excess proteins are released at the site of inflammation and are identified, or “marked,” in the bloodstream. This results in an inflammatory marker. In light of this, strawberries are especially beneficial for those who have arthritis.

They are an excellent source of phytonutrients and antioxidants, including terpenoids, phenolic acids, flavonols, ellagitannins, and anthocyanins. Sadly, they rank #3 on the Dirty Dozen list and are a major source of pesticides, so whether you buy them fresh or frozen, make sure you choose organic.

Try consuming about one cup of organic strawberries at least three times a week for the optimum anti-inflammatory benefit. To acquire an approximate measurement, cut the strawberries in half if they are very big. Of course, you can consume more than a cup, so if in doubt, err on the side of excess. Additionally, you can incorporate frozen strawberries into a smoothie or combine fresh strawberries with a fruit salad.

2. Grapes (analgesic, anti-inflammatory)

Unbelievably, juicy, sweet grapes are packed with anti-inflammatory and pain-relieving ingredients. Ascorbic acid, courmarin, and quercetin are some of the anti-inflammatories.2. Ferulic acid, kaempferol-glucosides, and salicylic acid are a few of the substances in grapes that reduce pain.

Research has been done on the potential pain-relieving effects of grapes. Researchers from the Johns Hopkins University School of Medicine gave one group of rats sugar water and the other group grape powder after inducing arthritis in the animals’ knees. When comparing the two groups’ responses to swelling and pain, the ones given the grape powder showed reduced pain and inflammation.3. The study did not specify if red or green grapes were used; it referred simply to “table grapes.” However, red or purple fruits are generally considered higher in antioxidants.

Grapes make a delicious snack or can be used into smoothies. Due to their high sugar content, raisins should only be consumed in moderation even if they have higher concentrations of the pain-relieving ingredients than other dried fruits. Another more concentrated source of the health benefits of grapes is organic, unsweetened grape juice, although it also contains a lot of sugar. Eating a cup of fresh grapes at least every other day is your best option.

3. Yoga (analgesic, anti-inflammatory, anti-stress)

Yoga effectively relieves pain by connecting the body and mind. Researchers from New York University have demonstrated in a recent study that yoga lessens the physiological and psychological effects of chronic pain.4 Lead researcher Curtis clarifies in a Science Daily interview that.

The physical relaxation brought on by yoga has been demonstrated in the same study to decrease heart rate and raise oxygenation levels throughout the body.

There’s more encouraging news concerning yoga’s ability to reduce pain.

Women who practiced yoga just once or twice a week showed reduced levels of interleukin-6 (IL-6), a cytokine that is crucial to the body’s inflammatory response, according to a study from Ohio State University. Arthritis and a host of other disorders have been associated with IL-6.Six Additionally, they displayed less stress, which would have excellent ancillary advantages for your bones.


Air Fryer Pollo Asado Chicken

Air Fryer Pollo Asado Chicken This recipe for Air Fryer Pollo Asado Chicken makes a tasty and simple dinner option. This is a fantastic and simple chicken meal that tastes good and is made much better by the air fryer. I adore the spices in the chicken.

Expert Advice for Cooking Pollo Asado Chicken in an Air Fryer

  • The cooking time will not change if you use skin-on or skinless chicken thighs.
  • You should allow a little extra time for cooking if you use bone-in chicken thighs.
  • After flipping the chicken, you can choose to brush it with melted butter or use cooking spray to make the chicken even more juicy.
  • Avoid packing the basket too full; the hot air from the air fryer has to be able to freely circulate around it.
  • Check on your Air Fryer Pollo Asado Chicken multiple times while it’s frying because each air fryer is a little bit different. in order to avoid serving overdone chicken.

Components

  1. One-pound chicken thighs without bones
  2. 1/4 cup canola or olive oil
  3. 1/3 cup of pulp-free orange juice
  4. one-third cup lime juice
  5. Three tsp adobo seasoning
  6. One tsp of kosher salt
  7. half a teaspoon of pepper, black
  8. one tsp powdered garlic
  9. One teaspoon of cumin powder
  10. One tsp powdered onion
  11. One teaspoon of oregano

Guidelines

  • In a small bowl, combine the chicken thighs, oil, lime juice, orange juice, and seasonings. After covering the bowl, refrigerate it for approximately two hours.
  • Add your marinated chicken to the cooking basket and spray with cooking spray. Preheat the air fryer at 350 degrees Fahrenheit and cook for 20 to 25 minutes. midway through the flip. Verify the chicken’s internal temperature, which ought to be 165 degrees Fahrenheit.
  • Arrange, present, and savor!

air fryer rosemary roasted chicken

air fryer rosemary roasted chicken

Tender and juicy, Air Fryer Rosemary Roasted Chicken is enhanced with flavors from lemons and fresh herbs.

This air fryer recipe makes the tastiest rotisserie chicken!

Air-Fryer Rosemary Roasted Chicken is incredibly adaptable, with several possible preparations to accommodate various preferences and events. Here are some inventive modifications to the traditional recipe:

  • Lemon Herb Chicken: Incorporate some fresh herbs in addition to the rosemary, including parsley, thyme, and oregano. For a zesty, herbaceous flavor, add more lemon slices within the chicken and on top.
  • Spicy Paprika Chicken: To add a smoky, spicy bite to the olive oil rub that balances the earthiness of the rosemary, combine smoked paprika, garlic powder, and a little amount of cayenne pepper.
  • Honey Garlic Glazed: For a sweet and savory glaze, spray the chicken with a mixture of honey, minced garlic, and a small amount of soy sauce during the last ten minutes of cooking.
  • Mediterranean-style: Stuff the chicken with feta cheese, lemon slices, and olives. Then, rub it with za’atar, oregano, and rosemary. This adds a delicious and fresh Mediterranean touch to the chicken.
  • Orange Rosemary Chicken: To add a sweeter citrus touch, replace the lemon for orange. The flavor profile is fragrant and slightly sweet, thanks to the addition of orange slices and a little orange zest to the rosemary.
  • Crispy Skinned Butterfly Chicken: For extra crispy skin and faster cooking, butterfly (spatchel) the chicken before seasoning. Because butterflied chicken cooks more quickly, adjust the cooking time accordingly.
  • Barbecue Rub Chicken: Combine the rosemary with your preferred Barbecue rub for a unique twist. In the final moments of cooking, think about adding a little BBQ sauce for a for a smokey, sticky glaze.
  • Garlic Parmesan Chicken: Once the chicken is cooked, cover it with grated Parmesan and minced garlic. Place it back in the air fryer and let it cook for a few more minutes, or until the cheese is melted and golden.
  • Asian-Style Chicken: Combine soy sauce, sesame oil, minced garlic, ginger, and a touch of honey to make a marinade. For an Asian twist, marinate the chicken in this mixture before air-frying.
  • Provencal Style Chicken: Rub the chicken with garlic, olive oil, and a mixture known as herbes de Provence, which frequently include rosemary. If you want a taste of Southern France, pack the cavity full of lemon slices and fresh herbs.

Components

  1. complete chicken, weighing around 
  2. 4-5 pounds Two tsp olive oil
  3. One tablespoon of chopped fresh rosemary (or one teaspoon of dried rosemary)
  4. two minced garlic cloves
  5. To taste, add salt and freshly ground black pepper.
  6. One lemon, cut in half (optional for extra taste)

Guidelines


  • Using paper towels, pat the chicken dry to start.
  • This makes it more likely that the skin will crisp up when air-fried. Combine the olive oil, minced garlic, chopped rosemary, salt, and pepper in small bowl.
  • Make careful to coat the chicken evenly by rubbing this mixture all over it. Gently peel the skin and apply some of the mixture straight onto the flesh for more intense flavor.
  • Squeeze the juice from one half of the lemon, if using, over the chicken and lay both pieces inside the Set your air fryer to 180°C/360°F. Depending on the model of your air fryer, this step may change. Some models need to be preheated, while others need not.
  • Put the chicken in the air fryer basket after seasoning it. You may need to truss the chicken or tie the legs together if your air fryer is spherical in shape.
  • When a meat thermometer placed into the thickest portion of the thigh without contacting the bone registers 165°F (74°C), the chicken has finished air-frying at 360°F (182°C) for around 60 to 75 minutes.
  • To guarantee even browning and cooking, you might need to rotate or turn the chicken halfway through cooking, depending on the model of your air fryer.
  • After cooking, give the chicken ten minutes or more to rest before slicing. This keeps the meat juicy and tasty by allowing the liquids to disperse.
  • Once the chicken is carved, serve it with the side dishes of your choice. For extra taste, drizzle any gathered juices over the cut chicken.

Morning Miracle Juice for Healthy Weight Loss

Morning Miracle Juice for Healthy Weight Loss

Start your journey to a healthier you with this easy-to-make drink that claims to provide a natural cleanse in addition to weight loss. This morning miracle juice can help you lose those extra pounds in just seven days by boosting your metabolism and energizing your day. This is how you can make this potent drink in your kitchen.

The Reason This Juice Is Effective

The following components were specifically chosen for this recipe because of their natural ability to aid in detoxification and weight loss:

  • Lemon: Packed with antioxidants and vitamin C, lemon strengthens your immune system and helps with detoxification and digestion.
  • Ginger Root: Proven to boost metabolism, stimulate thermogenesis, and reduce appetite, ginger is an effective weight-loss tool.
  • Cinnamon: This spice, available in both ground and stick form, helps control blood sugar levels, which lowers cravings and makes eating a balanced diet simpler.
  • Sweet ground pepper: This little-known benefit can speed up metabolism and help the body burn fat more effectively.
  • Water: The foundation of this beverage, water is necessary for the body to stay hydrated and perform at its peak as well as for the removal of pollutants.

The Secret to Success

Making this drink to lose weight is simple. Take these actions to give yourself a morning boost:

Get the ingredients ready:

  • Extract the liquid from a single lemon.
  • Grate two to three centimeters of fresh ginger root.
  • Break the cinnamon stick into small bits if you’re using one; if not, measure out one teaspoon of ground cinnamon.
  • Take out a tiny teaspoon of finely powdered black pepper.

Blend and Incorporate:

  • Pour 700ml of water into a pot and bring it to a simmer.
  • To the water, add the lemon juice, cinnamon, grated ginger, and sweet ground pepper.
  • To enable the flavors to meld, boil the mixture for a few minutes.

Chill and Present:

  • Once the drink has cooled to a temperature that is comfortable to consume, turn off the heat.
  • Drink it each morning before breakfast on an empty stomach for optimal effects.
  • Adopt a Healthier Way of Living
  • Including this beverage in your daily routine is a step in the direction of living a better lifestyle. Together, its all-natural components boost your body’s metabolism and aid in healthy weight loss. Recall that consistency and patience are essential. For best effects, combine this morning routine with a healthy diet and frequent exercise.
  • You’ll see improvements in your general health as well as your weight as you stick to this program. You’ll wake up feeling cleansed, revitalized, and prepared to take on the world. Cheers to a happy and healthier you!

Natural and Effective Insect Repellent with Lemon and Lime

Natural and Effective Insect Repellent with Lemon and Lime

Natural and Effective Insect Repellent with Lemon and Lime Have you had enough of battling bothersome insects breaking into your house? There’s nowhere else to look! We have an easy, green remedy for you that combines cloves with lemon and lime. This approach is not only efficient, but it also leaves your surrounds with a lovely scent thanks to its invigorating citrus scent.

Why mix cloves with lemon and lime?

The mosquito is one of the most bothersome creatures we come across. Luckily, the potent combination of citrus and cloves strongly irritates these little buzzers. The pungent aroma of cloves combined with the zesty scents of lemon and lime forms a strong barrier that deters mosquitoes.

Creating Your Own Insect Repellent

It’s easy to make your own mosquito repellent by combining cloves with lemon and lime. What you’ll need is as follows:

Ingredients:

  1. One lemon
  2. One lime
  3. Several cloves

Guidelines:

  1. Cut up the lime and lemon: Cut the lime and lemon in half or into thick slices first. Their fragrant oils will be released as a result.
  2. Put the Cloves in: Take the cloves and press them into the lemon and lime’s flesh. For best effect, arrange them closely together.
  3. Disperse: Arrange the lemon and lime slices with cloves in a deliberate manner throughout your house, especially in places where insects frequently congregate. Patios, outdoor lounging areas, and windowsills can all be examples of this.
  4. Take Pleasure in an Insect-Free Environment: Unwind while letting the lemon and lime with clove insect repellent do its thing. Not only will it effectively repel insects, but it will also add a fresh and invigorating scent to your surroundings.

In summary
Say goodbye to chemical-laden insect repellents and embrace this natural alternative. With just a few simple steps, you can create your own lemon and lime with cloves insect repellent. Not only will you keep insects at bay, but you’ll also enjoy a fragrant and bug-free environment. Give it a try and experience the power of nature!