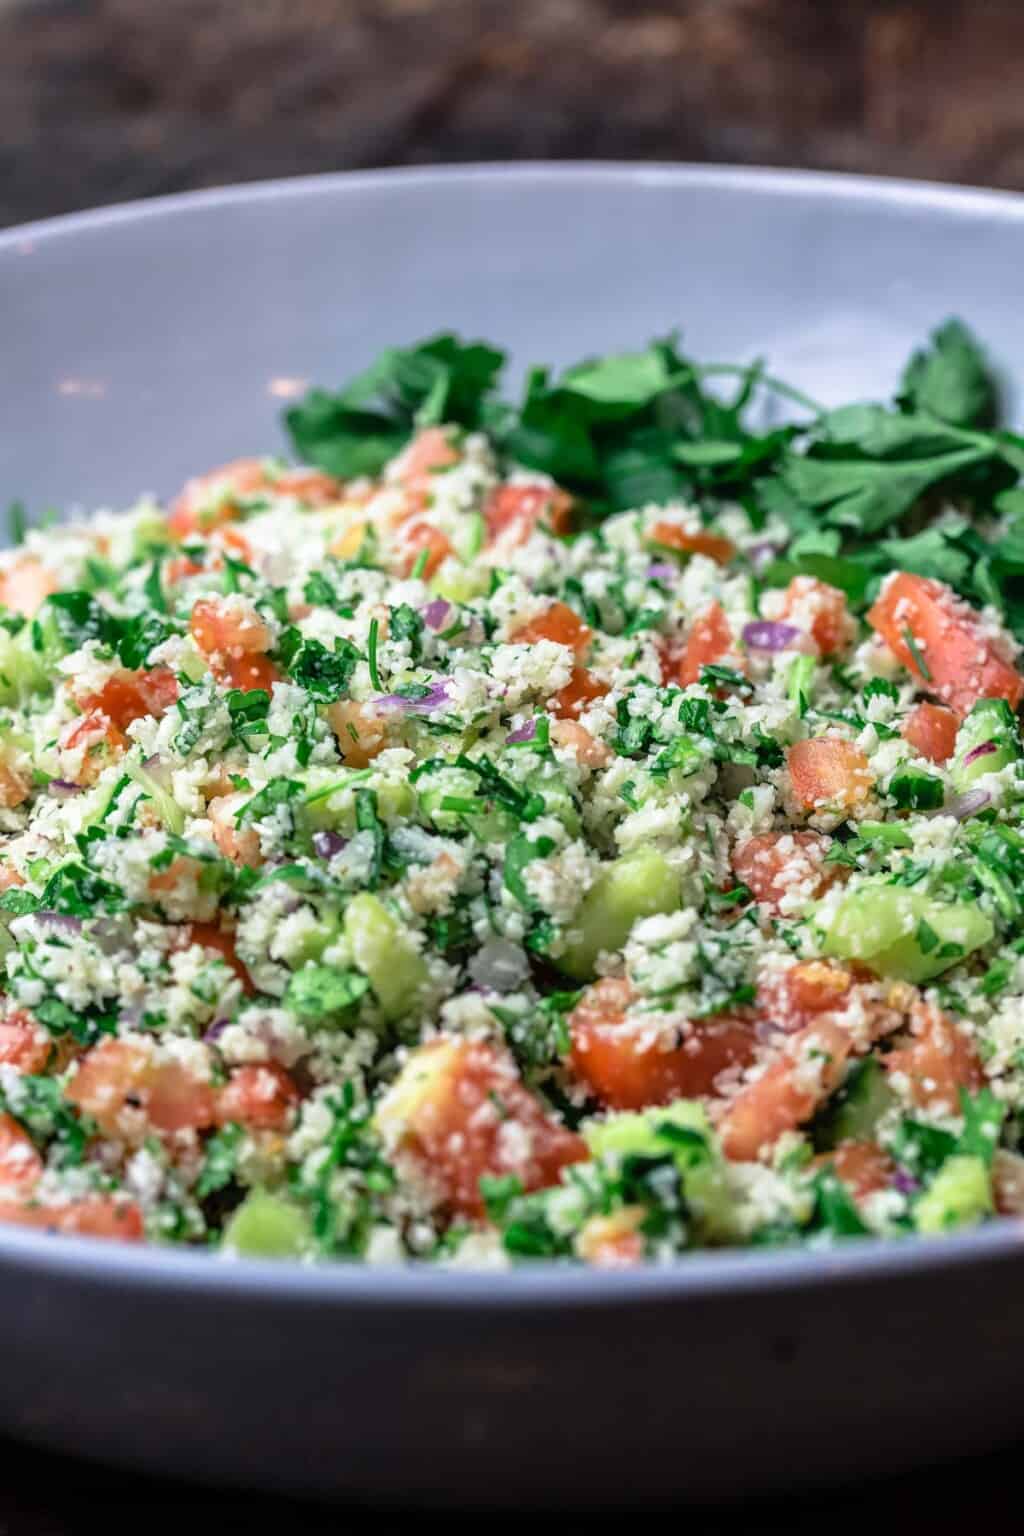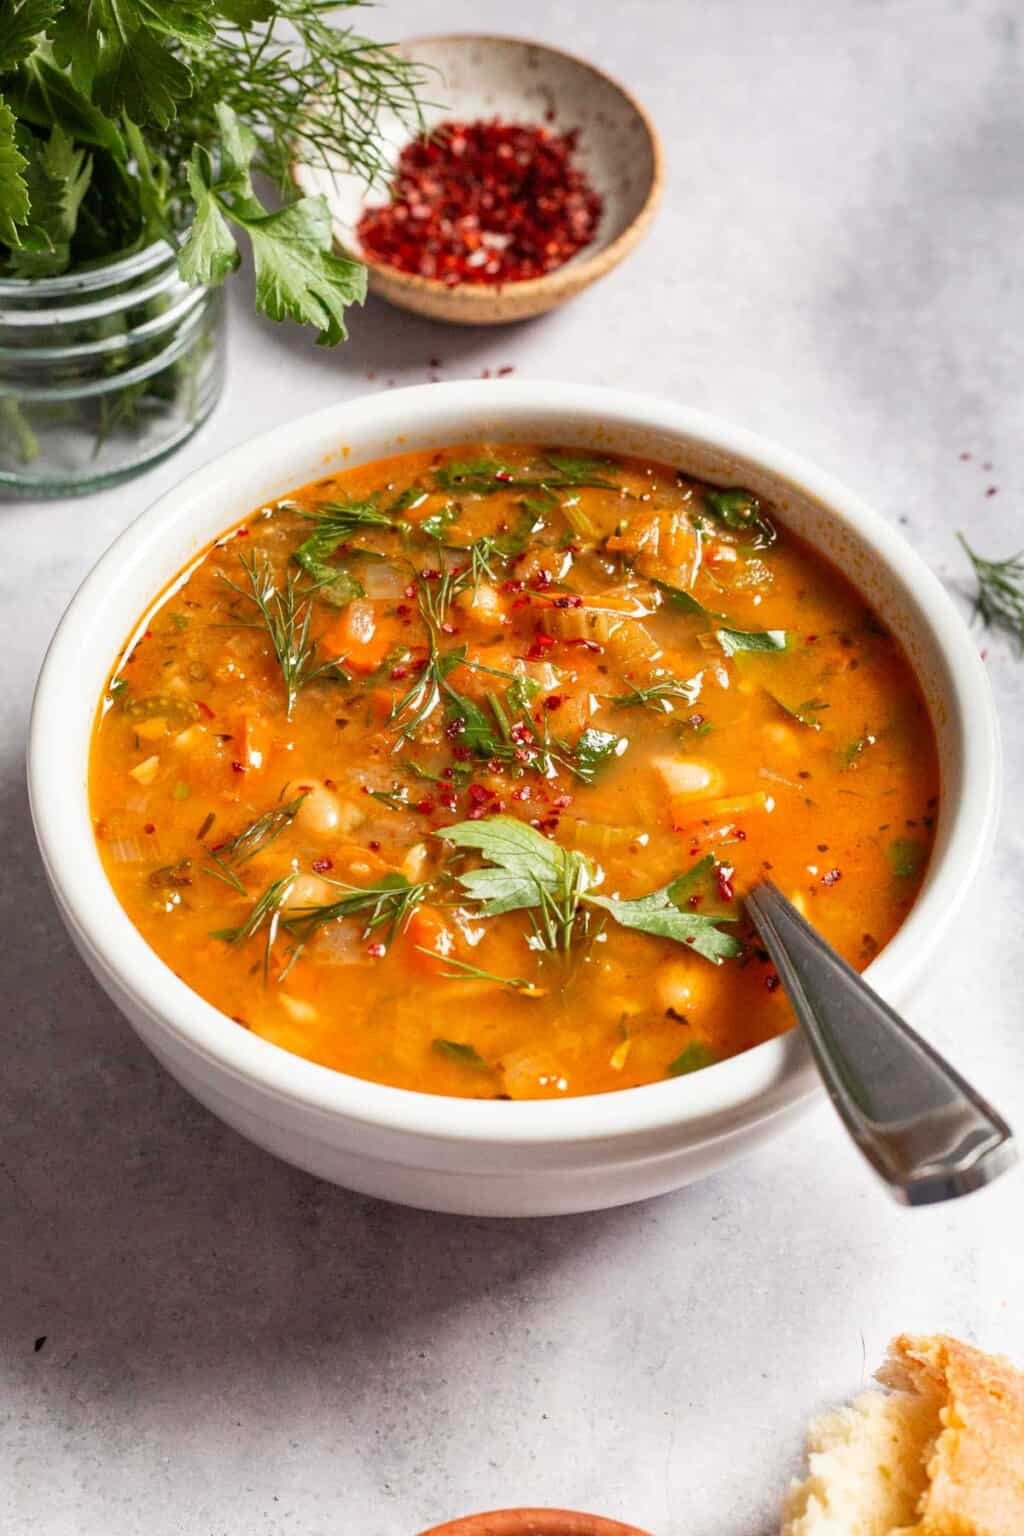
Mediterranean White Bean Soup with Spinach and Fresh Herbs
With nutrient-rich spinach, aromatic Italian spice, a hint of spiciness from paprika and chili flakes, and a hefty helping of fresh parsley and dill, this vegan white bean soup dish is full of hearty comfort.
INGREDIENTS
- One bunch of parsley,
- three tablespoons of extra virgin olive oil,
- one medium yellow onion, finely chopped,
- three large minced garlic cloves,
- two tablespoons of tomato paste,
- two large chopped carrots,
- two chopped celery stalks,
- one teaspoon each of Italian seasoning,
- one teaspoon of sweet paprika,
- and one teaspoon each of red pepper flakes or Aleppo
- pepperBlack pepper with Kosher salt
- Four cups (32 ounces) of vegetable broth
- two cans of washed and drained cannellini beans
- Two generous cups of spinach
- ¼ cup finely chopped, fresh dill without stems
- Two tsp white vinegar
INSTRUCTIONS
- Prepare the parsley. The very bottom of the parsley stems, where they frequently begin to turn brown, should be chopped off. After discarding, remove the leaves, then divide the leaves and stems into two distinct piles. Finely chop both, being careful to keep them apart, and place in different piles.
- Add the aromatics and sauté. Heat the olive oil in a large Dutch oven over medium-high heat until it shimmers. Add the garlic and onions. Cook for 3 to 5 minutes, stirring frequently, or until aromatic (adjust the heat as necessary to prevent the garlic from burning).
- Stir in the remaining flavorings. Add the tomato paste, chopped parsley stems, carrots, and celery; stir; do not add the leaves just yet. Add paprika, red pepper flakes, Aleppo pepper, Italian seasoning, and a generous amount of salt and pepper to taste. Simmer for around 5 minutes, or until the veggies have somewhat softened, stirring now and then.
- Add the beans and the vegetable broth. After bringing the mixture to a boil over high heat, let it boil for approximately five minutes.
- Reduce heat. Reduce the heat and partially cover the pot, making sure to leave a tiny space at the top. Simmer until the vegetables and beans are very tender, about 20 minutes.
For a creamier soup,
- mix in part (optional). About half of the soup should be blended with an immersion blender; do not puree the entire soup—some texture is necessary. This is just to give the soup body; it’s an optional step.
- Complete. After adding the spinach, cover and let it wilt for one to two minutes. Add the white wine vinegar, dill, and parsley leaves that were set aside.
- Assist. Spoon soup into serving dishes; garnish with a pinch of Aleppo pepper or red pepper flakes and a drizzle of olive oil. Assist