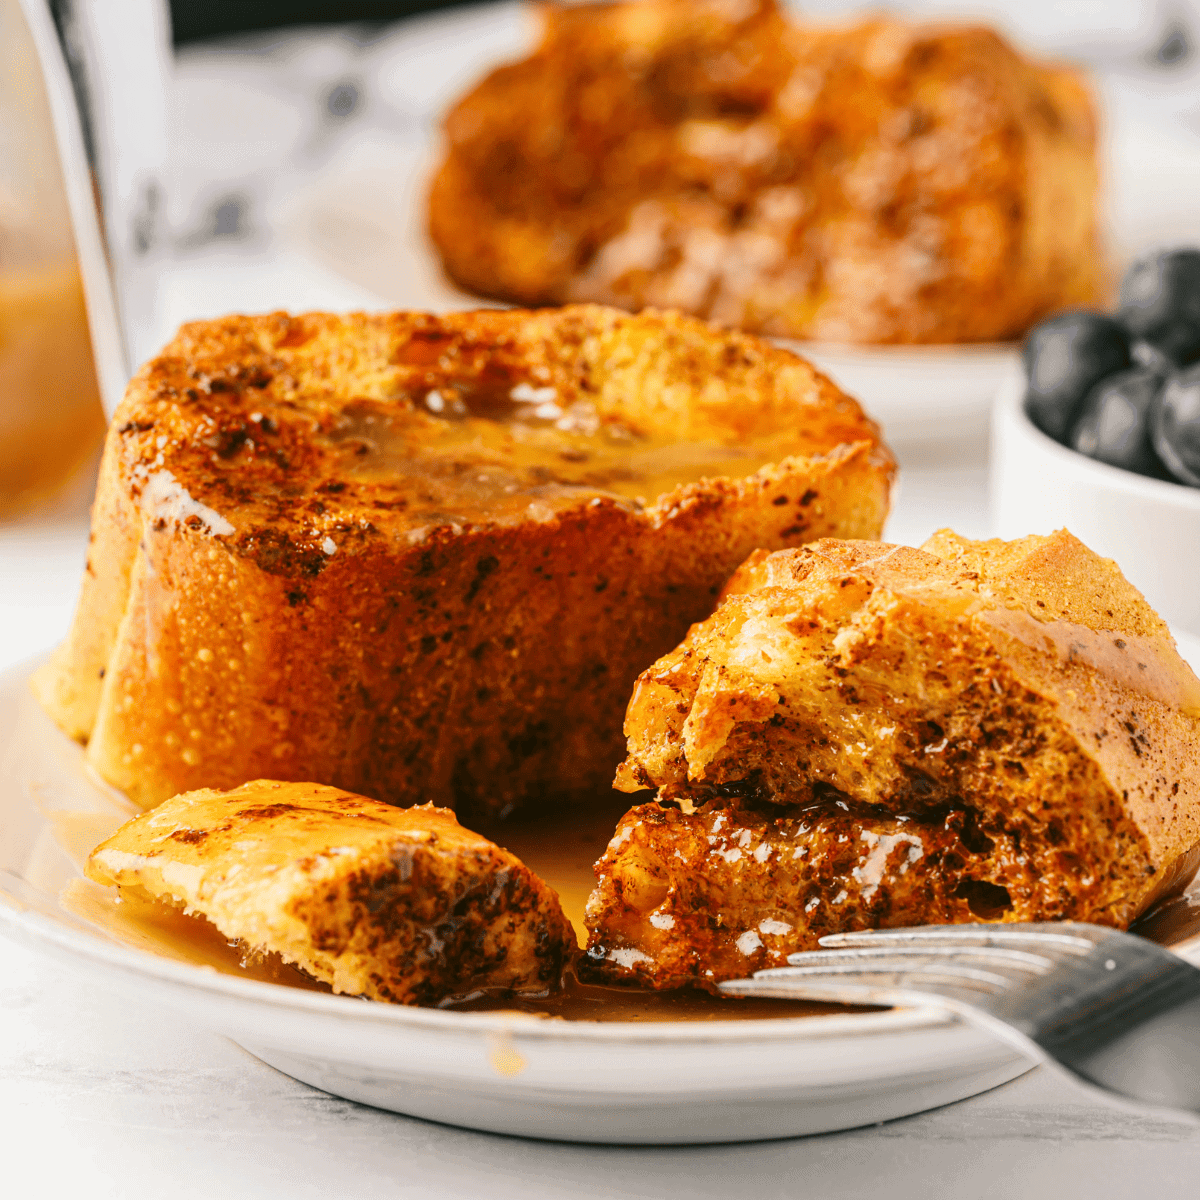
Air Fryer Copycat Kneaders French Toast
Kneaders French Toast Recipe: An Air Fryer Copycat Recipe — If you enjoy the delicious French toast at Kneaders Bakery & Café, you’ll adore this air fryer substitute dish.
Components
- The French Toast Kneader:
- One French bread loaf
- Six big eggs
- three cups of milk
- One-third cup brown sugar
- One tsp of kosher salt
- One tablespoon of essence from vanilla
- two tsp butter
Made at Home Melt caramel Sweetener:
- One cup of brown sugar
- One cup of thickened cream for whipping
- one cup of corn syrup
Guidelines
- Cut your bread into 2-inch slices first. In a large dish, mix together the eggs, milk, brown sugar, kosher salt, and vanilla essence.
- After dipping the bread into the egg mixture, coat it and transfer it to an air fryer basket coated with parchment paper or oiled.
- To keep it from sticking, either coat the bottom of the air fryer basket with parchment paper or grease it with cooking spray. Without overlapping, arrange the dipped bread pieces in the air fryer basket in a single layer. Your air fryer’s capacity may need you to cook the French toast in batches.
- Adjust the air fryer’s cooking temperature to 330 degrees Fahrenheit and program it to cook for 8 to 12 minutes, or until crispy and golden brown. To guarantee that the slices brown evenly on both sides, turn them over halfway through the cooking process.
- As the French toast cooks, add In a small saucepan, combine corn syrup, heavy whipping cream, and brown sugar; stir thoroughly. After removing and allowing it to cool for a short while, simmer over medium heat and stir until smooth. Drizzle the French toast with the caramel syrup and serve it with freshly cut fruit.