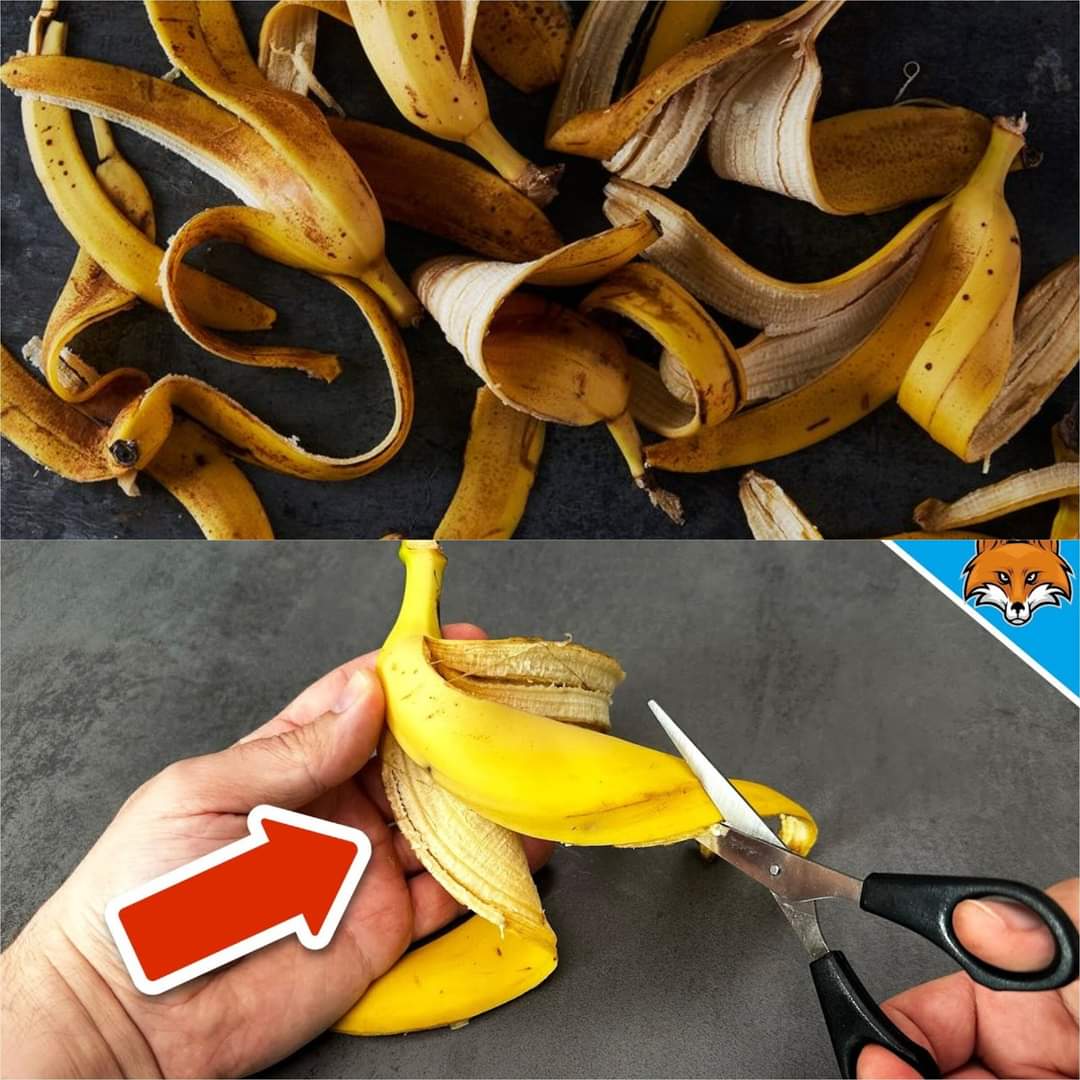
Unlocking the Secret Powers of Banana Peels: 6 Tricks That Will Amaze You
Worldwide, people adore bananas for their delicious flavor and healthful properties. But when we eat the fruit, the peel frequently ends up in the trash. Unbeknownst to many, banana peels are surprisingly full of secrets that can make life easier in unexpected ways. These are six nearly unheard-of banana peel skills that are definitely worth learning.
1. Organic Sneaker Glaze
- You can restore your leather shoes to their original splendor using banana peels, so don’t bother spending money on pricey shoe polish. Just give your shoes a quick scrub with the inside of a banana peel, and then polish them with a gentle cloth. The peels’ potassium does wonders for leather, leaving your shoes shining and brand-new.
2. Alleviate Skin Sensitivity
- Because of its anti-inflammatory qualities, banana peels are ideal for soothing sore skin. Applying a banana peel to an injured region, such as a poison ivy patch or mosquito bite, might lessen itching and speed up recovery. It’s also a natural substitute for chemical creams.
3. Provide Plant Fertilizer
- Nutrients like calcium, phosphorus, and potassium that are essential for plant growth can be found in abundance in banana peels. Peels can be used as a natural fertilizer by being chopped up and buried in the ground. Your plants will give you bright growth and blooms in return.
4. Silverware from Poland
- With a little assistance from a banana peel, tarnished silver can be restored. Mix the peel with water to form a paste, then rub the paste into your silver and buff with a gentle cloth. The outcome is glistening silverware that appears to have been purchased recently.
5. Diminish the Look of Wrinkles
- Banana peels contain antioxidants that can moisturize skin and minimize wrinkle appearance. After rubbing the inside of a peel on your face for a few minutes, rinse it off. It’s an easy, natural way to rejuvenate your skin.
6. Reduce DVD and CD scratches
- If scratches are causing your favorite disc to skip, a banana peel could serve as the remedy. Using a soft cloth, gently rub the peel in a circular motion over the disk. Wipe any remaining residue with glass cleaner. By doing this, you can lessen scratches and restore playback on your CD.
- Keep these tips in mind before you decide to discard that banana peel. They’re not only inexpensive and simple, but they’re also eco-friendly. In the realm of do-it-yourself tricks, banana peels are a hidden gem since they’re far more useful than they first appear.