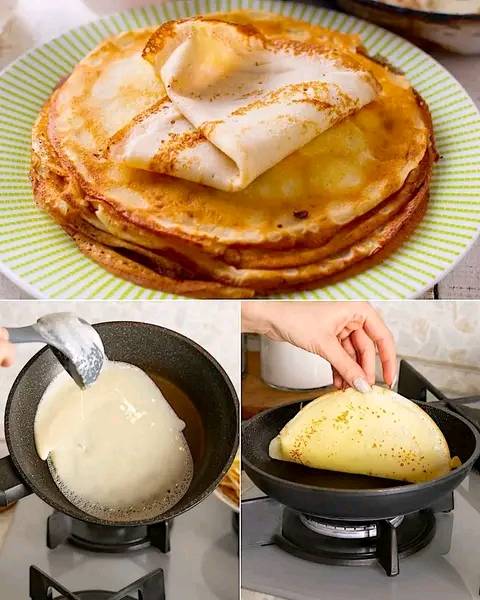
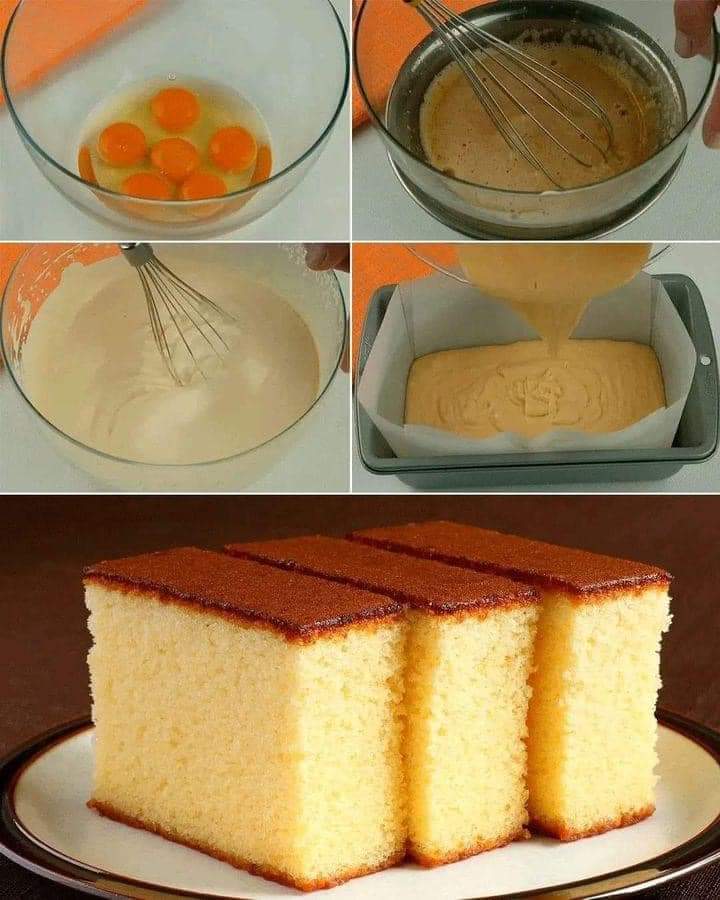
SOFT & FLUFFY HOMEMADE BREAD
It looks easy enough to make bread with basic flour, water, yeast, and a little salt, doesn’t it? However, even small adjustments to ingredient amounts, baking methods, or measurements have a big effects on the quality of your bread.
With a few easy recipe adjustments, you can easily create the ideal level of fluff and soft texture in your bread. Let’s begin by discussing common bread-making errors that lead to dry or chewy bread and providing advice on how to correct them:
Ingredients:
- 5 cups of flour
- 1 tablespoon of dry yeast
- 2 tablespoons of sugar
- 1 teaspoon of salt
- 1/4 cup oil
- 2 cups of milk
- 1 tablespoon of butter
- 100 grams of ghee
- 1 egg yolk
- Sesame
Preparation:
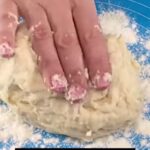
- Mix all ingredients for batter and knead.
- Divide the dough into 4 parts.
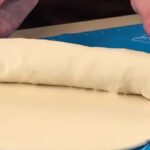
- Stretch out the cake.
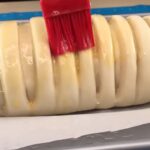
- Brush with melted butter and form a roll.
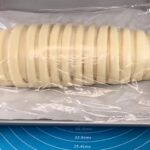
- Let sit for 30 minutes.
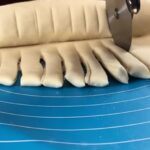
- . Roll up each roll and brush with butter. Form a roll. Place on a baking tray with parchment paper and make cuts.
- Let sit for 1 hour.
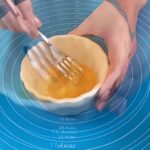
- Grease each roll with yolk and sprinkle with sesame seeds.
- Bake for 20 minutes at 180°C/350°F.