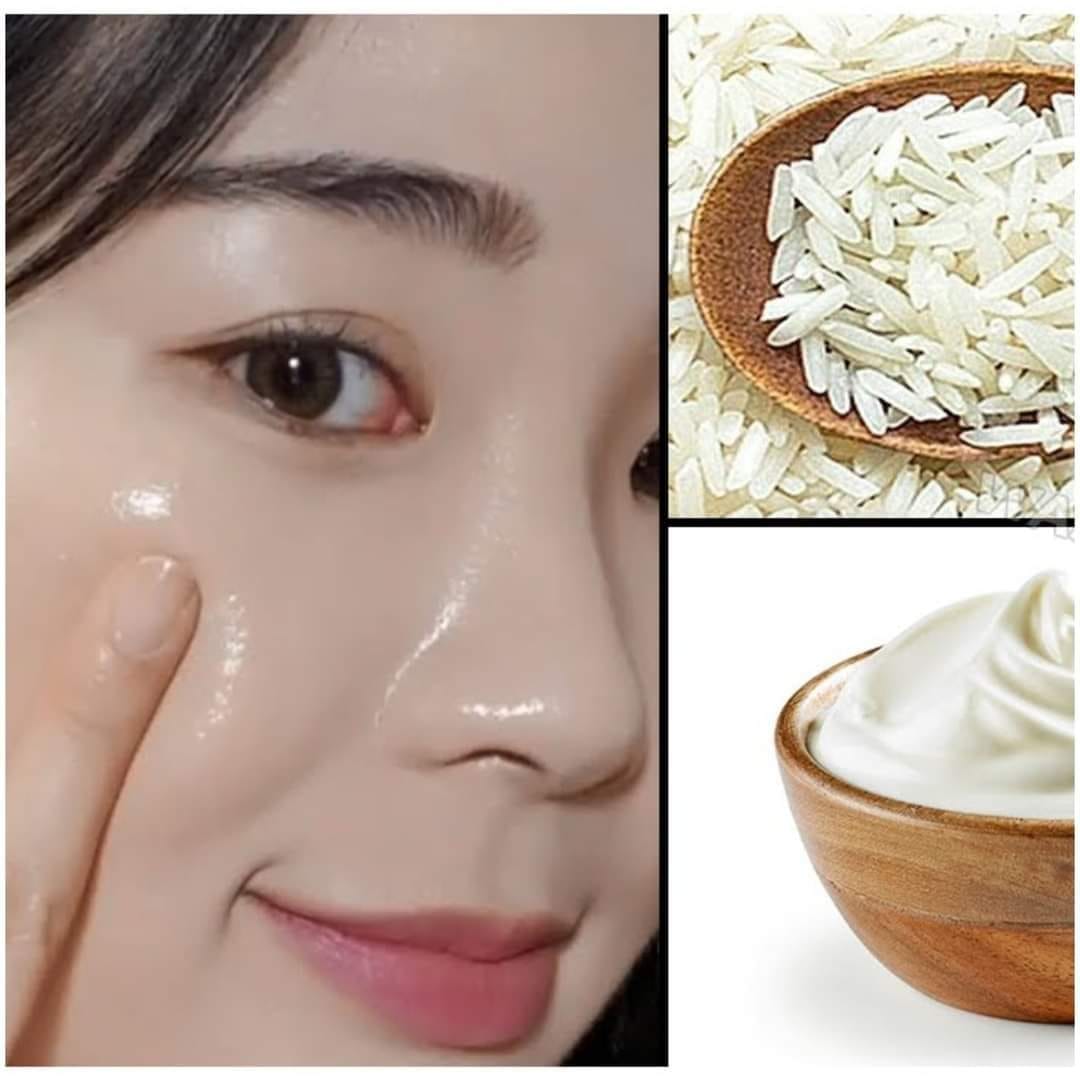
Japanese rice mask for Skin Whitening
A magic recipe to lighten the skin in a short time
Rice:a staple in Japanese skincare, is celebrated for its remarkable skin-brightening properties. Rich in vitamins B and E, rice aids in cell regeneration and slows down the aging process, making the skin appear more youthful and vibrant. The rice mask works wonders for lightening the skin, reducing the appearance of dark spots, and providing an overall brightening effect.
How to Create Your Own Japanese Rice Mask:
Preparing this magical mask is simple and requires just a few ingredients, most of which you might already have in your kitchen.
- Start by soaking two tablespoons of uncooked rice in water until it softens.
- Drain the rice, reserving the water, and grind the rice into a fine paste.
- Mix this paste with one tablespoon of honey and a little milk until you achieve a smooth, spreadable consistency.
Application for Radiant Results:
- Apply the mask to your face and neck, leaving it on for 20 to 30 minutes to allow the nutrients to penetrate deeply into your skin.
- Rinse off with the rice water you reserved earlier.
- This not only adds an extra boost of vitamins to your skincare routine but also acts as a natural toner, enhancing the skin-whitening effect of the mask.
The Benefits Are More Than Skin Deep:
Regular use of the Japanese rice mask can lead to visible improvements in skin tone and texture. The mask’s natural ingredients work in harmony to moisturize, exfoliate, and brighten the skin, making it look and feel rejuvenated. It’s a gentle yet effective way to achieve a lighter complexion without the harsh chemicals found in commercial whitening products.
In conclusion, the Japanese rice mask is a testament to the power of natural ingredients in achieving beautiful, glowing skin. This easy-to-make, magical recipe is not just a mask; it’s a centuries-old beauty secret that has been passed down through generations, allowing anyone to experience the luminous, even-toned complexion that is so admired in Japanese beauty culture. So, why not give it a try and see the transformative power of rice on your skin?