Miracle Recipe Don’t Throw Away Old Bananas

Miracle Recipe Don’t Throw Away Old Bananas! Many People Know This Secret! Just a Bomb

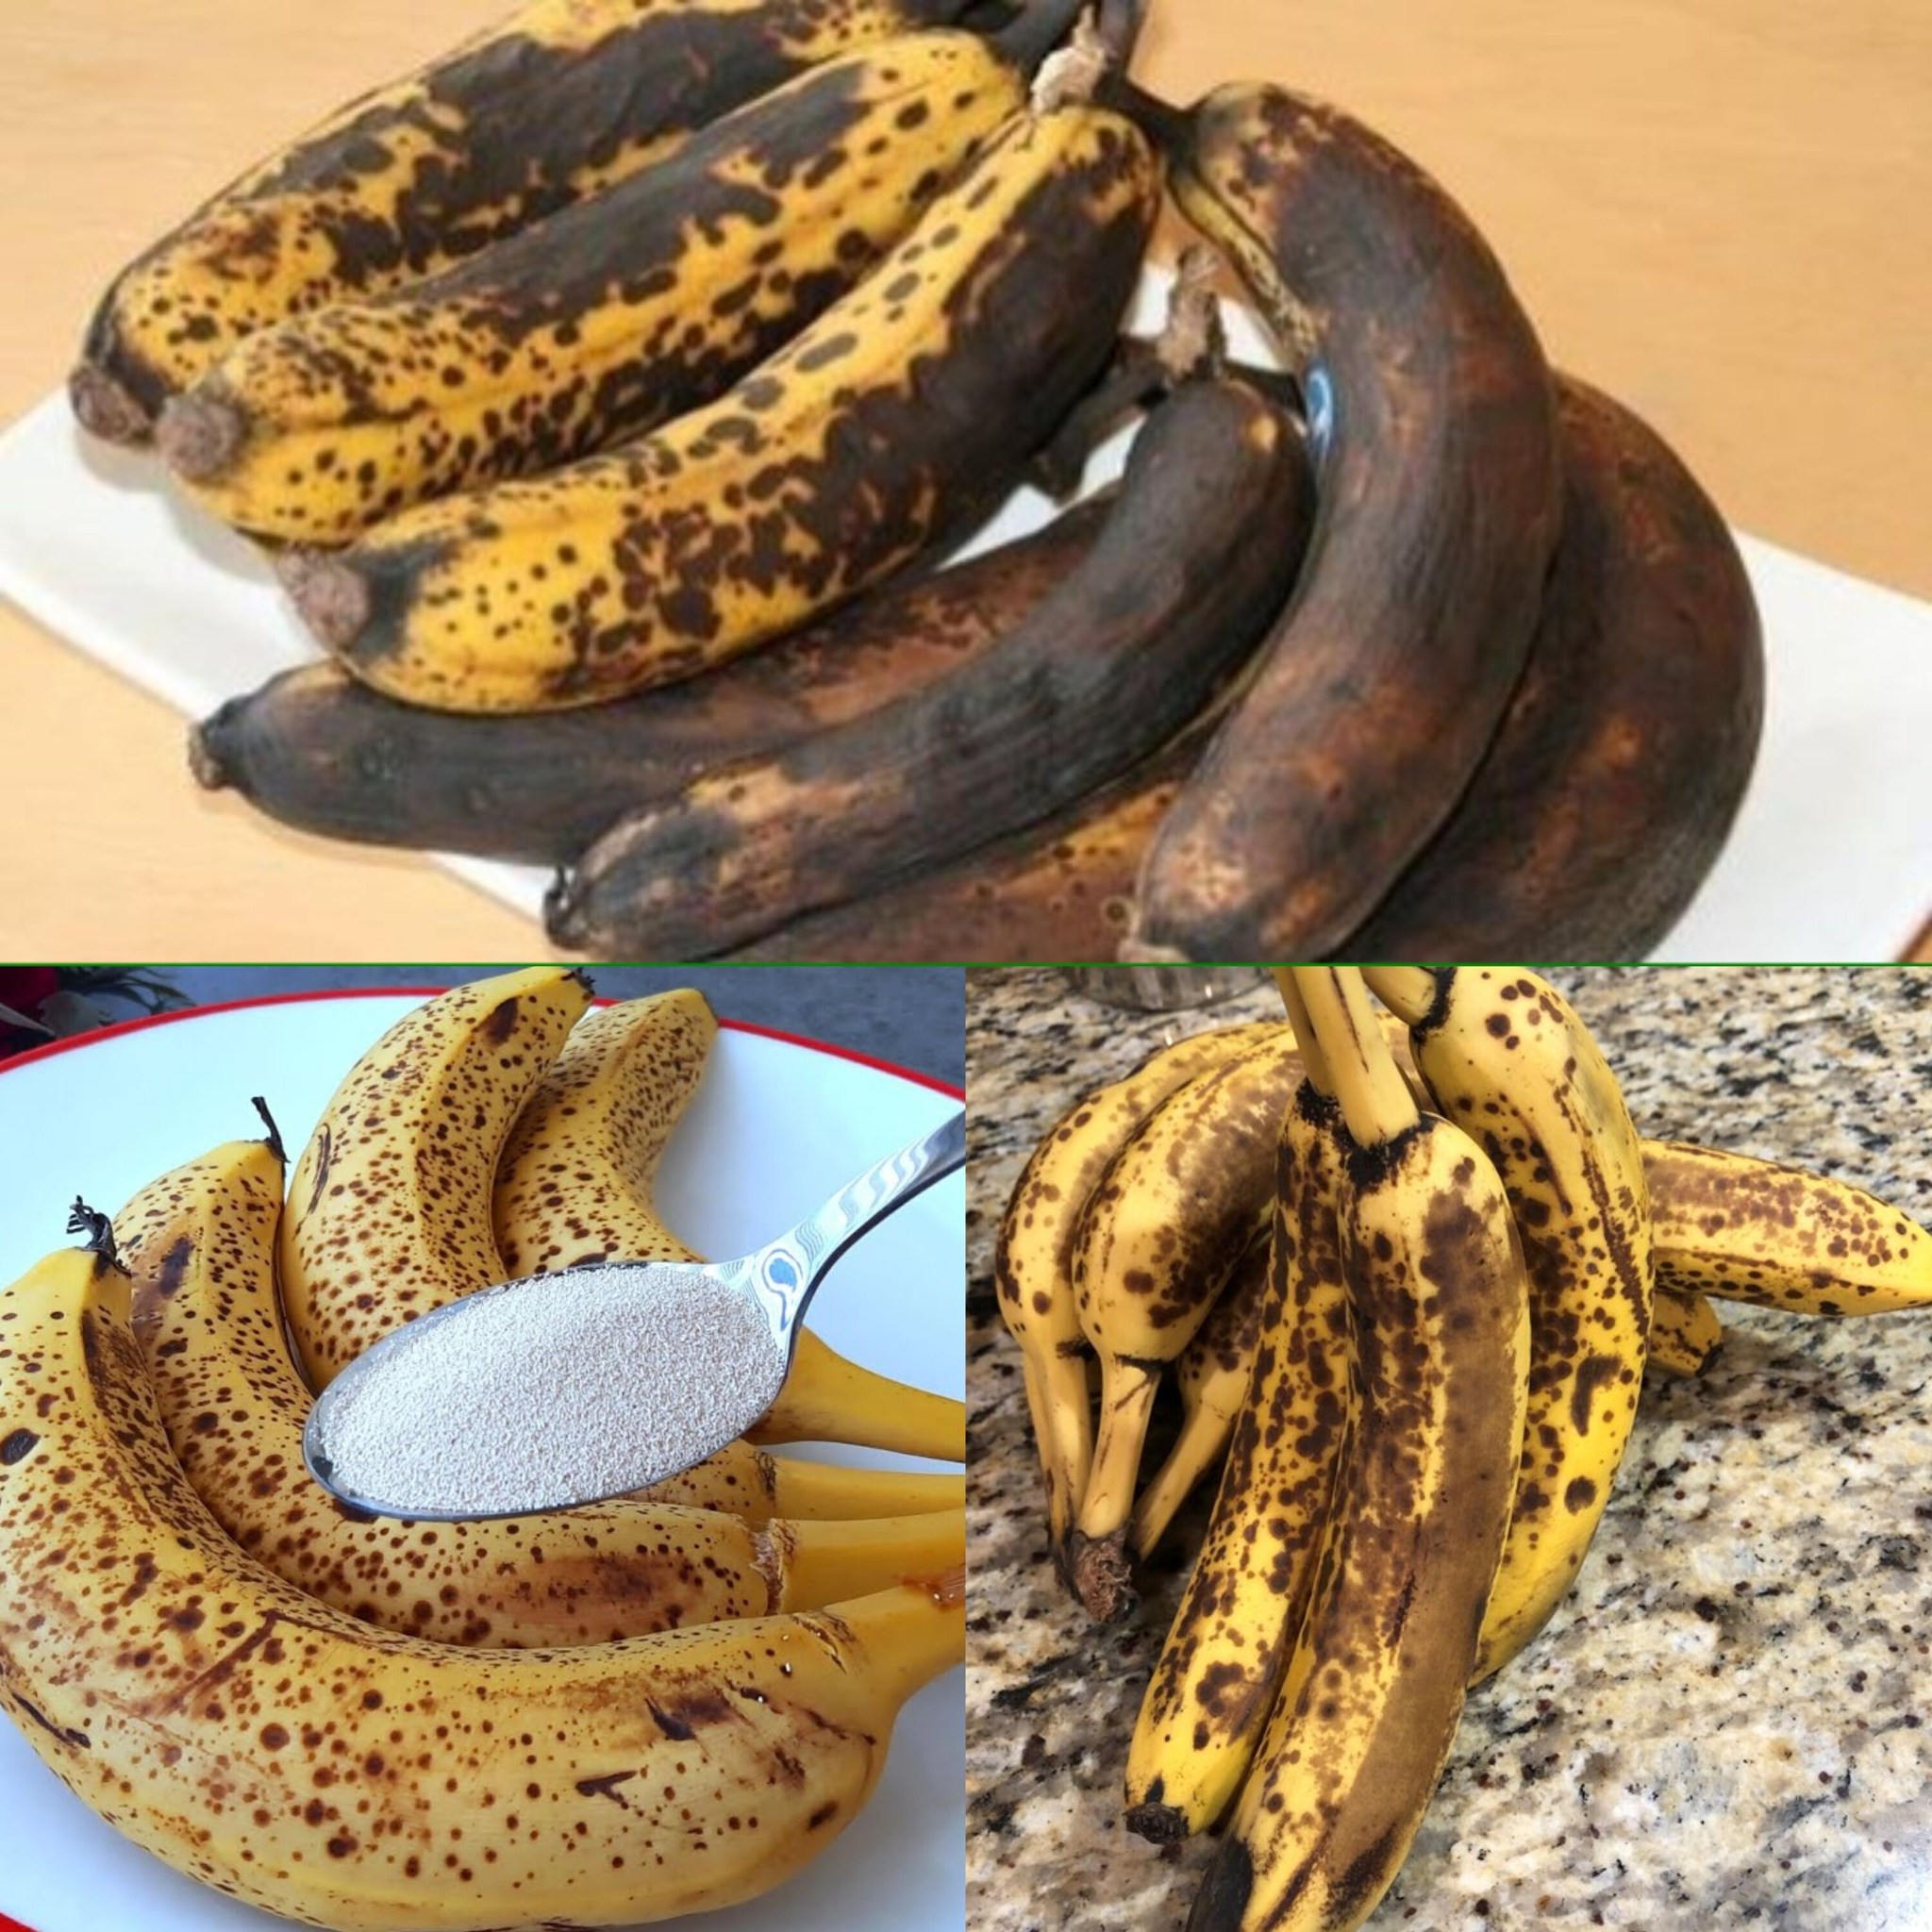
Have some stale bananas hanging about? Don’t discard them! Many people swear by a miraculous method that transforms those overripe bananas into a tasty and nutritious treat. Not only is this sugar-free banana bread simple to prepare, but it is also loaded with nutrients. It’s the ideal approach to reduce food waste and enjoy a guilt-free snack.

The Benefits of Bananas

Bananas that are overripe are nutrient-dense gold. They are abundant in vitamins and fibre, which improve digestion and increase energy, and rich in potassium, which promotes heart health. They are a great component for baking that is healthful because of their inherent sweetness.

Ingredients:

To make this healthy banana bread, you’ll need simple, wholesome ingredients:

  1. 3 overripe bananas
  2. 1/3 cup melted coconut oil
  3. 1 teaspoon baking soda
  4. A pinch of salt
  5. 1 teaspoon vanilla extract
  6. 1 beaten egg (or a flax egg for a vegan option)
  7. 1 1/2 cups whole wheat flour
  8. 1/2 cup chopped nuts (optional)
  9. 1/2 cup raisins or dried cranberries (optional)

Instructions:

  1. Preheat the Oven: Turn the oven on to 350°F (175°C). Lightly grease a 4×8-inch loaf pan with coconut oil.
  2.  Mash the Bananas: Using a fork, mash the overripe bananas in a large mixing basin until they are smooth. Add the melted coconut oil and stir.
  3. Combine the Ingredients: Thoroughly combine the baking soda and salt with the banana mixture. Add the beaten egg and vanilla essence and stir. Add the whole wheat flour little by little until everything is thoroughly mixed. If you’re using nuts or dried fruits, fold them into the batter at this point.
  4. Pour into the Pan: Pour the batter into the greased loaf pan and spread it out evenly.
  5. Bake: Bake for about 60 minutes, or until a toothpick inserted in the centre comes out clean, in a preheated oven. To avoid burning, cover the top with aluminium foil if it begins to brown too soon.
  6. Cool and Serve: Transfer the banana bread to a wire rack to cool entirely before slicing after it has cooled in the pan for a few minutes.

Savouring Your Nutritious Banana Bread

Any time of day is ideal for this banana bread. Savour it as a dessert, a snack, or even for breakfast. It has a naturally sweet taste from the bananas and goes well with a wide range of toppings, such as fresh fruit or nut butter.

Additional Tips:

Storage: You may keep your banana bread for up to four days at room temperature in an airtight jar. To extend its shelf life, firmly wrap and freeze.

Variations: For an added pleasure, try adding a handful of dark chocolate chips, or add some shredded coconut for flavour. A flax egg (one tablespoon ground flaxseed combined with three tablespoons water) can be used in place of the egg for a vegan version.

In summary

Old bananas are not garbage; they are a gem. They become a wonderful, nutritious banana bread that you can enjoy at any time thanks to this amazing recipe. It is nutrient-dense, simple to prepare, and devoid of added sugars. Try this recipe and tell your friends and family where the secret is kept. Let’s savour the healthful deliciousness of

Discover the Remarkable Health Benefits of Blackberry Leaves

Discover the Remarkable Health Benefits of Blackberry Leaves

Blackberry leaves are a powerhouse of health advantages on their own, sometimes overlooked by their luscious fruits. A few of these leaves have so many medical advantages that they can even outweigh the effects of many conventional treatments. Let’s explore the potential benefits of including blackberry leaves in your diet.

Benefits of Blackberry Leaves for Nutrition and Medicine:

1. Packed with Antioxidants: Blackberry leaves are a great source of antioxidants, which assist the body fight free radicals. This can lessen the chance of developing chronic illnesses and lessen oxidative stress.

2. Anti-inflammatory Properties: The anti-inflammatory compounds in the leaves can help lessen pain and swelling, which makes them a great remedy for arthritic disorders.

3. Digestive Health: Blackberry leaves have historically been used to treat moderate digestive disorders. aid in reducing diarrheal symptoms and are believed to enhance gastrointestinal health in general.

4. Oral Health: The astringent properties of blackberry leaf tannins might be advantageous to oral health. Using a decoction prepared from these leaves as a gargle will help relieve sore throats and tighten gums.

5. Immune Boosting: Packed with minerals and vitamin C, these leaves help strengthen the immune system and prevent infections and colds.

How to Use Blackberry Leaves for Tea-Brewing tea is one of the easiest and most traditional ways to take advantage of the health benefits of blackberry leaves.

A little handful of dried or fresh blackberry leaves are the ingredient.

Directions: Give the leaves a good rinse. Pour boiling water over the leaves. Allow them to steep for around ten After a few minutes, filter and savor. This tea can be had two or three times a day.

Topical Application: A poultice prepared from blackberry leaves can be applied directly to the skin to treat external conditions like eczema or skin rashes.

Directions: Apply immediately to the afflicted region after crushing fresh leaves to liberate their juices. As an alternative, you may soak leaves in hot water, let them cool, and then rinse them with the calming water.

Take Care
Even while most individuals may safely consume blackberry leaves, it’s wise to start with moderate doses and monitor how your body responds, particularly if you have sensitive stomach. Speak with your doctor if you take medicine now to be sure there are no possible interactions.

In conclusion, blackberry leaves are a powerful and adaptable herbal treatment rather than only a fruit byproduct. A natural health practice may profit greatly from the advantages of blackberry palms, whether they are utilized as a cutaneous remedy or as a calming tea. Try this marvel of nature and benefit from its ageless healing abilities.

The Wonderful Effects of Adding Cardamom to Your Daily Diet

The Wonderful Effects of Adding Cardamom to Your Daily Diet

  • Known as the “queen of spices,” cardamom is prized for its strong, sweet flavor as well as its many health advantages.
  • Including cardamom in your regular meals can result in significant advantages to a number of your health’s elements. Let’s examine the effects of including cardamom regularly in your diet on your health.

Improved Digestive Health

One especially well-known benefit of cardamom is its ability to facilitate digestion. By increasing the stomach’s production of bile acid, it aids in the management of issues including indigestion, gas, and bloating. It also helps to lessen the intensity and frequency of heartburn.

Properties of Detoxification

  • Due to its natural diuretic properties, this spice can facilitate urination as a method of helping the body get rid of waste and extra water. Typical Taking cardamom increases the body’s ability to eliminate toxins, which is beneficial for the kidneys and urinary tract.
  • Effects of Antioxidants and Anti-Inflammatory
    Packed in antioxidants, cardamom lowers the risk of chronic illnesses by shielding cells from harm caused by free radicals. Cardamom’s anti-inflammatory qualities may dramatically reduce inflammation in the body, which is particularly advantageous for enhancing general heart health and averting chronic illnesses.
  • Breathing Aid
    Cardamom can be a breath of fresh air for people who have respiratory problems. It facilitates better lung circulation, which eases breathing. This spice is frequently included in folk cures for asthma, coughs, and colds.
  • Improved Dental Health
    The antimicrobial properties of cardamom are useful in combating typical oral pathogens. Chewing cardamom pods can improve breath freshness and lower your chance of dental illnesses including cavities and gum disease.
  • Control of Blood Pressure
    Cardamom’s fiber and essential oils have the potential to reduce blood pressure. Frequent consumption is associated with a healthy heart and improved cardiac rhythm.
  • Enhancing Your Diet Using Cardamom
    It’s easy to incorporate cardamom into your diet. To your morning coffee or tea, you can add a pinch of ground cardamom or a few pods. It may also be used to savory foods, baked products, and smoothies to improve flavor and offer health advantages.
  • Accept the Variety of Life
    Include cardamom in your regular diet to reap a host of health advantages. From enhancing  This spice gives more to your meals than simply taste; it also contributes life-enhancing properties that may greatly improve your well-being, from protecting your heart to improving respiratory function and even your digestive health. Why not use a little cardamom today to add some spice to your life?

Spinach and Gruyere Cheese Quiche with a Hash Brown Crust

Spinach and Gruyere Cheese Quiche with a Hash Brown Crust

Items needed to make the Hash Brown Crust:

  1. – Three cups of thawed and super-moisturized frozen hash browns

To make the quiche filling,

  1. cut three pieces of chicken; use one package of baby spinach; and dice half a cup of bell peppers.
  2. – Two minced garlic cloves
  3. 1/4 cup finely chopped onion
  4. – Six big eggs
  5. – Half a cup of whole milk
  6. A half cup of grated Gruyere cheese and three teaspoons of butter
  7. – One-fourth teaspoon of black pepper
  8. – A single sprinkle of nutmeg
  9. One-half teaspoon salt, separated

Guidelines

1. Set the oven temperature to 375°F, or 190°C. Pat a 9-inch pie plate clean.
2. Place the thawed hash browns, 2 tablespoons melted butter, and 1/4 teaspoon salt in a mixing dish. To construct the crust, press the hash browns firmly into the bottom and up the sides of the prepared pie plate.
3. Cook the hash brown crust for 20 to 25 minutes, or until crispy and golden brown, in a preheated oven. Take out of the oven and place aside.
4. Cook the diced chicken in a pan over medium heat until it becomes crispy. After taking the chicken out of the skillet, pat dry using paper towels. Put aside.
5. Add the last tablespoon of butter to the same skillet. After melting, include the chopped onion and bell peppers. Cook for 3–4 minutes, or until tender. One more minute is spent cooking after adding the minced garlic.
6. Include the baby spinach and heat it in the pan until it wilts. Take off the heat source and allow it to cool somewhat.
7. In another mixing bowl, whisk together the eggs, whole milk, black pepper, and shredded Gruyere cheese.Add the remaining 1/4 teaspoon of salt and nutmeg.
8. Ensure that the egg mixture is uniformly blended by stirring in the cooked bacon and spinach combination.
9. Fill the hash brown crust that has been prebaked with the quiche filling.
10. After preheating the oven, put the quiche in and bake it for 35 to 40 minutes, or until the top is golden brown and the middle is set.
11. Before slicing and serving, take the quiche out of the oven and allow it to cool for a few minutes.
12. You may serve the warm or room temperature spinach and gruyere cheese quiche with a hash brown crust. Have fun!

Rejuvenate Your Skin with a Homemade Beetroot Collagen Face Mask

Rejuvenate Your Skin with a Homemade Beetroot Collagen Face Mask

An all-natural solution to boost the firmness and shine of your skin may be found in a DIY beetroot collagen face mask. Beetroot, well-known for its rich, colorful hue and remarkable health advantages, is also a powerful skin-benefiting ingredient. The potent qualities of beets and the skin-rejuvenating characteristics of collagen come together in this simple-to-make mask, making it the ideal evening skincare routine.

  • Vitamin and Mineral-Rich Benefits for Skin: Beetroot is a rich source of vitamins A, C, and K as well as minerals like potassium, iron, and manganese. Through cell repair and the reduction of age indications, these nutrients aid in the promotion of healthy skin.
  • Natural Purifying Qualities: Beetroot’s abundant antioxidant content aids in pore cleaning and reduces imperfections and redness, giving the appearance of more radiant, balanced skin.
  • Boosts Collagen Production: The vitamin C in beetroot is essential for the creation of collagen, which keeps the skin smooth and elastic.

Ingredients for Beetroot Collagen Face Mask Recipe:

  1. One little beetroot
  2. One spoonful of powdered collagen (found at health shops)
  3. One spoonful of natural yogurt (to add additional moisture)
  4. One tsp honey (for its antimicrobial qualities)

Guidelines:

  • To prepare the beetroot, peel it and purée it in a blender until it’s a smooth consistency.
  • Mixing the ingredients: Put the yogurt, honey, collagen powder, and beetroot puree in a bowl. Mixing the components well requires constant stirring.
  • Apply the Mask: Just before going to bed, dab a little bit of the equally throughout your freshly cleaned face. Steer clear of the region around your eyes since the natural sugars in beetroot might irritate them.
  • Leave On Overnight: For deep nutrition, if your skin is tolerant and comfortable, you might choose to leave the mask on overnight.
  • Rinse Off: Use lukewarm water to rinse off the mask in the morning and pat your face dry.

Advice for the Best Outcomes

  • Patch Test: To be sure you won’t experience an allergic reaction, always test new components on your arm before using them on your face.
  • Frequent Use: Apply this mask two to three times a week for optimal effects. Regular application will help to minimize aging symptoms and naturally improve the flexibility of your skin.
  • Storage: Should you have any extra mask, you might For up to a week, keep it refrigerated. Ensure that it is completely covered to prevent contamination.

In summary
Adding a beetroot collagen mask to your nighttime regimen is a great method to make use of natural ingredients to improve the health of your skin. This mask promotes your skin’s natural suppleness and moisture balance in addition to reviving and brightening it. Give yourself the gift of radiant skin by using this easy-to-make cosmetic trick.

Apple Pie Egg Rolls

Apple Pie Egg Rolls

Apple Pie Egg Rolls are a delightful twist on the classic apple pie, blending the familiar flavors of a beloved dessert with the unique, crispy texture of an egg roll wrapper. These delectable treats feature a cinnamon-spiced apple filling, enveloped in a crunchy golden exterior, offering a perfect fusion of sweet and savory. Easy to make and even easier to enjoy, Apple Pie Egg Rolls are an ideal dessert for any occasion, promising to surprise and delight your taste buds with every bite. Whether served warm with a scoop of vanilla ice cream or enjoyed on their own, these egg rolls are sure to become a new favorite in your dessert repertoire.

Ingredients:

  1. fifteen egg roll wrappers
  2. 4 C peeled, cored, and chopped apples
  3. One-third cup brown sugar
  4. 2 Tbsp chopped salted butter
  5. One tablespoon of sugar
  6. two teaspoons of cinnamon
  7. One teaspoon of lemon juice
  8. Half a teaspoon of nutmeg
  9. Half a teaspoon of salt
  10. 1/4 teaspoon of cloves
  11. Two tablespoons cornflour

Cinnamon sugar

  1. One cup of sugar
  2. 3 Tbsp cinnamon-infused frying oil

Instructions:

  1. Apples, brown sugar, butter, sugar, cinnamon, lemon juice, nutmeg, salt, and cloves should all be combined in a medium pot. Simmer for 8 minutes over medium heat, stirring often. Take off the stove and stir in the cornflour.
  2. Position one corner of the wrappers towards you on a spotlessly clean surface. Put two to three tablespoons of the apple mixture in the lower centre of the wrapper. The bottom corner should be folded up and over the filling before the two outer corners are folded inward and towards the centre to form an envelope. After giving the last corner a quick spray of water, wrap it up to seal. Proceed with the leftover wrappers.
  3. In a large stockpot, heat 3″ of oil to 350°. After the oil has heated up, drop three to four rolls into it. Fry for two minutes, then turn over and continue to fry for two more minutes. After cooked, gently take out of the oil and transfer to a dish covered with paper towels. Take the remaining eggrolls and cook them in the same way.
  4. Mix the sugar and cinnamon together in a small bowl. Put aside. After each egg roll is cooked, roll it in the cinnamon-sugar mixture while it’s still warm.

Notes:

  • You may insert a toothpick into your egg rolls to prevent them from unrolling if you are experiencing problems with them doing so while they are cooking. When they are cooked, take out the toothpick.
  • Although these egg rolls are best enjoyed the same day, they may be reheated in the microwave or air fryer the next day to retain their freshness.

Recipe created by: incredible Recipes


Fresh Apple Bread

Fresh Apple Bread with Crunchy Streusel and Sweet Vanilla Drizzle

Fresh apple bread is a delightful and moist quick bread that’s perfect for any time of year, but especially in the fall when apples are at their peak. Here are some ways you can introduce this delicious treat:

Indulge in the comforting flavors of fall with our Fresh Apple Bread. This moist and tender bread is packed with juicy apple pieces and warm spices, making it the perfect treat for breakfast, dessert, or a cozy snack.”

Ingredients:
  1. 1/2 cup softened butter
  2. 1 cup granulated sugar
  3. 2 eggs
  4. 1/2 cup milk
  5. 1 tsp vanilla extract
  6. 2 cups all-purpose flour
  7. 1/2 tsp salt
  8. 1 tsp baking powder
  9. 1 1/2 cups diced peeled a green apple
  10. 1/2 cup chopped walnuts or pecans
For the Topping:
  1. 5 TBSP cold butter
  2. 1/3 cup flour
  3. 2 TBSP granulated sugar
  4. 2 TBSP brown sugar
  5. 2 tsp ground cinnamon

For the Vanilla Glaze:

  1. 1 TBSP melted butter
  2. 1/2 cup powdered sugar
  3. 1 TBSP milk
  4. 1/4 tsp vanilla extract
Directions:
  1. Preheat oven to 350 degrees F. Line a bread pan with parchment paper or spray with non-stick cooking spray.
  2. Cream butter and sugar in a mixing bowl. Add in eggs, milk, and vanilla and stir to incorporate. Mix in flour, salt, and baking powder. Fold in apples and nuts. Transfer mixture to prepared baking pan.
  3. For the topping, combine all ingredients and mix with a fork or pastry mixer until crumbly. Sprinkle over batter in pan
  4. Bake for 55-60 minutes, until a toothpick inserted in the bread comes out clean. (Internal temperature of bread will be 200 degrees F when fully cooked.) Let cool. Remove from pan and drizzle the top with vanilla glaze. Slice and serve. Store leftovers in an airtight container.r

Air fryer Method:

  1. Preheat your air fryer to 320°F (160°C) for about 5 minutes.
  2. Grease a small loaf pan or line it with parchment paper to fit into your air fryer basket.
  3. Place the loaf pan in the air fryer basket.
  4. Cook at 320°F (160°C) for 25-30 minutes, or until a toothpick inserted into the center of the bread comes out clean.
  5. Check the bread at the 20-minute mark; if it is browning too quickly, cover it with aluminum foil to prevent over-browning.
Prep Time: 20 minutes | Cooking Time: 60 minutes | Total Time: 80 minutes
Kcal: 330 kcal | Servings: 8 servings

Caramel Apple Cheesecake Crescent Ring

Caramel Apple Cheesecake Crescent Ring

Creating a Caramel Apple Cheesecake Crescent Ring is a delightful way to combine the flavors of caramel, apples, and cheesecake in a beautiful and delicious presentation. Here’s an introduction and a recipe to get you started:

Introduction

The Caramel Apple Cheesecake Crescent Ring is a decadent dessert that brings together the classic flavors of a caramel apple and the creamy richness of cheesecake, all wrapped in the light and flaky layers of crescent dough. This dessert is perfect for fall gatherings, holiday celebrations, or any time you want to impress your guests with a stunning and scrumptious treat.

INGREDIENTS
  1. 2 8oz. cans Crescent Rolls
  2. 1 8oz. package cream cheese, softened
  3. 1 21oz. can apple pie filling
  4. 1/4 cup caramel sauce
  5. 1/2 cup granulated sugar
  6. 1 teaspoon pure vanilla extract
GLAZE:
  1. 1 cup confectioners sugar
  2. 1 Tablespoon milk
INSTRUCTIONS:
Oven Method:
  1. Preheat oven to 350F and spray a baking sheet with non-stick cooking spray.
  2. Using a handheld mixer, beat cream cheese, sugar, and vanilla extract until fluffy.
  3. Unroll crescent dough and separate triangles.
  4. On prepared baking sheet, place triangles overlapping, with the long ends pointed outward so there is an about 6-inch circle in the middle.
  5. Spread the dough with apple pie filling and drizzle with caramel sauce.
  6. Dollop and spread the cream cheese mixture over the apple pie filling and begin folding the outer ends of the dough over the filling. Pinch dough together to seal.
  7. Bake for 18 to 20 minutes.

Air Fryer Method:

    1. Preparation:
      • Preheat your air fryer to 350°F (175°C) for about 5 minutes.
      • Lay out a piece of parchment paper that fits your air fryer basket.
    2. Crescent Roll Setup:
      • Open the can of crescent rolls and separate the dough into triangles.
      • Arrange the crescent roll triangles in a circle on the parchment paper, with the wide ends overlapping in the center and the points facing outward. The circle should be about 4 inches in diameter.
    3. Cheesecake Filling:
      • In a medium bowl, beat the softened cream cheese, granulated sugar, and vanilla extract until smooth.
      • Spread the cream cheese mixture over the wide part of the crescent rolls.
    4. Apple Filling:
      • In a small bowl, mix the finely chopped apple with ground cinnamon.
      • Spoon the apple mixture over the cream cheese layer.
    5. Caramel Drizzle:
      • Drizzle the caramel sauce over the apple mixture.
    6. Forming the Ring:
      • Fold the pointed ends of the crescent rolls over the filling and tuck them under the wide ends to form a ring. Some filling will be visible between the crescent rolls.
    7. Butter Coating:
      • Brush the melted butter over the top of the crescent ring.
    8. Air Frying:
      • Carefully place the parchment paper with the crescent ring into the air fryer basket.
      • Air fry at 350°F (175°C) for 10-12 minutes or until the crescent ring is golden brown and cooked through.
    9. Finishing Touches:
      • Once done, carefully remove the crescent ring from the air fryer and let it cool slightly.
      • Optionally, dust with powdered sugar.
    10. Serving:
      • Cut into slices and serve warm, optionally with extra caramel sauce drizzled on top.

    Enjoy your delicious Caramel Apple Cheesecake Crescent Ring

GLAZE: WHISK GLAZE INGREDIENTS TOGETHER UNTIL SMOOTH.

Irresistible Snickers Cake Bliss

Irresistible Snickers Cake Bliss

When a Snickers cake melts in your lips, be ready to enjoy the ultimate enjoyment! Layers of chocolate sponge, smooth caramel, and crunchy peanuts are combined in this easy-to-make yet delicious dessert, which is finished with a rich milk chocolate ganache.

Ingredients:

  1. 1 cup chocolate sponge made with:
  2. – 30ml of vegetable oil
  3. – 50ml of milk
  4. – 3 eggs
  5. – 80g of sugar
  6. – A dash of salt
  7. – 80g of flour
  8. – 20g of cocoa powder
  9. – 1 teaspoon of baking powder

Regarding Caramel Cream:

  1. – 160g of cream
  2. – 100g of butter
  3. – 220g of sugar (30-36% fat)
  4. – 150g of roasted peanuts
  5. – 1/2 teaspoon salt

Regarding Cream Cheese Frosting:

  1. – 150g of cream (33–36%)
  2. – 400g of cream cheese
  3. – 30g of powdered sugar
  4. – 1 teaspoon of vanilla essence

Regarding Milk Chocolate Ganache:

  1. – 50g of chopped roasted peanuts
  2. – 30g of odorless vegetable oil
  3. – 150g of milk chocolate

Directions:

First, make the chocolate sponge.

1. Set the oven’s temperature to180 degrees Celsius, or 350 degrees Fahrenheit.

2. Beat eggs, sugar, and a dash of salt for ten to fifteen minutes, or until somewhat frothy.
3. Thoroughly combine the milk and vegetable oil.
4. Divide the flour, baking powder, and cocoa powder into two halves and sift. Mix until well combined.
5. Fill a 20cm baking pan with the batter, and bake for 25 to 30 minutes.

Regarding Caramel Cream:

1. Melt sugar in a pot until it turns golden. Stir in salt, butter, and cream until smooth.
2. Allow to cool before blending in toasted peanuts.

Regarding Cream Cheese Frosting:

1. Using a bowl, thoroughly mix cream cheese, powdered sugar, and vanilla extract.
2. Add cream gradually and stir until smooth. For two to three hours, refrigerate.

How to Put the Cake Together:

1. Split the chocolate sponge that has cooled into two horizontal layers.
2. Top one layer with a layer of caramel cream and a layer of cream cheese frosting. Continue with the second layer.
3. Place the layers in a stack and chill.

Regarding Milk Chocolate Ganache:

1. Combine melted milk chocolate with fragrance-free vegetable oil.
2. Evenly distribute the liquid over the cold cake.
3. Top with chopped, toasted peanuts.

Last Bite:

Allow cake to cool for ten to fifteen minutes before slicing and serving.

Present and Savor:

  • Savor every morsel of this blissful Snickers cake! It’s easy to make, delicious, and completely enticing.
  • Talk about your creation of a Snickers Cake with other dessert lovers! Take a picture and tag us so we can share the goodness.

Effortless Natural Solutions to Keep Pests at Bay

Effortless Natural Solutions to Keep Pests at Bay

These do-it-yourself methods are ideal if you’ve been looking for ways to get rid of unwelcome pests like cockroaches, flies, and mosquitoes in your house without using harsh chemicals. These natural cures make your home safer and are simple to make using things you can usually find in your cupboard.

Personalized Mosquito Trap
In addition to being an annoyance, mosquitoes are frequently unwelcome visitors at any kind of event, whether it be indoors or outdoors. Here’s how to construct this easy trap:

  1. One cup of water,
  2. five teaspoons of sugar,
  3. and one tablespoon of yeast are the ingredients.

Preparation:

  • Over low heat, boil the water and dissolve the sugar. After taking off the heat, mix in the yeast. Remove the cap from a two-liter plastic bottle and place it into the bottle’s base, then bind it with tape.
  • Use: Fill the bottle with the mixture, then cover it with cloth or cardboard to keep light from getting inside. Put it where mosquitoes are a problem.

Clove spray with bay leaf
This fragrant spray repels a range of insects in addition to having a lovely scent:

Ingredients:

  1. 20 cloves,
  2. 15 bay leaves,
  3. and 1 cup of water.

Preparation:

  • To release the smells, simmer the ingredients in a saucepan for around ten minutes. Let the mixture cool after that.
  • Use: Pour the liquid into a spray bottle when it has cooled. Apply a mist to cupboards, nooks, and other locations where insects are commonly seen.

Spray to Repel Insects
This blend works incredibly well as a broad range insect repellent against a variety of common pests.

Ingredients:

  1. half a cup white vinegar,
  2. half a cup shampoo of vegetable-based oil.

instructions

  • Prepare the ingredients by thoroughly mixing them until they are properly blended.
  • Use: Transfer contents into a spray bottle and mist places where visible insects are present. Because insects dislike the strong odors and greasy texture of this spray, it is very effective.

Advice on Efficient Utilization
Frequent Application: Check the traps and reapply the sprays for optimal results.

Strategic Location: Put these repellents in places where pests are more likely to congregate or enter, including spaces close to doors and windows and moist areas.

Safe Storage: Keep your homemade concoctions and ingredients out of the reach of small children and pets.

Use these simple, all-natural remedies to keep your house free of pests and comfortable without having to use harmful pesticides. Give them a try. and take pleasure in a tranquil, bug-free atmosphere in your beloved house.