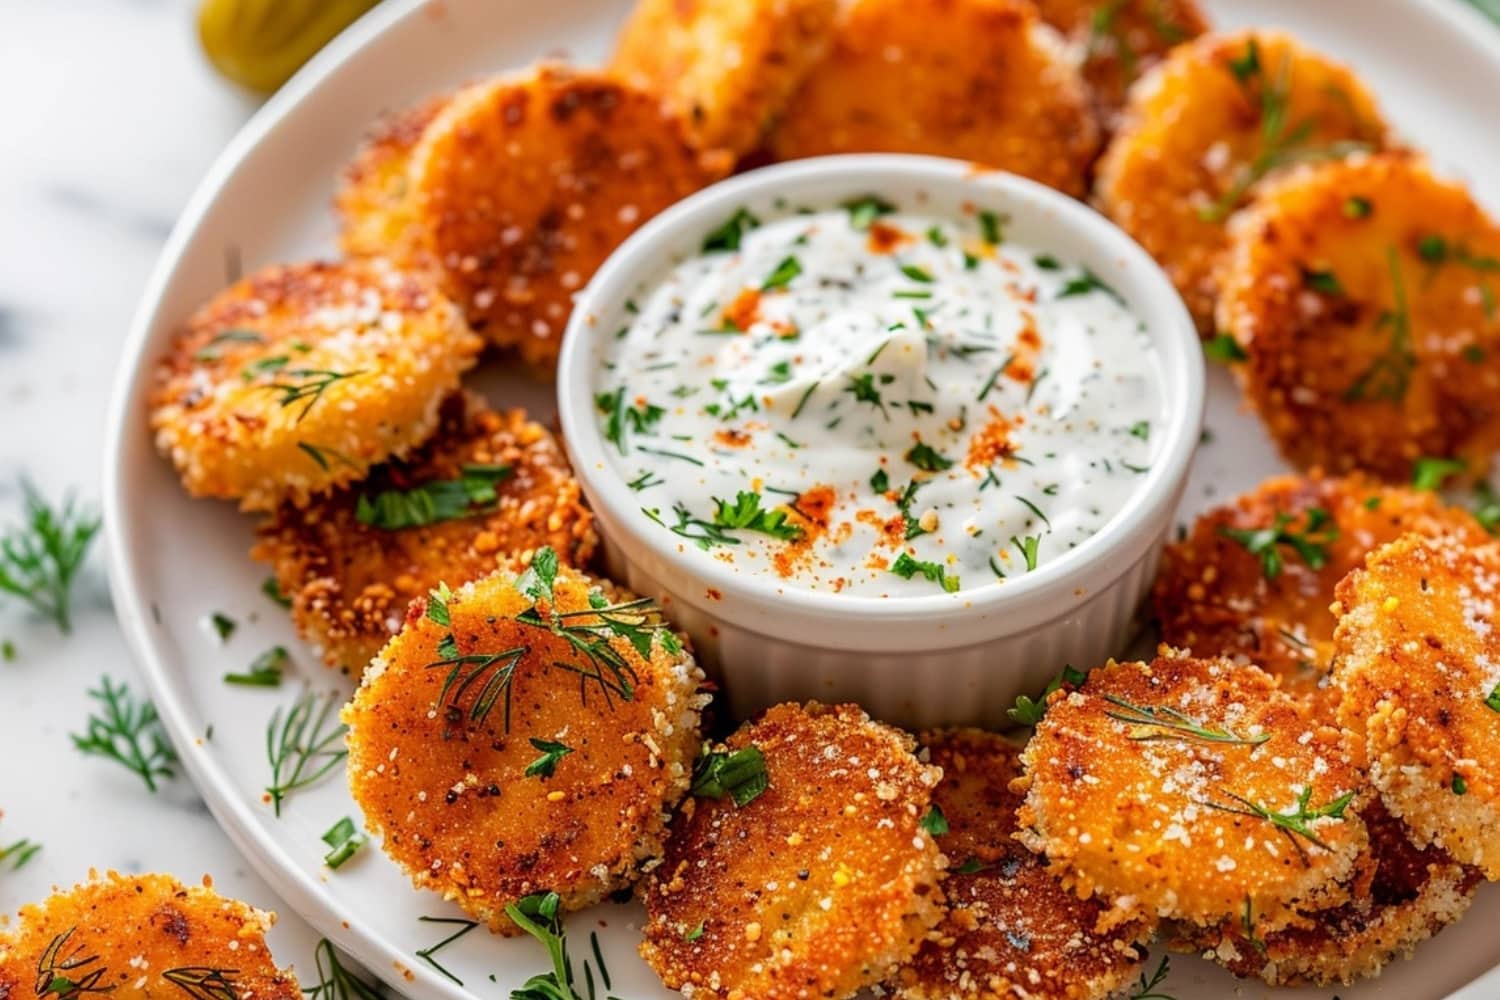
Air Fryer Fried Pickles
Now, pickle lovers, pay attention! I recently came with the most delicious snack. These fried pickles from the air fryer are amazing!They’re sour and flavorful, and they’re also really simple to make. I must caution you—these nasty boys have a strong addictive potential.
The pickles crisp to perfection on the outside while maintaining a beautiful, juicy interior when cooked in an air fryer.
They’re the best for movie nights, sports days, or post-school munchies!
How to Keep Things
- Pickle chips have a crispy feel and are best consumed right away. However, if you have any leftovers, here’s how to preserve them:
- To Store: Allow the pickles to cool completely before putting them in an airtight jar. To maintain the crispness of the layers, place a paper towel between each one. Keep chilled for a maximum of three days.
- Reheat the chips by placing them back in the air fryer and heating them to 400 degrees F. It ought to take no more than two or three minutes.
COMPOSITION
- Half a cup of all-purpose flour
- Half a teaspoon of paprika
- half a teaspoon of powdered garlic
- Half a teaspoon of powdered onion
- Half a teaspoon of salt
- 1/4 tsp black pepper
- two big, beaten eggs
- 1 cup breadcrumbs, Panko style or otherwise
- One sixteen-ounce jar of pickled dill chips; drain and pat dry.
- cooking oil
DIRECTIONS
- Set the air fryer’s temperature to 400 degrees.
- To a small bowl, add the flour, paprika, onion powder, garlic, salt, and pepper. Mix thoroughly with a whisk.
- Spoon the breadcrumbs into a third shallow bowl and the beaten eggs into a second.
- First, coat each pickle with the flour mixture. After that, submerge them in the eggs and then the breadcrumbs. Make sure you coat each side equally.
- Coat the frying spray on the air fryer basket. Next, place the pickles at the bottom in a single, non-overlapping layer.
- Simmer the pickles for ten minutes in total, turning them over halfway through. The pickles will be golden brown and crispy when they’re done.
- Till all of the pickles are ready, repeat steps 5 and 6 together.
- Enjoy hot, accompanied by dipping sauces if preferred.