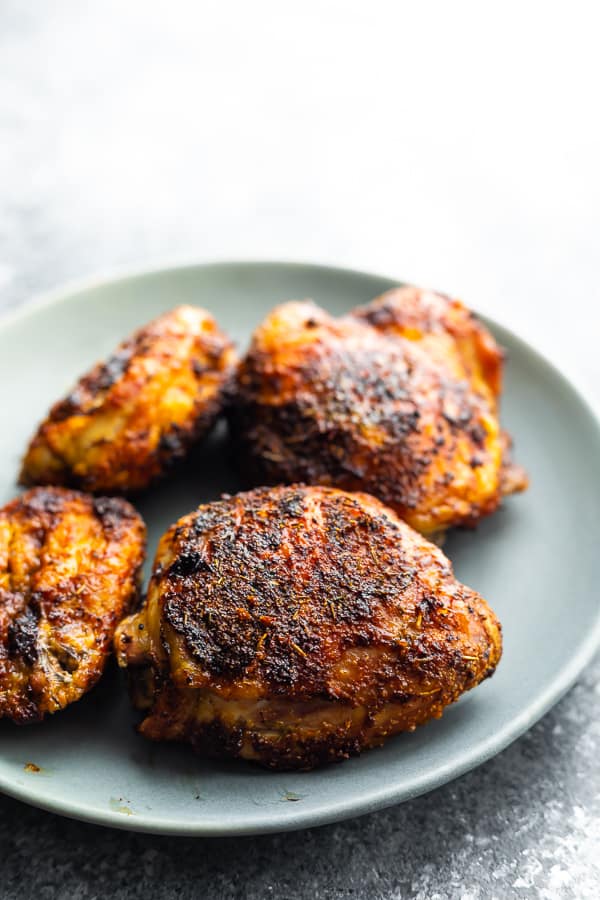
MANDARIN CHICKEN SALAD
The possibilities for a chicken salad are expanded upon by this Mandarin version. It has a ton of crunchy toppings, avocado, shredded chicken, sweet mandarins, and a zesty lemon vinaigrette on top.
I think it’s obvious by now that I’m partial to chicken salads. Nothing makes a taste of fresh greens, crisp veggies, and juicy chicken more delicious than my ultimate chicken salad (a reader favorite for a reason) or my southwest chicken salad (Tex Mex flavor on point). But you have to prepare this mandarin chicken salad when mandarin season rolls around and you see those bags of Cuties at the grocery! It has enough protein to keep you full, but it’s light enough not to make you feel heavy, and you can easily make it because the ingredient list is so short. salad that I like
By :Lisa Bryan
INGREDIENTS
- Two skinless, boneless chicken breasts;
- five cups of spinach;
- four peeled and separated mandarins;
- one diced, ripe avocado;
- one sliced cucumber;
- two chopped green onions;
- and one-fourth cup of slivered almonds
- A SINGLE RECIPE FOR LEMON VINAIGRETTE:
INSTRUCTIONS
- Combine the ingredients for the vinaigrette and transfer 3/4 of it into a jar to let the chicken marinade. The chicken should marinade for at least an hour, but even thirty minutes will work.
- Place the marinated chicken breasts in a baking tray and preheat the oven to 425F. Bake for 20 to 25 minutes, or until thoroughly done.
- Use a fork or a stand mixer to shred the chicken. Then combine all the ingredients in a big mixing bowl. Transfer the leftover lemon vinaigrette on the top.
How to Prepare and Store Meals
- This salad is best eaten fresh because of the lush spinach greens, however if you do have leftovers, then
- To preserve leftovers, place them in the refrigerator for one to two days in a sealed container. After that, the vinaigrette will cause the salad to become a little soggy.
- Meal prep: Shredded chicken and sliced cucumbers can be prepared in separate containers. On the day of the event, you can combine these components with the remaining ingredients to make your salad. The chicken can be refrigerated for three to four days.