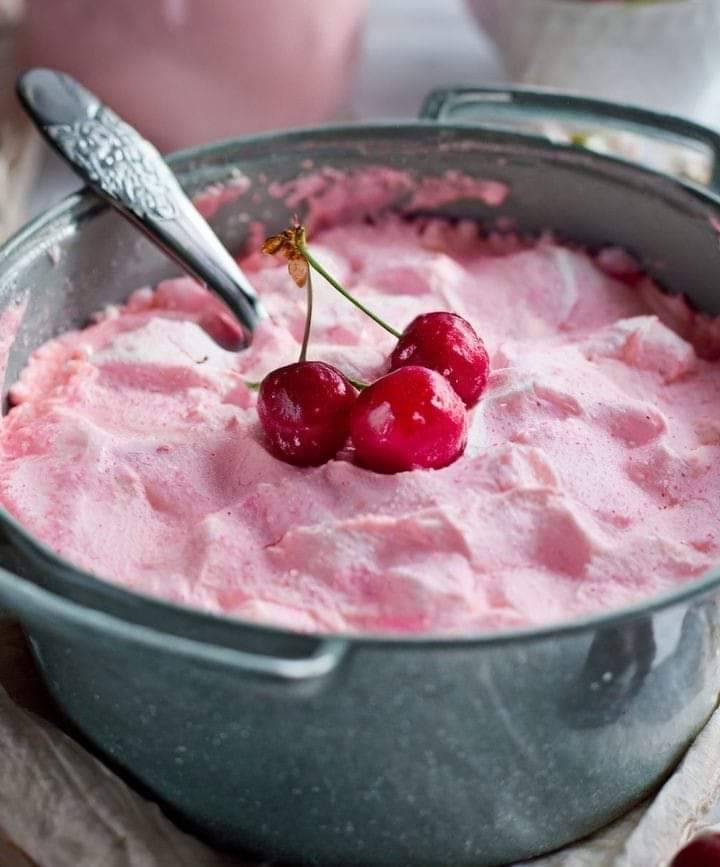
This is a fruit salad prepared in a different way. Excellent at any season. It is up to you whether it is or isn’t.
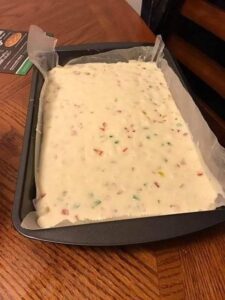
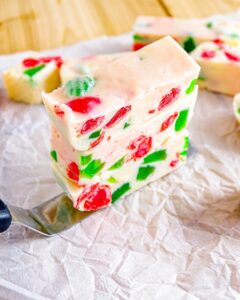
Better than sex A dessert with a name as provocative as it is delicious is fruit salad. This recipe transforms a classic fruit salad into a decadent feast by adding fluffy clouds of cool whip and rich layers of cherry pie filling. Its name is a cheeky guarantee that the experience of eating it will be as delightful, if not more, than the finest of earthly delights, which is a tribute to its seductive flavor profile. The expression “better than sex” is often associated with desserts and generally denotes an indulgence that is excessively rich, decadent, and extravagant, however its exact origins are unclear.
INGREDIENTS FOR FRUIT SALAD
- One 15-oz can of drained fruit cocktail (we prefer chunky tropical).
- One 8-ounce, tiny, drained can of crushed pineapple
- One 21-oz can of cherry pie filling.
- Two sliced bananas
- One 14-oz can of sweetened condensed milk.
- Eight ounces of sour cream
- One package of 8 oz. thawed Cool Whip
INSTRUCTIONS FOR FRUIT SALAD
- Combine Sweetened Condensed Milk, Sour Cream, and Cool Whip.
- Incorporate the pineapple, bananas, cherry pie filling, and fruit cocktail.
- For at least four hours, cover and chill.
- Serve