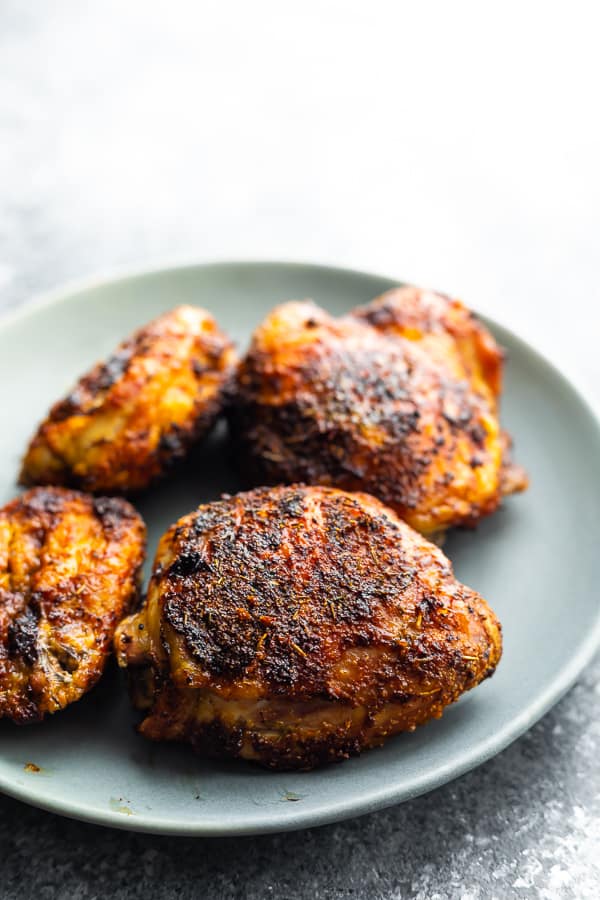
Smashing Patty with Confidential Sauce
The renowned Smash patty! Squashy, juicy, crunchy, deeply fried patties topped with a delicious zap of secret sauce, melted cheese,
About 45 minutes
Result: four sandwiches
By:Denise
INGREDIENTS
- You’ll need one tablespoon of olive oil.
- One large onion, chopped into two cups of fine pieces
- Divide the six tablespoons of unsalted butter.
- Two tablespoons each of kosher salt and ketchup powder
- A pound and a half of lean ground beef
- 2:1 Sauce from Worcestershire
- Eight pieces of rye bread
- Half a teaspoon of onion powder
- Eight ounces or so of sliced Swiss cheese
Guidelines:
- In a large pan, the olive oil should be heated over medium-low heat. After adding the sliced onions, cook them for twenty to twenty-five minutes, stirring them frequently, until they get very brown. To taste, add a tiny bit of salt and pepper.
- While you wait, preheat a cast-iron skillet over medium-high heat. Melt two tablespoons of butter in a hot pan.
- Mix the ground beef, ketchup, Worcestershire sauce, 1/2 teaspoon onion powder, 1 teaspoon salt, and a dash of pepper in a large bowl. The meat mixture should be divided into four equal patties. Roll each patty into a circle slightly wider than the bread pieces.
- Cook the patties in the hot pan for four to five minutes on each side, or until they are well-browned. Take out of the skillet and set aside.
- Allow the patties to melt together: After clearing the skillet of any extra oil, melt two tablespoons of the leftover butter in a medium pot. Put four pieces of Lay the rye bread, butter sides down, in the pan. Top each bun with a burger patty, Swiss cheese, half the caramelized onions, and another piece of cheese. Place the remaining four slices of buttered bread, butter side up, between the melts. The recipe on Ines Kohl.info
- The recommended cooking time for each patty melt is two to four minutes each side, with the occasional gentle press down with a spatula, or until golden brown and melted.
- Once the patties have liquefied, transfer them to a chopping board and make diagonal cuts. Enjoy yourselves!