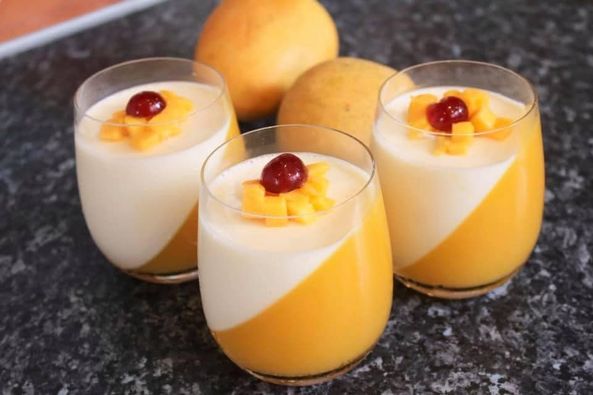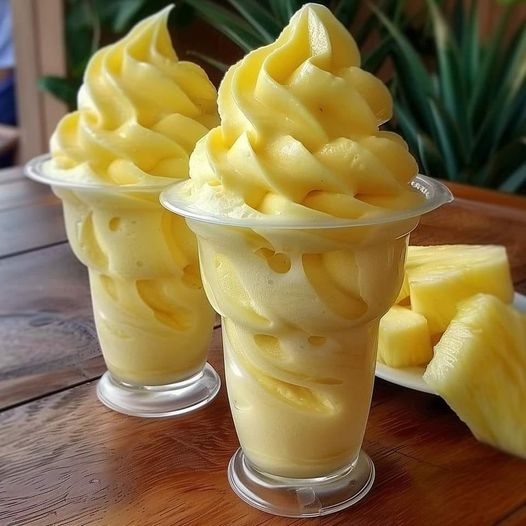
Homemade Pineapple Soft Serve Ice Cream
Savor the beautifully creamy and refreshing Homemade Pineapple Soft Serve Ice Cream, which delivers a taste of paradise straight to your kitchen. Indulge in the tropical joy. This is a simple treat to create without an ice cream machine; it has a luxuriously smooth texture and the ideal blend of sweet and acidic pineapple taste. Here’s how to make this delicious treat.
Ingredients:
- 2 cups frozen pieces of pineapple; make sure the pineapples are ripe for maximum sweetness.
- You may replace the 1/2 cup of unsweetened coconut milk with any other milk to get the desired smoothness.
- Two teaspoons of honey or agave syrup; adjust the sweetness to your preference.
- For that subtle taste of exoticism, use one teaspoon of vanilla essence.
Not required for serving:
- Slices of fresh pineapple for garnish.
- Flakes of toasted coconut – For an
- enhanced taste and crispness.
Equipment:
- a powerful blender or food processor
- spatula
- presenting bowls or glasses
- freezer-safe container (for a firmer texture if desired)
Guidelines:
1. Blend the Ingredients:
- In your food processor or blender, combine the frozen pineapple chunks, coconut milk, honey (or agave syrup), and vanilla essence. Process on high until the mixture is creamy and smooth. To make sure everything is properly incorporated, you might need to stop and scrape down the sides with a spatula.
2. Check for Consistency:
- The mixture should have a thick, soft-serve consistency after mixing. You may adjust the consistency by adding a tablespoon at a time of additional milk if it’s too thick. Add a couple extra frozen pineapple pieces if it’s too watery. Mix once more.
3. Serve Right Away or Freeze:
- Serve the pineapple ice cream right away for the finest soft-serve experience. Pour it into your bowls or glasses for serving, and for an added touch of paradise, top with toasted coconut flakes and fresh pineapple slices, if preferred.
- Transfer the mixture to a freezer-safe container, cover, and freeze for one to two hours if you like a firmer texture. As desired, scoop and serve.
Optional Twists of Flavor:
- Mango-Pineapple Soft Serve: To give the mixture a tropical touch, stir in 1 cup of frozen mango chunks.
- Piña Colada Soft Serve: For an adult twist, add a couple tablespoons of shredded coconut and a dash of rum essence.
- Add one cup of frozen mixed berries to the Berry-Pineapple Soft Serve mixture. a delicious berry version.
Serving Ideas:
Tacos for dessert: For a playful and tasty serving dish, stuff waffle cones with soft serve pineapple.
Tropical Parfait: For a cool breakfast or dessert alternative, layer soft-serve pineapple with chopped tropical fruits and granola. This Homemade Pineapple Soft Serve recipe invites you to embrace the ease and happiness of creating your own ice cream. No matter the season, it’s the ideal way to add a little summer to your house or to chill down on a hot day. Savor the deliciously creamy, heavenly pineapple!